
Keep an eye out, because today is May 22, Detective Day. Today is the birthday of the famous author who wrote about a great detective in his books. Am I the only one that feels awkward about this? Yes, I don’t think it’s the right way to name a holiday. Ask me… I’m the pro!
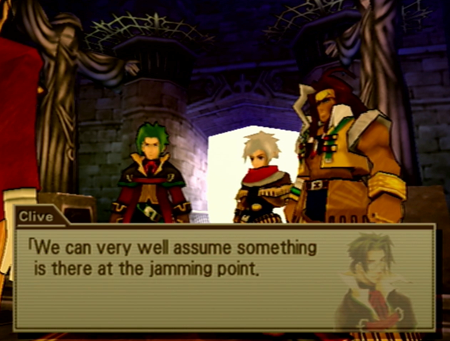
Previously on Wild Arms 3: Maya has been kidnapped! Still! Siegfiend has demanded the Teardrop in exchange for her safe return, so we have to go fish that out of the Ruins of Memory.
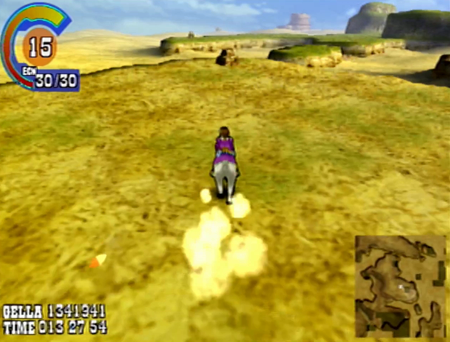
And away we go. Decided to give our horses a workout. They’ve been getting lazy since we started riding around on a dragon.
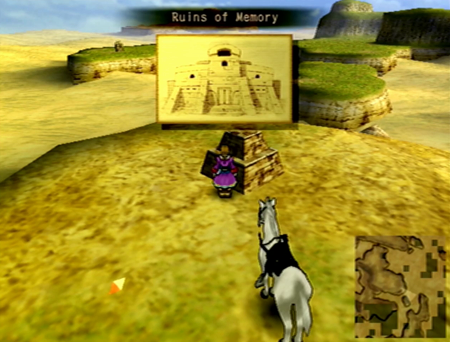
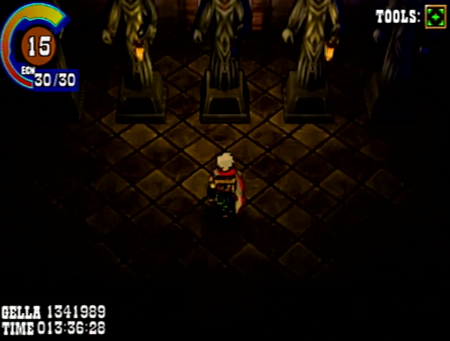
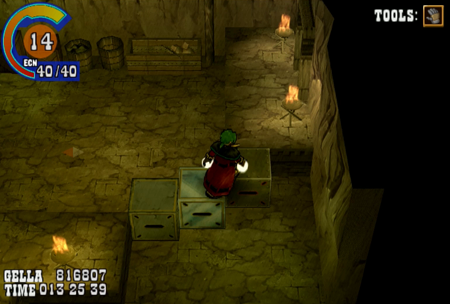
Ruins of Memory is a dungeon we explored way back in Chapter 1. In a way, it was our first “real”, full party dungeon.
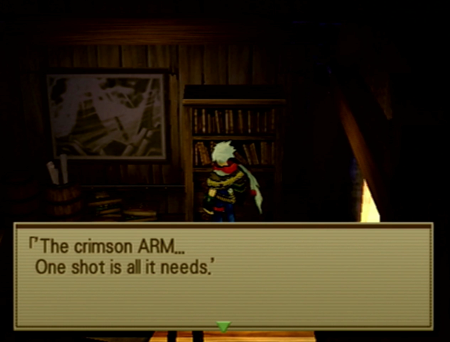
Ruins of Memory was only visited once so far, but it was also obliquely referenced at the Leyline Observatory when it was noted that the acronym ARMs in Wild Arms 3 stands for “Artifacts (from) Ruins: Memories”. So this place is quietly relevant across the whole of the game.
Remember when we teamed up with Janus here? Good times.
Eh, I can kinda see it. Looks a little familiar for some reason…
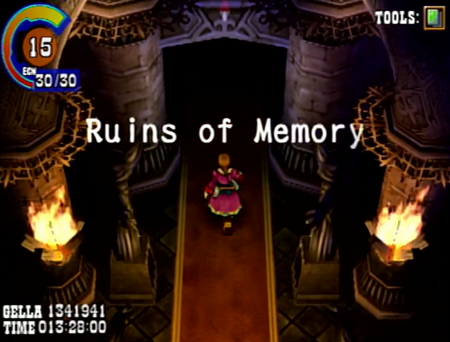
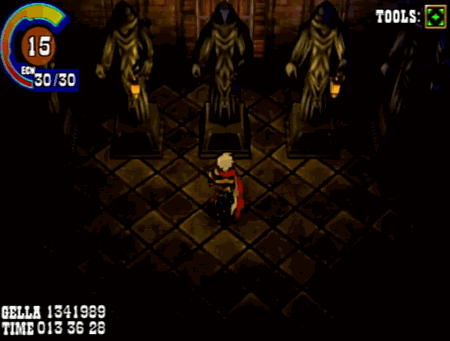
Anywho, nothing has changed about Ruins of Memory since our last visit.

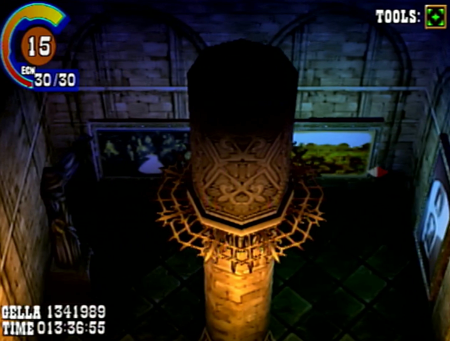
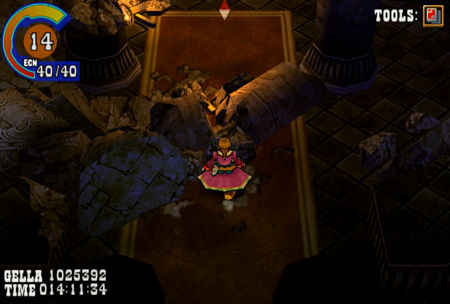
The only clue around here is that if you are paying attention (or using the Tracker item from Millennium Puzzle #10), you will notice there is an inaccessible bridge in one of the rooms. Now we just have to find our way up there…

You could easily spend hours wandering around this ruin, desperate to find the all-important item you somehow missed on your first trip.
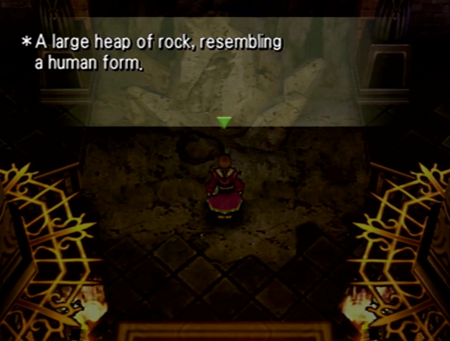
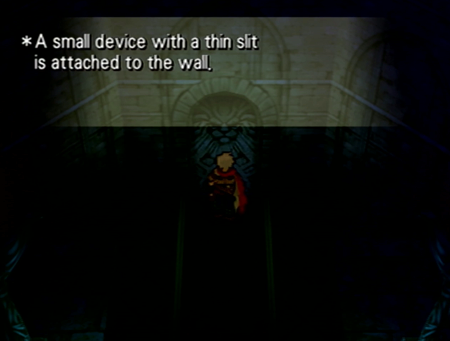
But this plaque (that has always been here) offers more than a subtle clue.
We first visited Ruins of Memory back when we were fledgling Drifters. Now we have been all over the world, and acquired the grappling hook of experience. And a literal grappling hook, too. Time to use that.
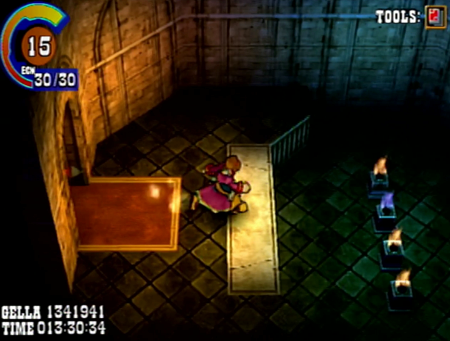
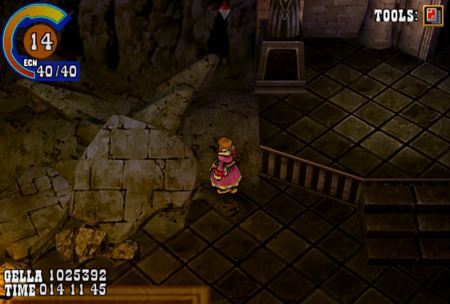
Whole new area to explore. Note that (the majority of) this section aesthetically fits perfectly with the earlier dungeon, and really sells the concept that this is just a previously undiscovered “second floor” to the place.
First, we have one of those “hit one switch, the two nearby switches turn off/on” puzzles. I eat these kinds of puzzles for breakfast.
Hey, we’re up here now. Neat.
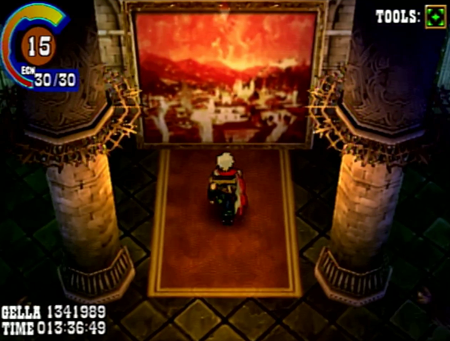
If you remember your lore from our earlier adventure (which was almost a year ago in Let’s Play time), Ruins of Memory is supposed to be a derelict museum. The lower floors are all looted and destroyed, but there are still some nice paintings up here in the hidden area.

This particular tapestry may be a reference to the first Wild Arms. In a memorable moment during that story, Adlehyde, the castle town that was the hometown of one of your protagonists, had a particularly heated time during some demon negotiations. Given the whole place was torched thanks to demonkind attempting to steal the Teardrop, this seems relevant to our current circumstances…
Other paintings in the area are generally pleasant.
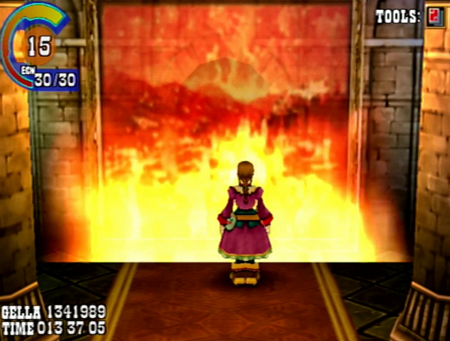
There does not seem to be any way forward in this gallery, but using “flame” on the painting entitled “Flame” will provide a path.
Take that, priceless relic of the past.
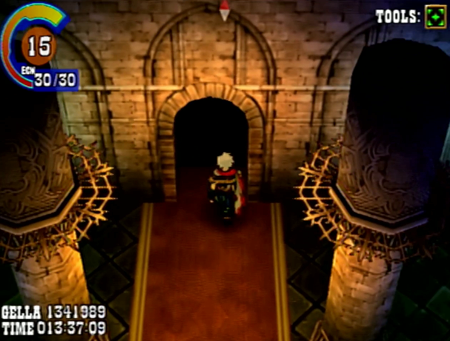
And our final barrier is… a door.
Anybody think to bring a key?

We did! Last update, we found Maya’s lost book, and the bookmark was the Card Key. And we can use that now!
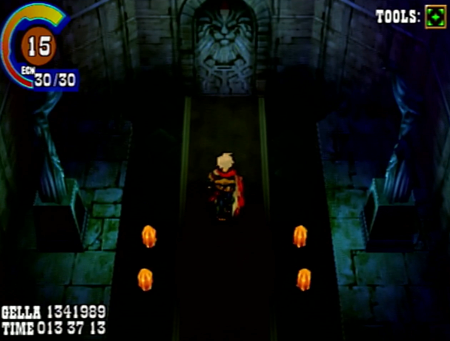
So if you are one of those pedantic nerds, yes, you can always come to the Ruins of Memory, but you won’t find this area until you have the grappling hook. And even if you do come here immediately after earning the grappling hook, you need to wait until you complete the Dissection Facility, because the ultimate reward for that quest is Maya’s keycard. So, yes, even though the Teardrop is and has always been hiding in this room from an early dungeon, you cannot access it until it is plot mandated.
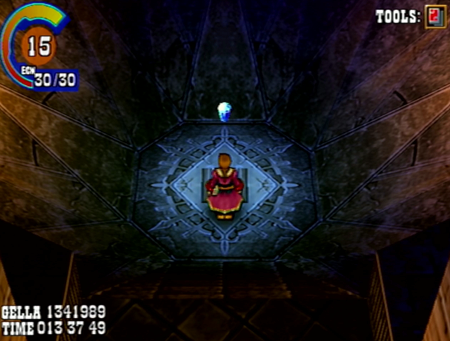
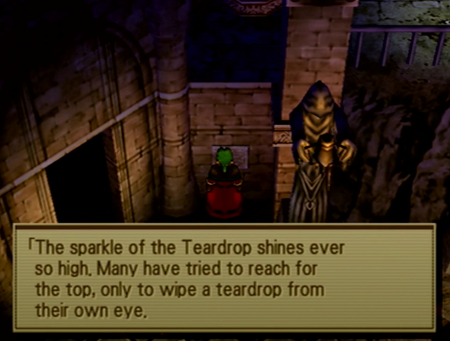
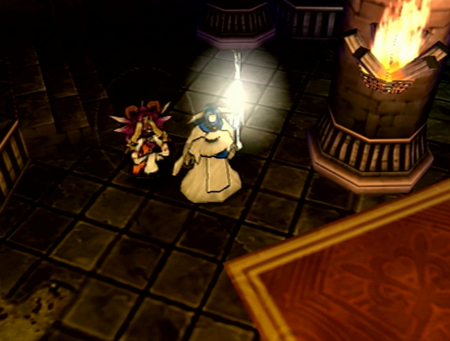
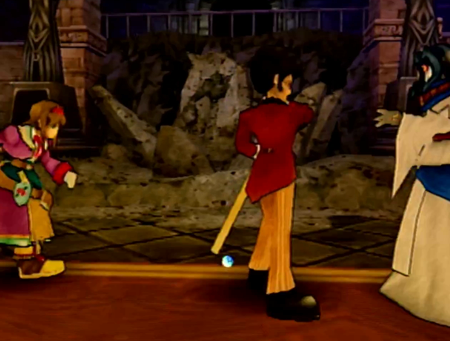
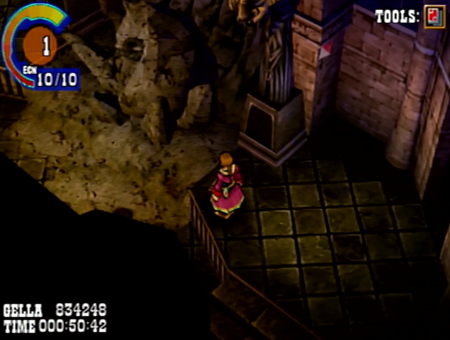
Quick! Somebody send Shady the Cat to touch the highlighted jewel to confirm it isn’t a trap!
We have learned nothing.
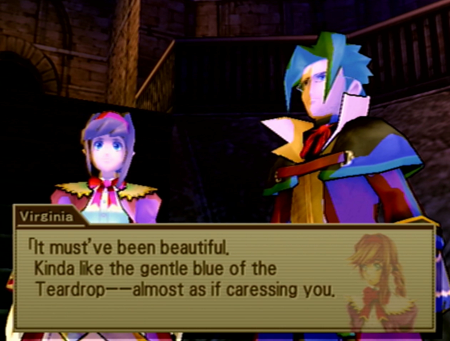
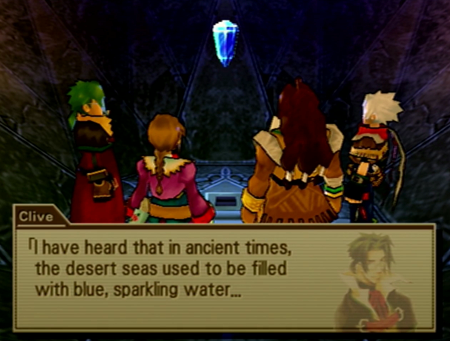
Maya has been kidnapped for a few hours, and Virginia is getting all “I want to have an intimate relationship with this rock,” like this is a Steven Universe forum.
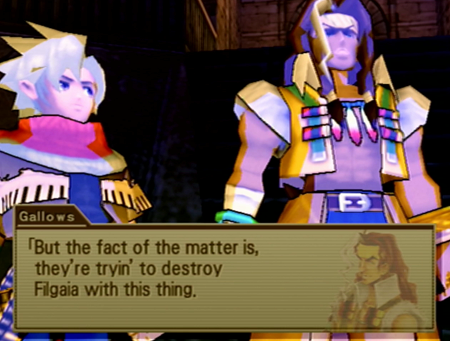
There is a quick note about the merits of trading this all-powerful gem for one puny human.
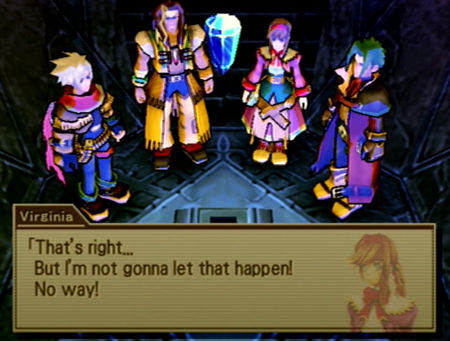
But we’re heroes, and you know how this is going to go.
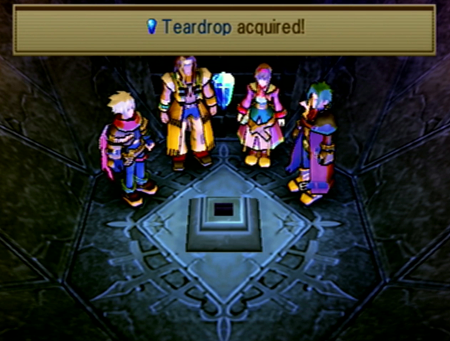
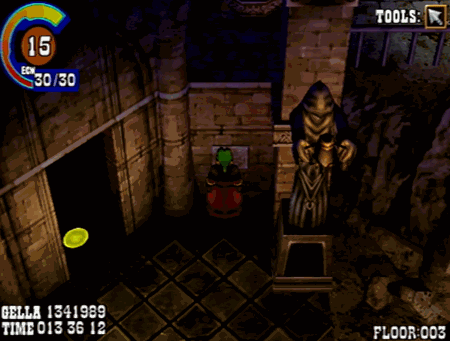
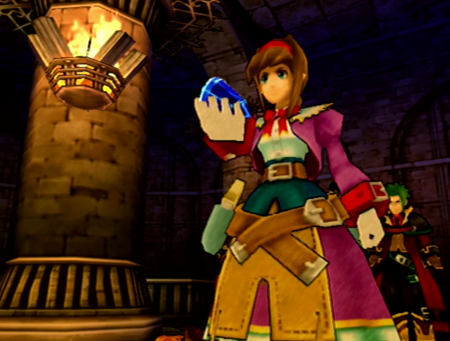
We found it! We have an artifact so powerful, it once lifted an entire city into the sky. We can probably pawn it for some solid beer money.
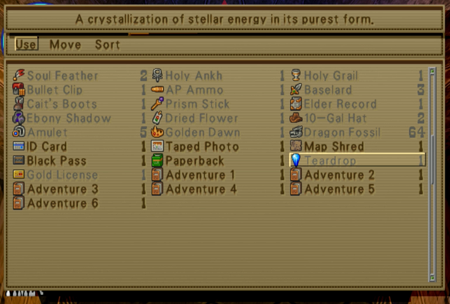
The Teardrop is an item in our inventory (for now).
And you can actually use it in battle with Virginia’s Mystic command. It simply casts the normal Heal spell, so it is more of an easter egg than anything.
Welp, that’s it. We got what we came for.
Sometimes reusing a dungeon in an RPG comes off as a “cheat” or an obvious cost-cutting move. In this case, I very much approve of the reuse of Ruins of Memories. With the “inaccessible” higher area followed by a sealed door (that Maya found the key for somewhere), it really sells how an object of such incredible strength could be lost to heroes and villains for so long. The Teardrop is an amazing find, but it takes so much to find it, it is no wonder it has gone missing for generations. And just to drive this point home, you explored this dungeon once already, and completely missed it, too. Excellent use of gameplay/storytelling synergy.
Oh, and speaking of gameplay, guess who has come to congratulate us.
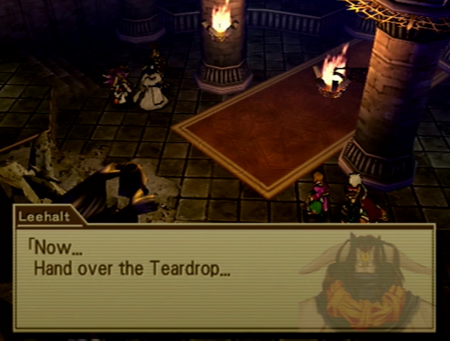
We never did discuss a handoff location, so it’s nice that they teleported on in.
Teleportation really does streamline this process!
We will be ignoring this advice immediately.
Last time Virginia had a magical gem or two in her hands, it went poorly.
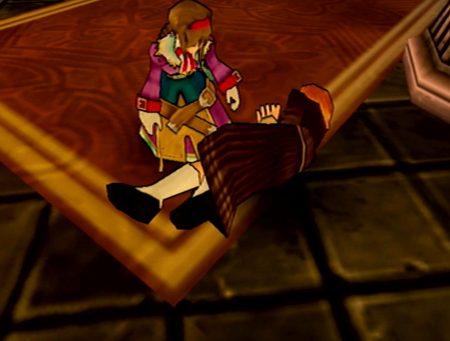
Virginia hands off the Teardrop, and…

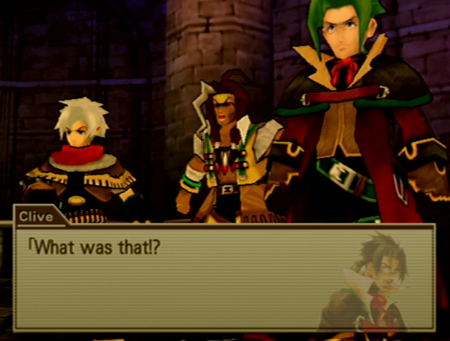
Extremely loud incorrect buzzer.
Fooooooled you.
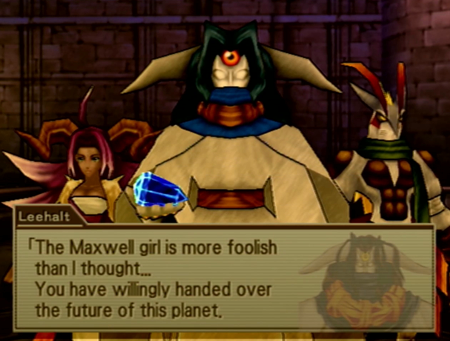
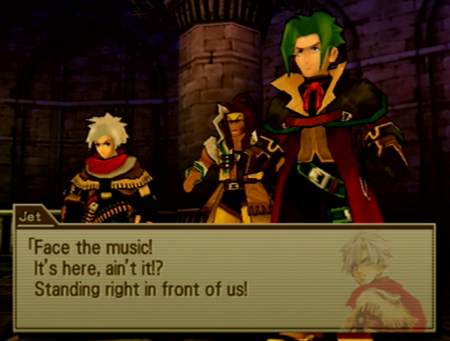
So Virginia completely blew it, but the experienced Drifters are here to save the day.
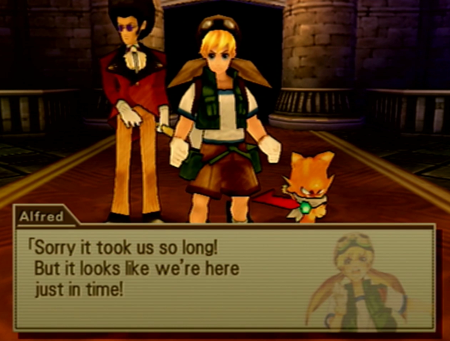
“Just in time to watch you hand over our only leverage like a moron.”
Ha ha! You never suspected Maya could have a loving family because you’re a putz!
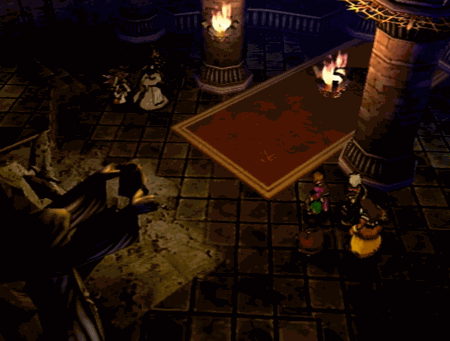
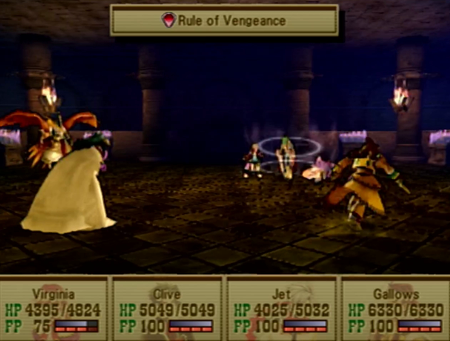
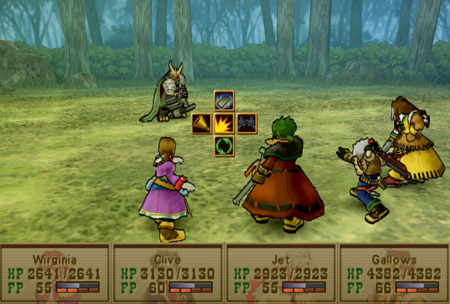
Let’s fight about it.
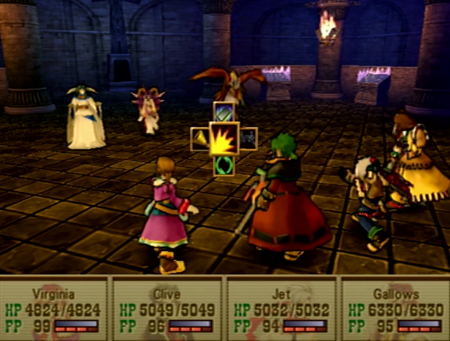
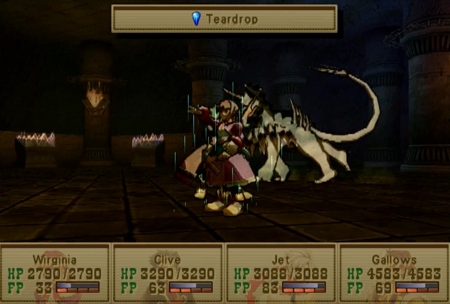
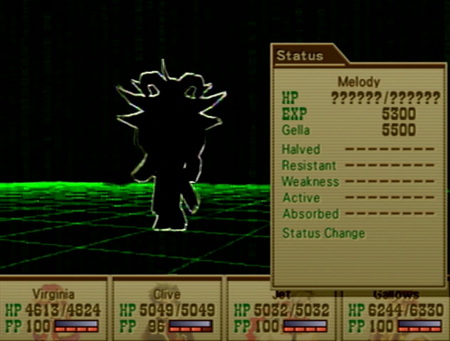
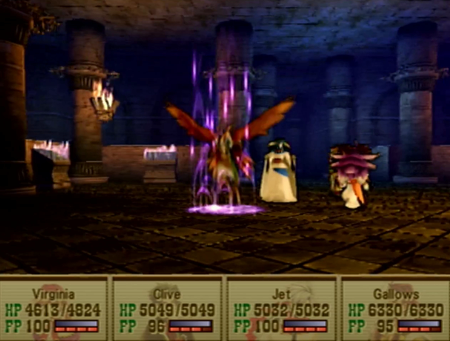
Been a while! So here’s the fight that could have been the finale for Chapter 2, but wasn’t.
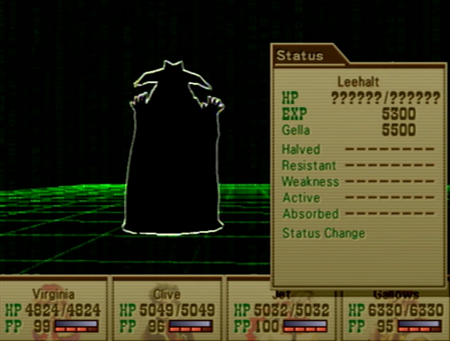
So far, the only time we fought all the Prophets at once was when they were on their last legs, and, while they weren’t complete pushovers, there was a plot-mandated reason they could not pull out all their tricks with one foot in the grave.
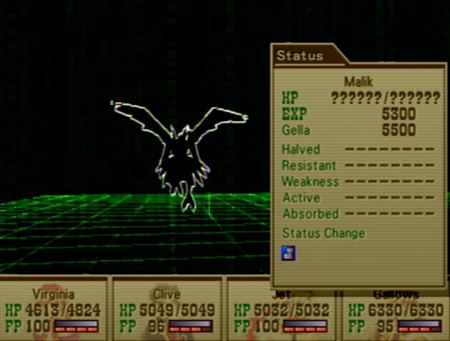
Now we face them simultaneously at full power. Or maybe “more” power? How much of a powerup do you get from becoming a demon?
What does this all mean?
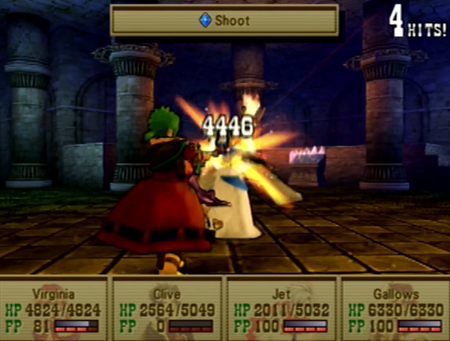
Well, each of the Prophets now use their “moves” from when they were solo fights.

This isn’t Bravely Default, they don’t really have any sort of synergy with their abilities. But their individual powers are powerful.
As a reminder, Malik is so fast, he cannot be hit with physical attacks unless you hit him with a decelerate (slow) spell.
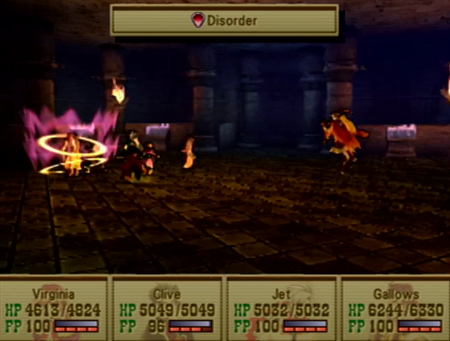
He also will smack you with strong physical attacks and status effects.
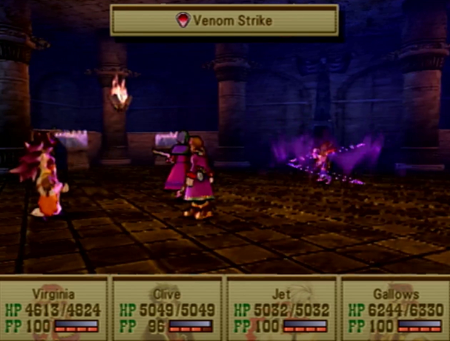
Melody is poison to the core. She will use a poison attack frequently, and counter any attacks with poison, too.
Equip a poison ward to nullify her greatest offense, or have fun leaking HP.
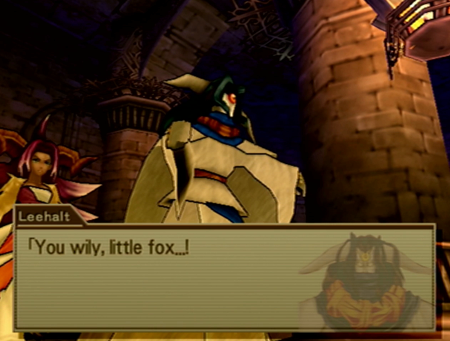
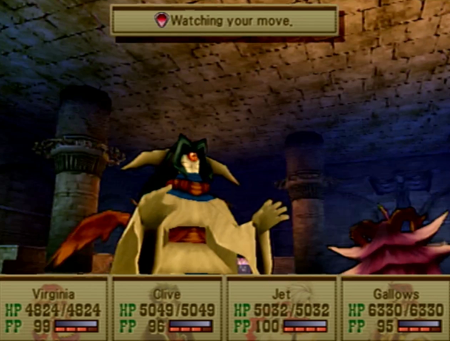
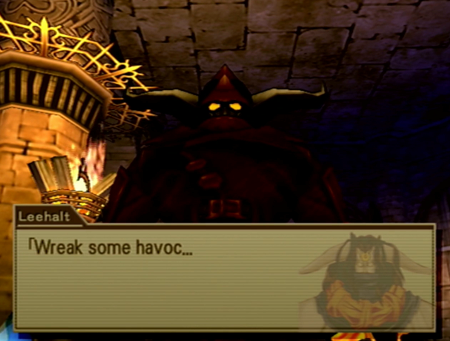
And Leehalt still has his “full counter” ability that means he does not technically do anything in a round unless you hit him. If you do hit him, though, he will return exactly the same damage upon his attacker.
Though he has the same weakness of only countering the final blow of any multi-hit attack, so a gatling that runs out of bullets may work well.
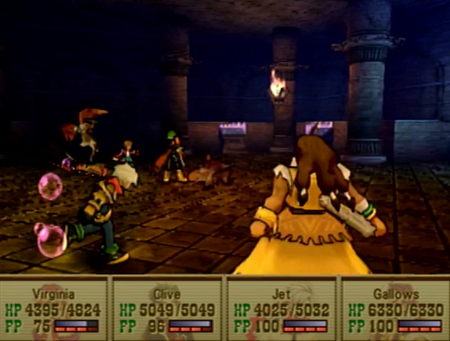
This battle isn’t all that difficult if you counter everyone. Poison wards nullify Melody, confusion wards will neuter Malik, and if you ignore Leehalt, you can avoid any damage from him until the absolute end. The real test here is simply if you remember your defenses from back in Chapter 2.
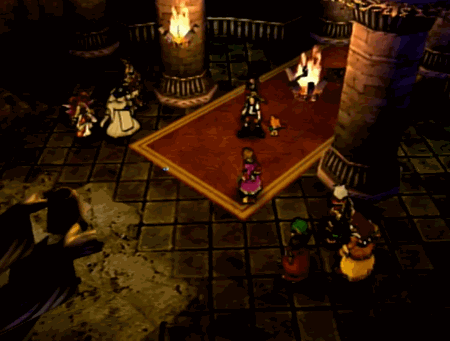
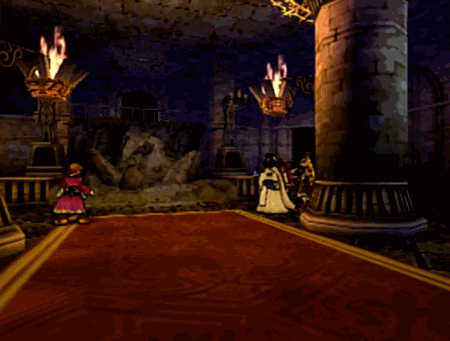
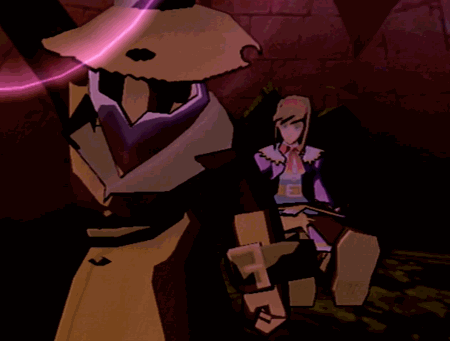
Not that the battle matters anyway. The real fun starts once Shady makes the scene.
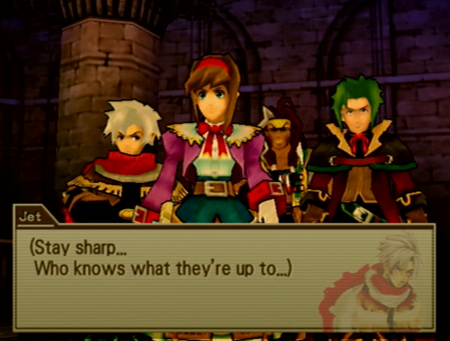
Looks like all of our heroes are playing well together. If you remember, this dungeon was where we got burned with Janus, so it is good to see Virginia has made some real friends out in the wastelands.
But speaking of old friends…
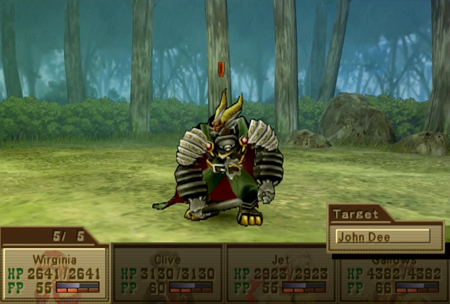
Time to suffer the consequences of another old plan.
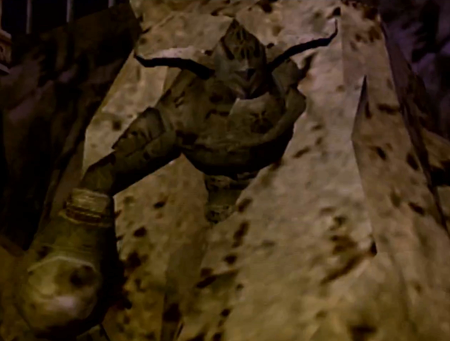
The golem is back, baby!
I just told you!

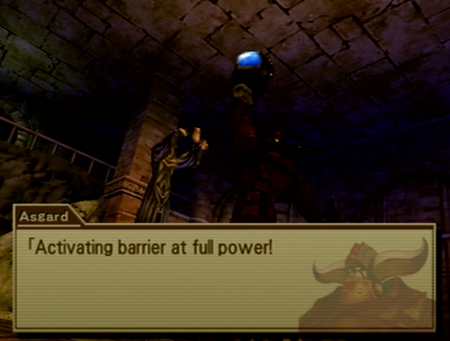
Asgard!

I will always remember what my father told me on my wedding day.

“If you are going to banish one of your enemies to an unknown point in time, make sure it is not the one enemy you have that is a confirmed immortal.”
I mean, we do live in a world where people routinely are brought back from the dead with “revive fruits”, so this shouldn’t be too much of a surprise.

Man, super good luck for the Prophets that they chose to fight at the one place on this planet that happened to house their entombed, ruthlessly dedicated robot.
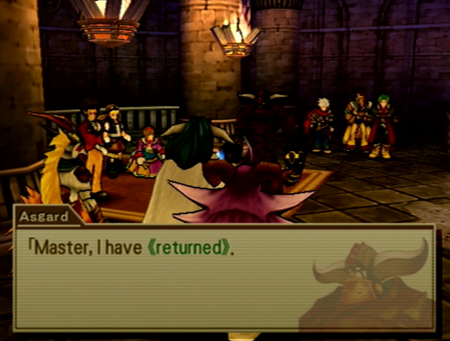
“Master, I have -returned-. “
“Returned…!? Then, that means…”
“To fulfill my master’s command…And…to exchange fire with you again.”
Thanks?
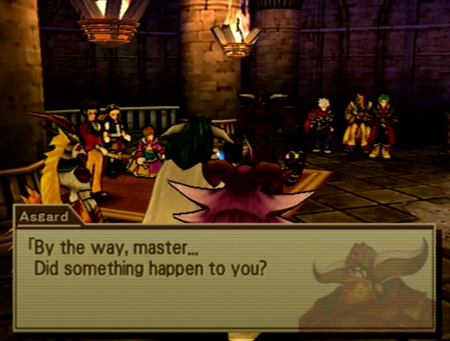
“New glasses?”

“Asgard! Have you seen my ‘Don’t talk to me until I’ve had my Panakeia’ mug? I haven’t seen it since we left the Yggdrasil, and you have a good memory.”
Maybe Asgard spent the last millennia learning how to be a better robot-person, and no longer cares for violence or…
Oh. Never mind.
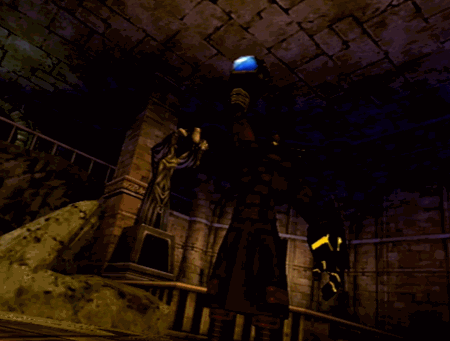
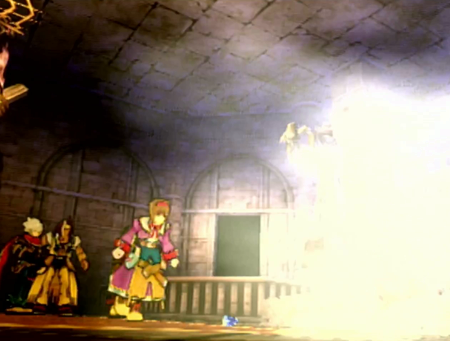
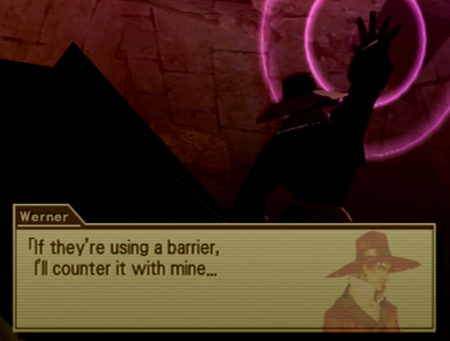
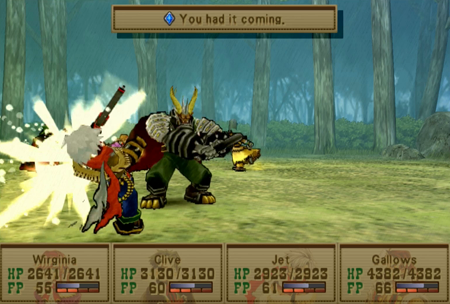
This shouldn’t be a big deal. That barrier only killed us the last time it got used at full power.
Two for two!
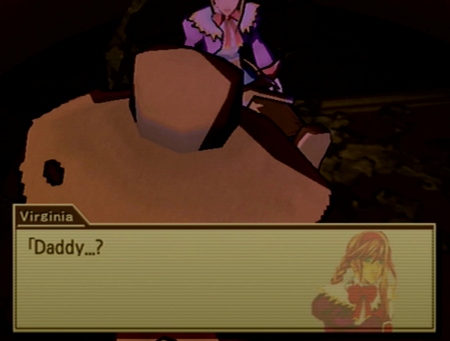
A reasonable time to believe you are hallucinating.
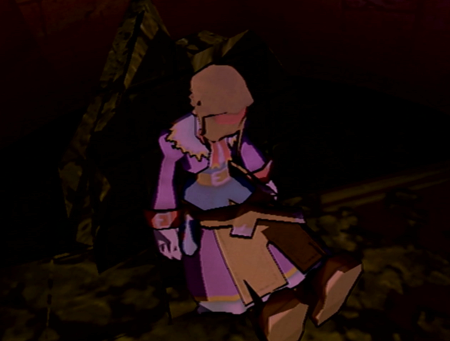
“Daddy has magic protect-me powers! I knew it!”

By “take advantage” we mean “be quiet” because “Daddy doesn’t want to talk right now.”
“Silent, Virginia. Like crabs.”
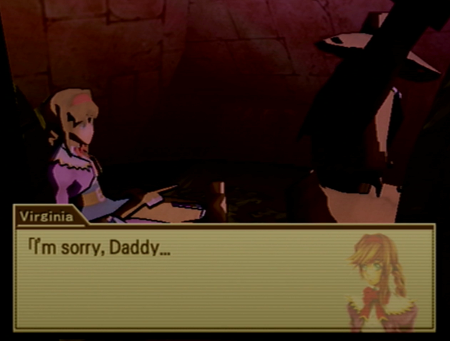
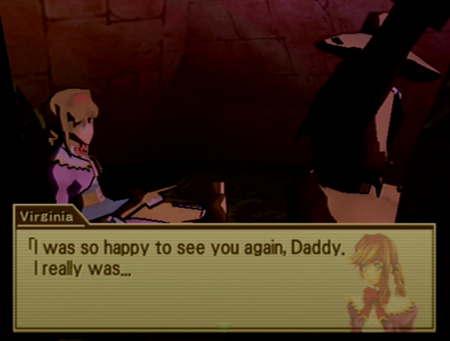
So Virginia finally apologizes for being angry the last time Werner had to save them from Asgard. Or maybe she is apologizing for when she was mean at Ruins of Dreams? No, it’s probably the Asgard one. Good “killed by robot” parallels.
Daddy-Daughter Day is gonna be complicated this year.
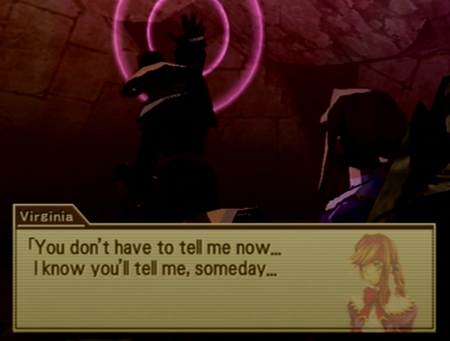
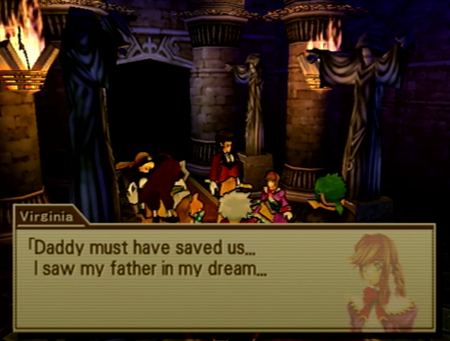
“You don’t have to tell me now… We… Probably don’t have much oxygen. That’s… a good reason…”
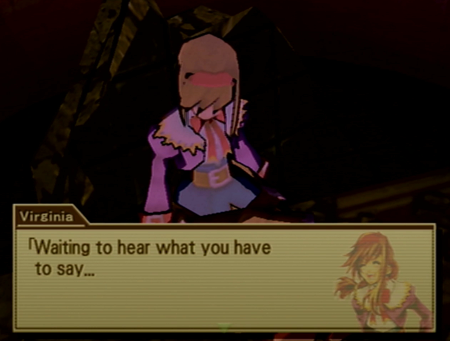
“I know you’ll tell me, someday…I’ll be waiting…Waiting to hear what you have to say…But, don’t leave me again, Daddy…Please…”
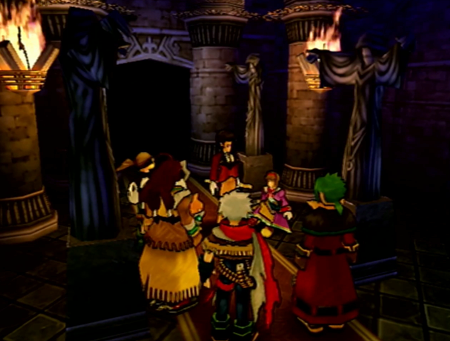
You got pattern recognition, Virginia?
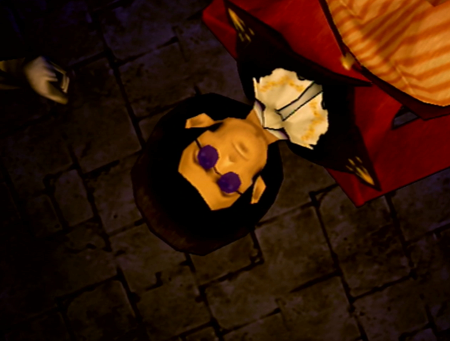
Against all odds, this is somehow the second time Todd has appeared to awaken Virginia while she is dream-pleading with her father. Is this foreshadowing for the reveal that Todd is Virginia’s real father? (No, it isn’t.)
We’re fine!
Literally no one acknowledges this as an explanation. Clive is probably gesturing to Alfred to just shut up and let Virginia have her fantasy of “Daddy Barriers”.

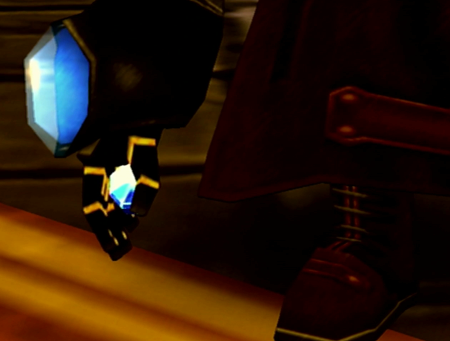
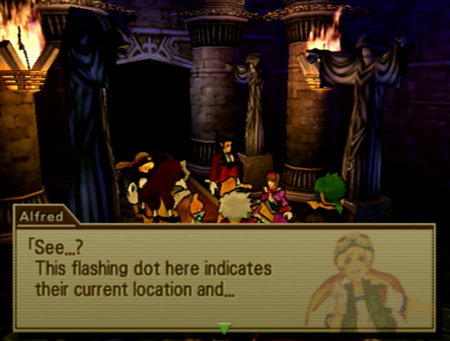
The Teardrop is gone, and Maya was never here. But don’t worry! Alfred accounted for our ineptitude.
Alfred explains that he used trackable shrapnel in his bomb from the start of the battle. He does not note that Maya asked him to invent this tech so she could GPS Virginia at all times.
We’re going to be okay!
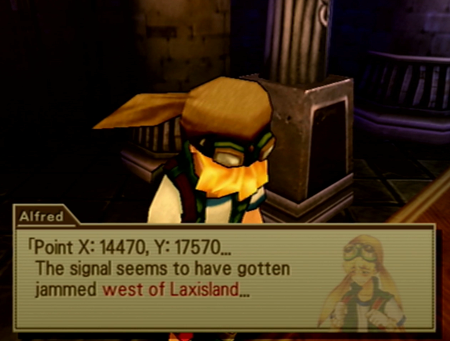
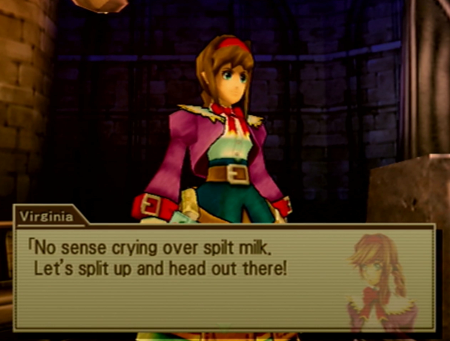
… Until the tracker stops working. But we have a general spot to look. Let’s head to Laxisland (again) next!
Look, I don’t want to hear a peep from Virginia’s team right now. You guys fumbled the most important item in history/Maya’s engagement gem.
“We’ll take our dragon! You guys fly there with your cat or whatever it is you do.”
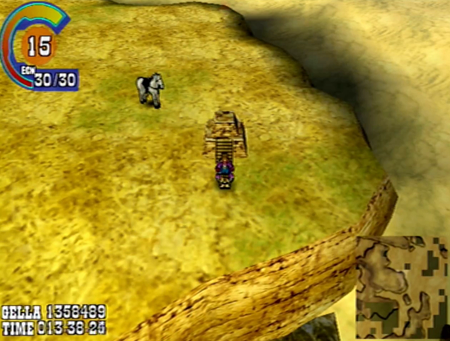
And we are done with all that nonsense. Off to Laxisland!
Just for curiosity’s sake, if you return to Ruins of Memory, you can explore the whole dungeon again without issue, just the main hall is more than a little wrecked up.
Asgard gone, girl.
(flashback to when there wasn’t even an hour on the clock)
And as I tried to avoid “spoiling” earlier in the LP, Asgard has always been a part of ROM all the way back to our first visit. If you have a particularly good memory (and a decent TV), you may have recognized Asgard’s initial appearance in Prophet cutscenes as that same “thing” from Ruins of Memory a handful of dungeons earlier. Or maybe you just assumed it was typical PS2 era asset reusage. Whatever! It was a clue! We know that now.
Also, given Ruins of Memory is a pretty prominent ruin (the Prophets’ own lackey Janus did explore the place), Asgard could be a stable time loop wherein Melody’s design was based on the future/past Asgard chilling in stone… but WA3 isn’t as interested in timeloops as the Final Fantasy series, so nobody dwells on that.
So that was kind of a quick update, and Maya is probably doing just fine as a captive, so we are going to take a moment to deal with a little optional Wild Arms 3 optional content.
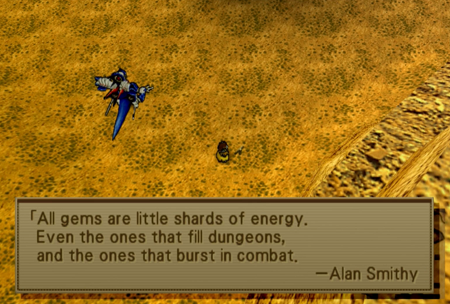
Across Filgaia, you will see many signs posted by “Alan Smithy”. If you recall, Alan Smithy is supposed to be the “original” Drifter, and his tips are supposedly legendary advice… that may or may not have been provided by other Drifters claiming the name Alan Smithy.
We also found that one book that distinctly noted Alan Smithy has “many unproven tales credited to him” and he may be dead or immortal.
And this will be relevant in a moment when we decide to pay Daddy a visit.
Even once you obtain your airship, you cannot easily return to the Yggdrasil area.
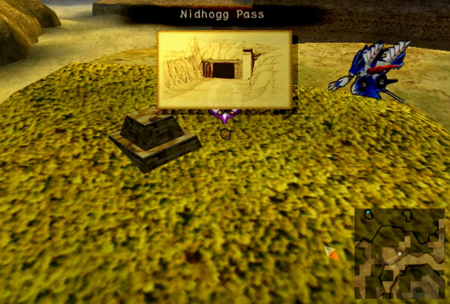
So once again through Nidhogg Pass…
Enemies are pushovers, but a number of the puzzles reset.
Okay, back in the forest.
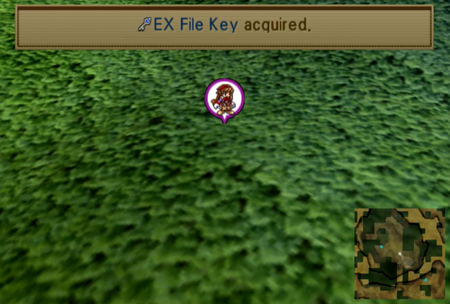
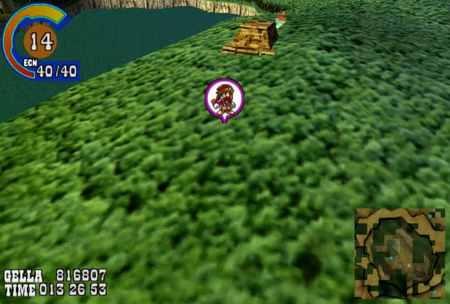
It is recommended you revisit this area at least once after obtaining the radar from Gunner’s Heaven. As we covered during that update, there is an EX File Key hiding in the woods.
(And this is the same key we covered then, just flashing back as a reminder. There are not two keys here.)
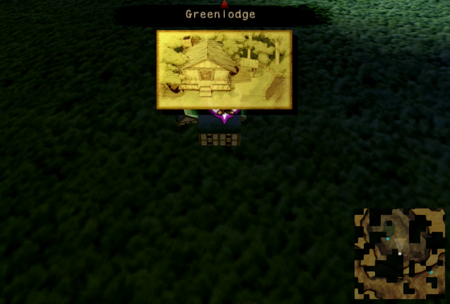
But our important destination is Green Lodge.
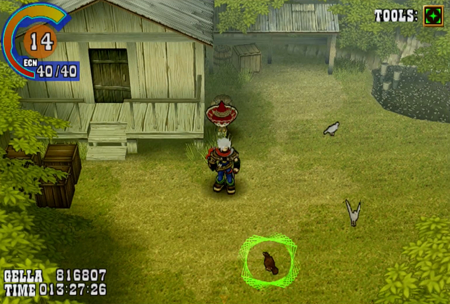
The next mandatory dungeon will grant us a tool that will allow us to transform this rooster into an item. I am not doing another trip through Nidhogg Pass, so…
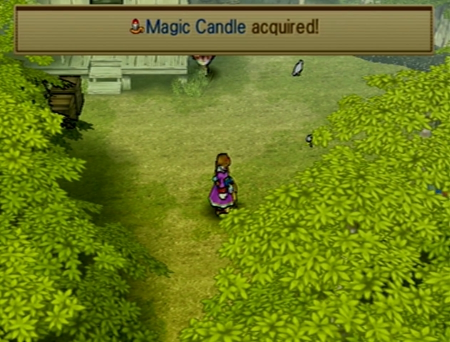
Here’s a flashforward to the item you can obtain later.

Magic Candle will confer a skill that grants you additional encounter points after a battle. Like a lot of late game treasures, this is only really important in The Abyss, and even then, it is only important if you are actually entertaining battles down there. Not recommended. But it is recommended you obtain this one-of-a-kind item when you’re here.
But our real reason for visiting today is Daddy’s little monster.
Sing ‘em a song, Gallows.
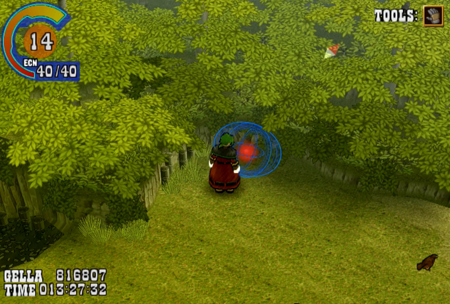
Meet our unique super boss…
John Dee.
I have seen debate amongst Wild Arms 3 fans that John Dee is supposed to be Alan Smithy, one way or another. To wit, I have seen the following explanations:
1. “John Dee” appears as the same name as “Alan Smithy” in the original Japanese.
2. “John Dee” and “Alan Smithy” are separate names in the original Japanese, but only because someone misunderstood they were supposed to be the same (English) anonymous pseudonym.
3. “John Dee” is intended to be the “real” Alan Smithy regardless of naming intentions. This is part of the myth of the man/demon.
4. “John Dee” is supposed to be the demon that defeated “Alan Smithy” (As mentioned in the previously noted Alan Smithy book).
Unfortunately, there is not much documentation on an otherwise forgettable super boss that only appears once 70% of the way through a Playstation 2 exclusive that was released in 2002, so I don’t know the real answer here. But there is the distinct possibility that John Dee here is supposed to be lore relevant. I guess.
For my money, Alan Smithy is distinctly described as a “gunslinger” in his in-game biography, and Johnny here only uses magic and a billy club, so it is entirely possible this creature has as much to do with the lore as Heimdel Gazzo or Kraken.
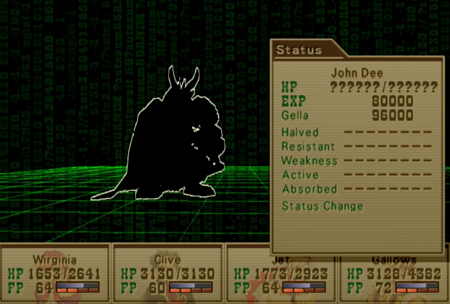
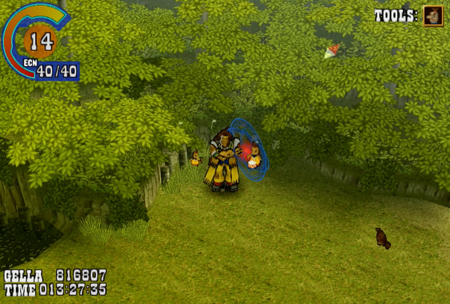
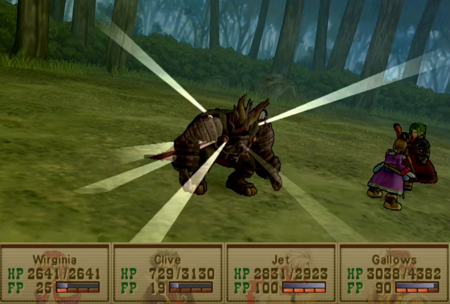
Let’s focus on what we know: John Dee does not have any overt weaknesses.
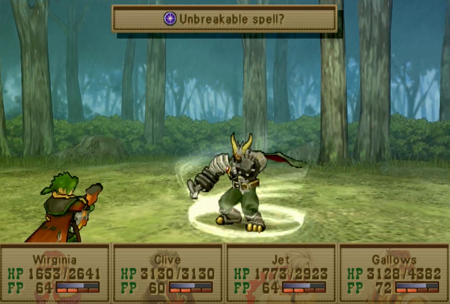
He has about an 80% counter chance with a brutal physical attack, and he leans into spells that are both dark-based and non-elemental.

Unfortunately, his biggest hit-all attack is non-elemental, so that is going to do a lot of damage if your levels are not up to snuff.

So what’s the trick this time? Well, John Dee has an AI quirk wherein if you buff your party in any way, there is seemingly a 75% chance he will use his turn to cast Eraser, the dispel spell of Wild Arms 3.
This is vastly preferable to nearly every other move he can use, so just make sure Jet or Virginia are casting a buff on a party member every turn. It doesn’t matter what buff you cast, just buff something, and John Dee is very likely to forgo totaling your entire party in favor of canceling a useless speed-up spell.

Dark Ward will handle any of the dark spells, and then it is just a matter of healing after the (now extremely rare) Unbreakable spell? move.
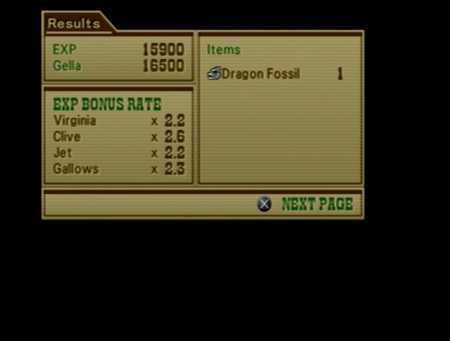
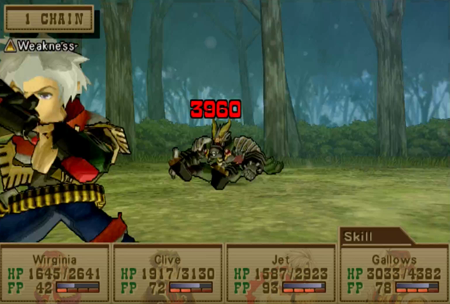
Clive took a number of hits thanks to JD’s counterattacks, but we still won the day.
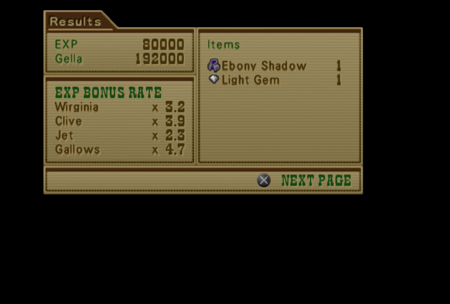
And we earned an Ebony Shadow.
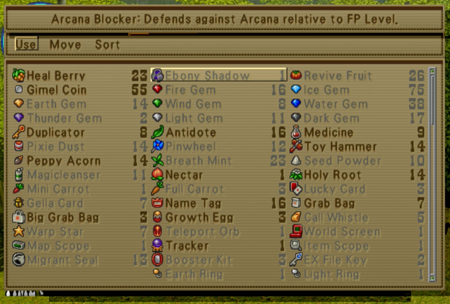
Ebony Shadow is vaguely complicated. Ebony Shadow will guard against distinct Arcana Attacks, like Spectre (light spell) or Pressure (water spell). It will not defend against unique monster attacks, so things like Ragu o Ragala’s One Trillion Degrees will pass right through the Ebony Shadow. Given that the majority of super bosses use their own distinct attacks, this makes Ebony Shadow worthless when it could be most useful. That said, a number of lesser monsters across the game use arcana, so it is not wholly useless.
Beyond that, Ebony Shadow actually working is based on a FP/PS point ratio. If you only devote one PS point to Ebony Shadow/Arcana Blocker, it will only work when your FP is at 100. If you provide the maximum four PS points, it will block anytime you have 25 FP or more… which is practically all the time at this point in the game. There isn’t a detailed explanation of this effect in Wild Arms 3, so if you don’t think it’s working, there’s your answer.
And, on a personal note, I have never bothered with Ebony Shadow beyond testing purposes. An elemental ring is always the better choice.

And now we don’t ever have to come back. Don’t forget to stop by the one Millennium Puzzle in the Yggdrasil Grove while you’re here!
You cannot summon your dragon to leave, but you can teleport away. Come to think of it, make sure you have a Warp Star or Teleport Orb before coming to Green Lodge, or you’ll have to walk back through that damn dungeon again.
And, no, teleporting to Green Lodge is never an available choice.

And now we’re at Laxisland. Will we pick up the plot again and rescue Maya?
Next time on Wild Arms: The second or third worst sidequest in Wild Arms 3.
[…] If you’ve been using the radar in every town, you would have noticed how animals are frequently “targeted” by the radar like treasure, but you had no way to get a chicken or a cat to hand over the goods. Now, if you use Virginia’s Changecrest on a radar-indicated animal, it will change into an item. Oftentimes, these items are high-level consumables, so it is worth it to revisit old towns. None of these item-animals appear in dungeons, so the hardest treasure to find would be the change-chicken at Green Lodge. We covered that one a couple updates back. […]
[…] also explains why he has intermittently exhibited superpowers (generally when fighting Asgard, whom you may correctly recall was an artificial […]