
Get your glasses, because today is May 29, Scholar Day. As a scholar of holidays, I’m first class. No single person has devoted so much research into the field besides myself. Right now I’m wondering what I should do if I get scouted out by the Council of Seven.
Previously on Wild Arms 3: Maya has been kidnapped for so long at this point, I do not even remember what she looks like. The most recent debacle saw Virginia attempting to trade the Teardrop for Maya’s release, but that was an unimaginable failure, and now the bad guys have fled to somewhere nebulously “outside Laxisland”.
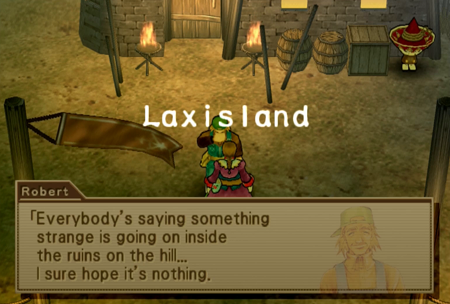
So here we are at Laxisland. That sounds like a clue!
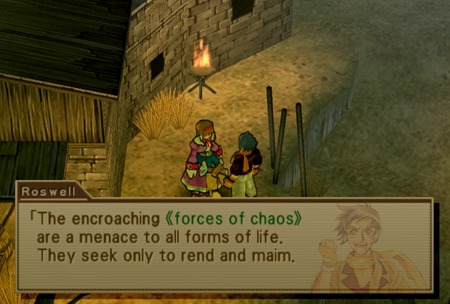
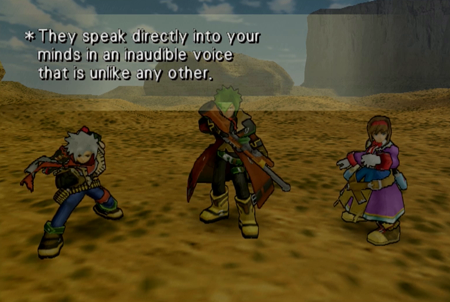
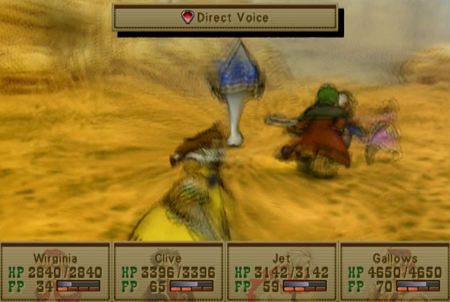
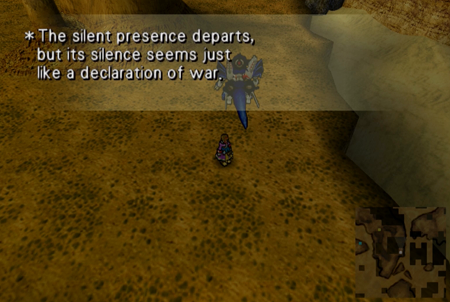
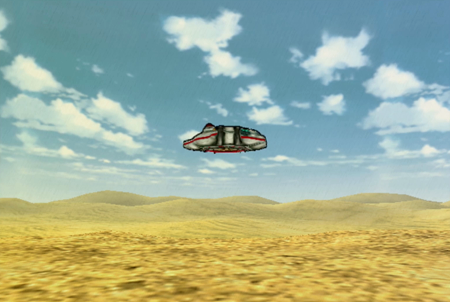
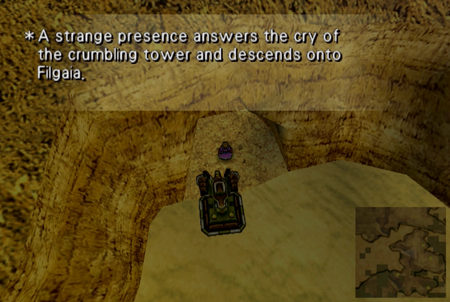
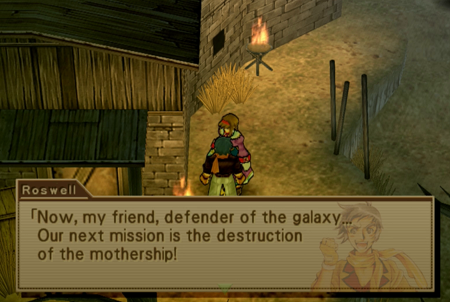
“Ventura, Ventura…The encroaching -forces of chaos- are a menace to all forms of life. They seek only to rend and maim. My associates in the sea of stars give me directives to keep the aliens from overrunning us.
We have confirmed sighting of them and their interplanetary vessels all over the world! That’s right. Chaos is much, much closer than you think.”
Chaos you say? You should meet my buddy Jack…
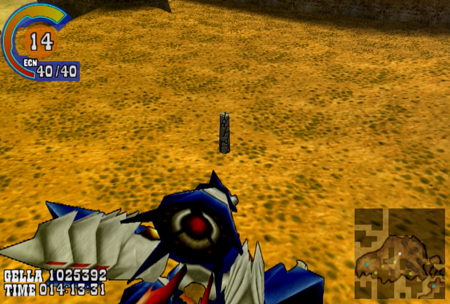
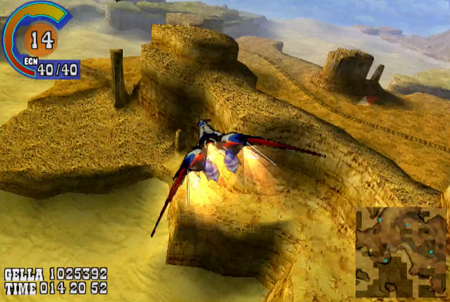
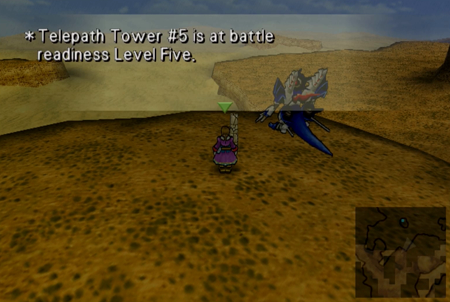
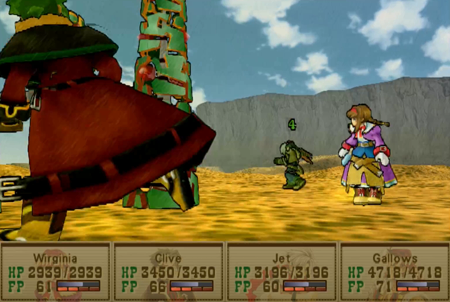
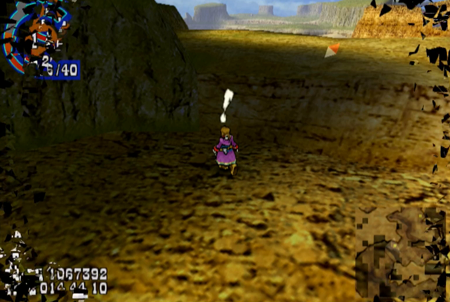
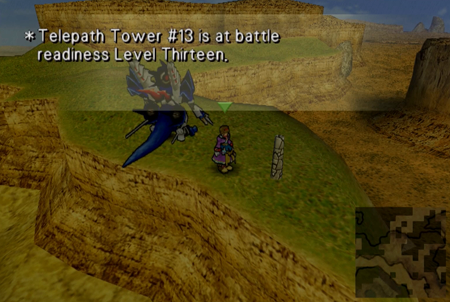
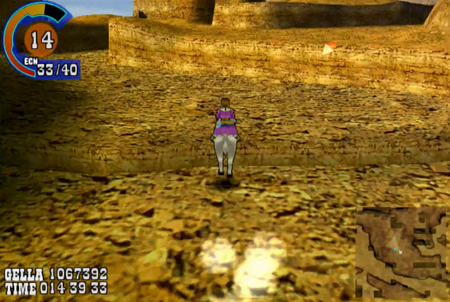
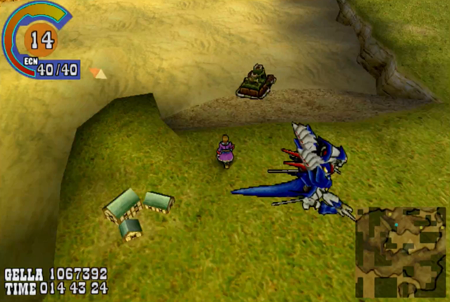
So if we wander a little west of Laxisland, we will find this little tower. Is this where they’re keeping Maya?
That’s…. new?
Simply "Telepath Tower" was something of a broadcast tower in Wild Arms 2. But is this dungeon fighting us?
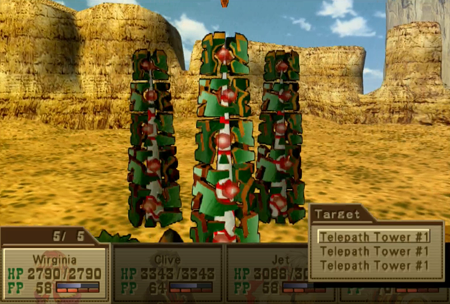
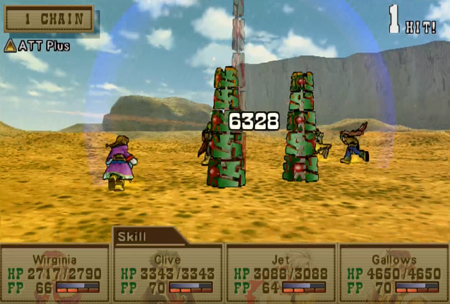
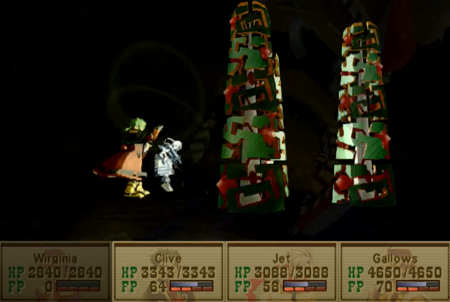
Oh. That whole overworld map thing is a lot harder to scale than I thought. These towers are barely taller than Gallows.
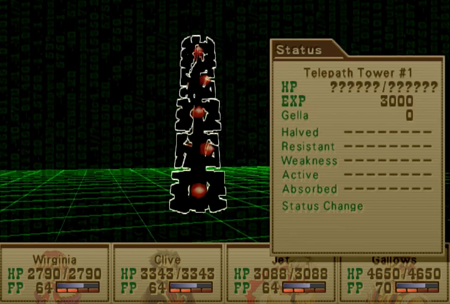
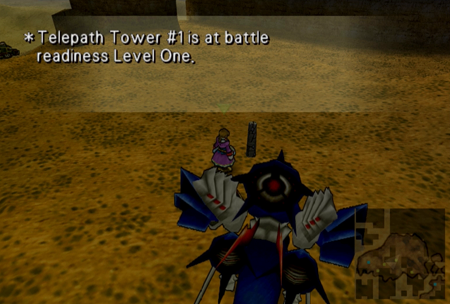
Nothing too interesting on its stat screen.
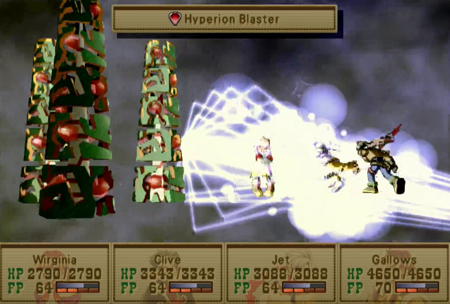
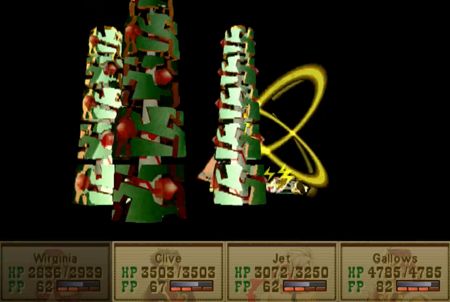
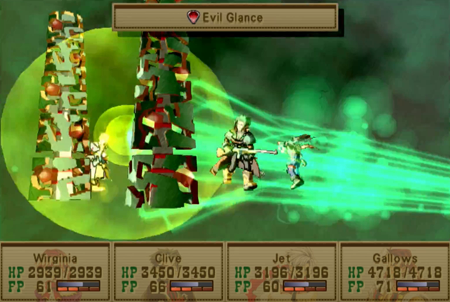
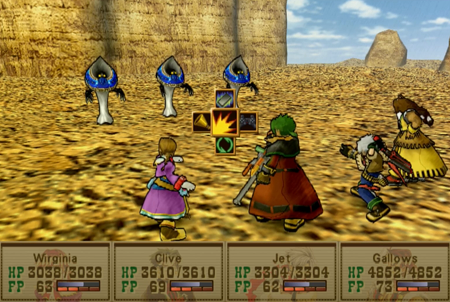
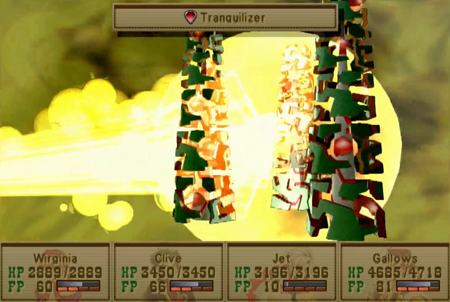
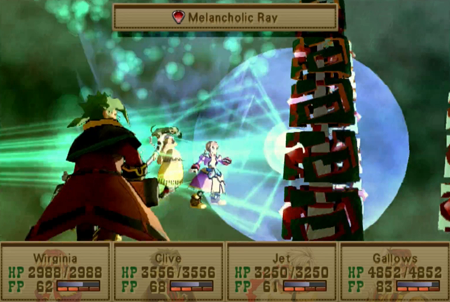
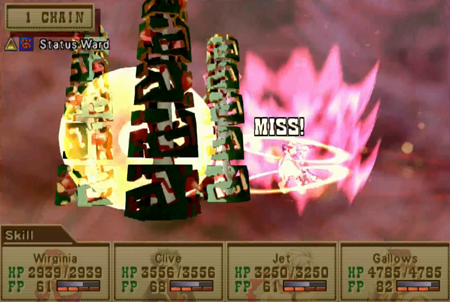
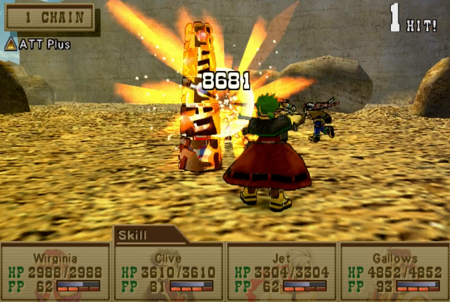
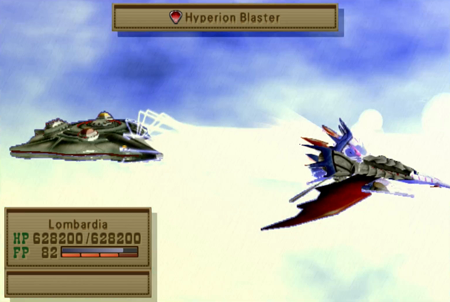
Telepath Tower #1 (all three of ‘em are three separate enemies with identical stats) only use a pair of attacks. Either a basic attack called Hyperion Blaster…
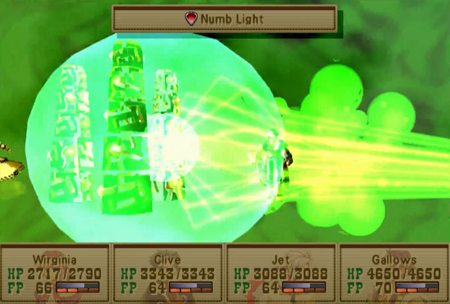
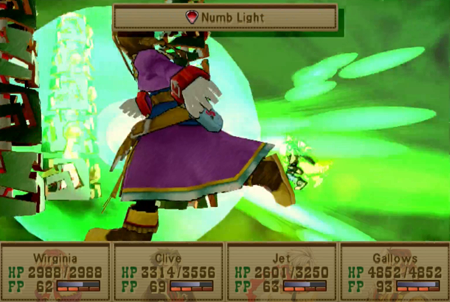
Or Numb Light, which will inflict amnesia.
Amnesia only impacts your EXP gains, and doesn’t affect the battle proper. So just hit the Telepath Towers until they ain’t towers no more.
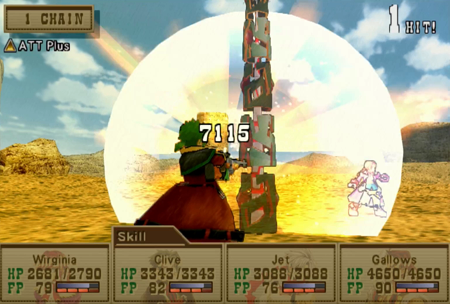
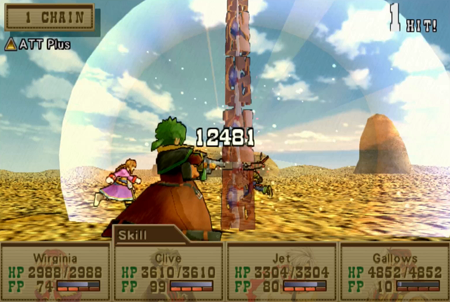
These things take more damage than your average monster, but they still go down pretty quick.
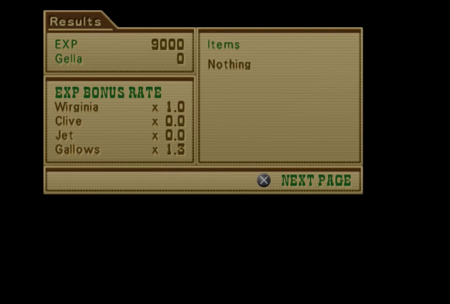
And we get a smattering of EXP for our troubles.

And… uh… guess that wasn’t a lead.

Oh Guardians damn it. We got tricked into a sidequest.
Still, probably a good idea to take out the King of Beasts.
So welcome to Wild Arms 3’s most… half-baked sidequest. There is a nugget of a good time here, but it feels like this whole quest was somehow a late addition to the game, and not really tested to the point that someone might squeeze something worthwhile out of it.
Note for posterity’s sake that this entire update is optional, and this quest can be undertaken at any point in the game from now on. Sorta. We’ll get into those details at the end of the update.
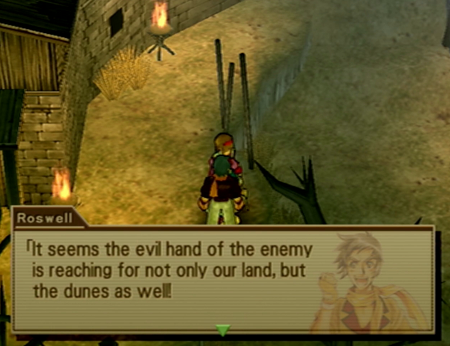
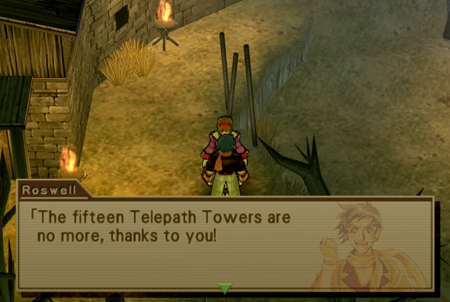
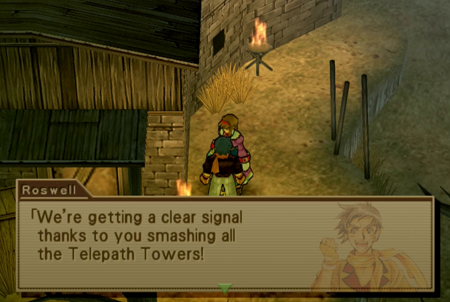
First of all, as Roswell said, there are 15 numbered Telepath Towers across the globe. Like the Millennium Puzzles, they are hidden all over the place, and there are rarely any clues or indicators that “something might be hiding here”. Either hammer your radar button at all times while traversing the world, or grab the Sonar Kit at the coliseum that just puts them right on your map.
Note that you cannot find the “other” Telepath Towers until you clear Telepath Tower #1, and Roswell will not let you uncover that first tower until after the Teardrop business from last update. So, to be concise, you cannot “accidentally” find a tower until way late in the game.
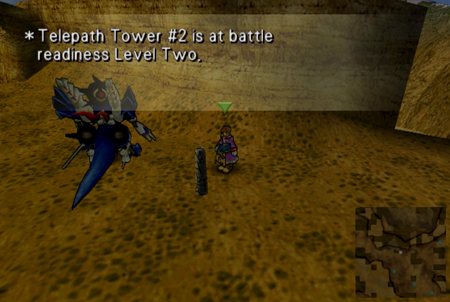
Each of the Telepath Towers is slightly stronger than the last in both general stats (like HP and defense) and abilities. Telepath Tower #1 uses Amnesia as its (only) status effect, #2 uses Disease, which prevents healing. It has a slightly more detrimental effect on the battle.

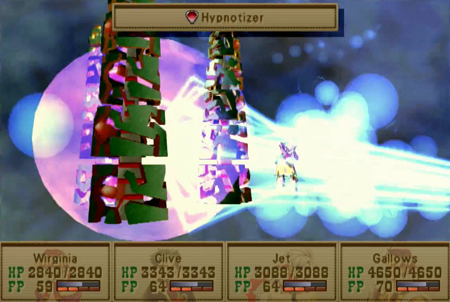
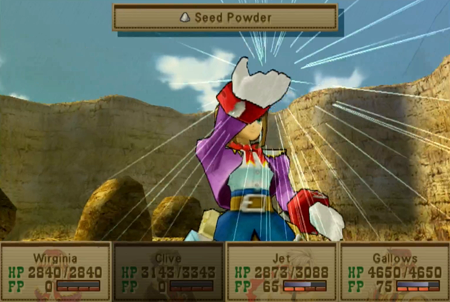
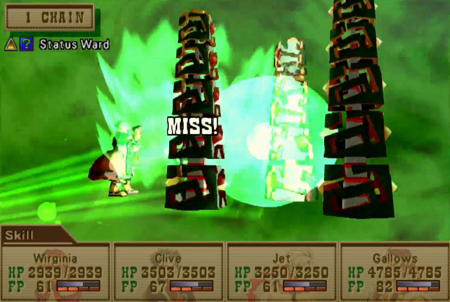
Since the Telepath Towers primarily rely on their status effects, here is the solution to beating every Telepath Tower.
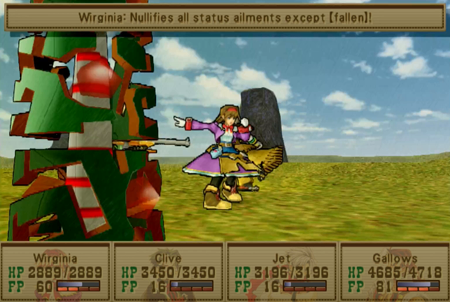
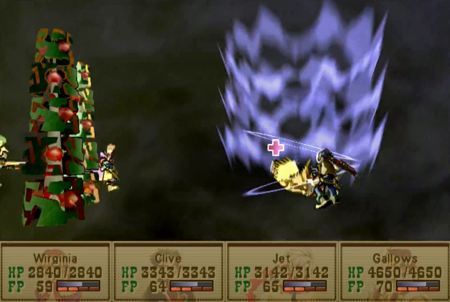
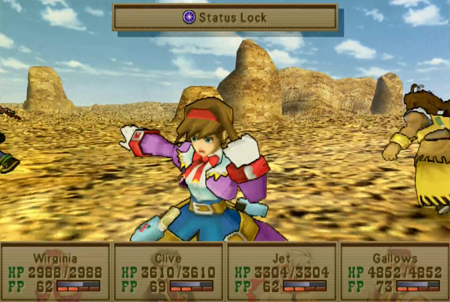
First you cast Status Lock. This is an ability conferred by the Love medium. It makes you invulnerable to status effects for a few turns. Note that the message above simply means that you are still vulnerable to dying from a lack of HP. As far as I have been able to see, it still protects against instant death, just not regular death.
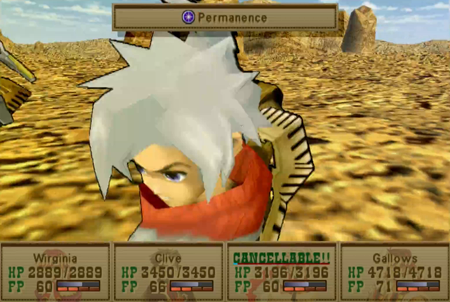
Then you cast Permanence, compliments of the Hope medium. Permanence means Status Lock will only wear off if you die. There. Now you’re invincible to any Telepath Tower’s worst abilities.
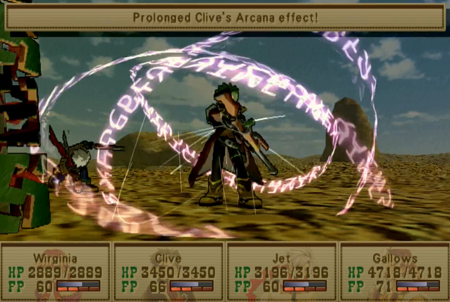
You can either take the time to cast these spells on each character individually over the course of five turns, or you can use Gallows to cast it on everyone inside of two turns. Gallows is probably the best bet if a Telepath Tower is using a nasty ability like paralysis or bronze (stone).
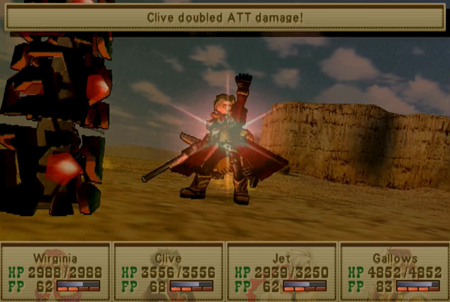
While you are making positive status effects permanent, you may as well hit Clive with Hyper and let him go hog with double attack power.
And that’s it. That’s the strategy for fifteen packs of telepath towers. Let’s go down the list here…

Telepath Tower #3 uses poison. This is arguably the first status attack that could really ruin your day.
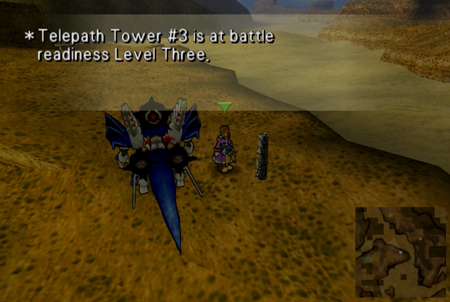
You can tackle the towers in any order (and you’re just seeing them in order here in the LP because I have the hindsight of being able to direct screenshots), but their stats and abilities are set according to their numbers, not whatever order you find them. However, regardless of which towers you take out first, you’ll get an ominous warning after you murder your initial three tower sets. It doesn’t mean anything… for now.
Moving on.
What’s that? Sleep? Confusion? Not going to bother to look it up.
We got a long way to go this update.
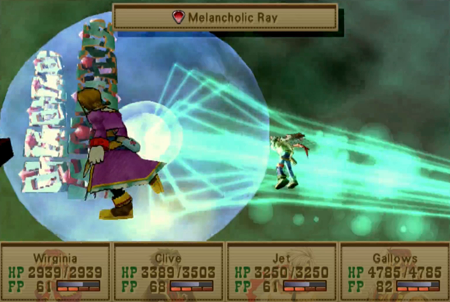
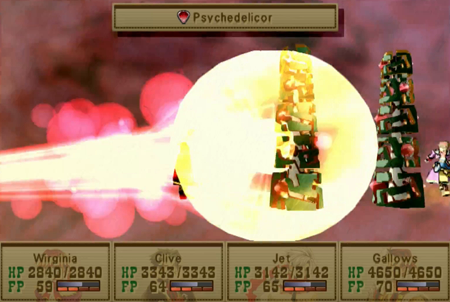
That one definitely inflicts depression. Oddly, not being able to use your abilities doesn’t have much of an impact on these mini wars of attrition. Just keep hitting it.
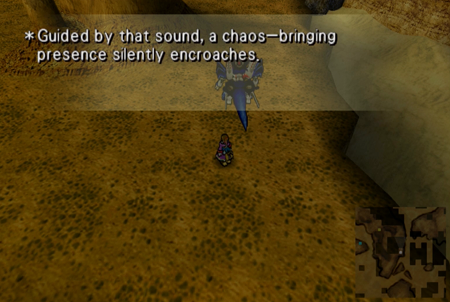
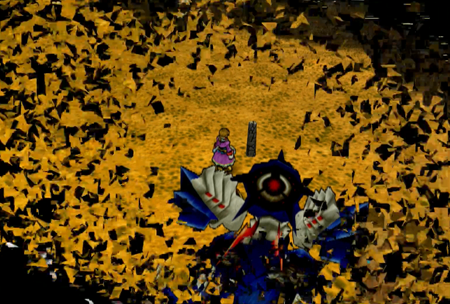
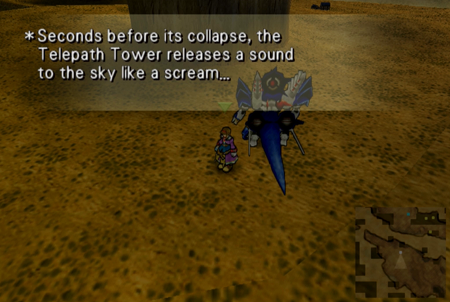
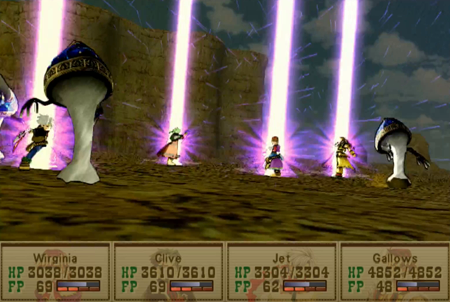
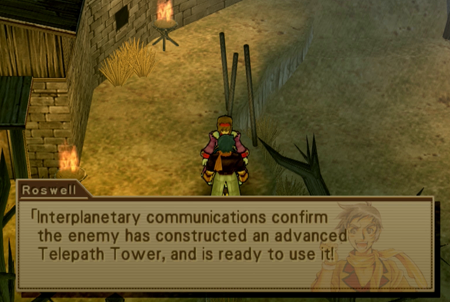
After five towers go down (well, technically fifteen, as you fight them in bunches of three), you are warned of encroaching chaos.
It encroached too close!
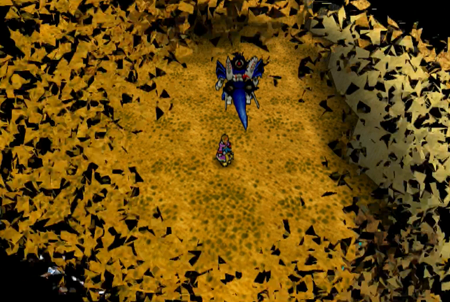
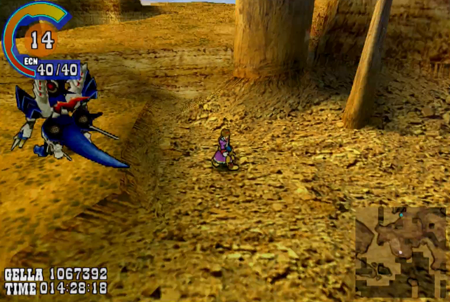
Hell…o?
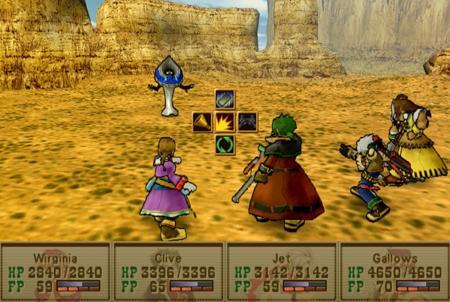
Oh, I know this guy.
Creeping Chaos is a gray/flatwoods monster-monster that has been appearing since the first Wild Arms. They have been just random encounters across the franchise up to this point, though they were notable in Wild Arms (1) for carrying Duplicators as a potential stealable item (Duplicators being just as valuable in Wild Arms as Wild Arms 3). As you can see from this update, they get a little more plot in Wild Arms 3… but not much.
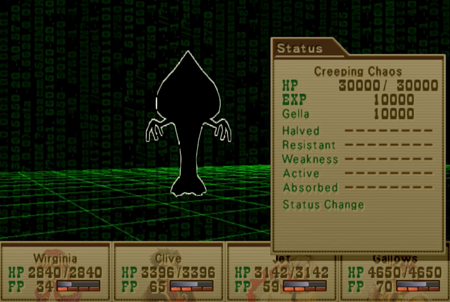
Important to note that these beasts drop a lot of experience points for being a fairly basic creature.
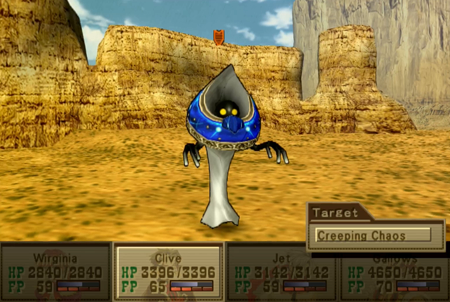
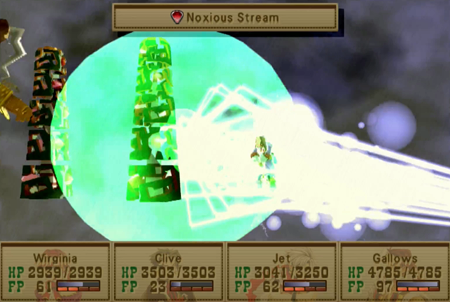
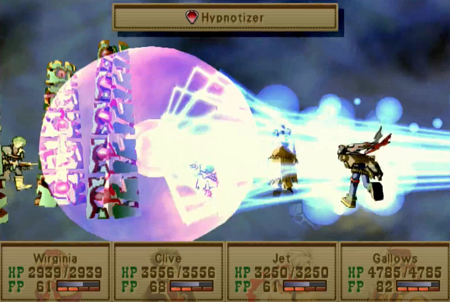
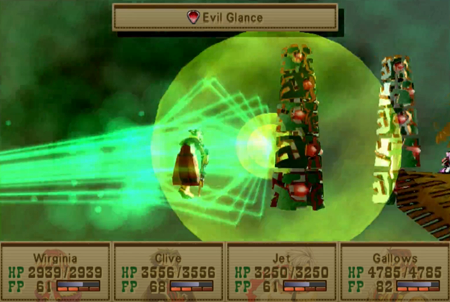
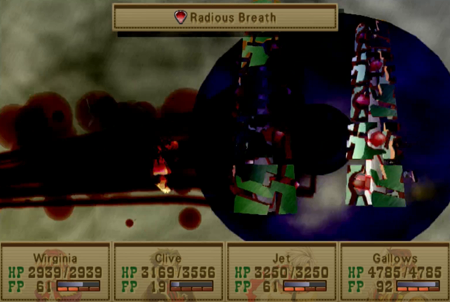
Like their tower cousins, Creeping Chaos is big into inflicting status effects.
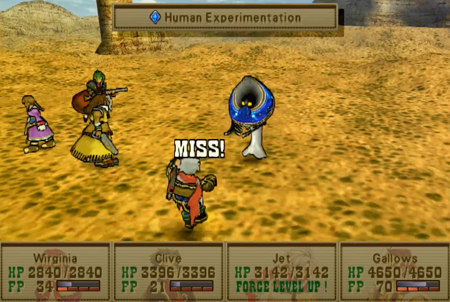
Human Experimentation is the Bad Breath of Wild Arms 3, and can potentially infect one character with every status effect.
Creeping Chaos has a lot of HP, but if you use the same Status Lock/Permanence technique, it basically has no effective attacks.
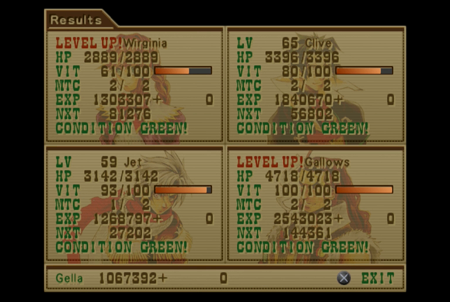
Gimme all dat experience.
We will address Creeping Chaos again soon enough. For now, have some time off from aliens.

Back to towers.
#6 uses paralysis. Note that paralysis can be a bear in Wild Arms 3’s turn-based combat system, as if someone is paralyzed before they take their turn (like Clive, that dude is so slow), then they effectively lose two turns: the initial paralysis, and the second round being healed but unable to choose an action at the start of the turn. And by then, they could be paralyzed again…
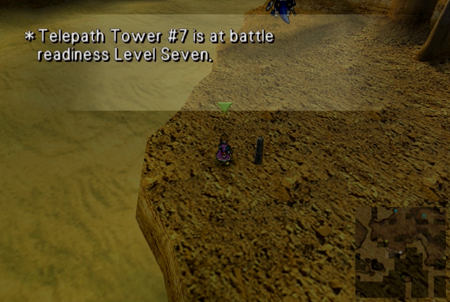
Lucky Tower 7.
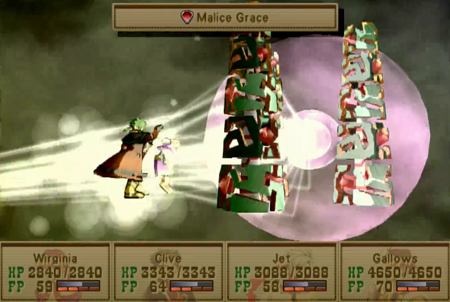
This weird ass name means “you are turned to glass”.
That is like paralysis, but makes you super vulnerable to physical attacks. Good thing the towers didn’t think to bring any physical attacks!
This might be the only time in the game it is relevant to cure Glass. Any other fight, you just wait another round for the random battle to be won.
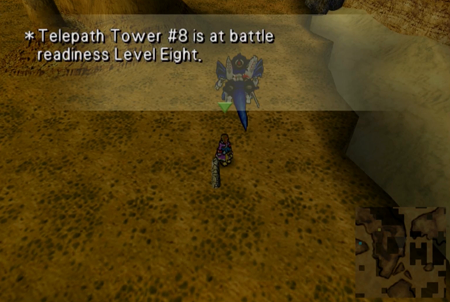
Moving on to eight.
Okay! That’s the one that inflicts confusion. The earlier one must have been sleep…

By about Tower #9, these chunks of masonry are getting too big for their britches. Their HP and defense ratings gradually escalating make battles that were already boring last way too long.
This one inflicts Bronze. The difference between bronze and glass is that glass will wear off after a few turns, whereas bronze must be cured, or it is effectively death.
But Bronze also comes with a countdown timer, so you don’t have to worry too much.
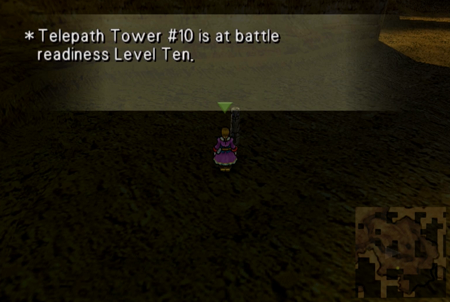
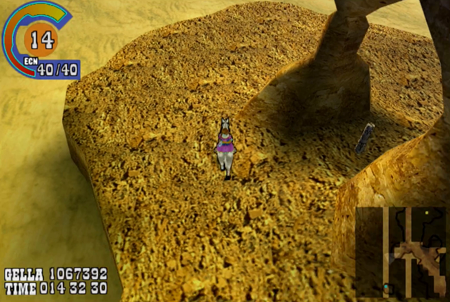
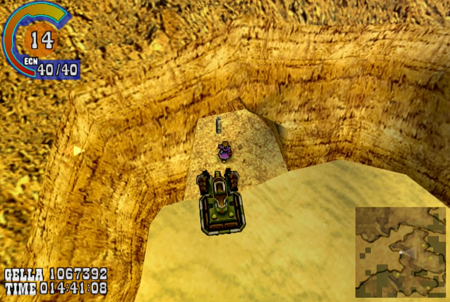
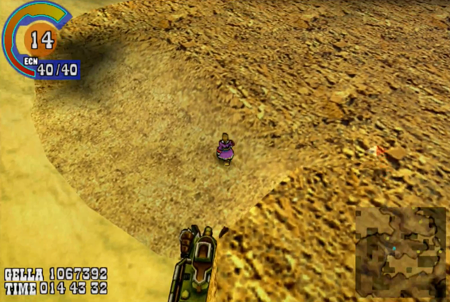
Telepath Tower #10 is in some rocky terrain that requires a bit of a walk.
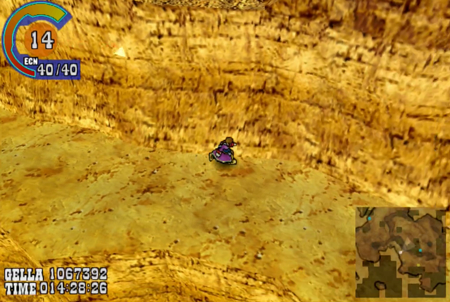
Like, way too long of a walk.
Double digits!
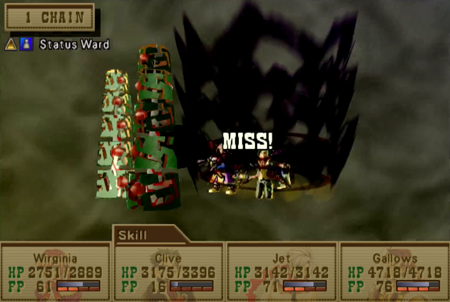
This jerk straight up uses an instant death attack.
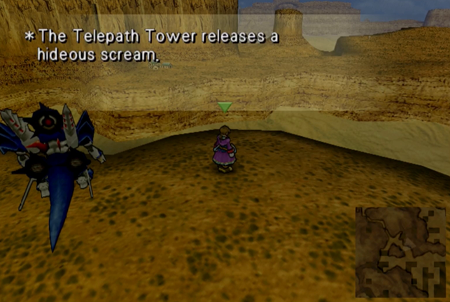
Oh! More screaming!
This is, surprisingly enough, a good thing.
Spoilers for the rest of the update: the overall rewards for this quest are lousy, and 100% not worth the trouble of all this effort.
However, instigating these random encounters is a better reward than you will ever receive for actually finishing this quest.
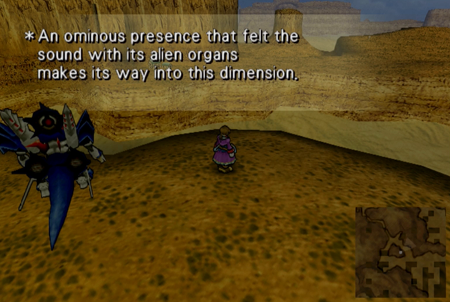
After felling ten (technically thirty) towers, groups of three Creeping Chaos will be random encounters anywhere on the overworld. Under normal circumstances, this can really ruin your day. However, if you know to protect against status effects immediately…
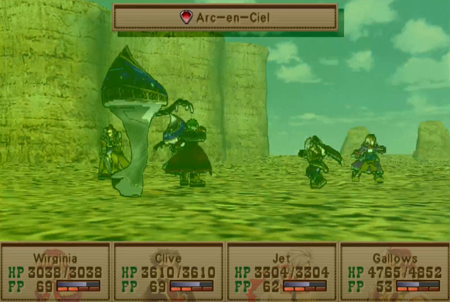
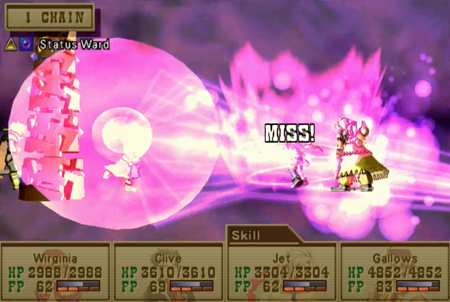
They can do their worst, but still not get anywhere. Arc-en-Ciel could inflict a host of status effects on everyone in your party… but now it is ineffective.
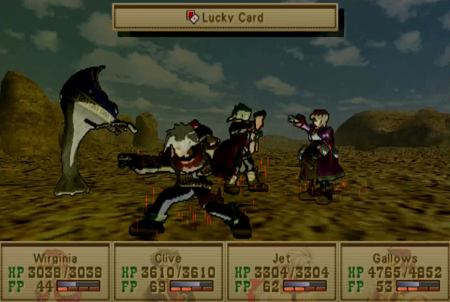
Now that they’re neutered, toss a lucky card on everybody. One Creeping Chaos is worth a lot of EXP, but three at once means a smorgasbord of experience points. Doubling that feels even better.

You can also use status preventing skills to get that EXP multiplier up even higher. Whatever your route, try to wring as much EXP out of these aliens as possible.
Several guides recommend releasing the Creeping Chaos onto the world, and then farming them until the Abyss or the super bosses are a lot more manageable. I’m not going to do that in either playthrough, but it is indisputably the fastest/easiest way to gain EXP in Wild Arms 3… assuming you get lucky with RNG alien encounters. Probably a good idea to hunt them around Baskar or another early-game area with otherwise weak opponents.
Okay, back to business. Telepath Tower #11 has been living under a rock.
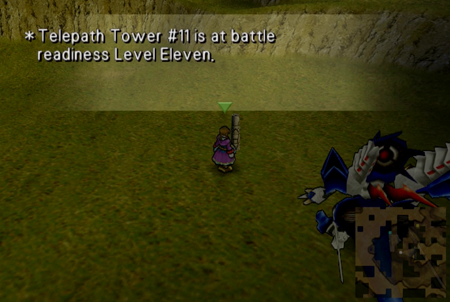
How did this guy work under that boulder?
Starting with Eleven, the towers now can use multiple status effects.
This one has amnesia and disease… which actually makes it easier than a lot of the previous towers. It still has way too much HP, though!

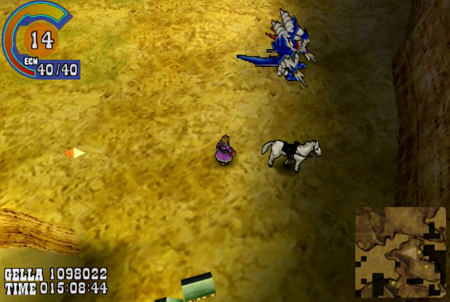
Tower #12 is an easy flight, but you need a horse for the last leg.
Cool location.
Sleep…
And poison this time. Those two do actually have decent synergy.
Compared to the last few, Lucky Thirteen is an easy find.
Paralysis…
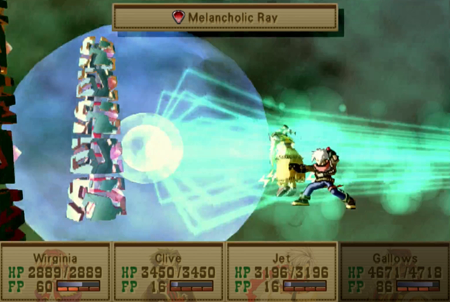
And Misery for this guy.
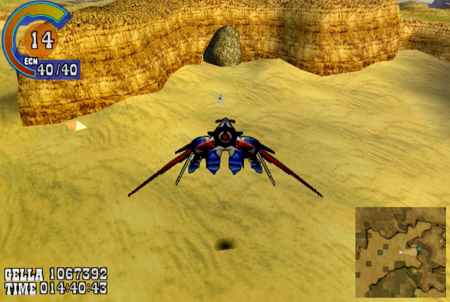
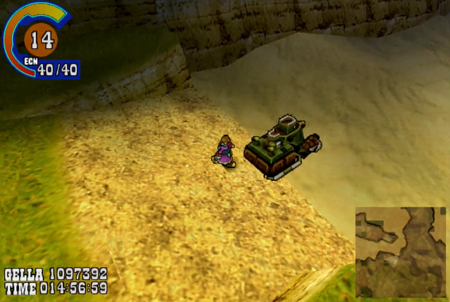
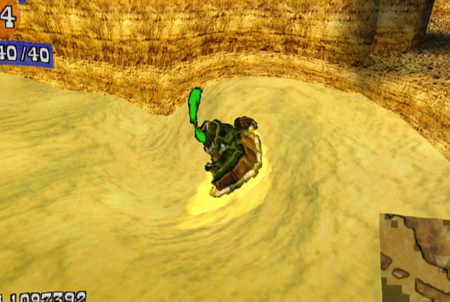
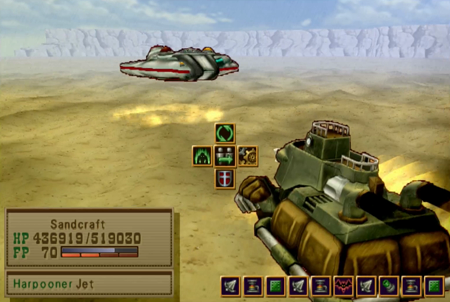
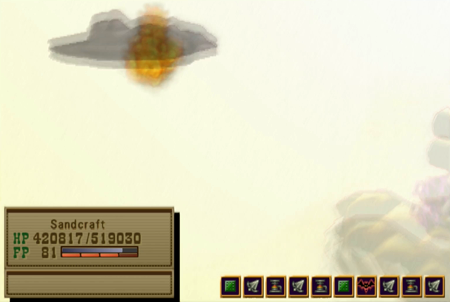
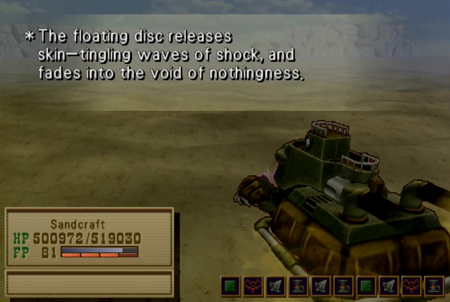
#14 has all sorts of requirements. First you need to use a missile from your airship…
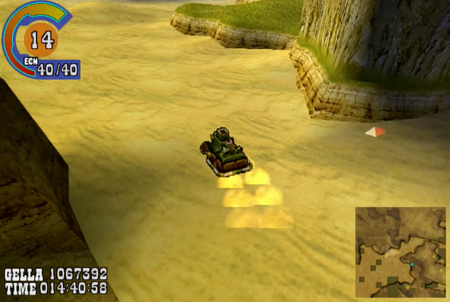
And then scoot around to land on the beach with your sandcraft. Hey, remember when we had to use that boat all the time?
In defense of this tower, this alcove has always seemed suspect, so you are likely to find this tower thanks to inquisitive investigating.
The last two try to pull out all the stops.
Not content with just using two separate attacks…

#14 can induce amnesia, disease, poison, and misery. Note that disease and poison can be a deadly combination.
Clearing specifically Tower #14 leads to a sighting.
I want to believe.
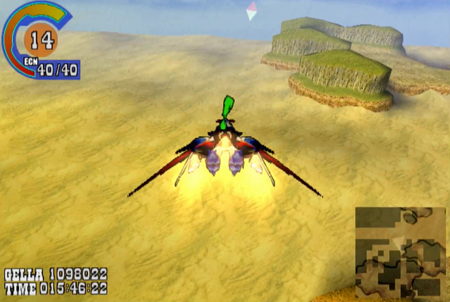
I guess #14 is deliberately placed to remind you you have a sandcraft, because the next phase of alien hunting involves that old jalopy.
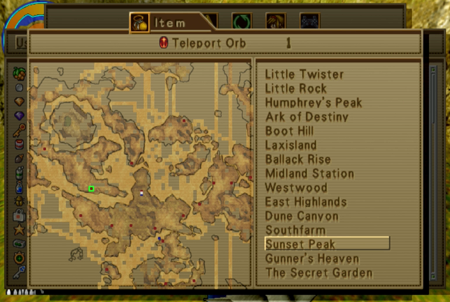
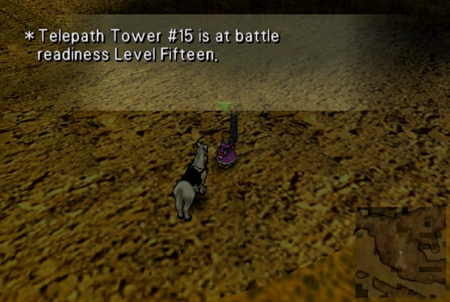
But first we should hit that final(ish) tower. Remember Sunset Peak? That train station that can only be reached by teleporting/teleporting mishaps?
Like the final Millennium Puzzle, you must ditch the airship and explore the Sunset Peak area for the final Telepath Tower.
This is going to take a while.
Telepath Towers #15 each have 17,400 HP and 272 Defense. Telepath Towers #1 had 6,900 HP and 200 Defense. You feel every point of health as this quest slogs on.
Also, as you can guess from the last tower…
They love their status effects…
And you have to contend with sleep, paralysis, confusion, bronze, and instant death.
If you haven’t figured out how to layer your buffs at this point, you’re pretty well done.
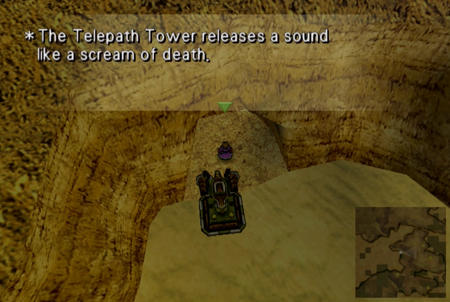
Whichever tower is conquered last, you will receive this message.
Just means there is more to do…
It’s been an out of this world experience.
Sigh.
After completing the (first) fifteen towers, another tower pops up somewhere in the world. It cannot be found during your first survey of the entire planet, so it is a bear if you don’t have radar (or a FAQ).
And even if you know where you are going, it is a little bit of a puzzle, as you have to know to use a teleport orb to teleport to Boot Hill, which then teleports your sandcraft, which then allows you to scoot across the sand lake by Virginia’s hometown.
Now we can land on this rocky beach to find…
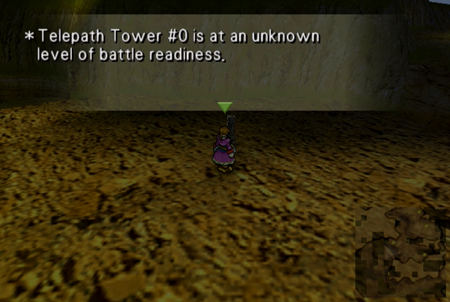
Telepath Tower Zero.
Telepath Tower Zero is not a set of three, but one lonely tower.
You know what to do.
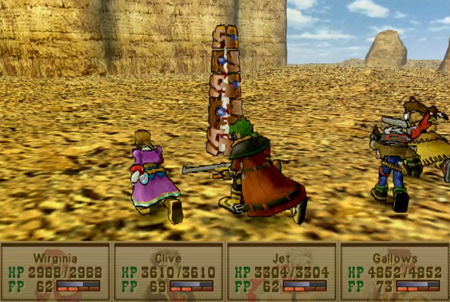
This jerk can use every status effect. So status lock is still your win button.
If you are somehow fighting this battle without status lock (and how could you not be after learning from the previous fifteen fights), you may find that this thing is even easier than previous towers. It is only one tower, so it only attacks once per round. Additionally, since it can use every status effect, there are equal odds it will use instant death or amnesia; so you may see it use ineffective moves on many consecutive rounds. In short, Telepath Tower #0 is generally easier than its brethren.
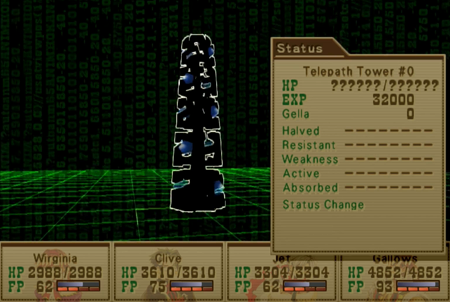
It has a very annoying 65,000 HP, though, so you’re going to be here a while.
Hammer away.
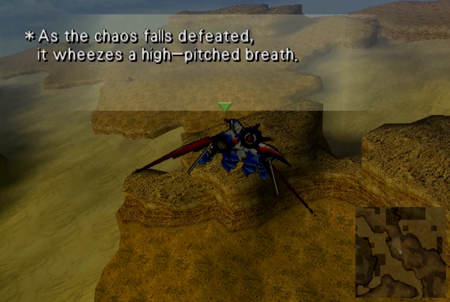
There we go.
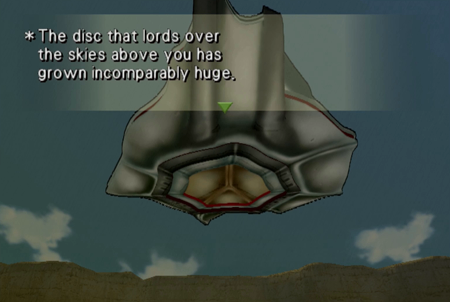
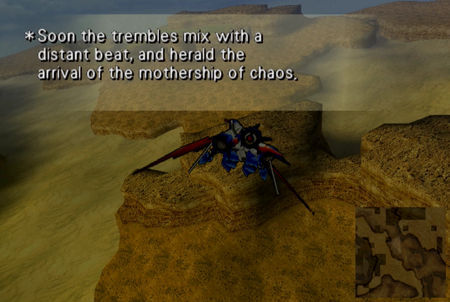
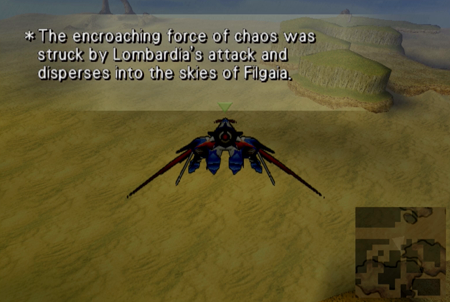
And now “the mothership” has taken flight. We’ll deal with her later.
Glad to hear it!
If you want exact directions to each of the Telepath Towers, I have prepared this GIF. Note that the Telepath Tower section of your map has been there since we first purchased a map way back at the beginning of the game, but only starts getting filled in now, about 75% of the way through the whole adventure.
Gah! We’ll get to it.
Next step in this inordinately complicated quest…
The aliens are trying to steal our crap ocean!
After you clear (specifically) Tower #14, there will be UFO monsters stalking the seas.
In order to start this quest, you must have visited Laxisland. In order to find Laxisland, you must have beaten Balal Quo Naga. In order to get past Balal Quo Naga, you must…
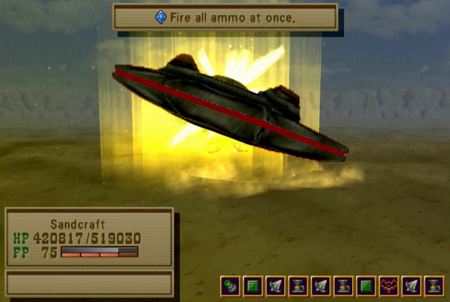
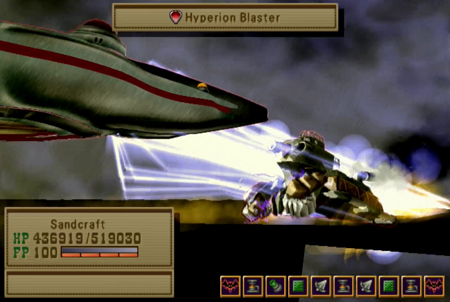
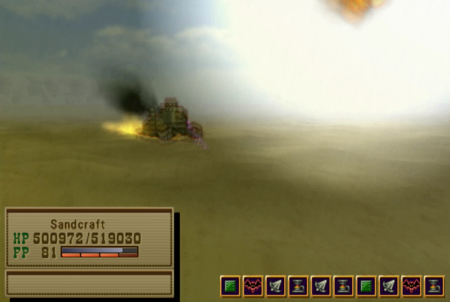
Have purchased a deluxe cannon for your sandcraft. As such, you are all but guaranteed to wipe out every UFO in a turn if you recall you can fire all ammo at once. Yes, I would argue the only “challenge” here is remembering how your sandcraft works after ignoring it for dragon times.
So these battles are remarkably straightforward.
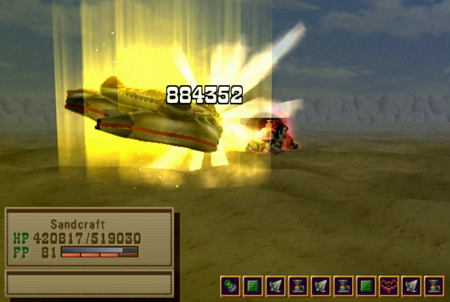
They make a big, boss-like deal out of these jerks, but they are barely worth mentioning.
That is just insulting at this point in the game.

And now we have to do this four more times. To advance this section of the quest, you must hunt and kill five total sand-UFOs.
The hardest part is not the battles, but just puttering around the planet waiting for one of these jerks to show up.
Was that five? Let’s call that five.
Yeah, eat void, dork. At least this quest is good about informing you when you’ve hit the next breakthrough.
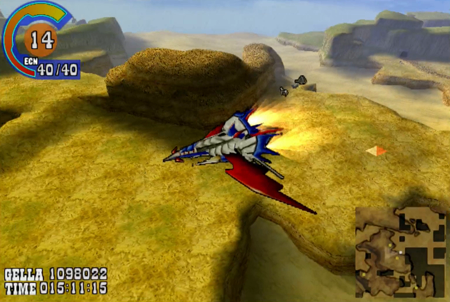
Okay, let’s get off that sandcraft and back to dry(er) land.
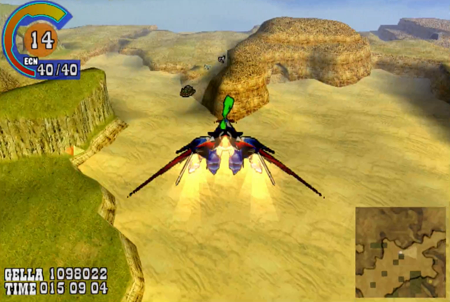
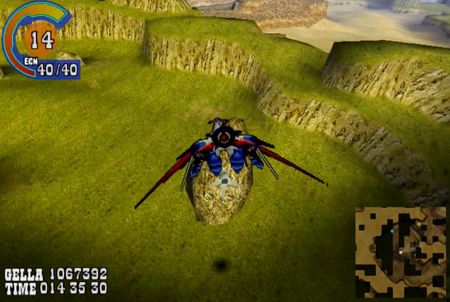
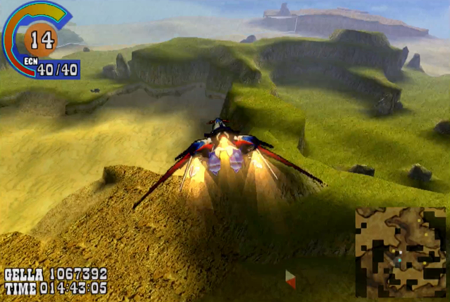
Now we got these dorks in the sky.
This is our first air battle in Wild Arms 3. This is still part of this wholly optional quest, though, so if you do it before the first air battle in the mandatory plot, you don’t receive any sort of tutorial. Given we will get to that tutorial in this Let’s Play soon enough, I am going to save details on air battles for that update.
For now, just be aware that air battles are very similar to sandcraft battles in the only way that matters: there are not many options during these fights, and there is a very straightforward “always do this and you win” option.

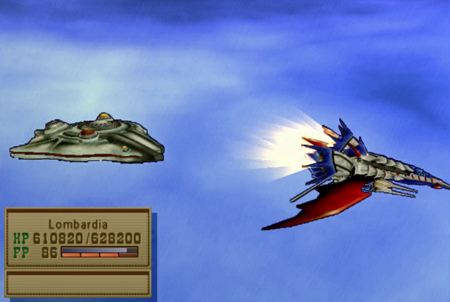
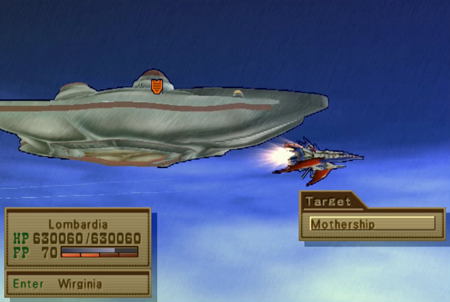
So, spoilers, Lombardia fights are boring. Luckily, there are only a handful in the game.
And the overwhelming majority are all part of this sidequest!
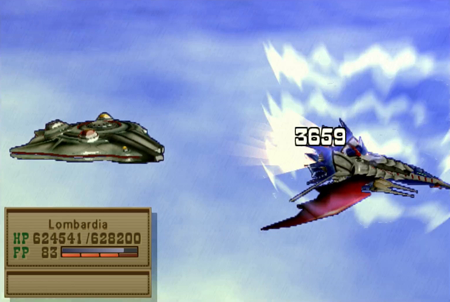
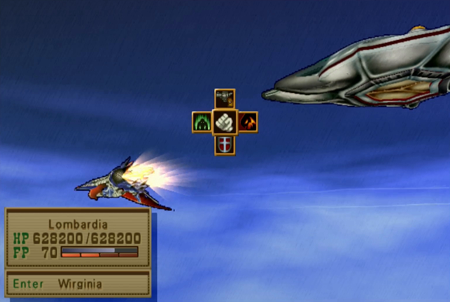
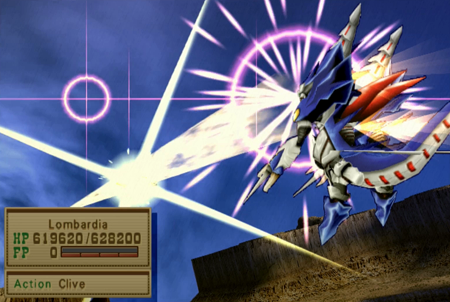
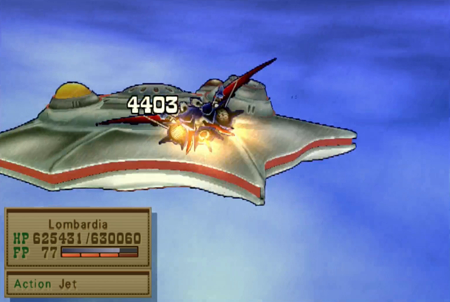
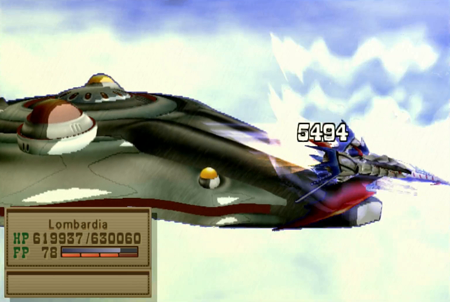
Lombardia has one health bar, and you can see it is nearly a cool million. 3,659 damage ain’t gonna do a damn thing.
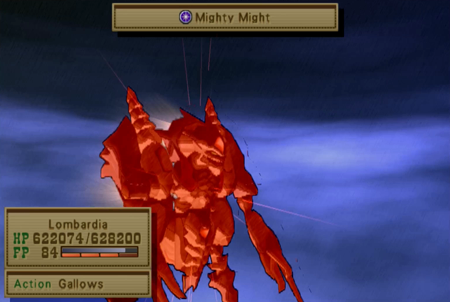
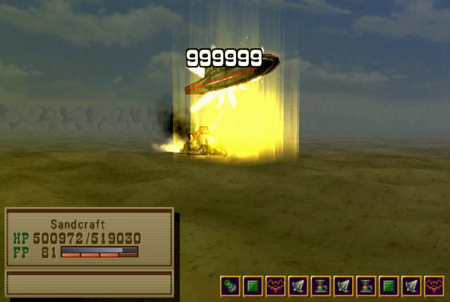
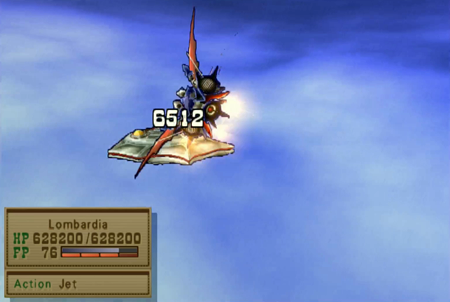
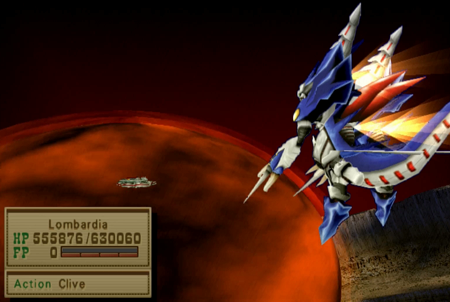
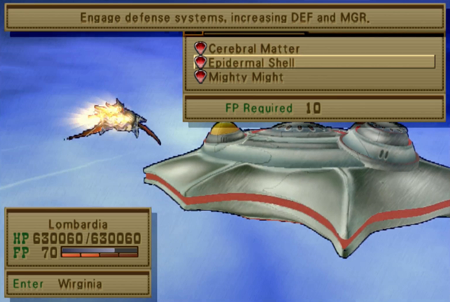
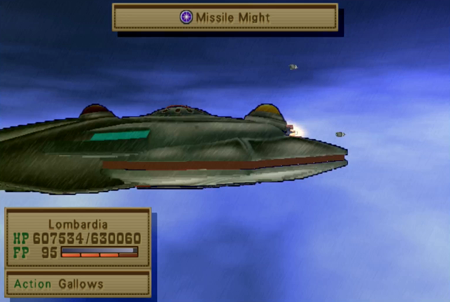
Fine, I’ll talk about the win button. As Lombardia once used against you, you can now command her to use an ability called Mighty Might, which maxes Lombardia’s stats for the tradeoff of being paralyzed and vulnerable for a few turns when the effect wears off.
However, Lombardia also has a move that uses all of her FP to fire off a laser that will kill everything on the planet. If you use Mighty Might before the genocide laser (not its actual name) at 100 FP, there is not a blessed thing that will survive.
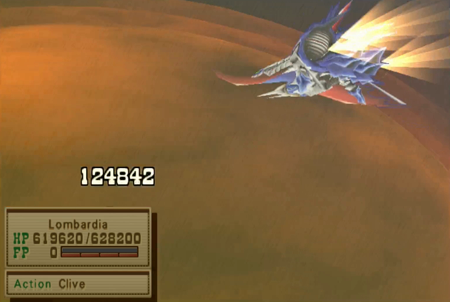
That’s a spicy meat-a-ball.
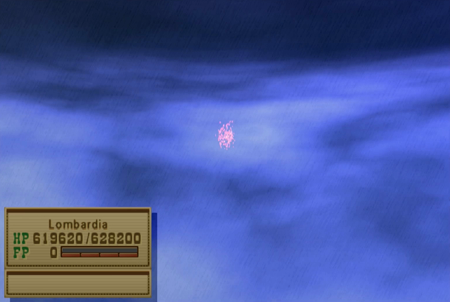
Unalive Flying Object.

Another insult.
So the good news is that these things are easy encounters. The bad news is that you have to kill goldarned 20 of them. 19 to go!
At least with the air-UFOs, there are no other monsters you can encounter while flying (save one very precise point in the game that will start and end quickly). It is just a matter of zooming around and battling whatever pops up.
The UFOs never change over the course of twenty battles, so use the exact same technique every time. Noticing a pattern with this whole sidequest?
After 20 victories, we are in the final stretch.
When did Roswell gain the ability to control our narration?

Luckily, this is just going to be another air-random battle. You don’t have to actively “find” the mothership.
Here we are.
Mothership is the mother of all air battles in Wild Arms 3. Note that this is the only sidequest that involves air battling, and the whole UFO-Mothership line is the only reason you would ever fight in Lombardia past a few mandatory battles that don’t even last into the endgame.
As the greatest challenge faced by Lombardia, Mothership is the one damned thing on this planet (sorta) that can survive our “win button”. So you may want to play this one straight with boosting defense and whatever.
Or you can just… not do that.
Look, the Mighty Might cooldown after a big attack is frightening, as you are defenseless for three turns…
However, Lombardia has so damn much HP, it’s not like you are going to die in three turns.
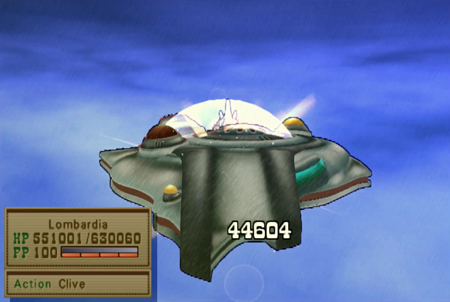
So use your super attack. Take your lumps, and then ram this sucker to regain FP and do your super attack again.
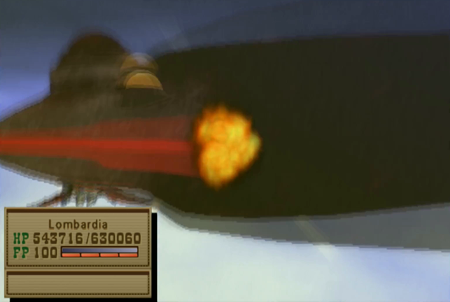
And I didn’t even get that far! Mothership started detonating just when I was getting back to full FP again.
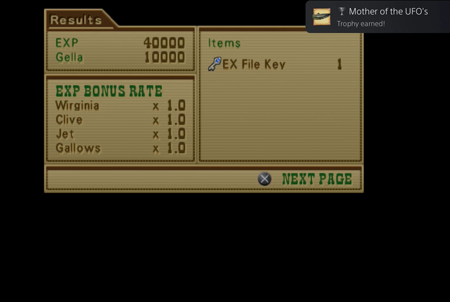
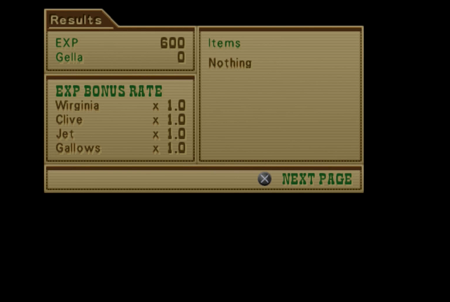
And that’s that. We earn an EX File Key that signifies we have conquered this whole stupid quest, and, on the PS4/PS5, we get a trophy. Note that, for once, we get a decent gella/EXP reward for vehicle combat, too.
Peace in our time.
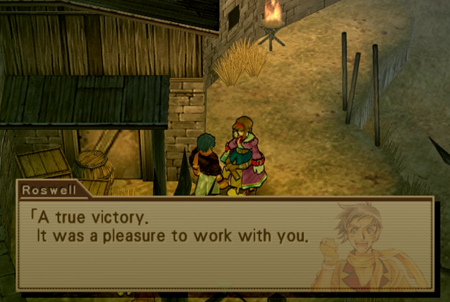
Even Roswell is proud of us.
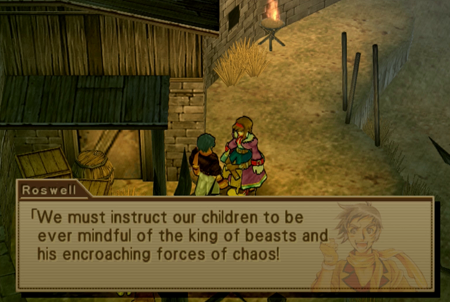
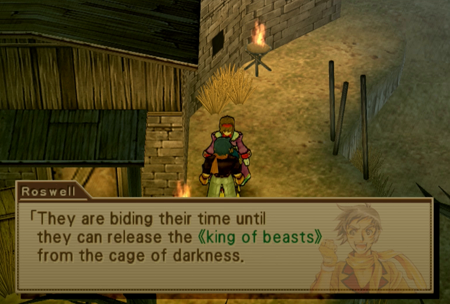
Note that with references to the “King of Beasts” and “Cage of Darkness”, Roswell may be saying that the UFOs were trying to drag Ragu O Ragala out from The Abyss for some nefarious purpose. This could be a fun bit of lore, as Ragu O Ragala was imprisoned on a space station (of sorts) in Wild Arms (1), so maybe it was extraterrestrials that buried him deep underground generations back in WA3, and are now trying to retrieve their doomsday monster. Or it could just be Roswell’s typical flowery prose. Who knows.
Anywho, let’s talk about this terrible sidequest.
What you have just seen is the ideal/intended way for this sidequest to go. However, you check any Wild Arms 3 message board or FAQ (presumably because, thanks to a time travel mishap, you are stuck in the early 21st Century), and you will find all sorts of topics on how this quest is glitched. To wit:
• Despite Roswell being there from your first visit, it appears this quest can only be activated after the Teardrop handoff.
• If you do not complete the first tower at this time, and just advance the plot/ignore Roswell, then the quest will never activate again.
• However, there are nebulously substantiated reports that you can reactivate the quest (much) later in the game, but the method for doing so involves a lot of tricky “talk to this guy then save and reset and talk to this other guy” nonsense.
Now, missing this entire quest is no big deal (for reasons we will cover in a moment), but it is the only sidequest in Wild Arms 3 that is only available for a limited amount of time (note, for instance, that the “find every treasure chest” quest is deliberately arranged so there is never a treasure chest that is inaccessible due to a dungeon exploding or alike). And is that intentional? Probably not! Roswell will still blather on about aliens if you miss his window, but you simply will not be able to “find” the first Telepath Tower. This is probably some kind of glitch because this sidequest was added late in development. Similarly, there are many reports that destroying Telepath Tower Zero doesn’t actually do anything, and the mothership finale is only ever activated after clearing the twenty random UFOs. The progression of the messages in the game seems to imply that TT#0 is a required part of this quest, but a number of people have earned their EX File Key with the “final” Telepath Tower still on the map.
And further proof that this was a late addition to Wild Arms 3? The rewards barely exist. You get a decent amount of experience from felling the towers, but Roswell “the quest giver” hands out exactly nothing at key points in the quest. Additionally, the vehicle segments barely offer anything, and their “mission accomplished” messages similarly provide bupkis. This is in stark contrast to the Millennium Puzzles, which offer one treasure per puzzle, with wholly unique treasures for about 60% of them. Similarly, the Abyss and the Coliseum offer exclusive treasures at every “phase” of their respective challenges. It is disgraceful that the best you see out of the UFO quest is a random encounter that can offer extra EXP, and that random encounter “prize” vanishes when you finally win. Finishing this quest is not in your long-term interest.
And vehicle segments make sense for a set piece or two, but twenty goddamned battles that are all exactly the same is something else.
And while we are talking about similar battles, the Telepath Towers likewise needed a little more time in the oven. The concept of 15 (+ 1) battles with parallel monsters that all have slightly different attacks could be interesting… but Wild Arms 3 is also a game where you have one spell that will counter all 15 of those “different” monsters. And, considering possession of that spell is extremely likely before starting this quest (spoilers, the next update requires you have all the Guardian Lords/this spell), the whole thing comes off as busy work. Solving one puzzle boss makes you feel like a champ. Having to then employ that same solution another fourteen (plus one) times from there feels perfunctory.
And on top of all this, your reward for this whole thing is just another EX File Key, which may as well be “insert trophy here”. You are a super player.
So, yes, the Roswell/Alien sidequest of Wild Arms 3 appears to be a late addition to the game. If it wasn’t, it absolutely was something that wasn’t treated with as much care as literally every other sidequest/event in the game. The Abyss is a monster dungeon that is a complete slog, but it at least has the excuse of being in the style of the time. UFO hunting is comparatively a glitchy, unrewarding mess.
But it’s over now, so let us never speak of it again.
Next time on Wild Arms: Back to the actual reason we went to Laxisland.
[…] first mandatory air battle. It is possible you could have already experienced air battles thanks to the UFO sidequest at this point, but this is the first time it is […]
[…] Like the Prism Crown from the previous dungeon, this is one of those all-purpose accessories. Full Libra will protect against all status effects. Status effects aren’t that much of a bear in Wild Arms 3 (they are rarely exploited by the bosses), but this would be great if you are going UFO hunting. […]