
Where does the time go? Maybe it goes straight to today, June 26, Nervous Twitching Day. Today we honor King Arctica and Emperor Junevieve, both of which achieved their status by perfecting the art of twitching nervously.
Previously on Wild Arms 3: We raided an enemy stronghold to rescue Maya, and… Crap, we never did liberate her, did we? And now that enemy stronghold is flying, which only complicates matters. Man, this main plot has been going on for a while… Can we take a break?
Actually, let’s do that! We’re going to take care of the “last” of the optional content available in Chapter 3 today. First up on the docket: chickens.

Unlike previous Wild Arms titles, you have all of your tools before the end-end of the game this time. Both Wild Arms (1) and Wild Arms 2 hid tools in their final dungeons, and that is… less than conducive to ever seeing those tools used globally. Meanwhile, Virginia got the final tool for the party during the last dungeon. And now we can use it everywhere.
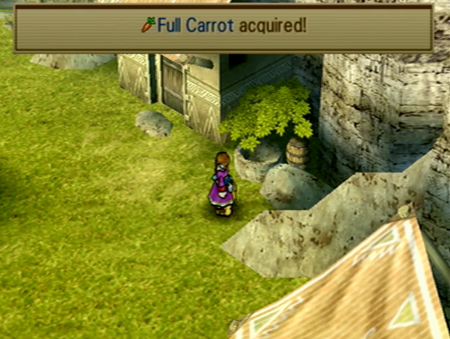
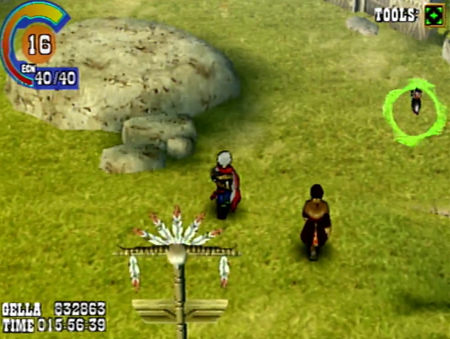
If you’ve been using the radar in every town, you would have noticed how animals are frequently “targeted” by the radar like treasure, but you had no way to get a chicken or a cat to hand over the goods. Now, if you use Virginia’s Changecrest on a radar-indicated animal, it will change into an item. Oftentimes, these items are high-level consumables, so it is worth it to revisit old towns. None of these item-animals appear in dungeons, so the hardest treasure to find would be the change-chicken at Green Lodge. We covered that one a couple updates back.
Also, I really don’t like considering the implications of transforming a living animal into an anonymously consumable carrot…

Other things we can do now that we have every tool…

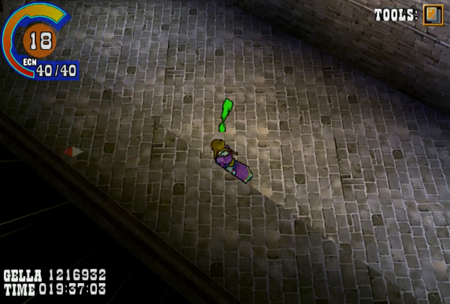
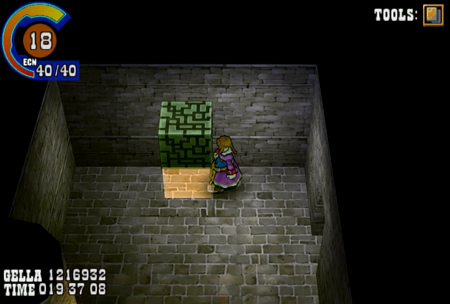
The change-blocks in the basement of the Ark of Destiny are now toast.

There are three duplicator-locked doors past the barrier.
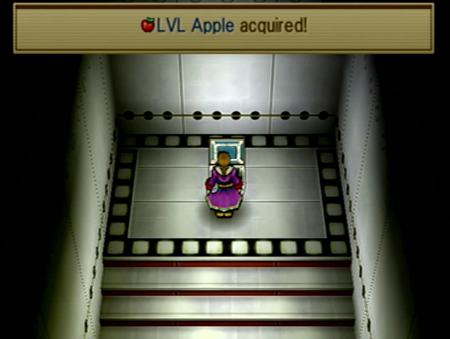
The treasures here are not that exciting…

But you got to check off those boxes sometime.
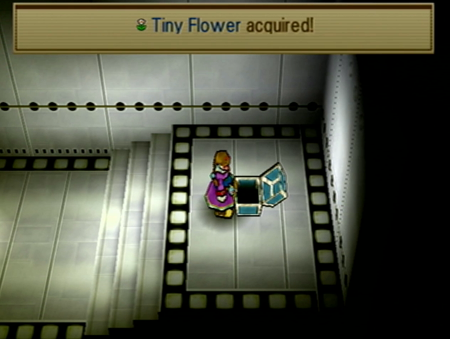
And that’s every last treasure at the Ark of Destiny recovered.

Also, you can use the Changecrest on Bombur…
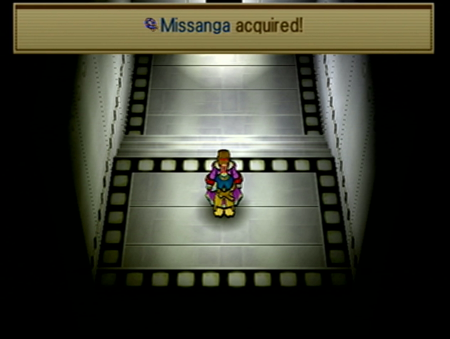
Bombur disappears and transforms into the Missanga, which is an accessory that will up your luck. If you are curious, transforming Bombur does not impact his (optional) boss fight at all, as he will respawn like normal if you exit and reenter the room.
Where else can we score some delayed treasure…
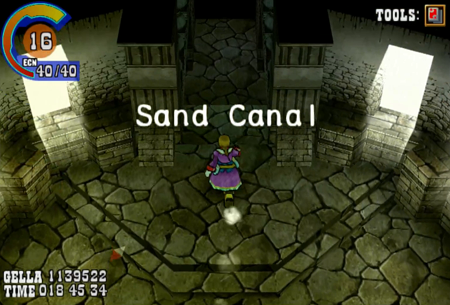
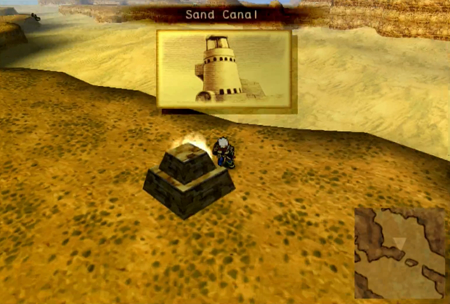
Sand Canal, that atrocious dungeon with the Huskarls and moving blocks…
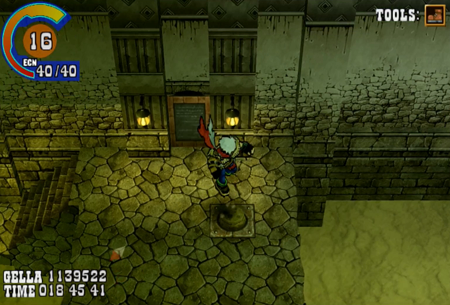
Had a big switch near its exit. Any time after grabbing the Radical Sneakers you can return and…
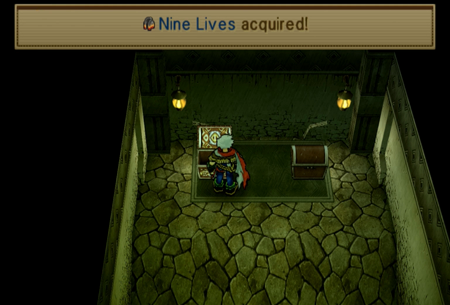
Jump into some more treasure. Nine Lives will activate SOS Auto Guard, which can theoretically save you some damage when your HP is low. But if your HP is already low, you might not survive a guarded-hit anyway…

And next up…
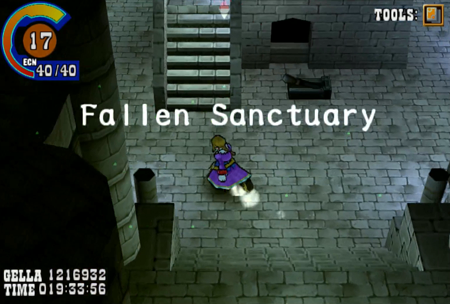
Fallen Sanctuary is the most visited dungeon in Wild Arms 3. It was the first dungeon for Gallows, then we had to return with a full party to capture the initial Guardians, and then we had to come back four additional times to battle the Guardian Lords. Those trips were all mandatory! We are very familiar with this nonsense!
But all those Guardian visits didn’t require venturing too far into the dungeon. This time, we are going nearly as deep as Gallows did way back at his introduction.
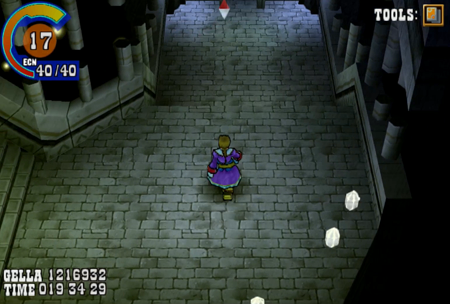
Here we are. The one door we couldn’t open with just Gallows.
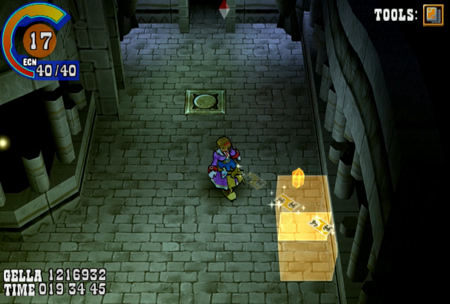
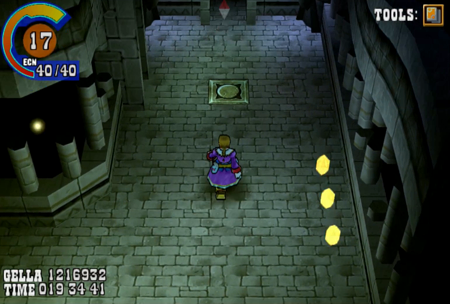
And it will still be a team effort. Use the Changecrest on the nearby VIT Gems…
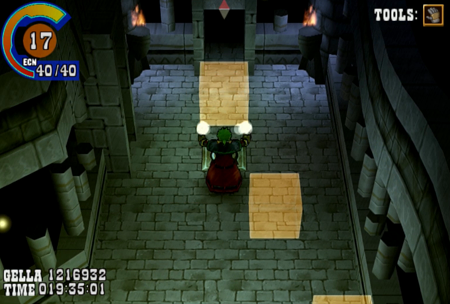
And then use Clive’s Mighty Gloves to move one onto the switch.
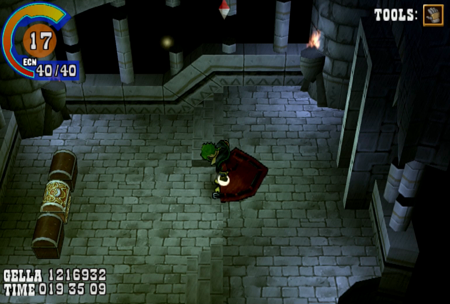
And treasure room!
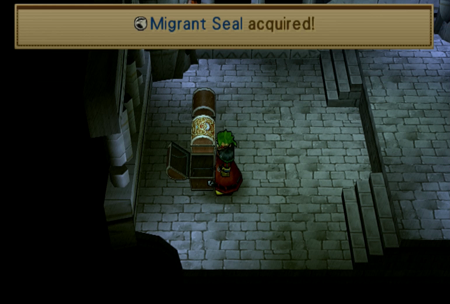
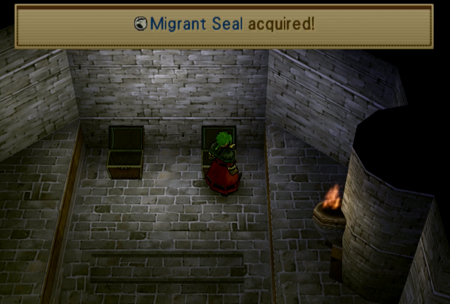
Migrant Seals are arguably the most important treasures in Wild Arms 3, and one is hidden deep in this early dungeon after a puzzle you are very likely to forget…
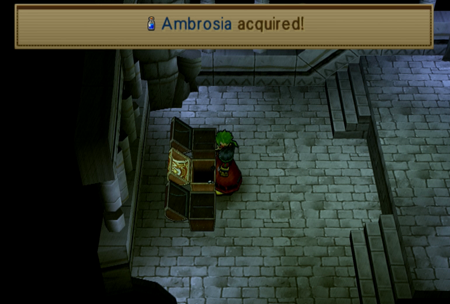
And Ambrosia is the consumable item that will restore your whole party’s HP in one use. No, you cannot farm it at the Secret Garden. Ambrosia does not grow on trees!
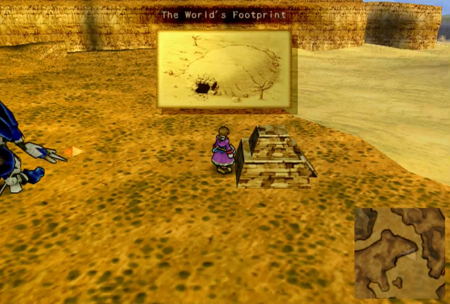
A more recent dungeon that hid treasure was The World’s Footprint, that museum dungeon we visited with Shane at the start of this chapter.
No time for murals now!
This odd structure is early in the dungeon.

Once again, Changecrest plus Mighty Gloves is an equation that equals success.
And another Migrant Seal is our main reward. We’ve got 19 out of 20 now!
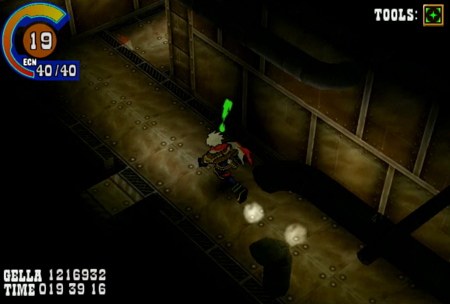
Oh snap! We’re at Rank 19! We can read ultra-porn now!
You think I’m kidding?
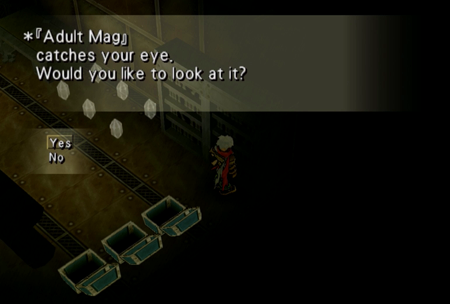
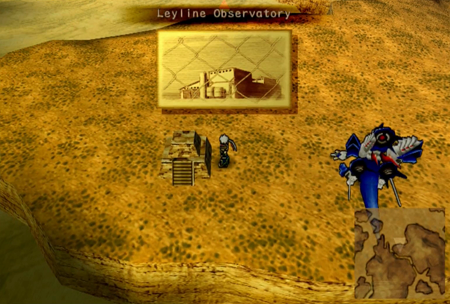
If you recall, the Leyline Observatory had a great number of books. The “Adult Mag” was always something on one of the shelves in the basement, but we were told we needed to “be 18” to read the book.
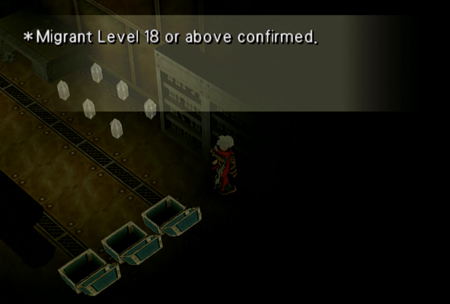
Now we’re 19, jerk. Open up!
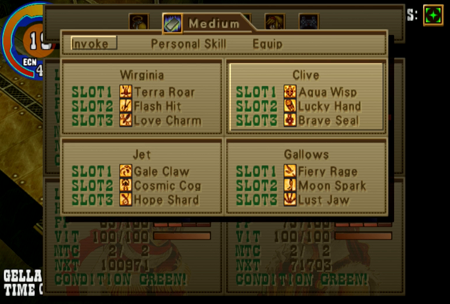
… After I give Gallows the Fiery Rage medium, of course.
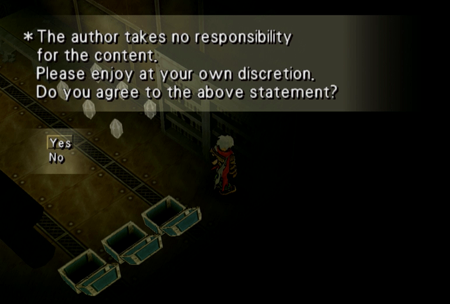
Okay! Now we’re ready! Don’t give me the fine print, give me the goods!
Always gotta be a fight with some periodicals…
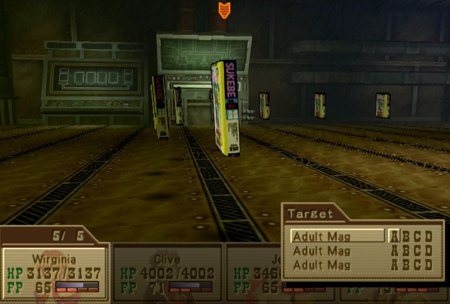
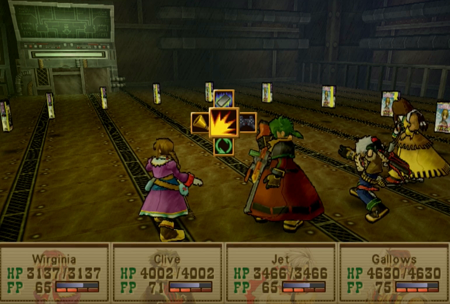
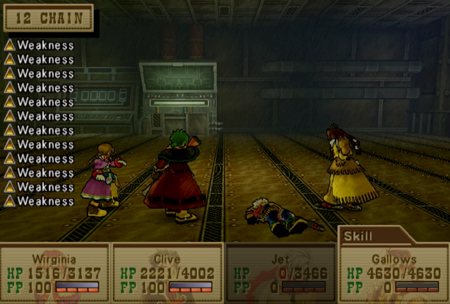
This is another optional boss fight. Unlike every other “super boss” in Wild Arms 3, the challenge here is that you are facing twelve (12) simultaneous opponents. That is the most thingies you can ever fight in this game!
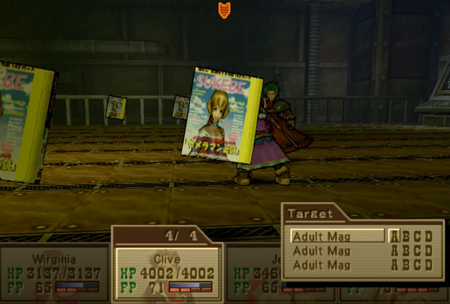
Also, someone went to town on designing the Adult Mag. Can we get a closeup here?


(click for a larger version you are welcome to try to translate)
It has comic sans font? It must die.
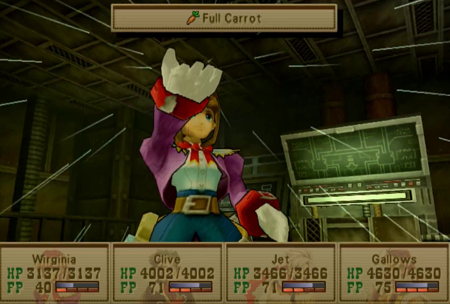
The Wild Arms 3 battle system is, more or less, not designed for this many opponents. Waiting for 16 actions to take place during a round (12 + 4 allies) takes for freakin’ ever. You want this fight to be over in a round, so feel free to have Virginia Mystic a Full Carrot to grant everyone 100 FP at the start of this fight.
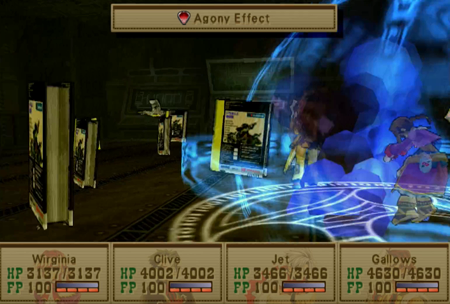
Then you have to wait through 12 book actions, and hope they don’t kill your money maker. The Adult Mags have three possible actions: Agony Effect is their only straightforward attack…
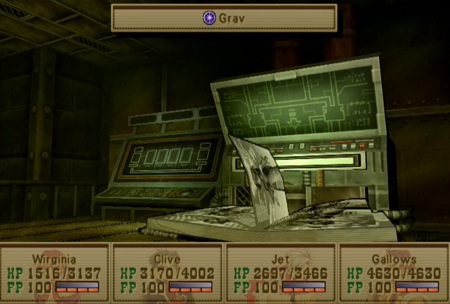
Then there is Grav, which will halve one character’s HP…
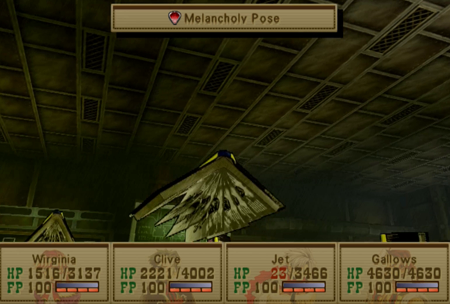
Or they can “Melancholy Pose”, which means they do not do a thing. The AI here appears to be random, so the best (though statistically improbable) scenario is seeing twelve Melancholy Poses all in an ineffectual row.
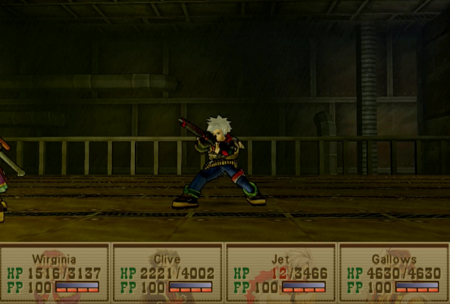
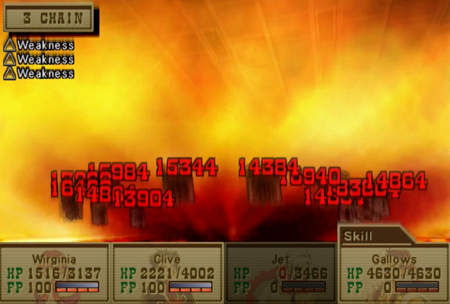
So here is a possibility: the Adult Mags all gang up on somebody. What you are looking at here is Gallows untouched, Wirginia and Clive took a couple lumps, and then literally every other Adult Mag attacked Jet. Here he is with 12 HP just before the last book used Agony Effect to finish him off. Maybe the AI isn’t random…
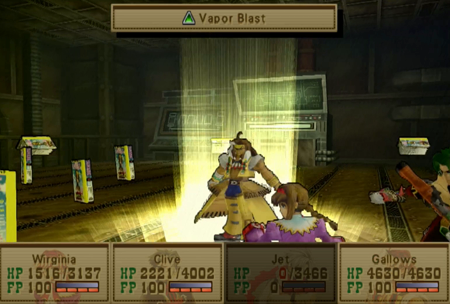
After the Adult Mags all had their turns, it was time for Gallows to vaporize these losers.
Like every other book-type enemy in Wild Arms 3, these mags are weak to fire. And, as we learned at the coliseum, the only way to target more than a handful of enemies at a time is to use a Guardian summon. So the solution here is to take your most powerful mage (Gallows), equip “Weakness” so any elemental weaknesses do 4x damage, make sure he has 100 FP, summon Moor Gault the phoenix-dragon, and then sit back and enjoy your private showing of Fahrenheit 451. In the rare situation that this doesn’t instantly obliterate the mags, juggle your mediums so Jet or Virginia then start the next round by summoning the same firebird. That should do the trick.
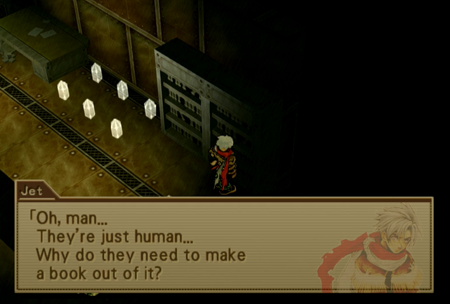
“Hey, Jet! Did you see that? Jet…?”
The reason you do this quest is to earn Adventure 10, the final book for Clive’s daughter. Of course, we haven’t found #8 or #9 yet…
Also: never tell her we found this in a porno.
And that’s that for the Adult Mag. The whole party has different reactions to the “book” if you try to read it again.
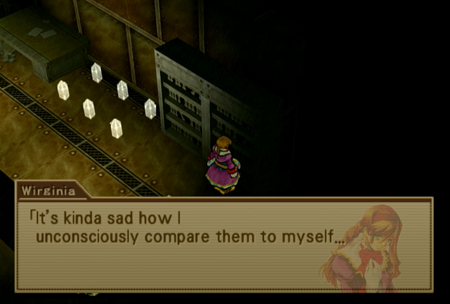
Virginia has mixed feelings!
Let’s get out of this basement, and back to playing with ARMs. To be clear, with all the tools that will ever be available now in your possession, you can find every treasure that was ever “missed” in earlier dungeons/towns. There are still some treasures available in future “plot dungeons”, but we are basically past the concept of backtracking now (give or take cashing in a few late game rewards).
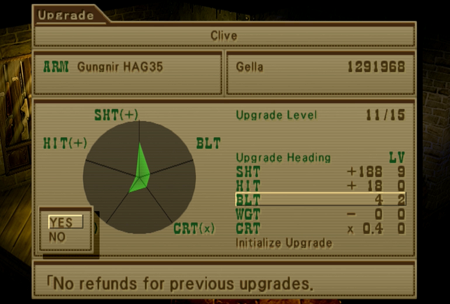
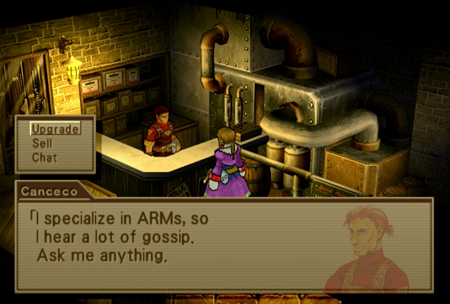
So with that done, we are stopping over at an ARMsmeister so we can play with Clive’s loadout. Clive has incredible attack, but a very limited ammo count. For most of the game, we have been happily using Clive’s Gungnir HAG35 with a two bullet upgrade, so he would always have four shots ready to go. Now we are downgrading back to a mere two bullets for some reason…
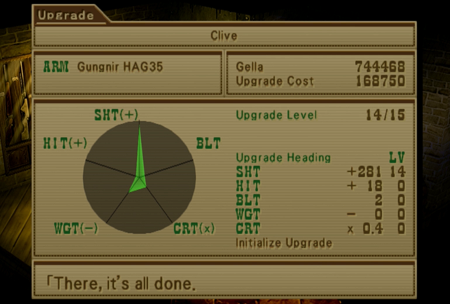
We are also going whole hog on shot damage.
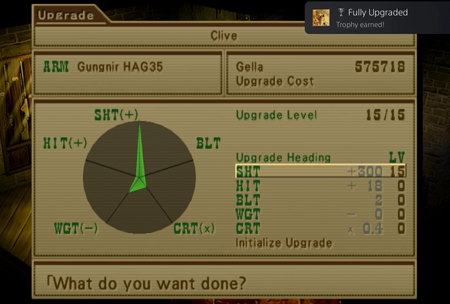
Oh! We get a trophy on the PS4/5 version for fully upgrading an ARM. It’s Level 15 now, no more upgrades. If we wanted to downgrade and respec, we would have to initialize that costly Level 15 Shot upgrade all the way back down to zero. That would make me cry.
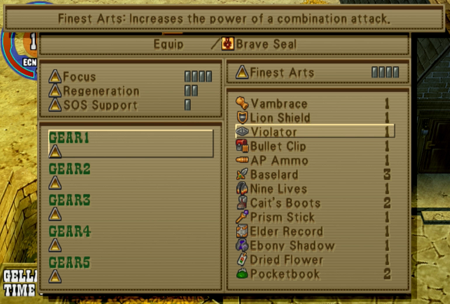
Now for the main event: We found the Violator during the last dungeon. This accessory “increases the power of a combination attack”. That is the only explanation we are given for Finest Arts.
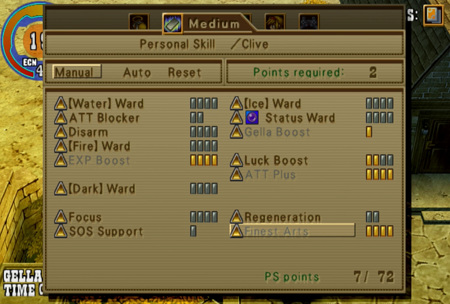
Finest Arts requires 8 PS points to be max level. We still have no explanation of what is happening here, though. Does the combination attack get stronger with more points? 8 total points is not that much in the grand scheme of Wild Arms 3 skill point allocation.
So here is the deal with Finest Arts: it never, ever has a greater explanation than what you have seen in the previous screenshots, and the “trick” here is that you basically have to sus it out yourself to “use it”… or check a FAQ/strategy guide. There is never a helpful NPC, tutorial, or scenario that overtly explains (or even hints) at how exactly Final Arts works.
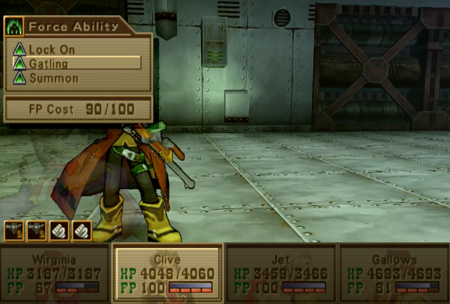
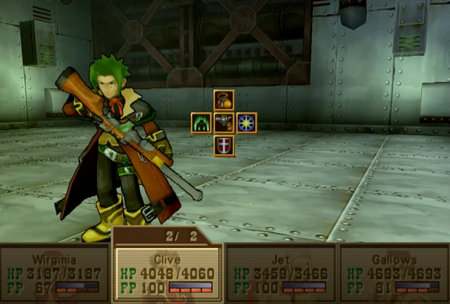
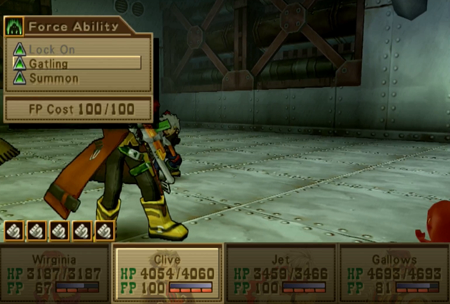
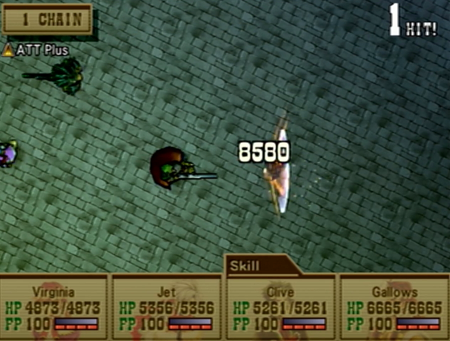
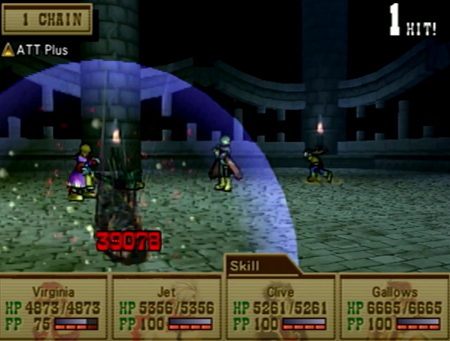
So whether it is a mistranslation or something deliberately vague, the “combination attack” from the description is Gatling. Let’s see what happens if we use Gatling with 100 FP and Finest Arts equipped.
It… didn’t activate. ATT Plus worked, but no little triangle in the corner for Finest Arts. Sure seems like that was pointless.
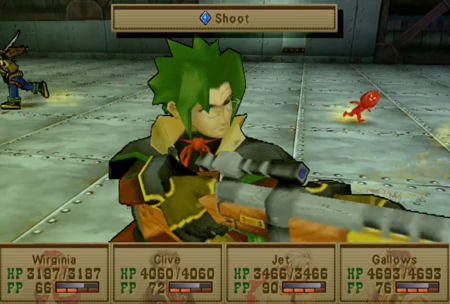
Now let’s try something different: use up all of Clive’s bullets.
Clive does not have any ammo left.
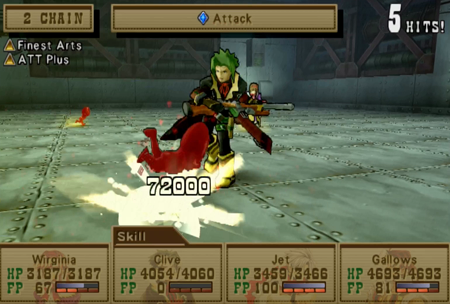
Now, against every principle of how this battle system works, we are going to use Gatling without our ARM. This is going to be a purely “physical” attack, because Clive has not reloaded. This will also “waste” our hard-earned 100 FP, which feels totally contrary to everything we have ever learned about Force Point management.
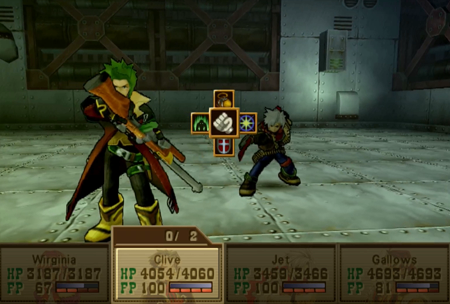
And now Finest Arts activates, hits five times, and does nearly 90,000 damage. The previous “normal” Gatling barely broke 23,000.
So how exactly does Finest Arts work? First of all, you must have 100 FP, which obviously doesn’t happen immediately in any battle (unless you’re level 100). Then, you must be completely out of ammo. Finest Arts will not activate if you have even one bullet left. After that, you will perform five attacks: four are based on your character’s regular attack, but the fifth will do consistent damage from an equation. The final hit calculation is based on the character’s level. With maximum points in Finest Arts, the final hit will do Level x 1,000 damage. So a level 72 character will hit for 72,000 HP with the final hit. And every one of the four initial hits can be influenced by ATT Plus or enemy defense, but the final hit will always do the guaranteed “calculated damage” hit regardless of other factors.
So, yes, by a significant margin, Finest Arts is the greatest attack in the game. There is literally no other way in Wild Arms 3 to do that much damage in a single round.
By and large, I kind of like this setup, as you gain this ability about 70% of the way through the game, and you have a lot of time to figure it out and utilize it. That said, my only complaint is that this move is absolutely required for Ragu o Ragala at the bottom of the Abyss, and you technically don’t need to know it through the other three hours of The Abyss, so it is kind of a jerk move that it is mandatory at exactly the end of the longest dungeon. Or you could just never use it, and watch that boss fight take three hours all by itself…
Anywho, Finest Arts is the undisputed win button of Wild Arms 3, and it all but instantly kills everything. Seriously! There are three (or four, depending on if you count Ragu as two bosses or one) super bosses that seem to be built “for” Finest Arts, and everything else barely survives one usage. A number of Wild Arms 3 FAQs read “You have the Violator now? Great! The solution to this boss is use Finest Arts,” from this point on.
Mind you, within the LP, you’ve already seen its “three” uses. Now that Lord Marduk, Bad News, and Ragu are in the ground, I do not need Finest Arts for any other fights.
It may make a few battles go faster, though…

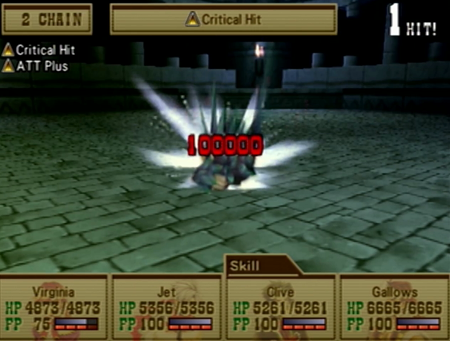
And yes, the previous captures were on the “low level” normal run (which, since I have been hammering super bosses, hasn’t been “low level” for a while). Here is Clive using Finest Arts when he is Level 100.
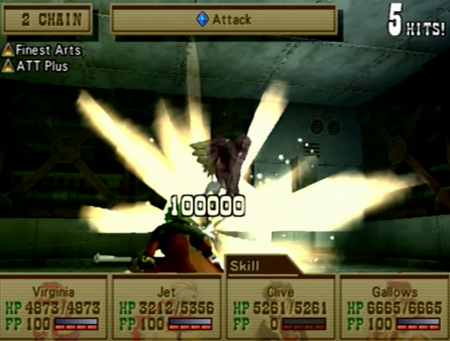
100,000 damage on top of four other hits. That’s a spicy meatball!
So that’s Finest Arts.
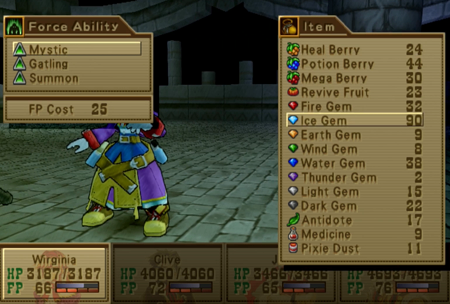
Since we still have a little time left on the clock, let’s look at something else that is never explained in Wild Arms 3. Virginia’s Mystic is usually used to spread an item around. You can use Mystic to target your entire party with a live saving Heal Berry, or target an entire enemy group with an elemental gem attack. You’ve got options!
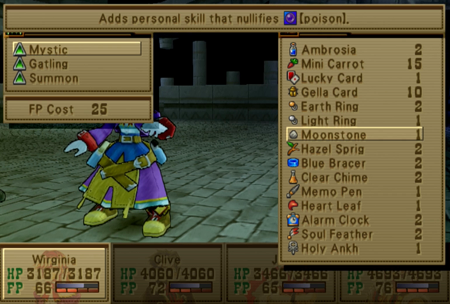
But Mystic also has weird uses with other items. For instance, any of the accessories that prevent status effects will heal those same status effects when used with Mystic. For 25 FP, you can heal exactly one person of poison by using a Moonstone. Why would you ever use that same 25 FP to Mystic an Antidote to heal everybody of poison!?
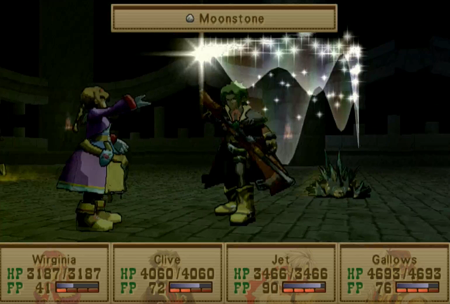
… Okay, it would never make sense to use the accessory, but I guess it could work in a pinch if you had Moonstones lying around, but no antidotes. At least the moonstone doesn’t get “used up” like a normal item.
Why am I just having Clive use a basic attack? Keep reading, true believers!
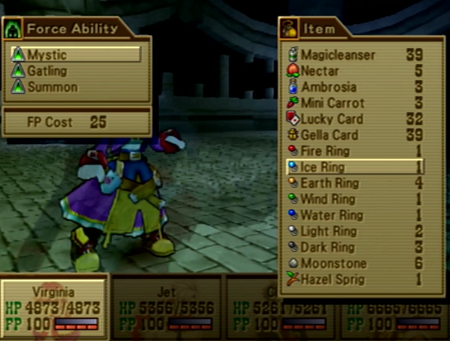
The elemental rings are also available for Mystic use.

Mystic + Elemental Ring is arguably the easiest way to confer an elemental property to someone’s ARM. The actual spell that allows you to do this requires the user to be equipped with a medium that has the same element, so usually there must be some medium juggling to be effective. Also: the spell is not available until Chapter 3 at the earliest. Here, you just need to have one elemental ring in your inventory, and then Virginia can pick and choose who gets what buff immediately. And you can start finding elemental rings as early as the second (full party) dungeon.
And now here’s Clive hitting that same monster with an attack plus its elemental weakness. It makes a difference! Note that the Weakness ability only works with attack spells, not elemental buffs, so it will not stack with this damage.
And I couldn’t use this initial test for comparison, because a critical hit pumps it up to the damage cap!

Virginia’s Mystic can also be used with key items that we have acquired and lost over the course of the game. This is a flashback to Ka Dingel, when we were transporting the demon mask Andro Seal we had received from Maya.
It casts a dark elemental attack. You cannot have a dark magic spell until Chapter 3, so getting to use one back in Chapter 1 is great.
… If you know you can use it at all, of course…
That is basically the only way to acquire Dark Gems early in the game, too. Could come in handy!
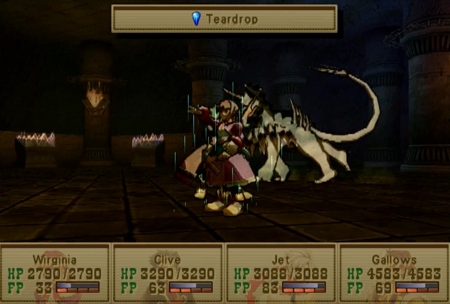
Other key items that can be used with Mystic are the Teardrop (briefly in your inventory during The Ruins of Memory) and Kizim Fire (in your inventory only after Faraway Lands and then during your first trek to Ark of Destiny). In this case, they cast a simple Cure and Fire spell (respectively), which you can already use through other means at those points in the game. More of an easter egg than anything.
And… Let’s see here… What else is there to do…
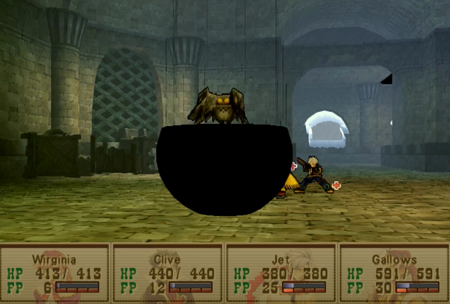
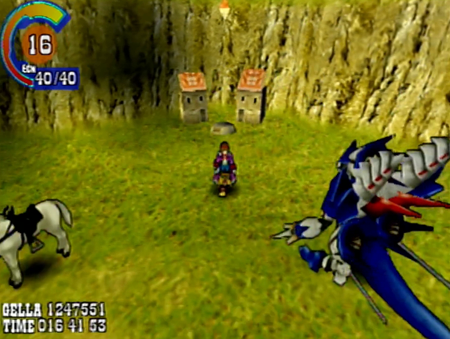
I guess we could kill a sea serpent. Again.
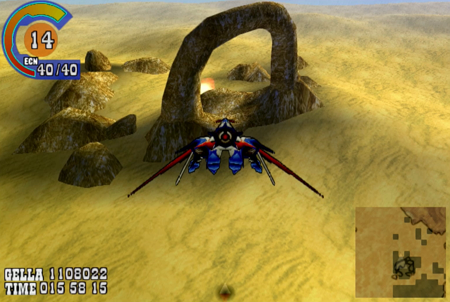
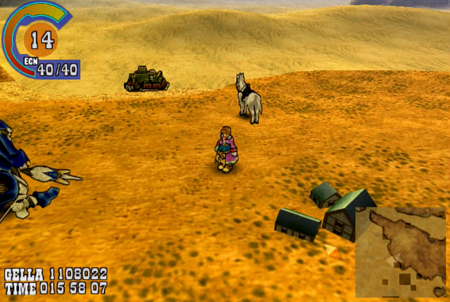
You may recall we fought Balal Quo Naga until it ran away. If you speak to NPCs or read some books, they will reveal that the location where we fought Balal Quo Naga was its new home, and their old home was this oddly shaped rock off the coast of Little Twister. Given we never liked Balal Quo Naga, we’re going to shoot some missiles at their rock.
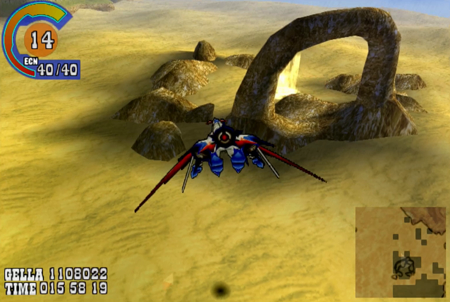
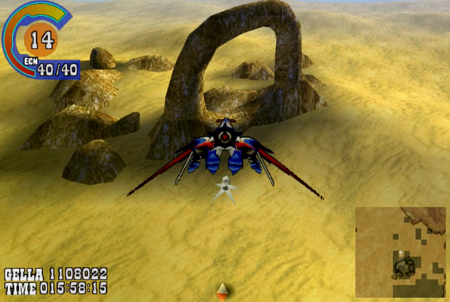
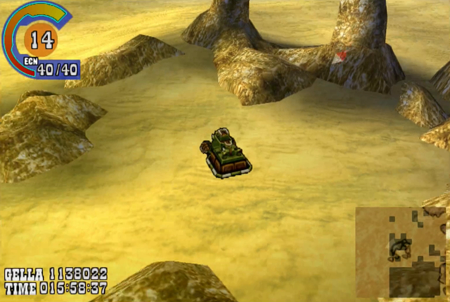
Nail the sand a few times, and this… something or other will start happening. It’s… like… sand spewing? A sand geyser?
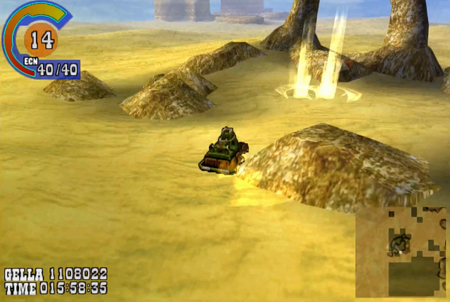
Whatever. Let’s get the sandcraft to investigate. One flight back to a nearby beach later…
Been there, done that.
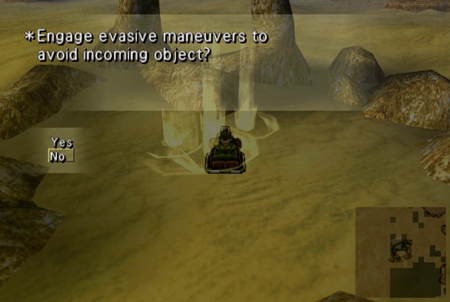
“Which answer is going to get me into a fight? It’s the ‘no’, right?”
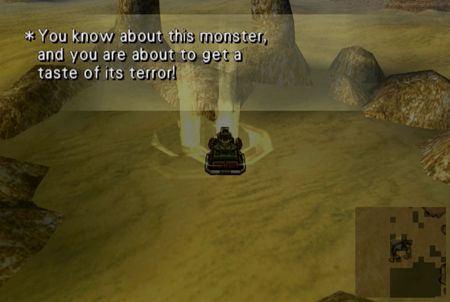
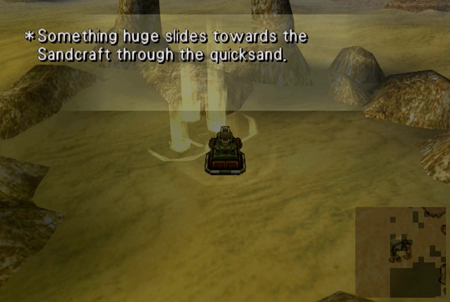
We know about this monster because we already killed it once…

Here is Balal Quo Naga II: The Revenge. This fight is entirely optional, and can be completed as soon as you have Lombardia. This is theoretically the “final exam” for your sandcraft, as this is the most powerful monster you can fight in a boat.
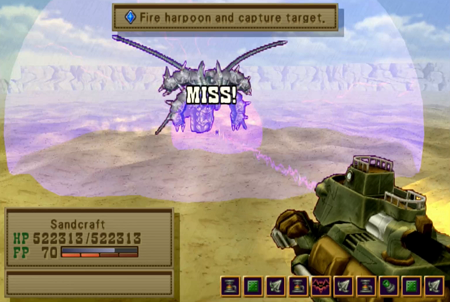
I’m sure Balal’s stats are very lovely and all…
But I have places to be, lady.
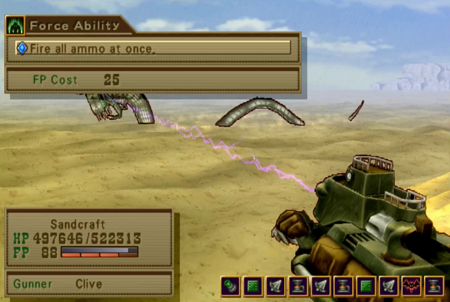
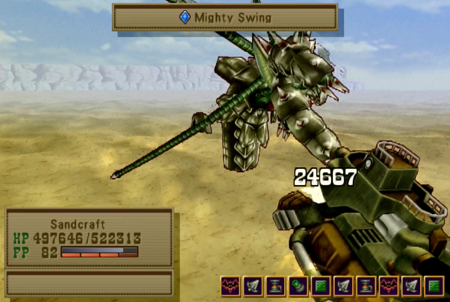
Once again: if you bought the best cannon, and use “Fire all ammo at once”…
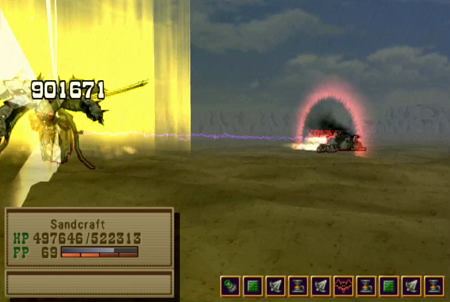
This bullet serpent ain’t gonna last a round. Mario is avenged forever!
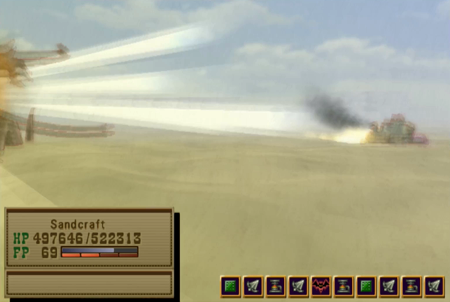
I… have no idea what they were thinking here. The sandcraft combat is so shallow, the designers apparently could not find a significant way to separate this “most powerful” fight from the story mandatory battle. As a result, Balal Quo Naga goes out like a chump. Again.
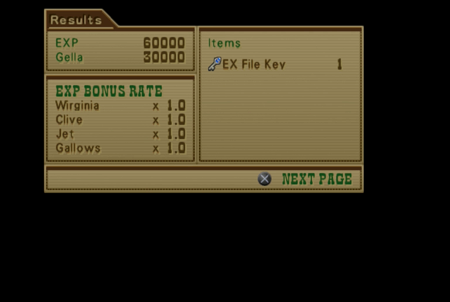
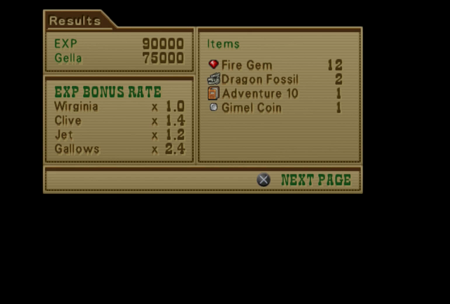
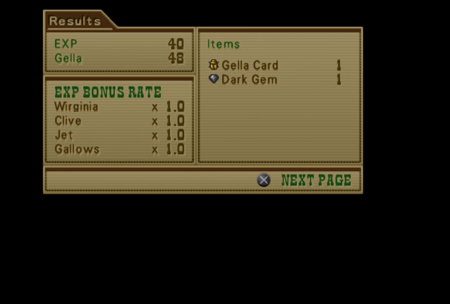
And our reward is experience, gella, and an EX File Key.
And the seas are safe to sail once again.
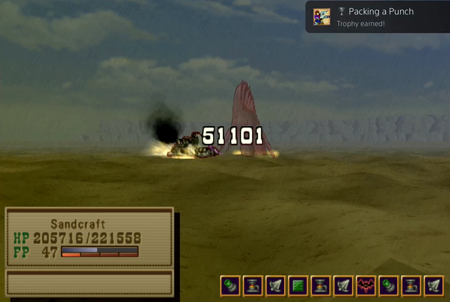
Incidentally, there is a trophy in Wild Arms 3 for dealing greater than 50,000 damage in a single hit. This would be an impressive feat with an ARM, but it happens almost automatically in sandcraft fights. The above capture is from before we completed Chapter 2.
Okay! That’s it for the optional stuff available in Chapter 3! Mostly! We’ll cover every last bit eventually, but now we’re going to get back on the main plot path…
Next time on Wild Arms: Randi and the gang fly into the Mana Fortress to save Dyluck and take down Thanatos once and for all.
[…] curious, you can overwhelm Siegfried’s healing by doing a lot of damage all in one round. Finest Arts is the best way to do this, but high levels and maxing out on buffs could allow for it, too. In the […]