
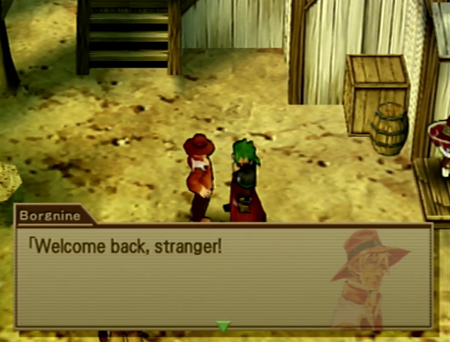
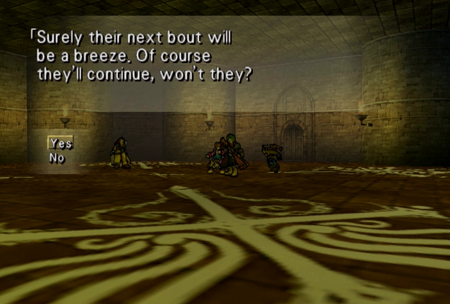
Can you feel the love today, March 13, Socks Day? In a recent poll, young women were asked what they would do if their boyfriend sniffed his own socks. 75% answered they would break up. It pains me to think that I belong to a category that young women would want to break up with…
Previously on Wild Arms: I get to use this graphic again!

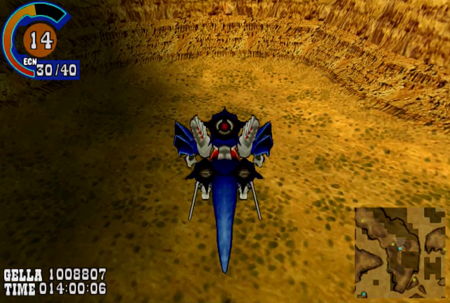
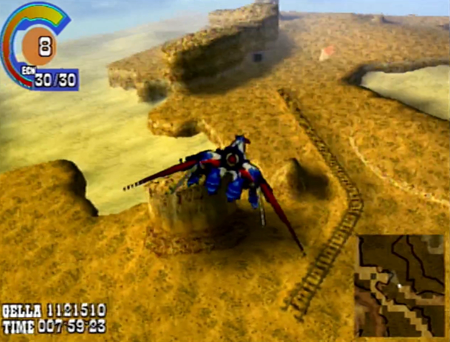
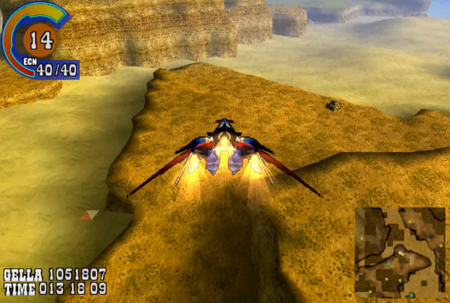
And now we fly!
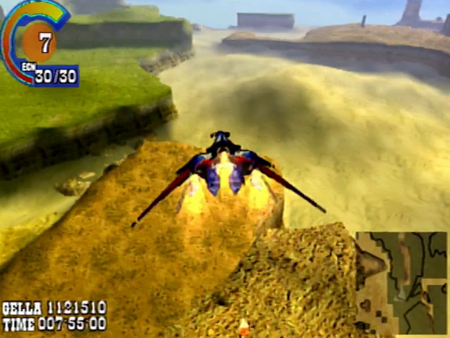
… To the nearest town. Directions to this exact location were provided by Roykman last update, so we may as well get this spot out of the way.
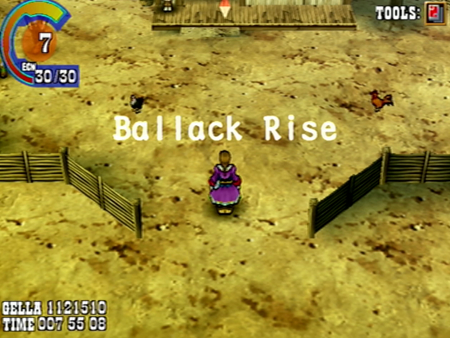
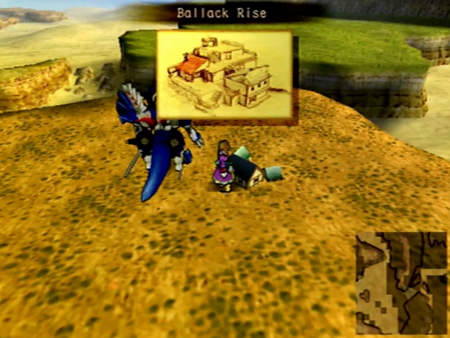
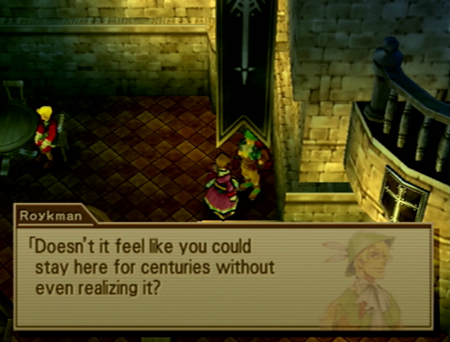
Ballack Rise is the only completely optional town in Wild Arms 3. How optional is it? Well, I am obviously further ahead than the Let’s Play in both “realities” of my playthroughs, and, on the PS5 playthrough, I did not even realize I had never visited this town until, like, the end of the game.
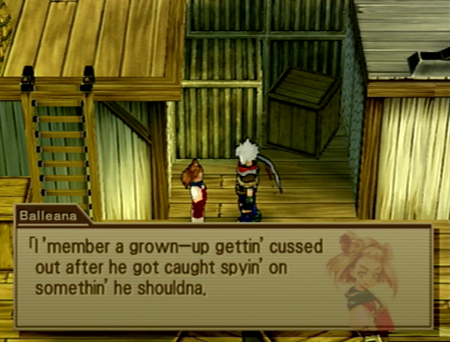
Ballack Rise is memorable for one reason…
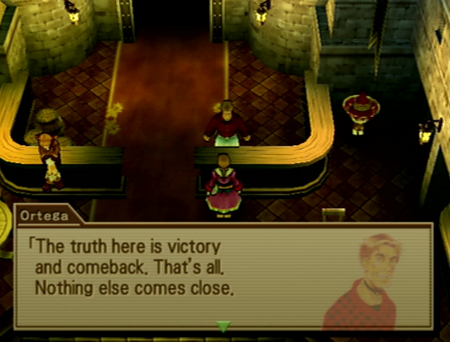
It is the town Clive rescued back during his introductory chapter. How the hell he got here in the first place is a damn good question.
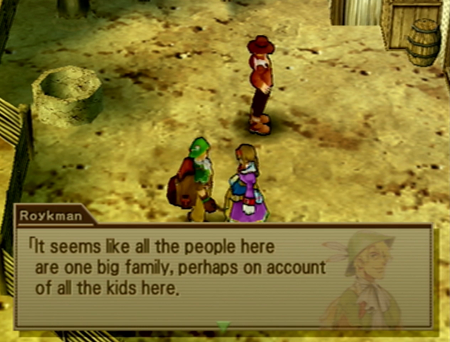
Roykman at least can teleport (This is actual canon. No, we’re not going to talk about it).
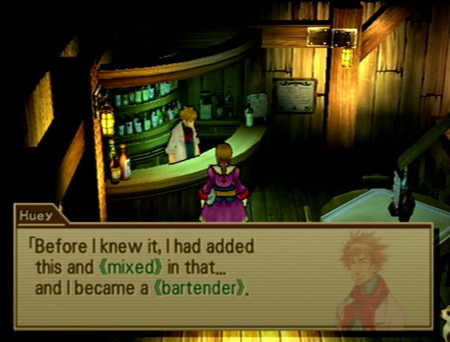
Remember Huey? The “doctor” that gave Clive an experimental antidote cocktail?
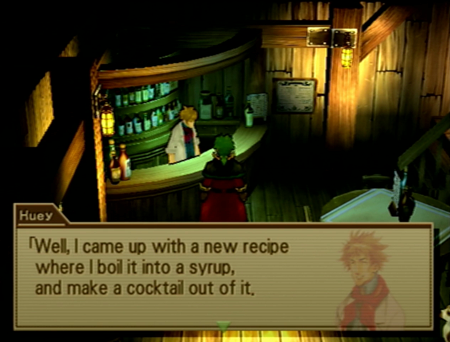
Well, emphasis on “cocktail”, as he only wears that lab coat because he is a mixologist.

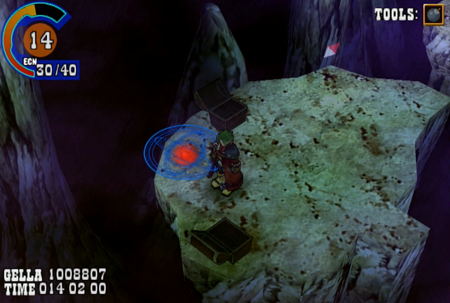
While this town is optional, you definitely do want to visit for the treasure.
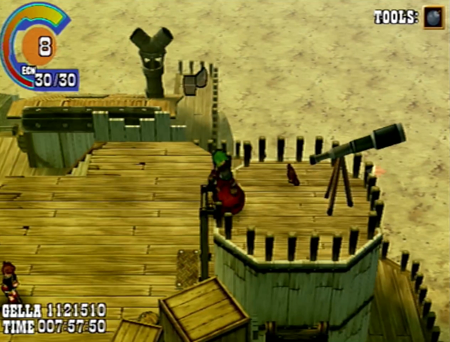
There is also a telescope available that really feels like it should have been tied into a more overt clue somewhere along the line.
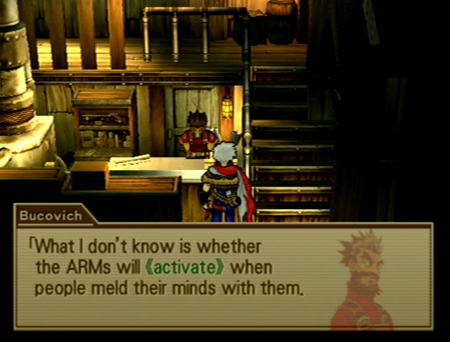
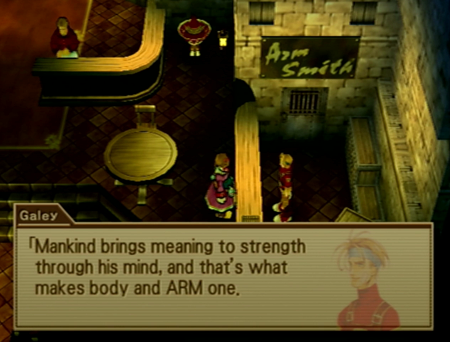
Reinforcing the ARMs lore that ARMs must sync with their users. This is going to pay off eventually!
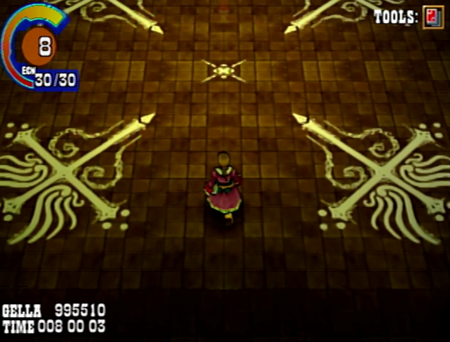
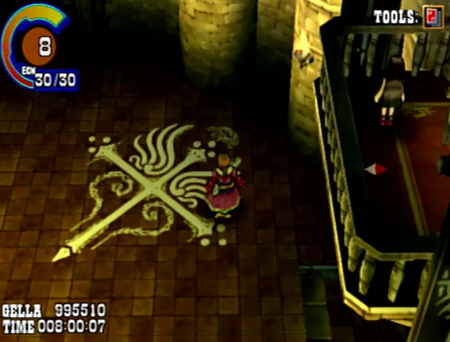
You need Jet’s Radical Sneakers to hop around this weirdly vertical town and find every chest.
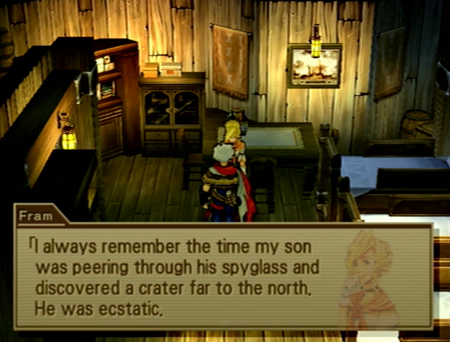
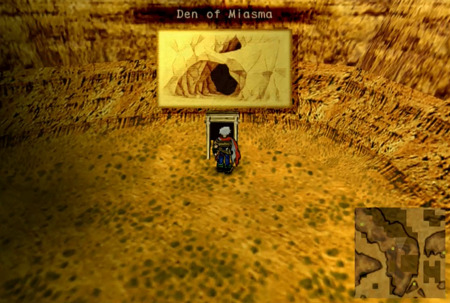
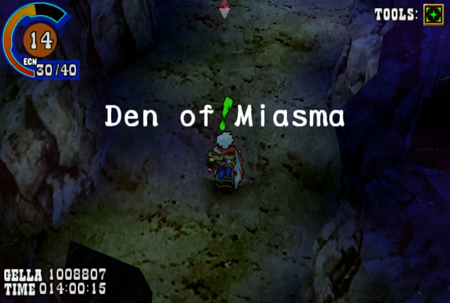
Yes! Crater! I know! We’ll get there eventually.
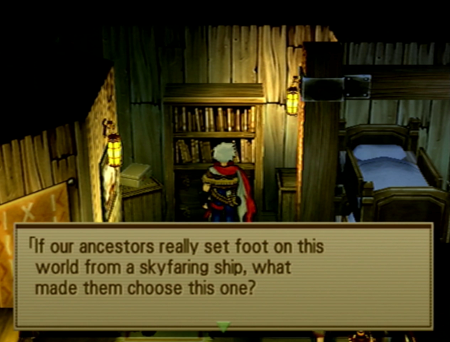
“If our ancestors really set foot on this world from a sky faring ship, what made them choose this one? A sky faring ship is one that crosses the sea of stars. Our ancestors were visitors from one of the planets we see when we look up into the night sky. This planet is not our true home. What kind of world was our true home, then? It must have been a utopia with order, security, and the technology to navigate the stars. Perhaps the teachings of the Order of the Ark of Destiny seek a utopia like that? As my ancestors reached out to this world, I must reach out to the world they left behind.”
The old planet sucked anyway. Don’t worry about it.
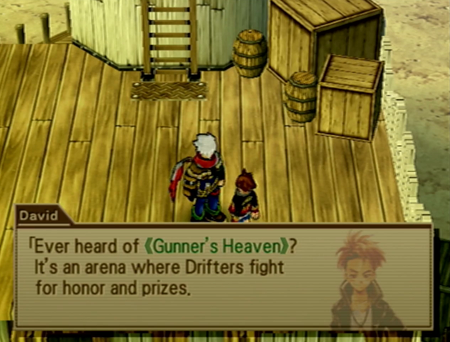
Gunner’s Heaven, eh? We’ll look into that!
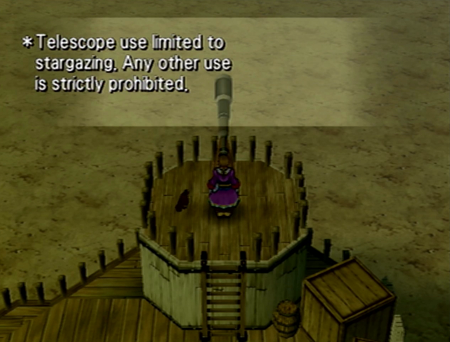
Really think this telescope should show you… I don’t know… the power of four elements pouring into the Temple of Fiends or something.
Maybe it was something that was going to be used with Clive’s sniper rifle during his intro? This feels like cut content…
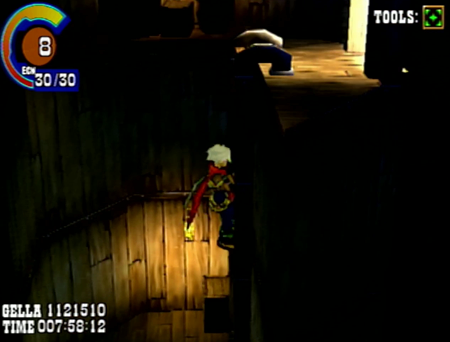
There is also a comically long ladder inside here. Ballack Rise is an urban planning nightmare.
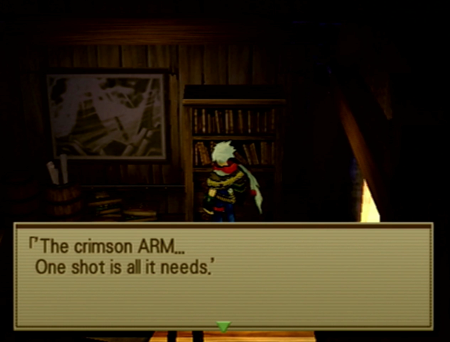
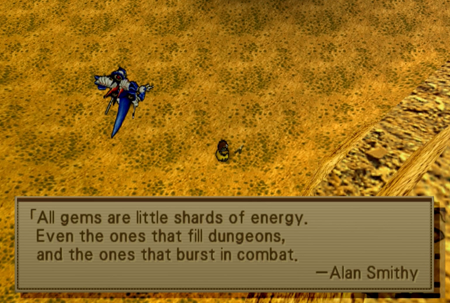
“’The crimson ARM…One shot is all it needs.’ The pioneer Drifter of legend, Alan Smithy, coined that famous phrase. Some say he lived three centuries past, others say five. No written records of his life survived. People call him the Gunslinger, thanks to his sharp shooting skills and limitless energy. But even a Drifter as famous as he remains shrouded in mystery, with many unproven tales credited to him. His death, like his life, is also shrouded in mystery. Some say he went to settle the new continent. Others say he went to slay a beast lord, and never returned. Alan Smithy was loved and honored by all who traversed the wasteland. The Gunslinger will never return, but we await the coming of another hero to this very day.”
Somebody remind me of this book when we eventually get around to killing Alan Smithy.
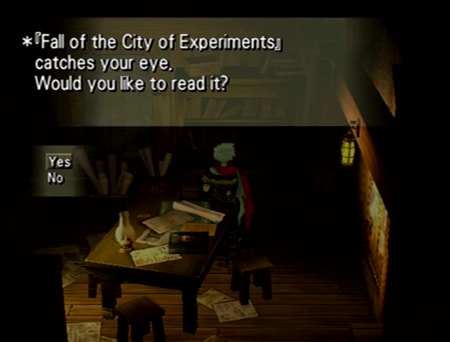
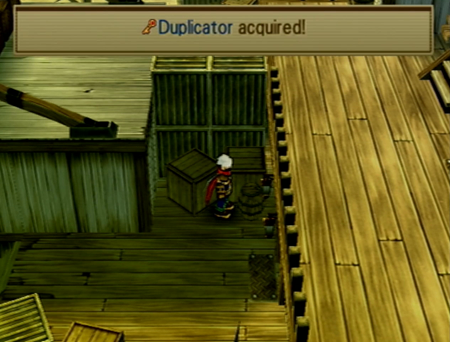
This duplicator-sealed book is theoretically the “plot” reason for Ballack Rise.
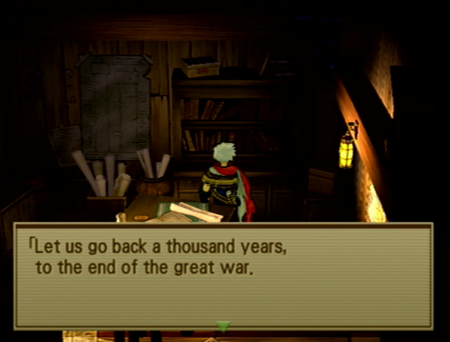
“Let us go back a thousand years, to the end of the great war. In the city, an eldritch generator was test-run under the supervision of the scientist Ajende. The generator deployed a certain kind of nescient barrier, called the wizardly stealth effect. The experiment, however, ended in failure, with catastrophic results. The barriers deployed around the city, reacting to Filgaia’s magnetic field, lifted the city high into the sky. And what goes up…must come down. They say the great city instantly collapsed on impact with the ground. Many researchers died instantly. Others were afflicted with terrible side-effects from the overload of energy. The lead researcher, Ajende, miraculously survived the ordeal, but his reputation as a scientist was forever shattered. The wizardly stealth system was eventually completed by three engineers. If you ever see a gaping crater, remember that it is the final resting place of the city of experiments. Do not forget to take a moment to pray for the pioneers of technology and revel in their legacy.”
First of all, book, we went to a museum recently, and they stressed that 1,000 years ago wasn’t the “end” of the great war, it was the start of the Elw-Neosapian War. Or maybe that war did start because the Neosapians and Demons finally decided to get along and gang up on the elves…
That crater everybody is always talking about apparently is the result of a “flying city” that… had a bad time. It is also a mandatory plot location (eventually), but when we get there, we never get the “full story” that is provided in this book. So, if you want to believe everything you read, here’s the backstory for a dungeon we’ll see in another few updates.
On an amusing side note, the implication here is that the “flying city” was an unintentional side effect of trying to build a “wizardly stealth system”. Wild Arms 2 had a wizard city that was cloaked in a magical stealth system, and we’ll eventually see demons utilizing a stealth system, but there are no stealth towns in Wild Arms 3.
… Or maybe they’re just being stealthy.
Anywho, we’re about done looting this place.
But we’re not completely finished with the general area.
If this was the town where Clive first adventured, that means his first dungeon must be around the corner.
Ah, memories…
Fast forward a little bit, and you may recall that deep in this dungeon was a secret super boss sealed in a “holographic memory”.
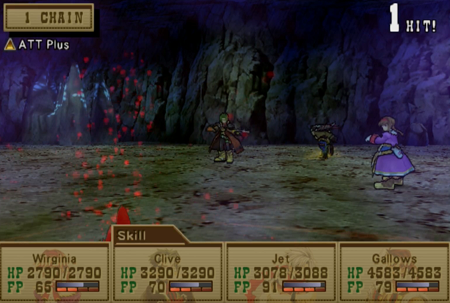
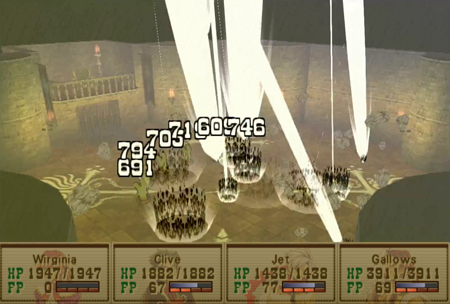
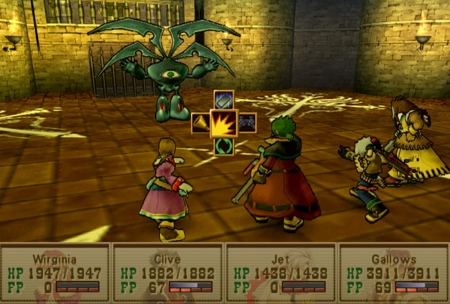
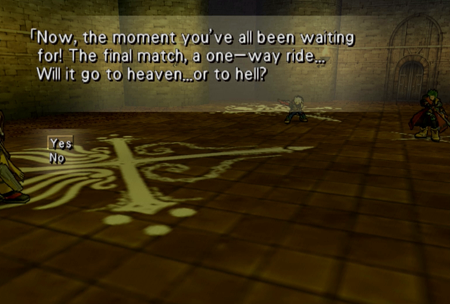
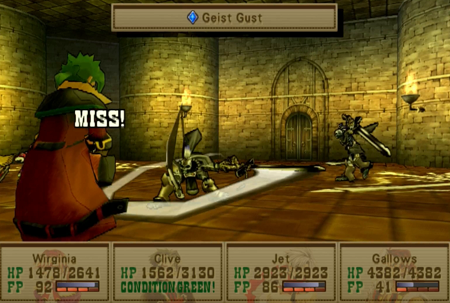
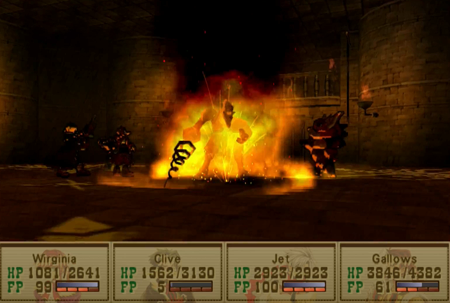
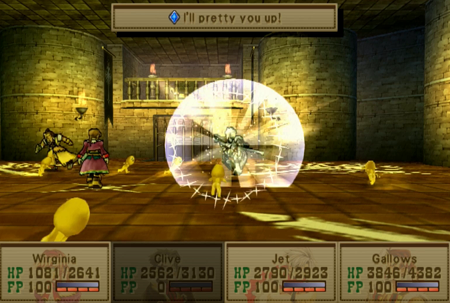
Now that we have the appropriately cursed dolls, we are going to summon up a monster.

Welcome to Hell.
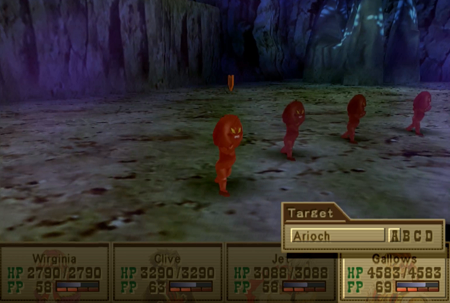
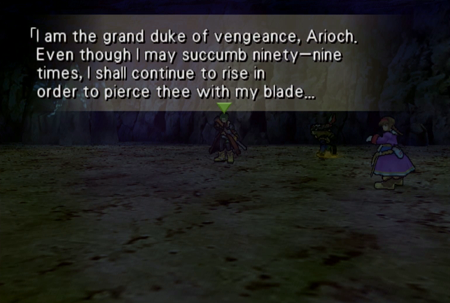
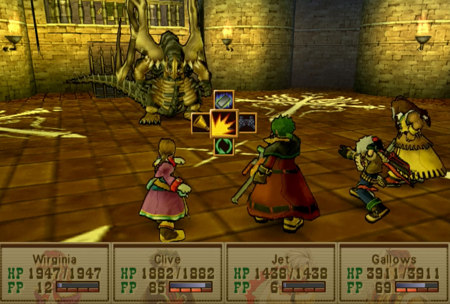
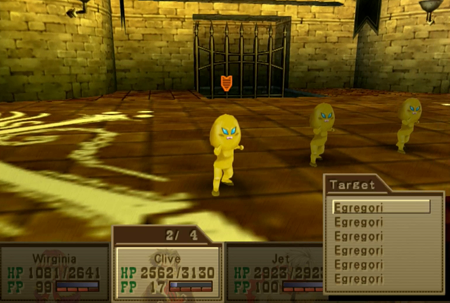
This is Arioch. These are Arioch? Dude is definitely going to be a plural…

…. One? Are… are you a slime?
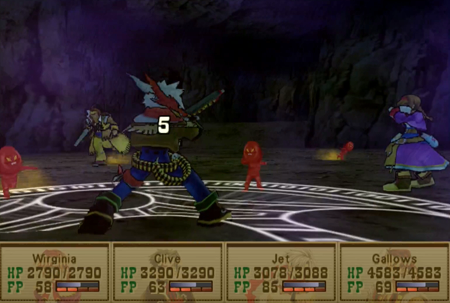
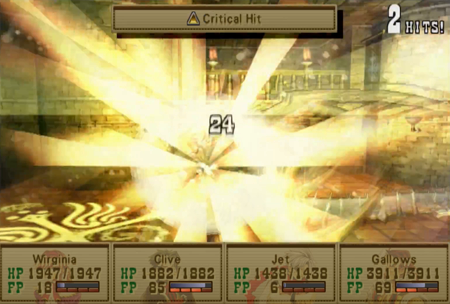
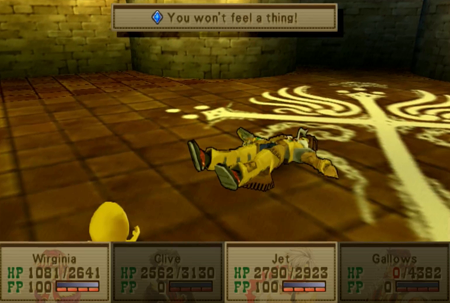
This is the “real” playthrough, and Arioch does… 5 HP damage? I get that Jet is defending, but that is some Level 1 damage right there.
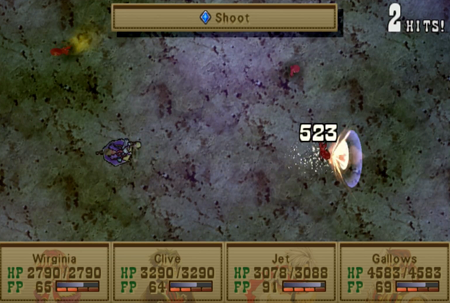
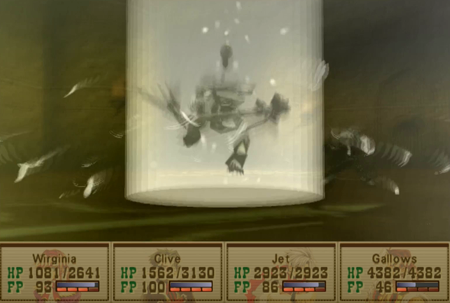
And even Virginia is doing significant damage to these clowns.
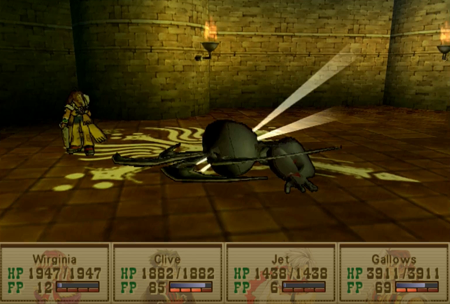
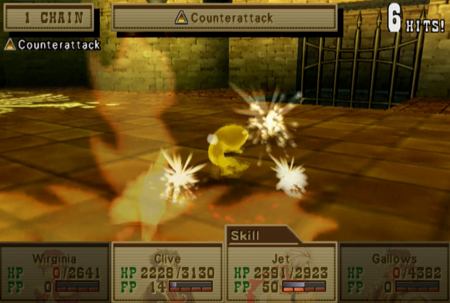
There were four of them, and now there are none.
Or… not quite.
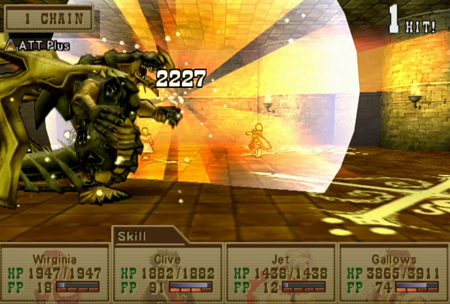
So here’s Arioch’s deal. A mob of four Ariochs can now appear in any dungeon at any time. This includes dungeons we have already conquered, and dungeons yet to come. Whether he appears is completely random, and, while there is apparently a way to encourage some Arioch encounters, there is no surefire way to trigger an Arioch fight. Every time Arioch appears, he becomes slightly stronger. While he starts as one of the weakest creatures on Filagaia, his “vengeance” will eventually catapult him to true super boss level (and he’s always a pack of four, which is scary when his strength eventually hits the 500 benchmark). And how many encounters does that take? Well, including the battle we just saw, Arioch must be fought 100 times to eventually earn his final prize.
I… I ain’t doin’ that.
Look, it is basic math here. There are something like 33 dungeons in Wild Arms 3. Some of those dungeons stop existing before you can even release Arioch, but a couple are revisited, so 33 seems like an appropriate dungeon count here. So even if you could release Arioch at the start of Wild Arms 3, and even if Arioch was a guaranteed encounter every time you visited a dungeon, you would still have to loop through Wild Arms 3 three complete times to fight Arioch to completion. But you can’t release Arioch until about when you get your airship (you need Gallows’s dolls, and they are granted as part of the dragon-specific quest)! And that means something like 60% of the game is already completed before you can even start this quest! So, while you are encouraged to revisit previous areas for treasure, there is simply no way to complete this quest without a lot of “Arioch grinding”. You have to do nothing but hunt this little dork if you want to complete this quest, and… Ugh…

I’ll cover the “prize” for defeating Arioch when I am noting it as a part of other quests (hint: scroll to the very bottom of this update), but for now, just know that this little nuisance is going to be ignored for the rest of forever. If you want a tip: he always appears in groups of four, and his exp/gella reward is always 1:1 equal to his encounter count. For example, if you earn 16 EXP at the end of an Arioch fight, that means you have found and defeated him four times. Useful to know for your own OCD.
Oh, and if you are curious, “Arioch” appears in Judaism, but is more known for being referenced in the Bible’s second most popular fanfiction, Milton’s Paradise Lost.
(The Bible’s number one most popular fanfiction is, of course, Xenosaga.)
Let us leave this place, and fly to where the train tracks end.
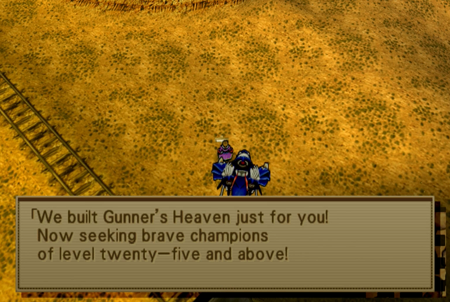
You do not need your airship to reach this location, but it certainly helps. If you want to sandcraft over here immediately, there is a parking beach way to the north of the northeast continent…
And you have to walk back over these unused tracks to find…
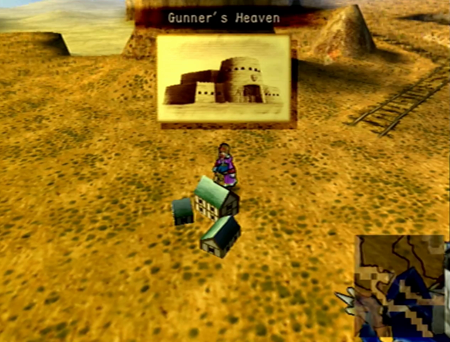
Gunner’s Heaven! The battle coliseum of Wild Arms 3.
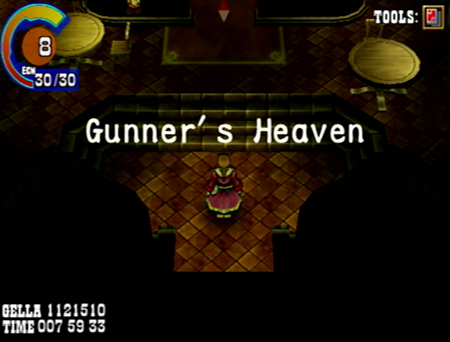
One way or another, this is the final “friendly” location in this game, too.
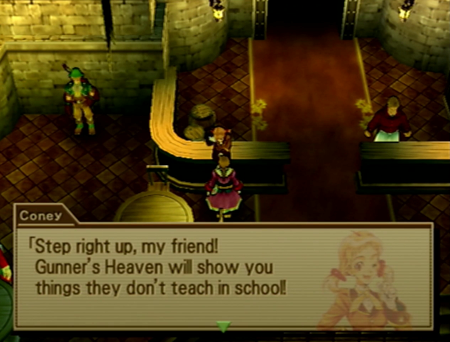
Wild Arms (1) had a battle coliseum, but Wild Arms 2 did not. WA3 returns to this JRPG trope.
This place is pretty sparsely populated. That may be a result of the “most popular entertainment in Filgaia” being built on one of the most remote locations on the planet.
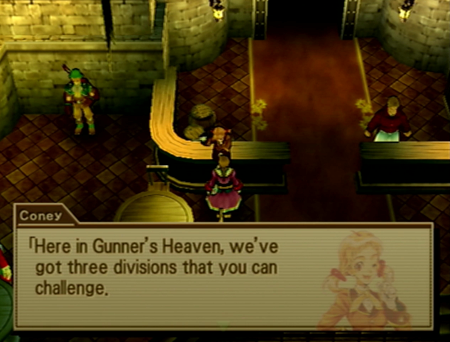
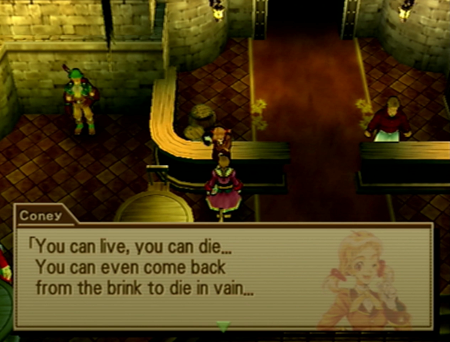
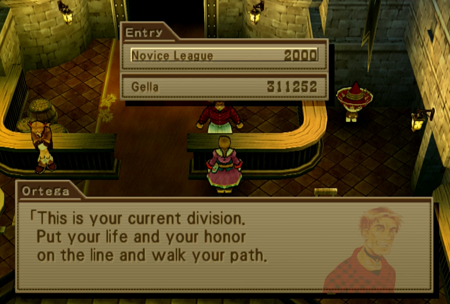
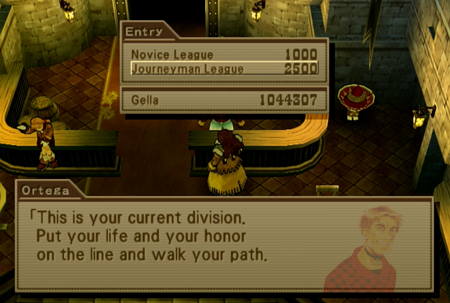
Beginner, Intermediate, and Update Your Will.
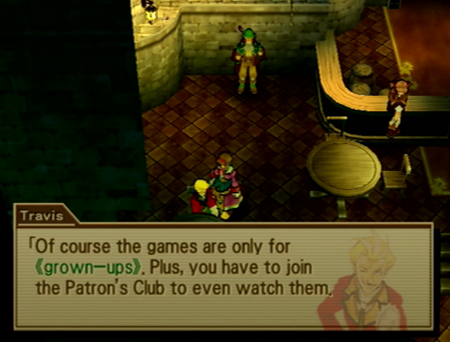
Travis is the only audience member in this whole place.
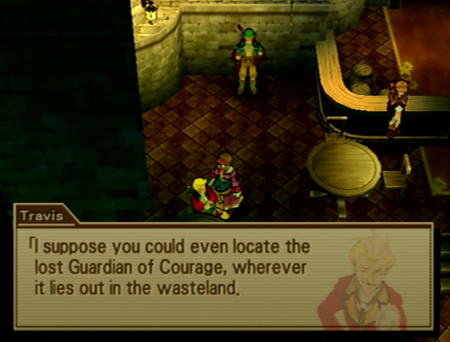
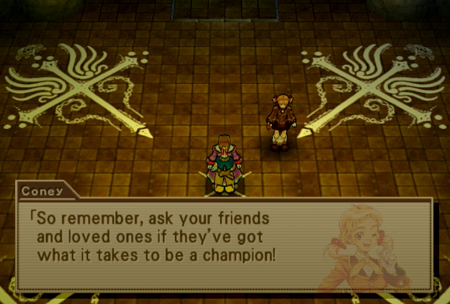
And he drops a non sequitur about using the prize from the Novice League to find the Guardian of Courage. I’m interested in this!
There are three battle leagues, Roykman. This ain’t even a Pokémon Emerald level time-sink.
… Just tune up my ARM, thank you.
At least no one is babbling about craters here.
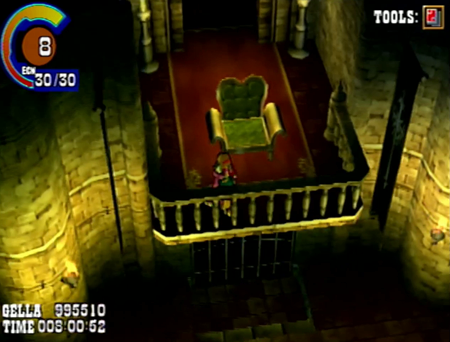
Here is the arena. You are allowed to explore the area before participating.
Hey! Little girl! What are you doing up there? Can you come down here?
Guess we’ll take the stairs.
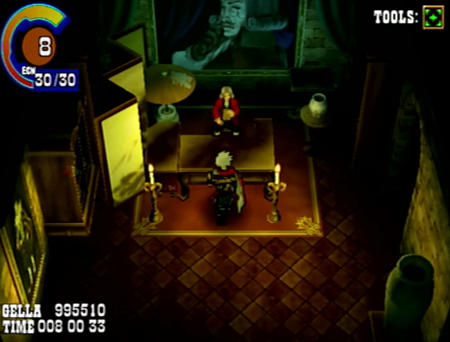
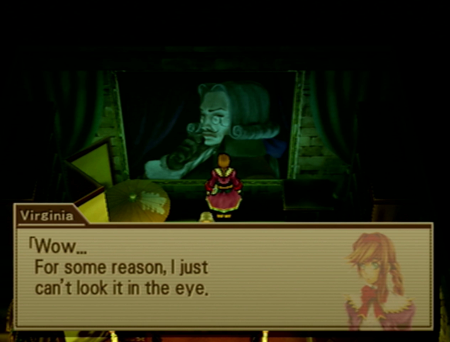
Here is the owner of Gunner’s Heaven, Motherfucking Dracula. Nobody knows how to rock a self-portrait like Dracula.
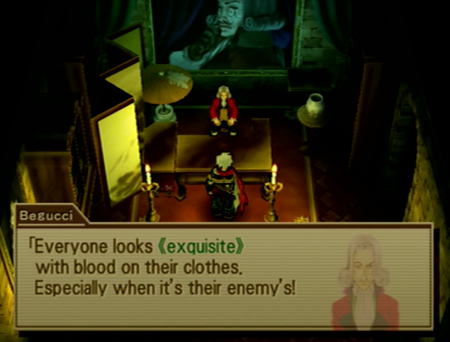
Begucci. Whatever you want to call yourself, Vlad.
Begucci is such a walking parody of the idle rich, he is fixing to buy Twitter as we speak.
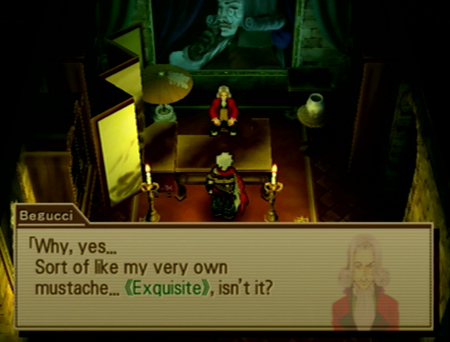
Nearly everyone is disgusted by Begucci’s books, save Clive…
“Well, look at this…I read that series in class when the teacher wasn’t looking.”
This… raises questions about our team dad.
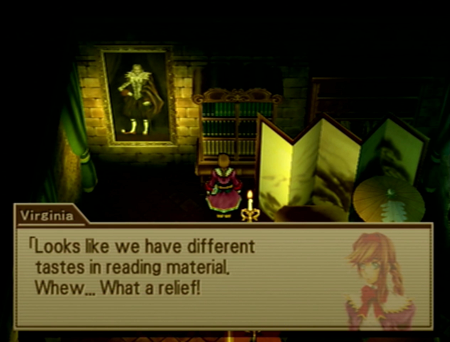
I would like to find the one artist on Filgaia that is responsible for this monstrosity.
Ah, dang. We spent too long looking at art, and now that little girl is gone. Maybe we’ll chat later?
Okay, let’s get down to business.
Just hand over the prizes now. Saves us all time, and you have less monster guts to clean up.
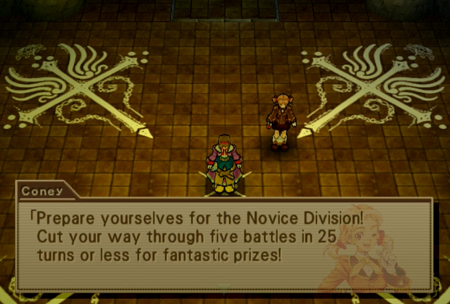
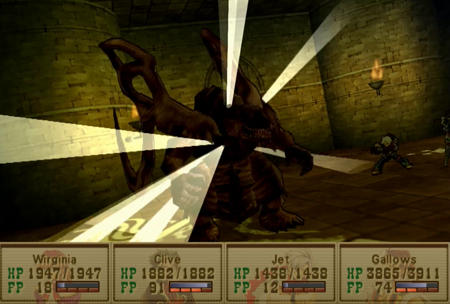
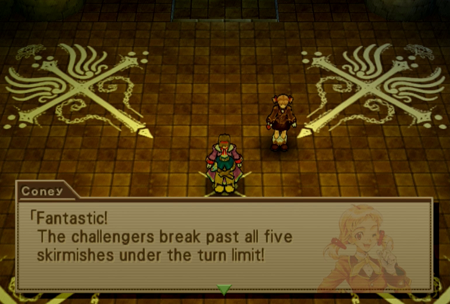
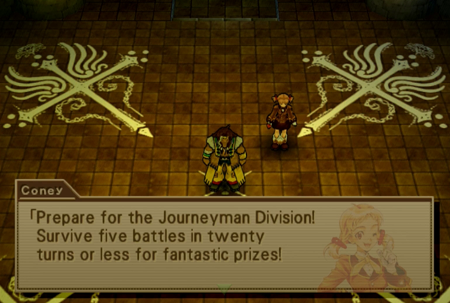
So there are a couple of conditions for these Gunner’s Heaven battles. First and foremost is the turn limit. Spend longer than 25 total turns on the novice fights, and you fail.
And the “challenge” absolutely knows this.
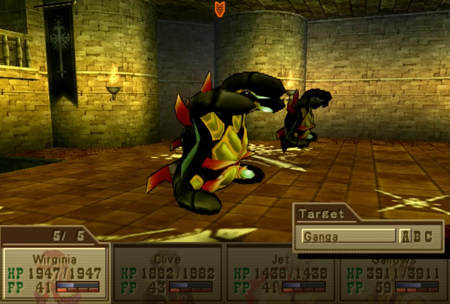
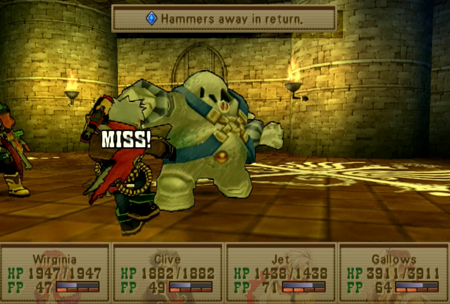
Ganga is not difficult, but…
It has the ability to cancel turns, paralyze, or reduce accuracy. All of these attacks won’t outright kill a party member, but they will slow things down. And you need all the turns you can get!
After every fight, you have the option of quitting for a consolation prize. If you have a party wipe or go over the turn limit, you will fail and receive nothing. Only quit if you are at death’s door or moving super slow.

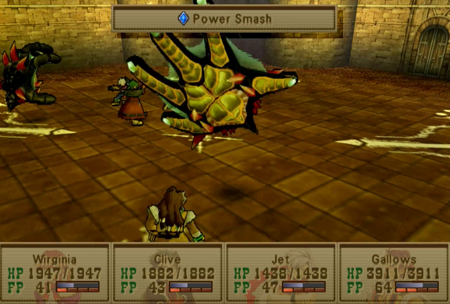
Round 2 is a defensive monster…
That loves to counter.
Hit it as hard as you can, or use wind-based arcana.
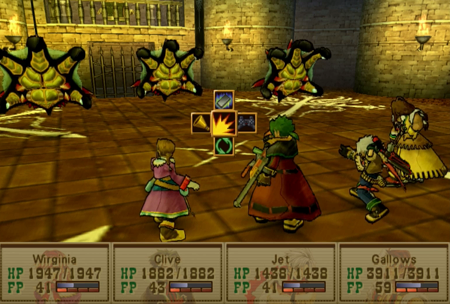
Now we’re truly getting into “screw you” territory.

These Shambling Mounds are not difficult, but there are six, and there is nothing you can do to target them all at once. Any of your multi-hit attacks only target multiple monsters if they are grouped together, and these are all independent sentient fungi.
So the solution is to use a Guardian Summons. No matter what, when you summon a Guardian, it attacks the whole enemy party (save Dan and Raftina, who do not attack as part of their summons). So save your FP for round three, and then unleash the gods. You can use pretty much any summon, but they are weak to fire…

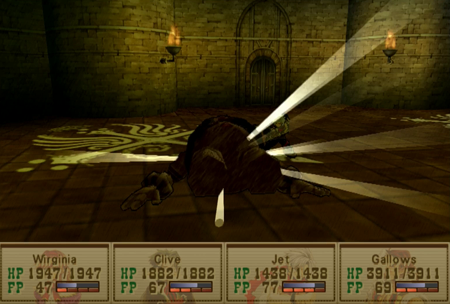
Not enough of ‘em left to make a pizza.
Balor “feels” like a boss.
He likes inflicting Disease, which blocks the ability to heal. This is only round 4 of 5, so clear that status effect. You want to be able to stay healthy in the arena.
Use thunder, or just hit ‘em hard. Note that Clive has Comet Mark from the last update, so he is doing damage like a boss.
To note the other big sticking point of Gunner’s Heaven: all of these fights happen consecutively, and there is no “results screen” or healing between matches. Your VIT will not help one iota, and your FP carries forward across matches. This can be helpful (bank as much FP during the “easy” matches to more effectively squash the later monsters) or terrible (summons drain all of your FP, so if everybody summons, you’re down to zero FP) depending on your budgeting.
Armordrake is not difficult, but, as you can guess from the name…
He can take a hit.

If you equip your best caster with Weakness and a wind spell, you won’t have to worry much, though.

Just watch out for groans.
You can also use Eraser to reduce its Shield spell so Clive can participate.
Victory!
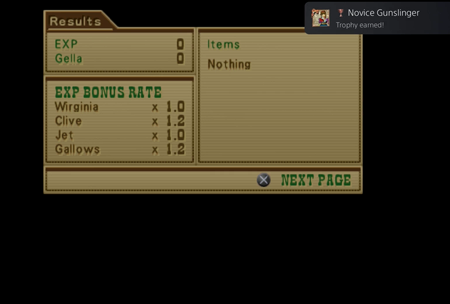
Aw, a trophy. Note that you do not distinctly win any EXP or gella from these fights, so you do not need to worry about equipping exp/gella increasing abilities. Just focus on skills that do extra damage (Counter, Weakness) or defend against status ailments (like Disease or Paralysis Ward).
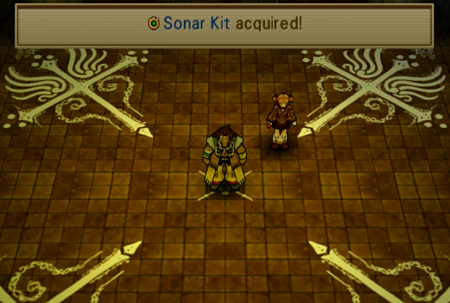
All your prizes are conferred by NPCs.
Yay! We are going to need that.
… Later.
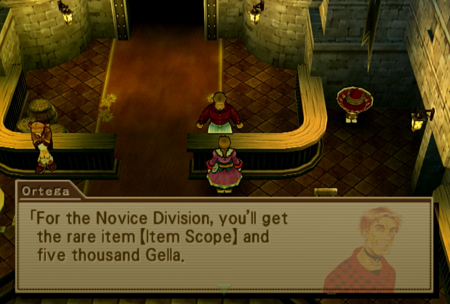
So Novice League and winning the Item Scope is a plot-mandated, required step in beating Wild Arms 3 that must be completed for the end of Chapter 3. It is not that difficult, as there is that sign near Gunner’s Heaven that recommends being “level 25” for Novice League, and odds are good you will get here around Level 40. There is pretty much zero benefit to being here before you have an airship (the Novice Prizes are not that amazing), and, by the time you must complete Novice League, you should be more comparatively overpowered than even what we see here.
But we want to see the whole of the Gunner’s Heaven sidequest, so we are going to move on to the Journeyman League.
So, at approximately level 40 (but Gallows at Level 60) and with the Attack Plus and Weakness abilities equipped, I thought I might be able to conquer Journeyman at this stage in the game. I… did not. I got wrecked in the first round, and, while I am sure there are some Wild Arms 3 aficionados who can win this early in the game, I ain’t one of ‘em.

So know that everything you see for the remainder of this update takes place after completing a number of sidequests, and returning before approximately the final dungeon of Chapter 3.
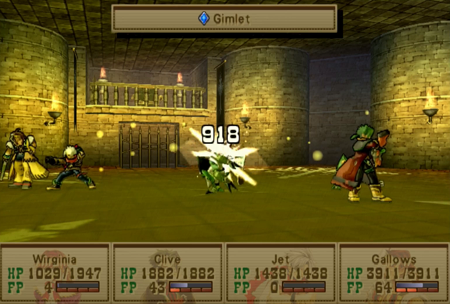
(Here’s a shot from my failure run)
My sticking point the first time were these Mercurius creatures. They have no weaknesses…
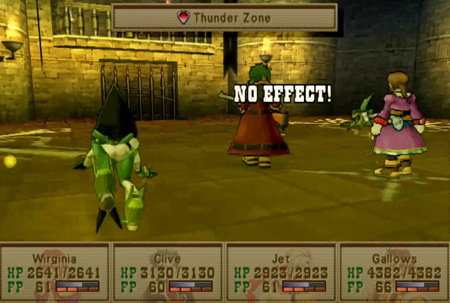
(Now look at the HP gains of a few dungeons later)
And when they turn on their “thunder zone” ability, their attacks plump up to dangerous levels. At level 40, they were eating off about 50%-70% of my teams’ max HP with every hit.
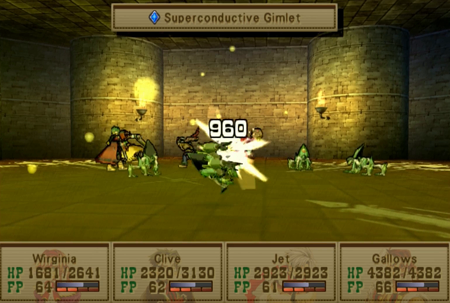
At approximately level 60, they are still strong, but not impossible.
And Clive is still the MVP.
We only have 20 turns for the Journeyman division, but these skeletons are a gimme.
I believe these undead monsters have an instant death attack. I was lucky enough to avoid that, and…
Use my own instant death attack to clear them out quickly. Requiem will do its job of putting the undead to rest promptly.
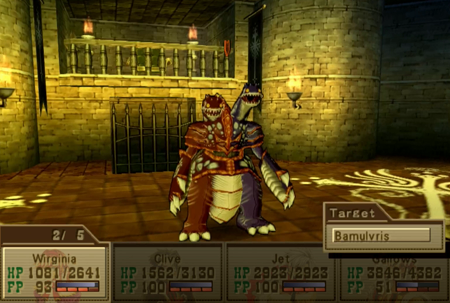
Bamulvris is another boss-y thing.
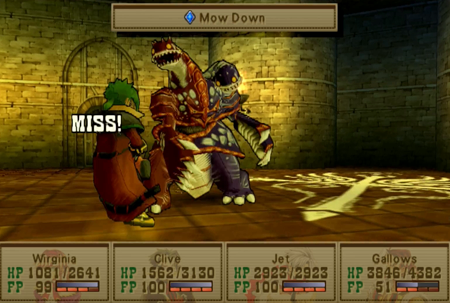
I am having Nidhogg Pass flashbacks. I never wanted Nidhogg Pass flashbacks.
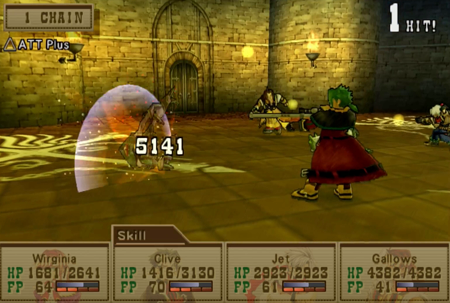
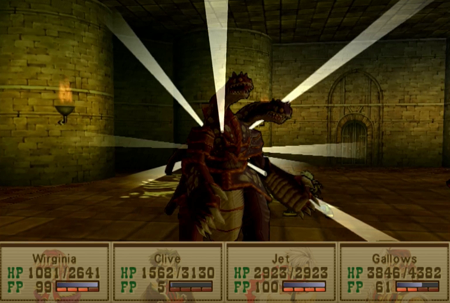
Nidhogg was weak to dark and light, and Bamulvris is weak to fire and ice. However, Clive hit 100 FP around this point, so I just gunned him down in a single gatling attack.
Toodles.
The next match is… Hey! Is that a Transformer? I am 90% sure I had this toy as a kid.
And a unicorn.
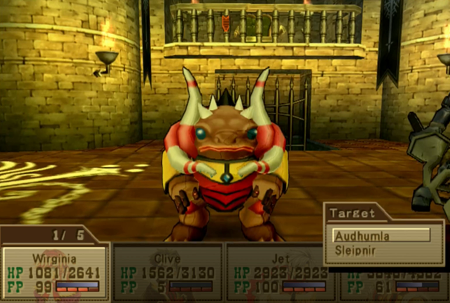
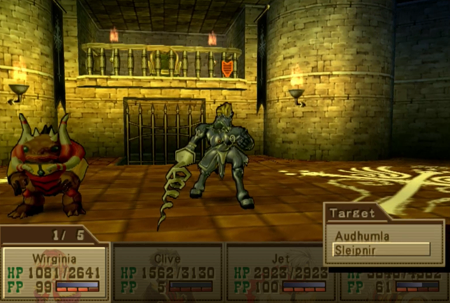
Sleipnir definitely has an instant kill attack, so tame the horse first. Like his palette swap cousin from a couple dungeons back, he is weak to fire.

Audhumla tries to buff his party, but just treat him as a nominal threat.
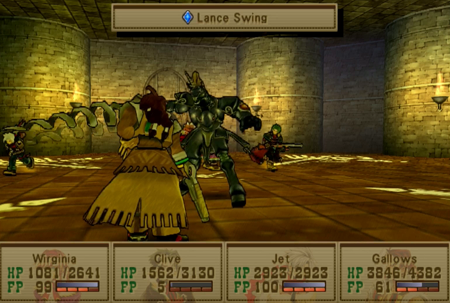
Watch that lance!
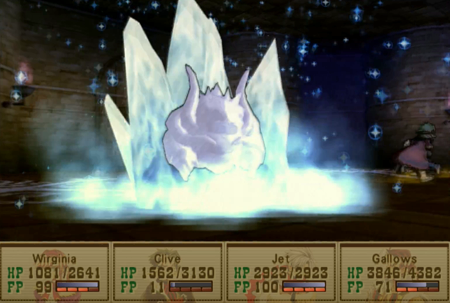
And freeze that monster.
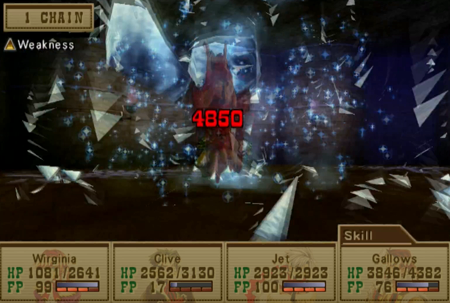
Weakness is such a guardian-send.
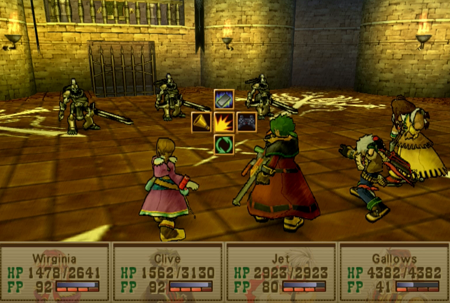
And the final challenge is similar to our mushroom infestation last time. A big group of creatures that aren’t that powerful, but cannot be multi-targeted.
Here is a secret preview of a summon we have not earned in the “present” yet. Can you find Bahamut in this picture?
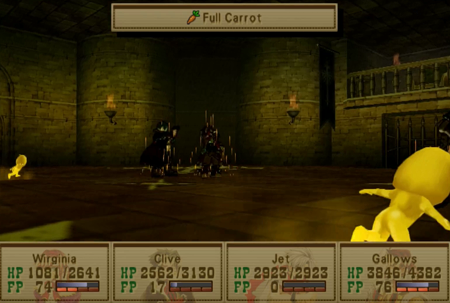
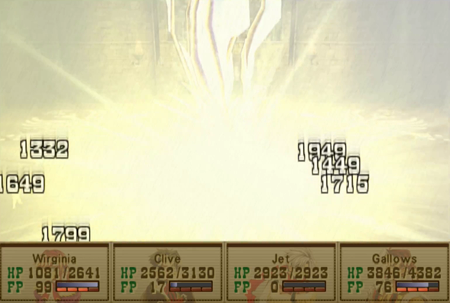
I was running low on rounds at this point, so I decided to have Virginia mystic a Full Carrot for the party. This pumps everyone’s FP back up to maximum, which means we can do another round of summons. For the record, having “infinite” Full Carrots is kind of a win button for nearly any challenge in Wild Arms 3, but those items are very limited if you do not completely abuse the gardening system (though that is certainly an option!).
The reason that I was willing to sacrifice a Full Carrot for this fight is that these numbnuts also use a variety of status effects that will eat off your turns. Now is not the time for sleep!
Or being transformed into glass! Dammit! That completely zeros out a character’s FP, too.
And instant death? That is just nasty.
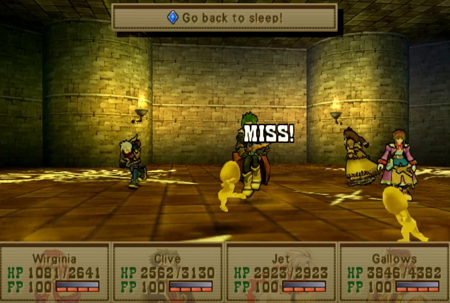
Luckily, I eek by with a victory that is clinched with a counterattack. There is not an "active" round count during the battles, but I’m pretty sure it came down to the wire.

Another trophy! So that is the Journeyman/”Medium” League. It is basically a very difficult first and final battle, with three “puzzle fights” in-between. If you know the secret of those three middle fights, they go extremely quickly. Meanwhile, the bookend fights all but require higher levels and a significant amount of luck (or very particular status wards).
And this is the best prize in the game.
So before we tackle the finale of Gunner’s Heaven, we’re going to demonstrate our prizes. As you can see, the map in the bottom right now has colored dots.
This is your reward for finishing the Journeyman League: every blue-green dot is a “location” of some kind, like a dungeon, puzzle, or town. Every yellow dot is either a treasure (yay!) or a sign (boo!). Here’s a sign. Boo.

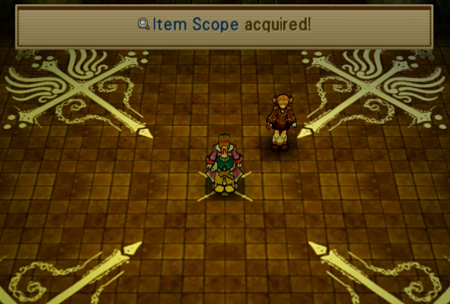
There are a lot of random treasures across the world map, and now we can find every single one. Additionally, the Novice League gave us the Item Scope, which allows us to find “high level” treasures on the map. Previously, if you used a radar at the exact location of a special treasure, you would find nothing. Now, with the Item Scope, you will be able to find all sorts of crazy things (though you are still searching in the dark until you obtain the radar from Journeyman League). This is why you technically need to complete the Novice League, as you absolutely must have the Item Scope to find a very important item.

…. Next week. But for today, we’re just going to find an EX File Key on the overworld in the forest way back at the Yggdrasil grotto. You’d never be able to find this without an Item Scope!
… And I’ll explain what “this” is later, too.
Next time on Wild Arms 3: We are the champioooo~ooons, my goooo~ooods.
[…] every other book-type enemy in Wild Arms 3, these mags are weak to fire. And, as we learned at the coliseum, the only way to target more than a handful of enemies at a time is to use a Guardian summon. So […]
[…] at Ballack Rise, the only “optional” town in the […]
[…] As covered when I first unlocked this quest, this requires way too much grinding. Even if you unlock him as early as possible, there are not 99 dungeons in the game, so there are not enough opportunities to encounter him without some dedicated wandering around. […]
[…] I encountered Arioch aka that damn random encounter “super boss” while solo’ing around with Clive. Good thing this loser is still in his power […]
[…] Ah yes, the sky city that randomly appeared in a book a little while back. […]