
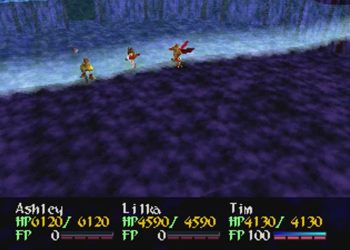
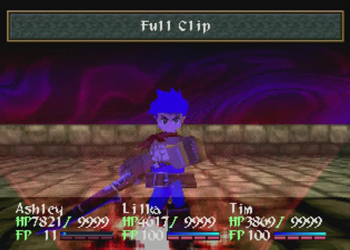
Previously on Wild Arms 2: Irving is an asshole. But we already knew that. Huh. Guess nothing happened. And that’s just fine! Because now it’s time for…
Wild Arms 2’s Last Remaining Sidequests
At this point, ARMS can descend to the center of Filgaia (or something), and call this whole game’s worth of missions a success. But why do that when we can…
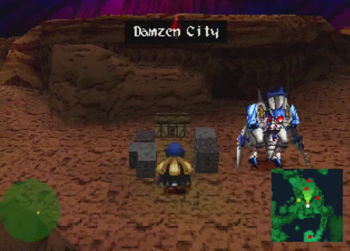
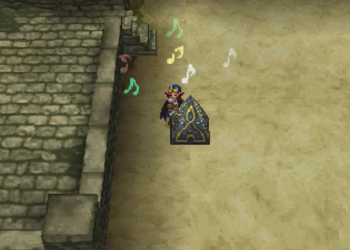
Visit Damzen City for absolutely no reason.
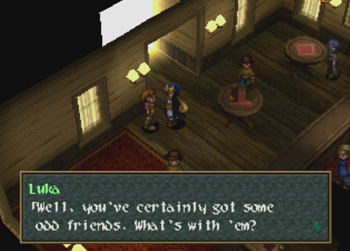
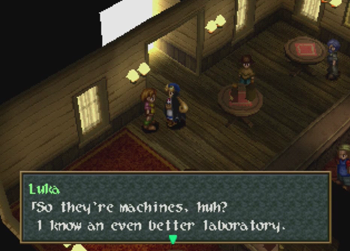
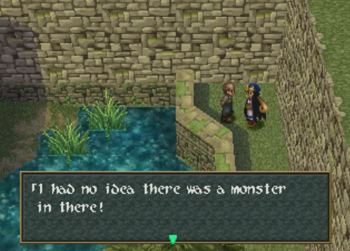
Stick hidden character Marivel in the lead, and Luka, a random NPC that you would never think to revisit in a million years, will spout some unique dialogue.
Marivel is key, obviously.
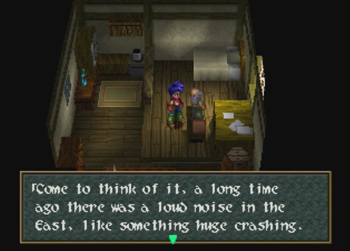
Apparently Luka was referring to Marivel’s floating weapons that don’t actually appear outside of battle, that literally no one else in the game has ever directly referred to (there were a few books, though).
I feel bad for the localizers that poured minutes of their lives into this exchange’s translation.
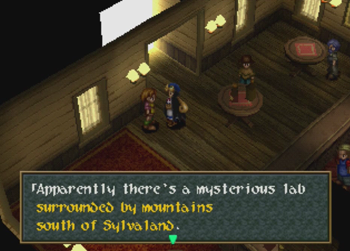
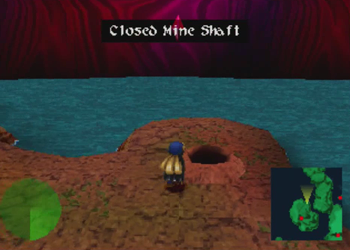
Here we go! Not counting the final dungeon, these are directions to the last “undiscovered” dungeon in the game.
… Incidentally, because it doesn’t really fit anywhere else, here are all the other optional dungeons we managed to hit over the course of this Let’s Play at random points:
Wind Tiger’s Den
Thunder Lion Cage
Abandoned Icebox
Meteorite Crater
Dark Reason
Shining Garden
Good Luck Zone
Werewolf’s Den
Crimson Castle
Promised Catacombs
Pirate’s Warren
And there are the optional “town” areas of Odd Headquarters and Island Outpost. There are a lot of optional areas in Wild Arms 2!

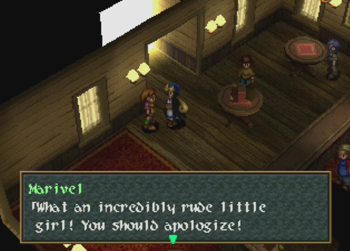
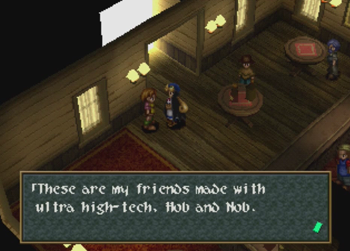
But back to Marivel, who will never return to this town, and Luka doesn’t actually have anything to do with this laboratory.
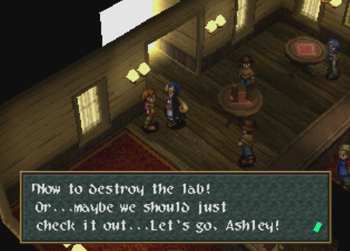
… This is going to end well.
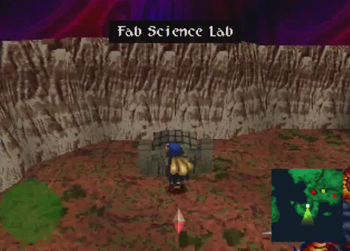
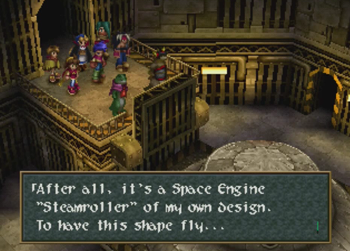
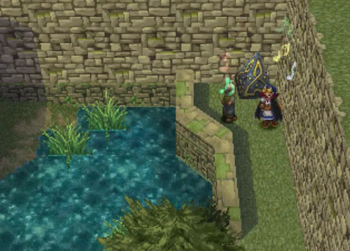
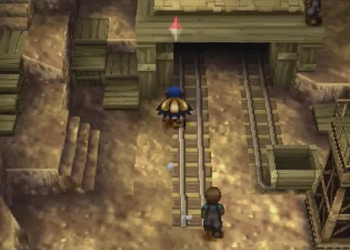
So mount your dragon-plane and fly on over to the southwest to find the Fab(ulous) Science Lab.

Ominous!
…. Erm?
I… I think I’m starting to realize who left this note.
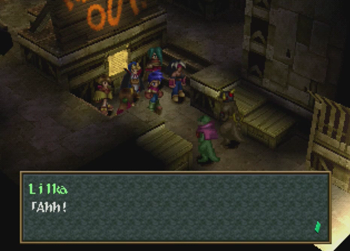
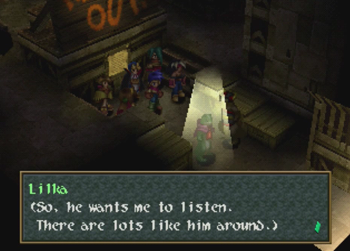
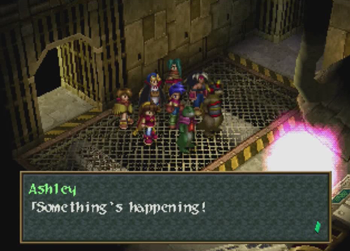
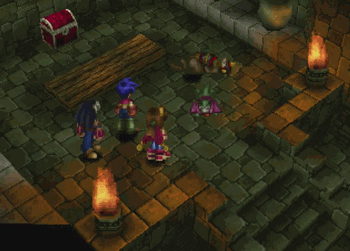
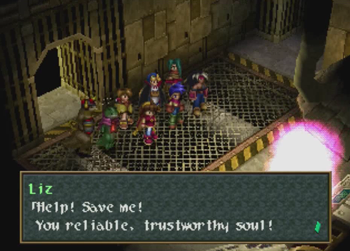
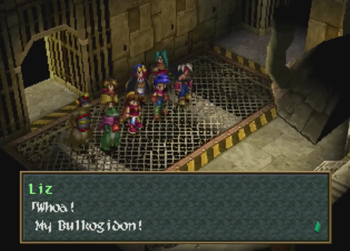
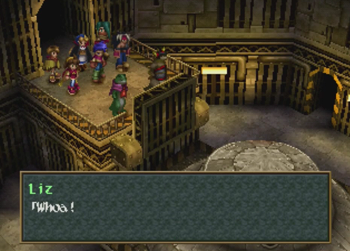
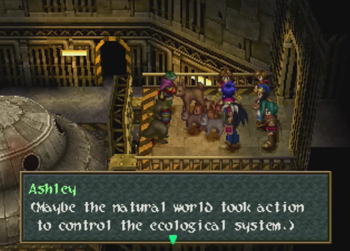
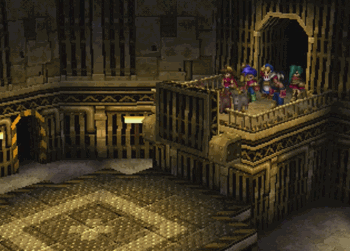
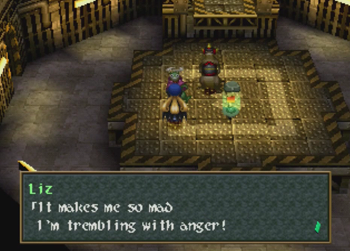
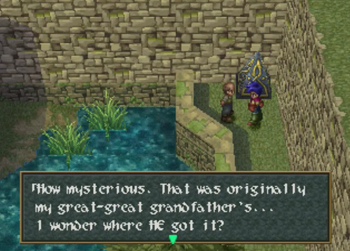
There they are. Say hello again to our old friends Liz and Ard.
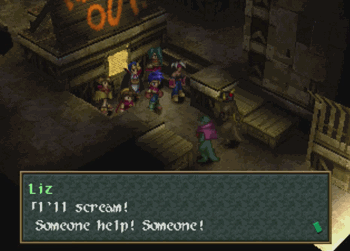
Everyone is excited to see each other.

So very excited. I think.
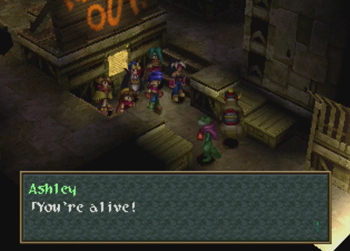
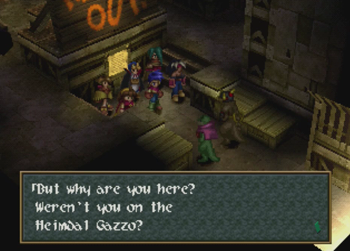
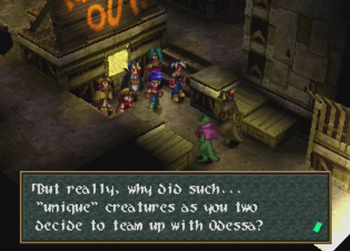
Hey, that’s right! We haven’t seen these guys since way back when we were still fighting Odessa every week.

Hmm.
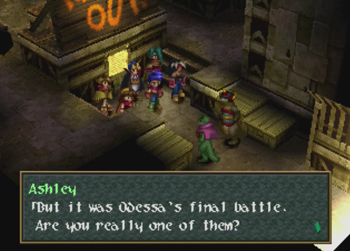
Yeah, that story checks out.
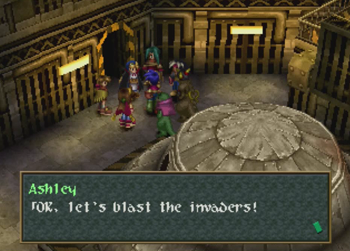
If you didn’t see someone explode, then they didn’t explode, Ashley.

But I suppose we could use an official explanation.
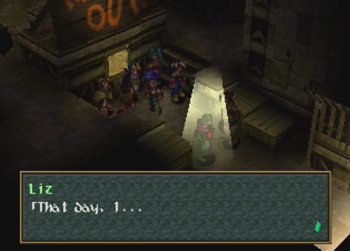
And Liz is down for a soliloquy.
Even if the party is not.
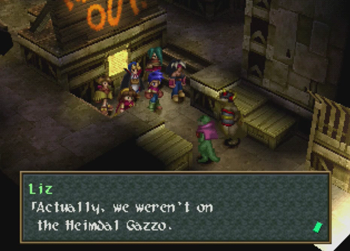
Never mind the story, Liz & Ard simply weren’t invited to Odessa’s warship.
“Because if you are, it turns out we have the same boss!”

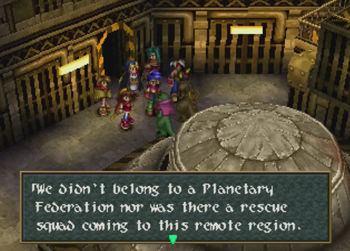
So, yeah, Liz & Ard apparently weren’t official Odessa members. Or, if they were part of the organization, they at least weren’t very trusted. Which… probably not a bad idea…
And, yeah, if you think back on it, there was literally never a scene, “backstage” or otherwise, where Liz & Ard were anywhere near Vinsfeld or an Odessa general.
And… uh… okay?
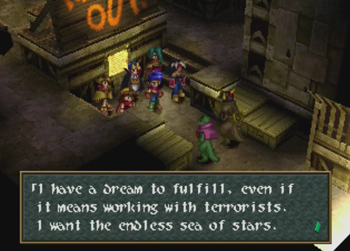
“We’re not buying the ‘stars’ thing. Was it for drugs? It was for drugs, wasn’t it?”
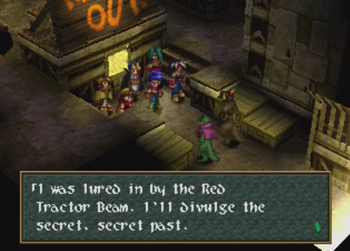
Tractor beam?

“Oh, yeah, that makes sense. Hey, Lilka, did we ever find a village of lizard people around? No?”
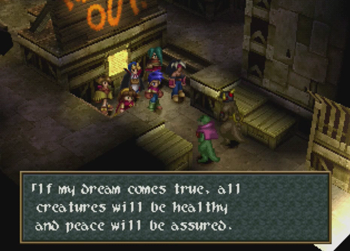
A noble goal.

We would like to see peace assured. I think that’s in the ARMS charter.

… Yeah, this makes perfect sense.
So apparently Liz & Ard’s security system is on the fritz. … Were they just waiting outside until we arrived? … Probably yes.
I think that’s a Tekken reference. Seriously.
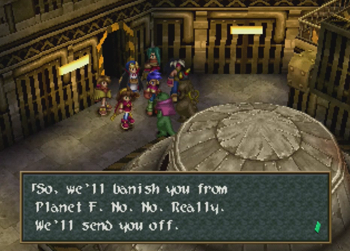
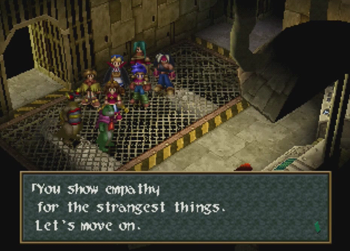
So, in an effort to make us nostalgic for their first appearance, Liz & Ard “join” the party.
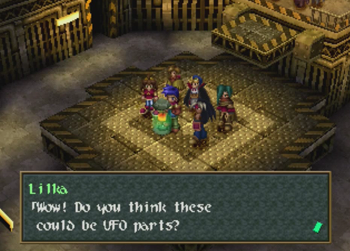
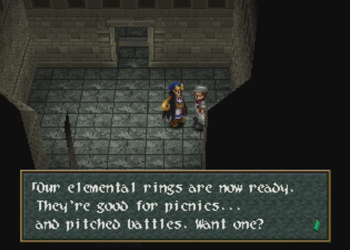
The entrance here requires using Marivel’s spark tool to activate the front door. You might expect this dungeon that can only be unlocked by Marivel would require using Marivel’s other tools as well… but nope! Sorry! Marivel, who, incidentally, has never met Liz & Ard before, will not be used anymore within this dungeon.
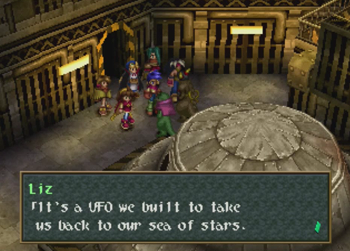
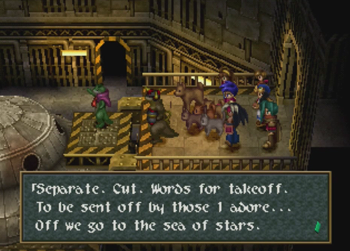
The next room reveals Liz & Ard’s goal.
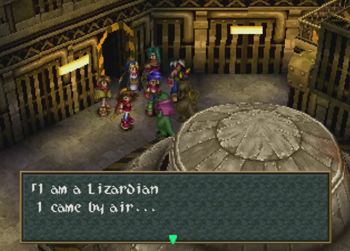
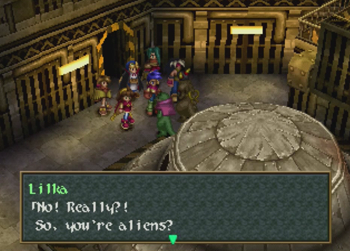
They’re aliens trying to get back to space! Lizard shock!
According to people attempting to make the whole translation of Wild Arms 2 make sense, as far as anyone can tell, the “red tractor beam” mentioned during the previous scene was the transmission that Vinsfeld broadcast over Filgaia, and that apparently sucked Liz & Ard down to Filgaia, where they “joined” Vinsfeld by general coincidence.
So Liz & Ard have the same basic arc as Toejam & Earl.
Everyone faces Marivel for this comment. I can’t help but wonder if this is another misattributed bit of translation, or some kind of glitch arising from Marivel being my current party leader.
Anywho, Liz & Ard had to build their own way home, and have been working on that pet project here at the Fab Lab.
We’re here to help (you leave).
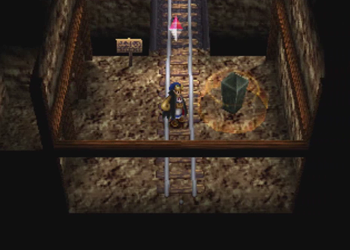
So the rest of the dungeon will simply be a walk around the place to gain access to the UFO access hatch.
I genuinely don’t know if there are random encounters in this dungeon. Not a single one popped up, so I want to say no. But… maybe?
The whole “dungeon” is mostly dialogue and random “traps” anyway.
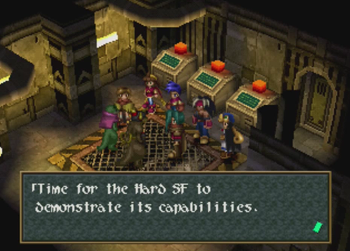
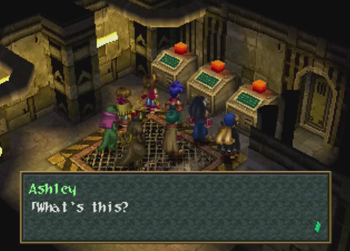
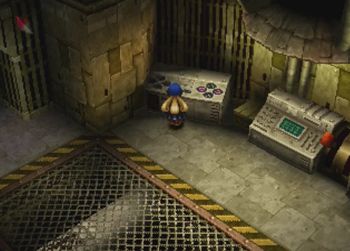
Security system time!
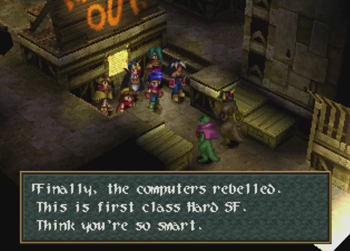
What does “Hard SF” stand for? Could the localizers at least have found a word that starts with F?
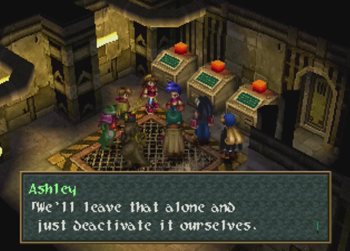
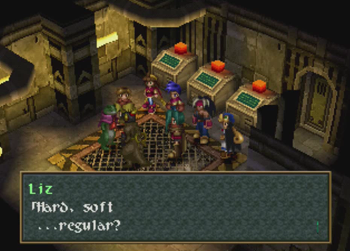
So, apparently Liz & Ard based their security system on a quiz show.
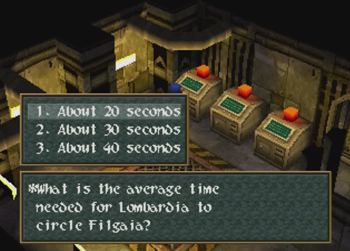
On one hand, these “quiz panels” are hard as hell, because the questions and answers are often nonsensical and the sort of trivia you would never notice on your own. How fast can you fly around the world map? Why would you ever know that? And how could you easily time that?
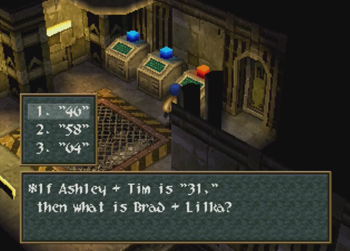
On the other hand, these questions absolutely shatter the fourth wall, and you might learn something new about the world of Filgaia by trying to discover the right answers. “46” is the right answer to this question, as Brad is apparently 32, and Lilka is 14. I think Lilka’s age is already noted in the game…
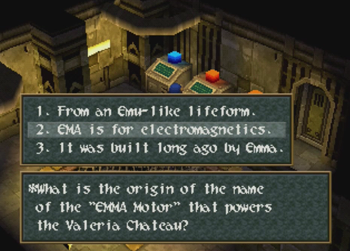
And, see, there is no Emma! Put that thought out of your mind!
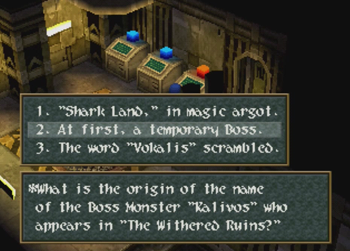
Though, again, some of these questions are completely nonsensical. Kalivos was one of the first bosses in the game, and… maybe this is an admission from the designers that that name was only supposed to be a placeholder in the first place? Lousy translation…
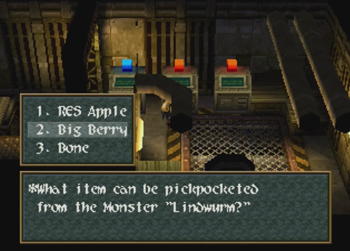
Anywho, there are two sets of three terminals. They can all offer the same questions, and there’s a pool of… let’s see here… looks like seventeen or so questions. The “problem” with these terminals is that you only find out if you got the questions right after answering all three terminals, and, if you got a single question wrong, you have to try again with potentially all new questions, and no indication which question you got wrong the first time. This can get frustrating, particularly with the questions that make no sense to begin with. However, there isn’t really a penalty for “losing” (save wasting time), so it’s not too bad.
Also, by way of a random question, the terminals do confirm that Lucied the Guardian is supposed to be male in this title, which isn’t confirmed anywhere else in the (original) text (Anastasia used the term “they” for Lucied in this English translation, presumably because she didn’t want to go anywhere near a divine werewolf’s junk). Of course, I didn’t get that question, and just wound up venturing forward…
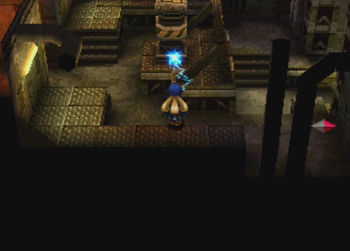
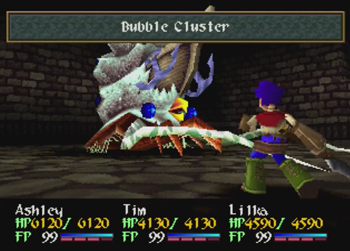
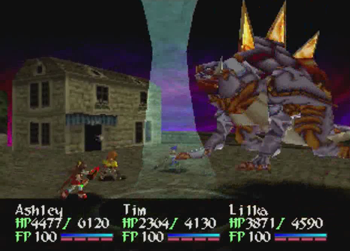
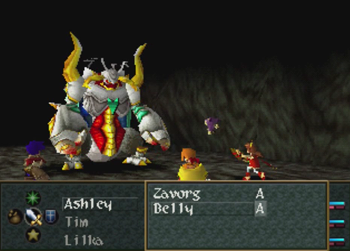
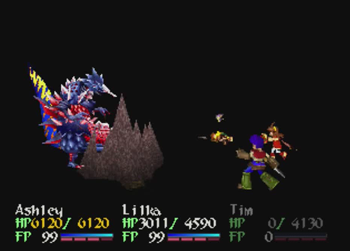
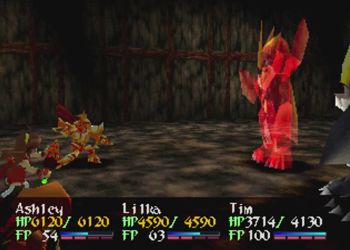
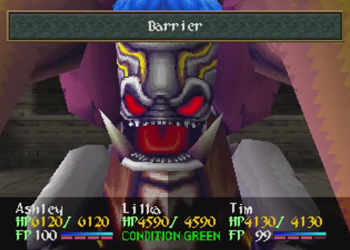
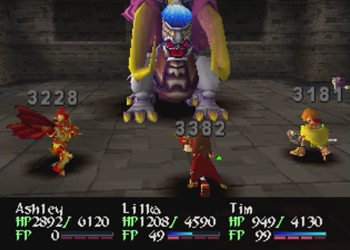
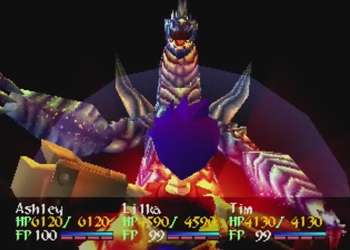
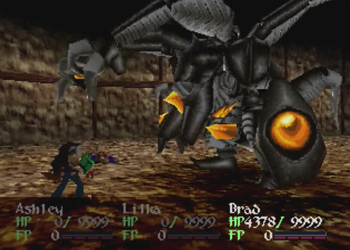
I know that kind of glowy thing! It’s boss time!
Go ahead and go back and check…
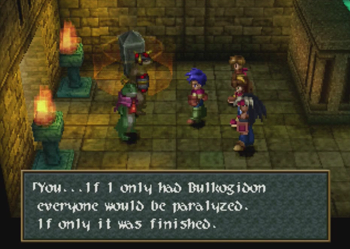
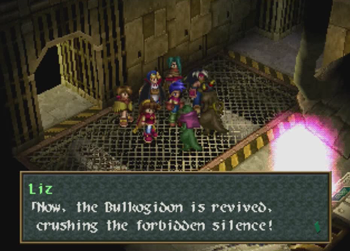
Liz has mentioned his greatest creation, Bulkogidon, during every previous encounter.
We finally get to meet!
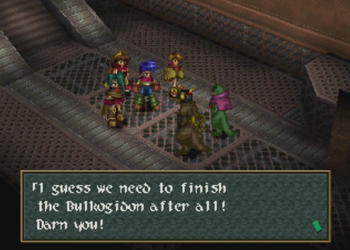
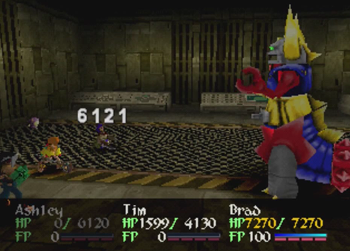
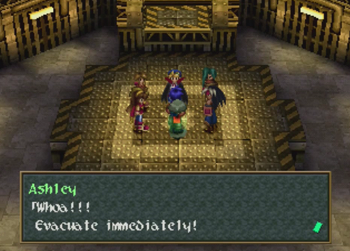
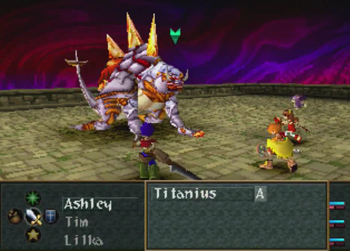
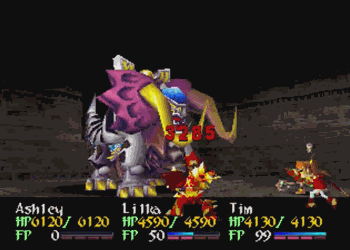
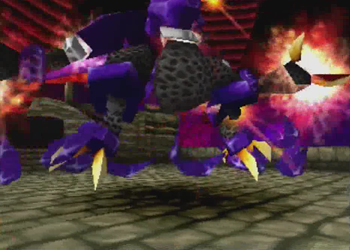
And it’s out of control, so guess who has to handle this death machine?

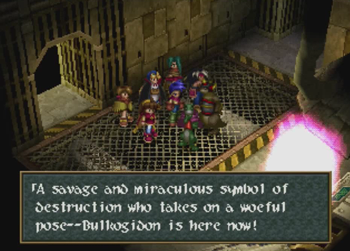
This is the only boss in the game that gets an askew title card.
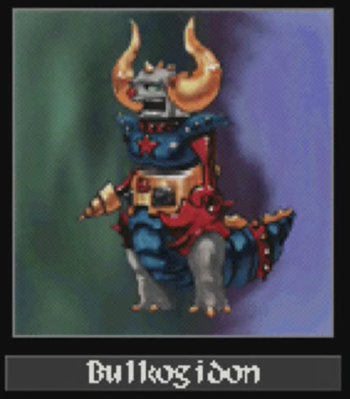
And it’s going to be a doozy.
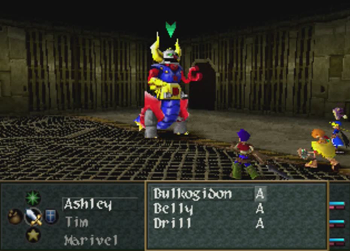
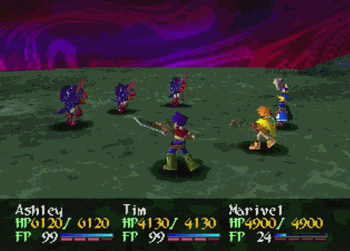
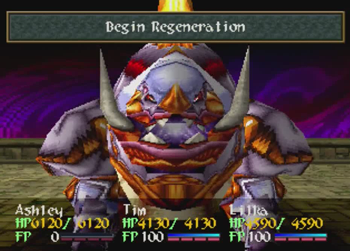
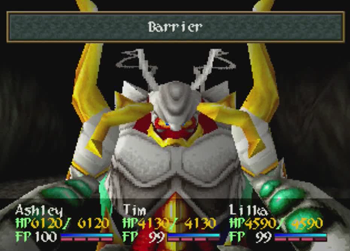
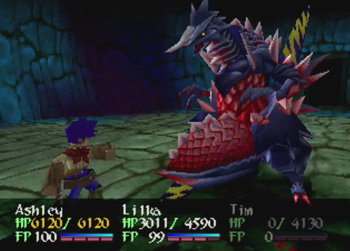
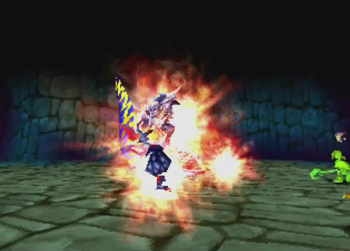
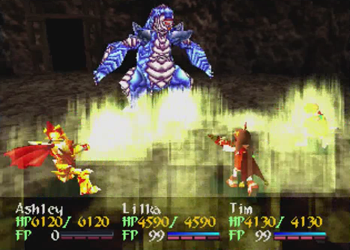
Bulkogidon is an entirely optional boss, and, like other optional bosses, it is tough as nails. Liz & Ard finally built something powerful!

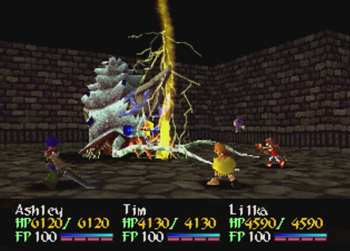
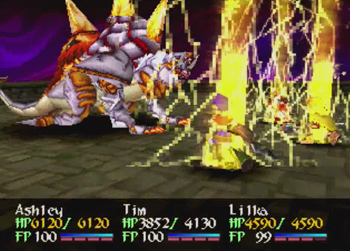
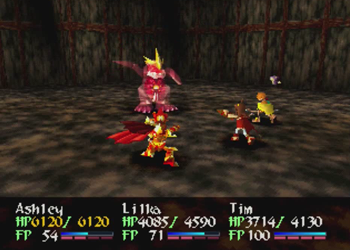
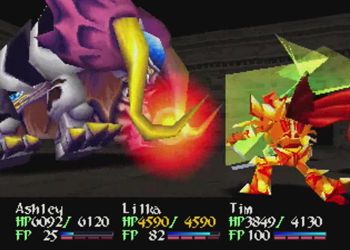
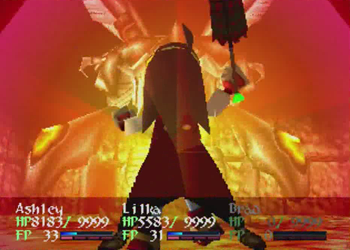
First of all, Bulky hits like a truck, and one of its main attacks has the ability to paralyze literally the entire party at once. You’d have to be pretty unlucky to see that happen, but you can’t rule it out.
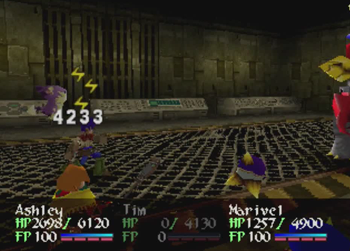
It also knows a dark-elemental attack that… oh, man, sorry, Tim. I really should have equipped an elemental ring so you didn’t lose more than your maximum HP in one hit. I mean, that’s what you get when you’re a mage…
Dammit! Did Bulky just do more than Ashley’s max HP? Dammit! This is going to take a while…
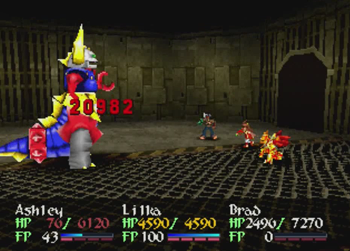
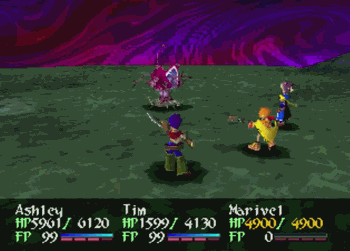
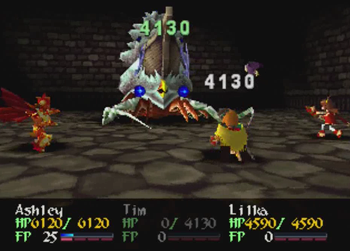
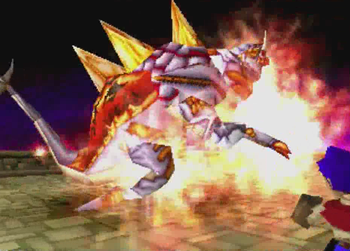
The good news here is that Liz & Ard are idiots. Bulkogidon would be one of the most difficult bosses in the game if not for one glaring weakness: every single weakness. Ever. Bulkogidon is weak to literally every element, so any attacks that use any elements will do massive damage. This means your mages can use their elemental attacks, your physical attackers can equip rings to utilize elemental basic attacks, and literally anyone can rely on summoning elemental-based guardians.
The whole battle is basically a massive damage race, and, if you can survive pretty much any attack without losing all of your HP at once, then it’s just a matter of sticking one character on healing duty while everyone else uses an elemental assault.
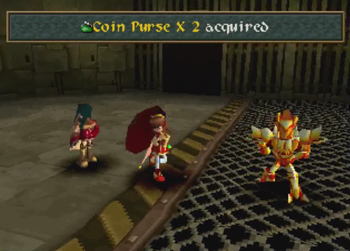
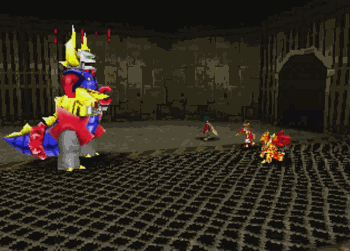
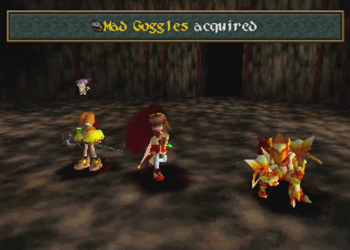
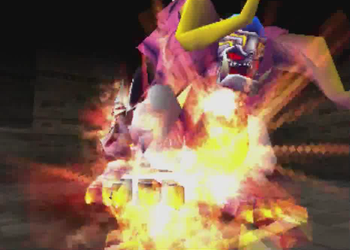
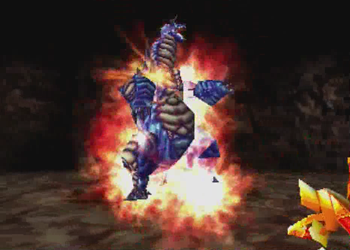
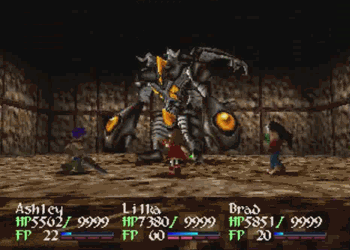
Taking down Bulky’s individual body parts will net some Coin Purses, accessories that double gella earned per battle. I don’t think they stack, though…
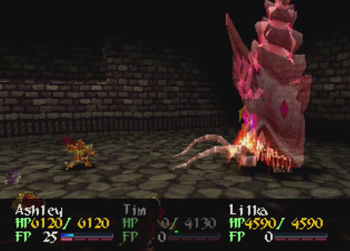
After that battle, it’s likely no one wants to deal with Liz’s nonsense anymore.

This ain’t Gundam: Liz.
“Is this dungeon done yet?”
I do like the look of Bulkogidon’s control console, though.
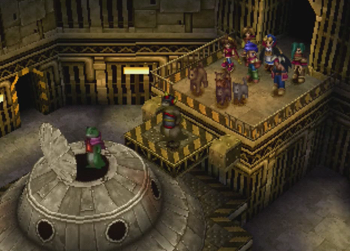
Here we are!
Liz built this himself. And we all know he’s a certified genius.
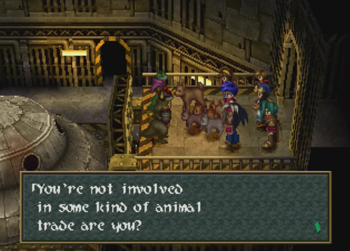
And, for absolutely no reason, a bunch of random animals show up.
Liz & Ard are friends to animals!
They’re just gonna stand there and watch, and you know it.
Yes, even the planet and its furriest inhabitants want Liz & Ard gone.

… Thanks?
Good-bye forever!
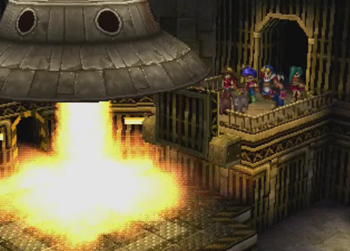
“I have to go now. My planet needs me.”
Thanks for the memories?
And something falls to Earth Filagaia.
Hope they’re not important…
Look up!

Yep, this went about how you’d expect. Welcome back, guys.
So Liz & Ard’s final fate is to stand here on this launch platform forever and be generally annoyed at their lot in life. Better luck next time, guys! Enjoy your new planet!

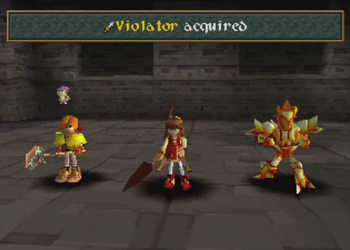
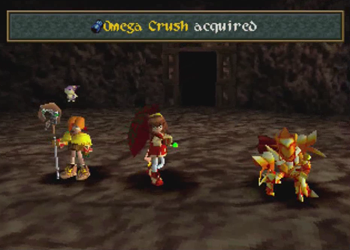
However, the “part” that dropped is a new golem/force ability for Marivel.
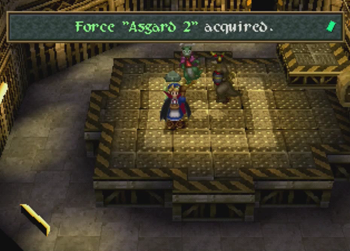
I’m sorry, two new golems. Marivel had nothing to do with this dungeon past opening a door, but she gets all the prizes.
Lucifer was a secret (golem) boss from Wild Arms 1, and it had generally the same appearance (though the transforming is probably new). It deals non-elemental damage to everybody. Given the cinematic for the attack, it’s kind of surprising that Lucifer is only Marivel’s Level 3 Force Ability.
Asgard 2 features the return of Asgard from Marivel’s Level 2 Force Ability (and Wild Arms 1). It’s Marivel’s most powerful Force Ability, but is otherwise unremarkable.
Also, I can’t help but wonder if something was… screwed up with Marivel’s Golem abilities. Marivel starts with Level 1, Level 2 is hidden in the same dungeon where you find Marivel, and then 3 & 4 are both dropped on you in a dungeon that barely has anything to do with the vampire. And, thanks to Level 2 being fairly well hidden, it’s very easy to wind up with Asgard 2 and no Asgard (1). And, rather than have both abilities drop at once, it would have made a little more sense for the two to be split between the Fab Lab and Forgotten Catacombs, a dungeon that is Marivel themed, but offers no Marivel-based rewards. It’s weird, and makes me wonder how late Marivel and her special abilities were implemented in the game (and there will be further questions about that later).
Anywho, that’s it for Liz & Ard, and now we will never see them again. Liz & Ard, you were truly kings among Lizardians, and the fact that you two idiots are never referenced again in the franchise is a crying shame. In remembrance of this duo, from now on March 3rd shall be Lizardman Day, and all children shall celebrate the Lizardmen that once came to save Filgaia.
So, technically, I performed this side quest before venturing into the final dungeon. However, the next little adventure requires a tool hidden in the final dungeon. Additionally, everything else past this point is all super bosses, and the final dungeon hides the best armor for our heroes. So, with that in mind…

The rest of this update technically takes place after venturing into the final dungeon. Wild Arms 2 does not save a “clear file” for returning to the game after defeating the final boss, nor does it unlock additional playable content after clearing the game. However, it is in your (and my) best interest to complete the majority of the final dungeon for its excellent treasure, and then walk all the way back to the world above before tackling any of the rest of the content in this update.
So, tldr, technically the remainder of this update takes place after the content in the following updates. But, since super bosses don’t really have an impact on the narrative, they’re getting stuck here in the optional update. Got it? Okay, good.
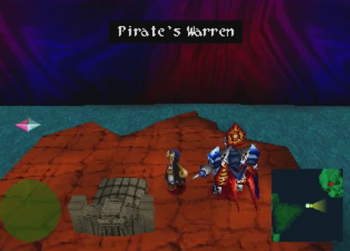
We discovered Pirate’s Warren a few updates back, but we can explore the rest of the area with a tool from the final dungeon.
This is literally the only place that requires this final tool outside of the final dungeon.

And it unlocks a room containing this friendly fellow.
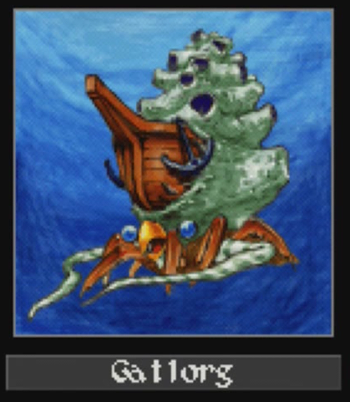
This is an appropriately nautical-themed boss for Pirate’s Warren.
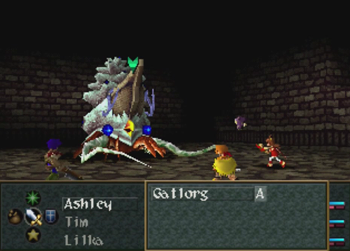
Gatlorg is the easiest of the optional “super” bosses. Its main gimmick is that it has a very high evade stat, so hitting it with normal attacks is more annoying than anything.
Other than that, Gatlorg hits like a regular boss, and has a fairly manageable HP pool. Gatlorg really feels like it was intended to be a normal boss somewhere, and was rescued from the cutting room floor as an encounter in this optional area.
Like most squid-pirate ship hybrids, Gatlorg is weak to lightning. Its data also indicates it is weak to fire, which seems… odd.
Gatlorg does have the ability to “eat” a character and absorb the entirety of their HP. It’s basically an instant death attack with a twist, though the amount of HP restored doesn’t make much of an impact on the proceedings.
Stupid thing doesn’t even get a unique death animation.
Gatlorg is the weakest optional boss, and offers the weakest reward. All we have here is an accessory that boosts attack power, and it’s locked behind a duplicator chest. Gatlorg is only really “worth it” for the bragging rights of having defeated every optional boss, and, even then, no one is going to be impressed.
Okay, now let’s hit the big boys.
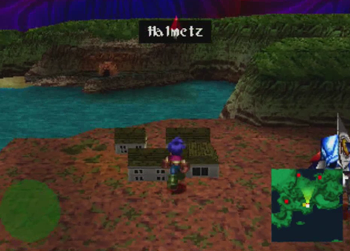
Halmetz is that town that was entirely kidnapped by Odessa way back when. It’s also close to Fiery Wreckage, so its populace will talk about that dungeon from now until the end of Filgaia.
But the reason we’re here is this lovely pyramid hovering over in the corner of town. This dude is the only NPC in the universe that offers an explanation for where these things come from. Answer: dunno.

But, for anyone that didn’t play Wild Arms 1, he’s the only one that offers an answer as to what to do with these pyramids.
Time to make some noise with Marivel’s secret tool. Just a reminder: in order to participate in any of the pyramid battles, you must have recruited secret character Marivel, read the secret book in the first town’s library, found Marivel’s second tool in the Promised Catacombs, and then used that tool back in Lost Garden to unlock Marivel’s final tool. Long road to travel.

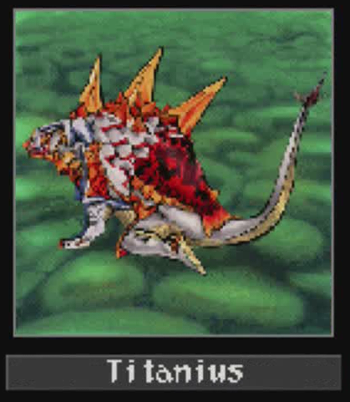
All just to see Titanius and his various buddies.
I’m pretty sure all of the super bosses have entirely unique models. Eat it, Final Fantasy franchise.
The super bosses can be tackled in any order, and I’m going to specifically battle them in “Goggle Bob finally remembered to go here” order. There doesn’t seem to be any in-game intended order for these dudes.

Titanius hits hard, as would be expected of a super boss.
It is also apparently lightning-themed, so some defenses against lightning would be recommended.
Titanius’s big deal is that it is very defensive and difficult to damage. It’s weak to wind attacks, though, so that can help.
Unfortunately, that might not be enough. Titanius has high defense and it can regenerate its HP whenever it likes. This leaves a few options: first, the “real” way would be to max everyone’s FP all at once, and then unleash the most damage in a round that could ever be possible by using every last drop of FP simultaneously. Or you could just notice that Titanius is weak to status effects, and get lucky with an instant death skill (available to Ashley, Tim, or Marivel in various forms), or use Marivel’s Power Seal ability to silence Titanius’s ability to utilize any healing abilities.
Either way, your goal is basically to do as much damage as possible in about three rounds, whether that be through normal means or trickery.
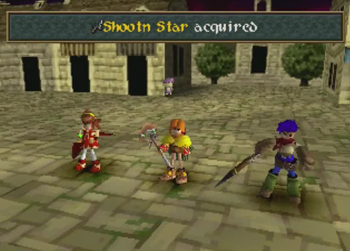
This grants Ashley his most powerful weapon, the Stootn (Shooting) Star. This is a double pun, as “shooting” has an obvious implication, and, if you recall, Ashley literally was a “shooting star” at the end of Disc 1.
Each super boss grants a special reward for victory, but otherwise impacts nothing. There is no ultimate prize for banishing each pyramid, but I am going to keep count here.
Pyramids Defeated: 1
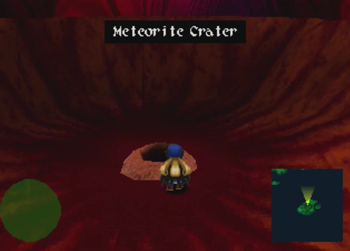
Next stop is Meteorite Crater, an optional area where we first found the Star Guardian.
Nearly all of the pyramids are near their area’s respective entrances, so you don’t have to go dungeon diving again.

Also, oddly, the majority of super bosses’ names are toward the end of the alphabet.
And the majority of super bosses are ugly as hell.
A number of super bosses have an extra body part. Defeating this extra target generally means an extra Ambrosia (an item that restores the entire party’s HP) at the end of the battle.
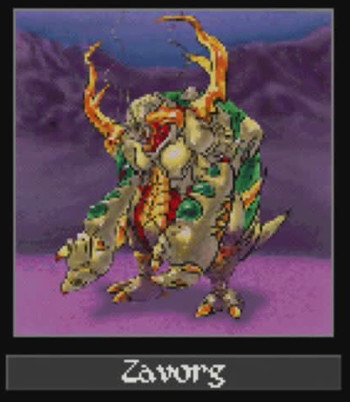
Zavorg is another defensive super boss. Magic will always miss on this dork, and he starts the battle by “wasting” a number of turns on upping his defense to insane levels. On one hand, every turn he’s casting barrier, he’s not attacking. On the other hand, he gets really hard to damage really fast.
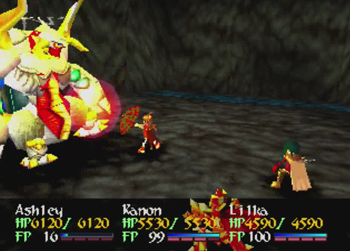
And his complete immunity to magic means even Lilka is going to have to whip out the ol’ umbrella.
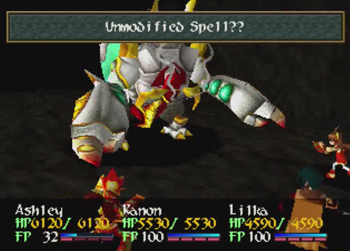
And just because you can’t use magic doesn’t mean Zavorg can’t use magic to smack everyone around.
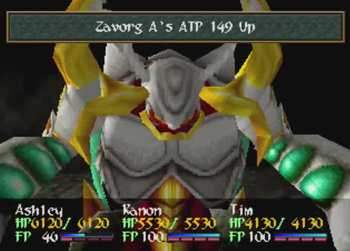
After Zavorg’s defense is maxed, it will start powering up its own attack. That’s not good for anybody (except Zavorg).
Ultimately, hitting Zavorg is like hitting a brick wall, but is otherwise manageable. It doesn’t have any regenerative abilities, so equip a black ring on your physical attackers to hit its weakness, and go to town. You’ll see an exploding bug in no time.
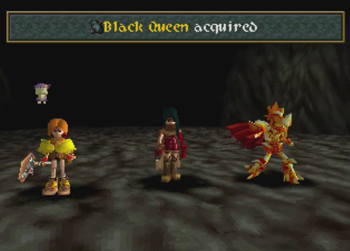
Lilka’s best weapon is your reward. Lilka will never use her physical attack ever again.
Pyramids Defeated: 2
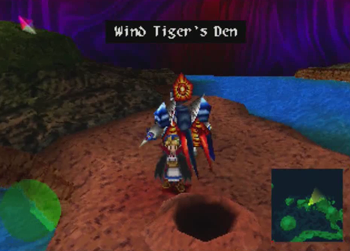
Wind Tiger’s Den is our next stop.
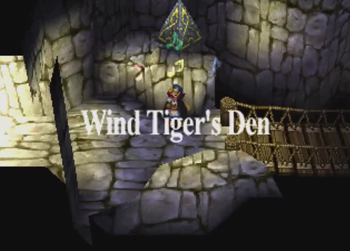
I’m sure that pyramid can hear us from here.

Who’s a spikey boy?
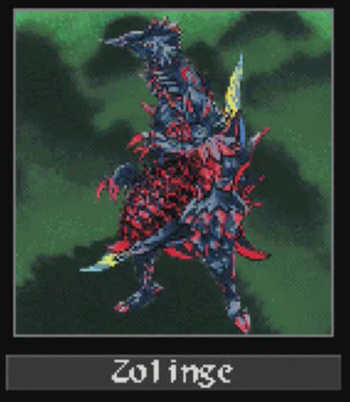
Or girl? … Queen?
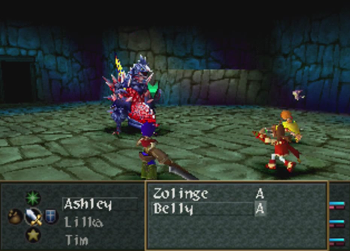
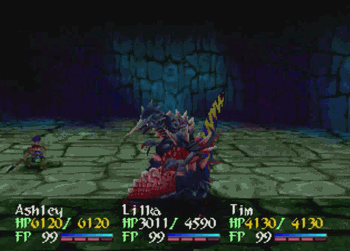
Zolinge is here to tear your limb from limb. Its big thing is its speed, so don’t expect to ever go first in this battle.
Its… interesting biology also affords it an instant death attack, and your luck will basically determine the difficulty of this battle. If your characters are constantly falling to instant death, things are going to get dicey. But if you’re lucky enough that its instant death move barely ever connects (which is fairly likely), this winds up being the easiest super boss in the game.
It is weak to earth attacks. Throw rocks at it!
And watch out for the pointy bits.
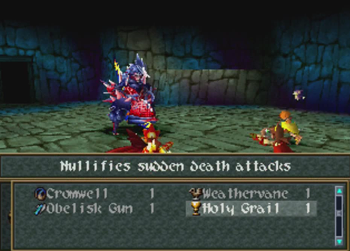
Using the Holy Grail item with Lilka’s mystic ability is supposed to guard the entire party against instant death attacks. This dork didn’t wind up using its instant death attack after sipping from the Holy Grail, though, so I can’t say for certain if that actually works in this battle.
Go away, you uncooperative bug-lizard-boomerang monster.
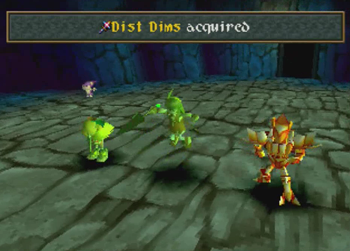
Dist Dims is the best wand available for Tim. I believe this is a reference to a similarly named item from Wild Arms (1).
Pyramids Defeated: 3
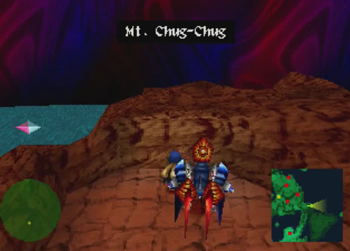
Moving on to Mt. Chug-Chug.
Aw, was this the first pyramid we ever saw?

Twins!
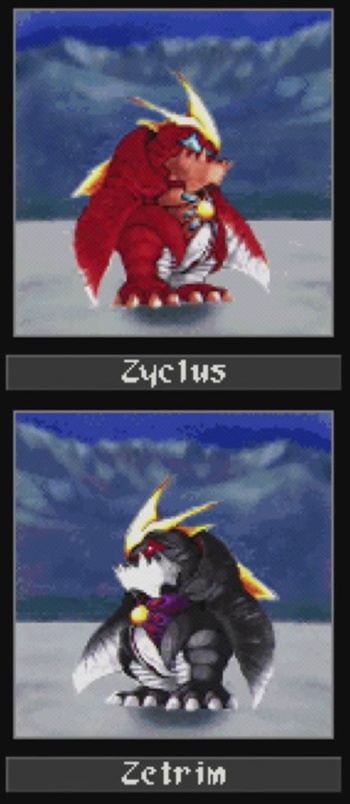
Evil penguin twins!
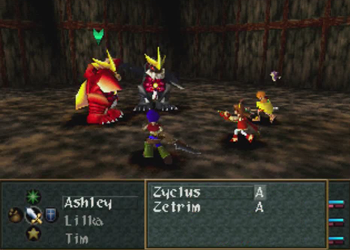
Zyclus and Zetrim are two separate entities, so they both get turns. Obviously, the hardest part of this super boss is managing two different opponents.
Zyclus (red) appears to be the fast one, and Zetrim (black) is the strong one. It’s probably best to defeat Zyclus first, as Zetrim might bleed off more of your HP, but at least your healer will be able to act earlier to save a few deaths.

Other than a few pretty colors, it appears there are no other differences between the bros.
And they’re both very weak to lightning.
Oh! I finally remembered to use Lilka’s force ability to combine two spells. Lit1 + Lit2 = Lit3. As you can see, it does massive damage, and is very useful when you’re dealing with opponents that have an elemental weakness.
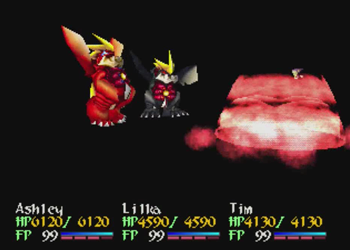
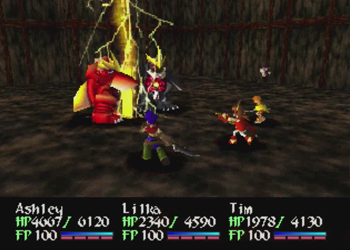
Anywho, the brothers have one incredibly powerful tidal wave attack (Gilas Spin), and if they both decide to use that move on the same turn, you’re in trouble. You basically have to keep your HP topped off in preparation for that possibility.
I guess the WA2 staff couldn’t figure out how to implement a cool death animation when there are two bosses, so regular deaths for these penguins.
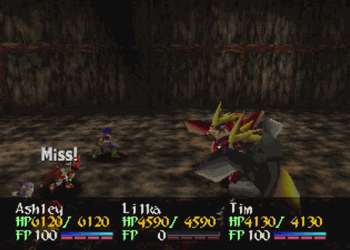
Once we’re down to one brother, this fight is a cakewalk.
Our reward is Marivel’s best “helmet”. Most of the best armor in the game is available at the base of the final dungeon, but Marivel only earns her equipment through Marivel means. Her “best” weapon is also her only weapon, which is strengthened through (findable) consumable items. And I think her best cloak was back in the Thunder Lion’s Cage hidden area. So, sometimes, goggles are all you get.
I’m not complaining.
Pyramids Defeated: 4
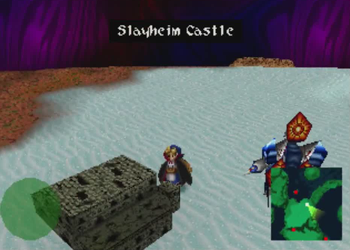
Off to good ol’ Slayheim Castle.

This pyramid is a little further in than the others, but is still in the general entrance area.

Can’t fool me, that’s an elephant!
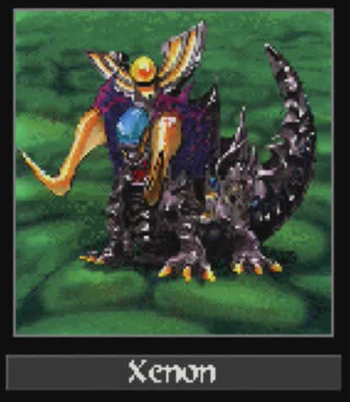
Tandem war elephant?
Xenon is not a friendly beast.
Odds of being trampled and gored are very high.
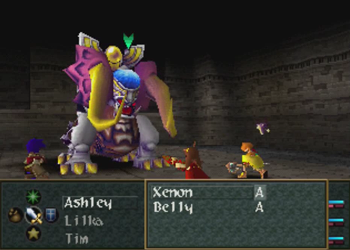
Xenon does a little flex at the start of the battle: Barrier is supposed to raise its defense, but it has no effect. What does that mean? Xenon’s defense is already at maximum. Be afraid.
And then it murders the entire party in one shot. What the hell, Xenon!?
So you have two options: Xenon always uses Ray Force on its second turn, so defending when you know that is coming is an option. Downside? From that point on, Xenon can use Ray Force on any round, so you basically always have to have someone “wasting” a turn on defending, because otherwise everyone will be very dead. Your other (viable) choice is to scoot back to Valeria Chateau and stop by this shop.
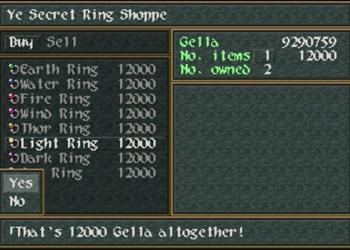
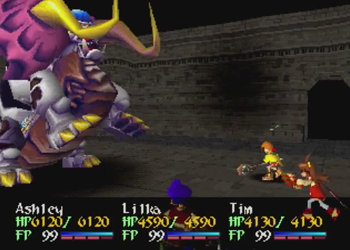
I’ve mentioned the elemental rings randomly before, but this is the first battle that really requires them. The upside of the elemental rings is that they modify your defenses to halve the featured element. The downside is that they also modify your basic attack to be the featured element. This is a double-edged sword, as you often want your attack to be the opposite of your defense. Using Xenon as an example here, we want to defend against light attacks with the Light Ring, but a basic attack that is light-based will heal Xenon. So, basically, we can’t use regular attacks while equipped with these rings at all.
Though, to be clear, the rings can be useful for attacking in other battles, like the previously defeated Zavorg.
So take two on Xenon. Now that we have Light Rings, Ray Force is merely horrifying, and not apocalyptic.
Now it’s just a matter of doing as much damage as possible. Most of our physical attackers have moves that allow for an attack without the ring impacting anything, like Ashley and his Mad Lucien here.
As you can probably guess, Xenon is weak to dark attacks, so feel free to abuse the Dark Guardian and Tim’s dark spells. In fact, please do that, as Xenon starts to use healing spells when critical, which can really make the battle drag.
Kanon’s final weapon is the prize. That is oddly appropriate, as we first fought Kanon in this very hallway.
Pyramids Defeated: 5
Speaking of fighting Kanon, here’s where we had our final battle with our favorite cyborg.
I will admit that this battle became one of the last on the list because I kinda forgot it existed.

Bodyguard for who, exactly?
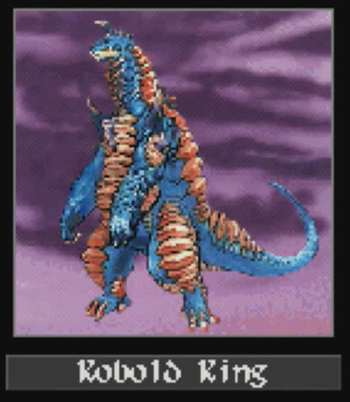
(Non-King) Kobolds do appear as regular monsters here and there, but they don’t appear to be related to this big boy.
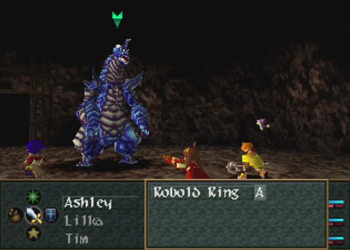
Dude doesn’t even have a belly? What gives?
Kobold King is on about the same level as that boomerang butthead from earlier. It has a lot of physical attacks, one full-party, earth-themed attack, and one super-powerful attack that has a tendency to miss.
Overall, it’s one of the easier super bosses (though still pretty damn tough if you’re under-leveled or unprepared).
And that’s it for this “bodyguard”.
Your completely disproportionate reward is Brad’s best weapon. Since Brad has a tendency to rely on his physical attacks, this is arguably the most useful of all the super-boss weapon rewards.
Pyramids Defeated: 6
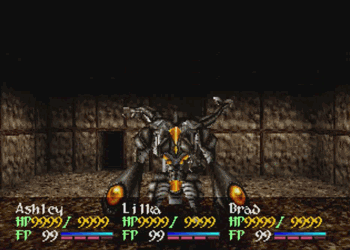
Now… a little more cheating. The next two super bosses are incredibly difficult. And, while I will be happy to tell you the “real” strategies for these final two challenges, I am a relentless cheater.
As this is the absolute end of the game, I decided to gameshark back in a maximum number of items (both consumables and accessories), and maxed everyone’s HP to 9,999. To be clear: these changes will even still not make these battles easy, but I’m not going to have to juggle rings or worry about conserving healing items. Note that it is possible to have HP (nearly) this high through exploiting the skill point system for HP at level ups as early as possible… but that requires a bit of foresight grinding.
You may recall that this “all items” cheat once made the game literally unbeatable, but I’m not so much worried about key item overflow now.
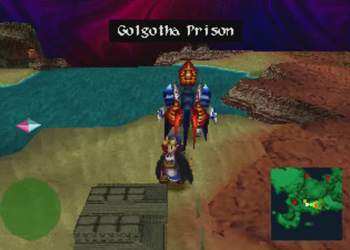
First last stop, Golgotha Prison, where ARMS was once nearly crucified.
This pyramid is very easy to miss, as this general area is only ever seen during a cutscene.

Welcome to Flavor Country.
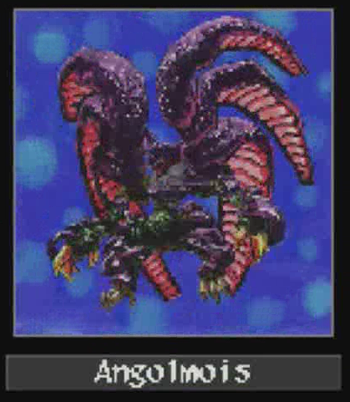
Even among the super bosses, Angolmois stands a head above. It also seems to resemble the golems of Wild Arms 1 (like Lucifer from earlier in the update), even though the “original” Angol Moa (slightly different spelling) was a biological “psychic force” and hidden boss of Wild Arms 1.
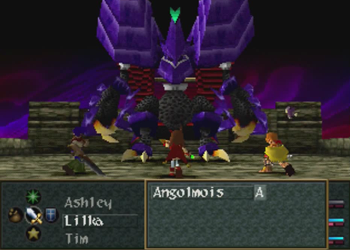
It’s pleasant that this arena background is only used once in the game back during Disc 1, but it is updated with the “threatening sky” of Disc 2 for this battle. That will be the only pleasant thing about this battle.

Angolmois does not know how to not completely obliterate your party. Its weakest attack, Great Disaster, has general odds on inflicting confuse, so you basically have to come into the battle with something that will prevent that status effect. It will also use a party-wide dispel spell at random points, so you can’t rely on preventing status effects with any magic during the battle.
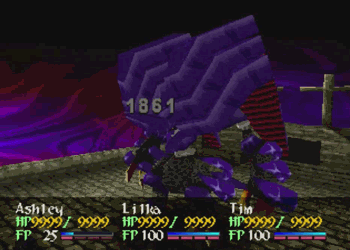
Angolmois’s greatest attack is 7th Moon, which will obliterate any characters that haven’t been hacked to absolutely maximum stats. Like with Xenon, you basically have to always have someone on defense just in case.
You can get pretty lucky with Angolmois’s early phases, as it also has a basic physical attack, and Smithereens, which is the critical version of that. Either of those attacks have a tendency to miss, and, coupled with its dispel ability, you do have the occasional free turn with which to mount an offensive.
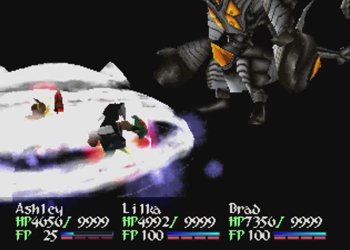
Unfortunately, once it loses about half of its 100000 HP, Angolmois goes into its own (unannounced) berserker mode, and will start using 7th Moon repeatedly. At this point, it becomes nearly impossible to outpace the damage being dealt, and you have to unload everything or die. Use your strongest attacks for every character, and hope for the best. If you’re down to 0 FP and it is still standing… well, you can always try again later.
I managed to pull it off.

Your reward is a Force Unit, an accessory that doubles your FP accumulation.
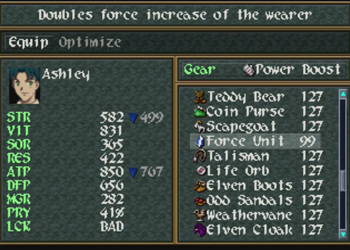
This is rather game-breaking, and means that Ashley could transform into Knight Blazer immediately and constantly. Of course you have to beat arguably the hardest boss in the game to get it in the first place…
Pyramids Defeated: 7
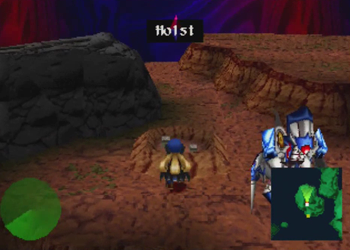
Our concluding stop is Holst, the mining town we last visited when Kanon joined our party.
We’re going to head back into the mines…
Search deep into the underground…
Absolutely use this save point…
And here’s our final destination.

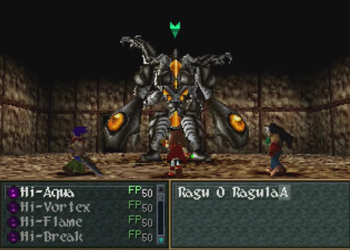
Ragu O Ragula is arguably an easier boss than Angolmois, but it has more street cred in the franchise, so we’re facing it last.
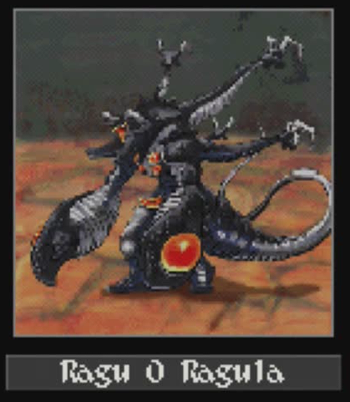
Ragu O Ragula appeared in Wild Arms 1, and would go on to appear in Wild Arms 3-5. In at least a few Wild Arms titles, Ragu O Ragula gets some backstory naming it as the king of all monsters, and is banished to The Abyss, an extra dimensional prison constructed entirely to contain it. What I’m getting at here is that Ragu O Ragula is bad news.
I have no idea where that name comes from, though.
Rags gets its own boss theme in Wild Arms 2, and this is apparently the first title where it utilizes what would become its signature attack, 1 Trillion Degrees. I asked a scientist, and she informed me that 1,000,000,000,000 degrees is, and I quote, “very hot.”
So what’s to be done about ol’ Ragula? Well, you’re in for a treat, as Ragu is resistant to all elemental attacks save fire, which it absorbs. It also alternates between a super-powerful fire attack, and a super-powerful dark attack. This means you can’t just rely on one elemental ring, but you can hedge your bets, and equip one character with a Fire Ring, and the other with a Dark Ring. At least then someone isn’t getting one-shotted every turn.
Since Ragu is resistant to damn near everything, a popular strategy is to keep Brad as alive as possible, and just have him clobber the beast as best he can. Pour literally all of your resources into keeping that “hero” alive.
Ragu O’ Ragula doesn’t really switch patterns like Angolmoa, so if you can survive the initial onslaught, it’s just a battle of attrition. Since the two super bosses are on roughly the same level, you can take your pick on which monster is a better “final” use of your resources.

Incidentally, Ragu O’ Ragula received a major glow-up between Wild Arms games. Everyone always talks about how the NES and SNES saw major advances over the course of their respective console lifespans, but don’t count out the change between early and late Playstation 1 titles.
There it is. The finest achievement in any Wild Arms game.
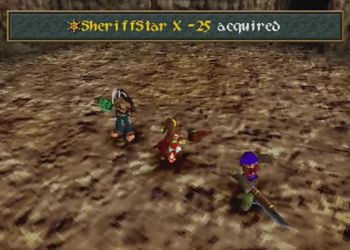
The Sheriff Star is the reward for beating nearly every Ragu incarnation in every Wild Arms game (“nearly” because Wild Arms 5 messed it all up).
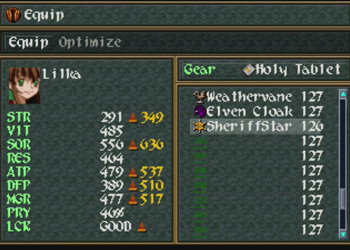
This accessory confers major stat boosts, a resistance to all elements, and immunity to all status effects. As this is a major boon for the Angolmoa fight, this is seemingly another reason to tackle Ragu first.
But I’m a rebel, baby.
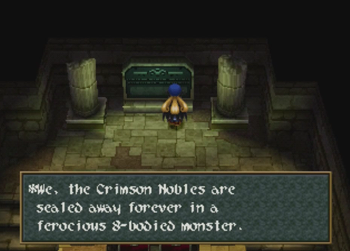
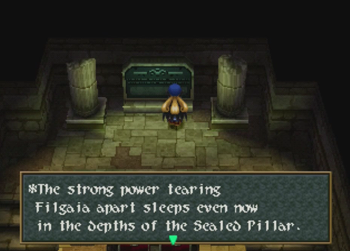
And that’s that! The slate in the Thunder Lion Cage made reference to a “ferocious 8-bodied monster” that contained the power of the Crimson Nobles, and now we’ve slain eight pyramids full of monsters. Will this revive the Crimson Nobles and lead to Marivel being happy with her revived people? Of course not! But it’s nice that this sidequest had a sliver of a purpose. Nothing like cleaning up after long-dead immortals!
Though, speaking of the Crimson Nobles, the other enigma of Marivel’s design is that she learns enemy status effect skills… and they all work on the super bosses. While it’s a very tense way to win, you can technically win against Angol and Ragu by repeatedly using Marivel to cast sleep, and hoping to Zephyr that the boss doesn’t wake up at an inopportune moment. Other forms of cheating: always an option!
Now we’re turning back the clock to before all those battles, and it’s time for the real final battle. Let’s stop dilly-dallying and venture forth to complete ARMS’ final mission.
Next time on Wild Arms 2: A puddle of mud.
[…] Once again, everyone faces Marivel when Ashley is talking. I assume this is some weird coding regarding the “extra” character. […]
[…] To paste the list from earlier in the Let’s Play, the hidden dungeons are… […]
[…] (Memories of Wild Arms 2) […]
I think the sign on the Fab Lab’s door is a reference to this amazing folktale.
https://nice-inspiration.blogspot.com/2013/11/the-eight-winds-can-not-move-him-but.html?m=1
And I believe the “Hard SF” computer is named after the according genre of (S)cience (F)iction. Hard SF generally tries to be more “scientific” and more plausible, and explain stuff more than “soft SF” does. I’m not quite sure where the borders lie – all science fiction is ultimately speculative fiction! But I think that’s what Liz saying the three terminals were Hard, Soft, and “Regular?” was about.