Previously on this Wild Arms 2 Let’s Play: I distinctly noted in the FAQ that “This isn’t a walk through, and I’m not going to hit every single sidequest, because I want this thing to end before the heat death of the universe” And then I finished every single sidequest. Dammit. May as well beat the game now.
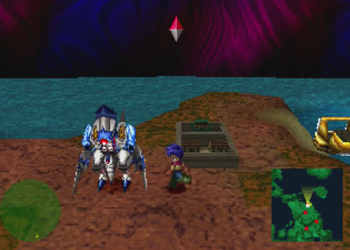
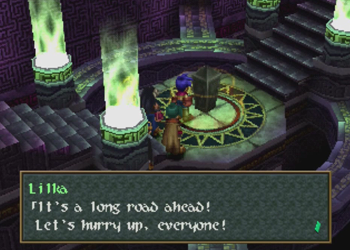
Nothing left to do now but board my metal dragon and… Wait, where were we going, again? Better check with Kate and/or Amy.
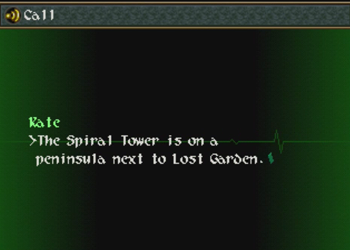
Spiral Tower, I guess! Not that that was ever mentioned in the note Irving left for us.
Dammit! I really wanted to take my airship monster out for one last spin.

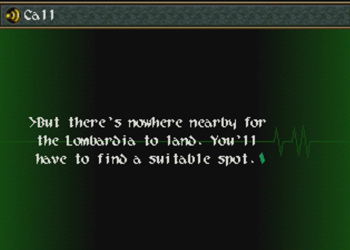
So Spiral Tower is pretty close to home, but it’s on a peninsula that pulls the old JRPG trope of requiring a little overworld walking to get there.
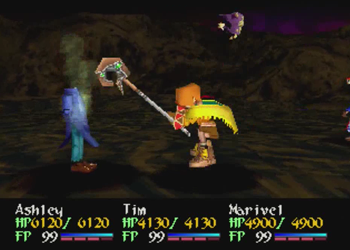
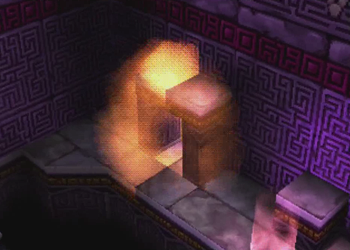
There are no “puzzles” on the Filgaia overworld, so this is mostly just an excuse for a few extra random encounters. Here’s some friendly smoke monster we found on the way.
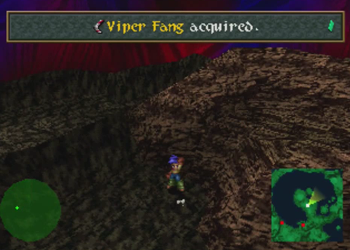
Technically you can walk to this area much earlier than the finale of the game. Your reward for doing such a thing would be the Viper Fang. Viper Fang is an item that may be used with the Shot (Throw) command, and is basically Final Fantasy 4’s Kitchen Knife/Spoon for Wild Arms 2. It will automatically do 25,000 HP damage, and can be used in conjunction with Boost to pull off a full 50,000 HP. That’s about half the HP of the superest of super bosses, so it can come in handy… but only once. Just don’t waste it on a random encounter.
Also, Viper Fang is likely a reference to Wild Arms 1’s Boomerang, a recurring bad boy who was rather fond of a certain type of Australian weapon.
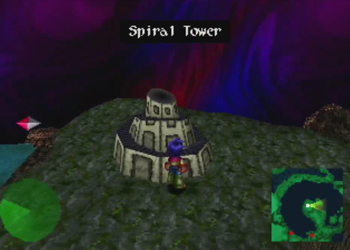
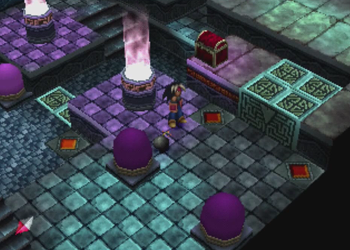
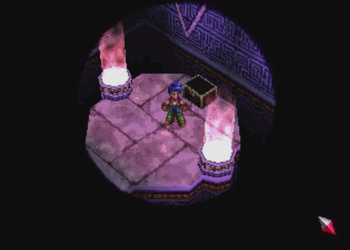
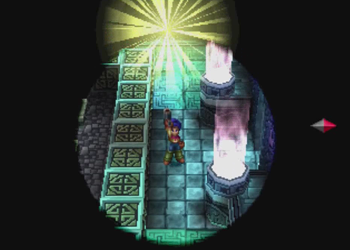
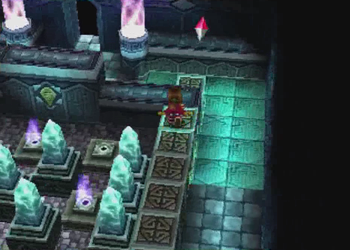
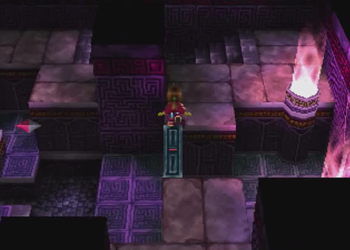
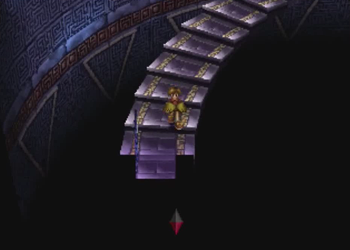
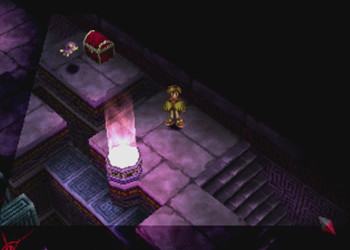
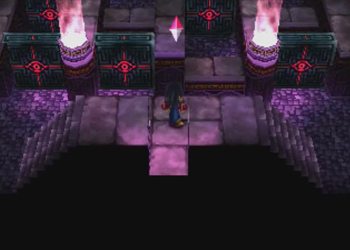
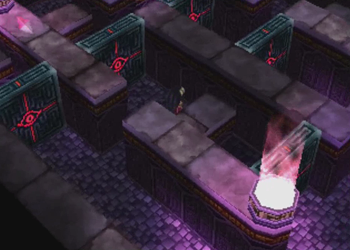
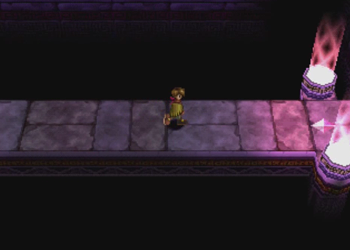
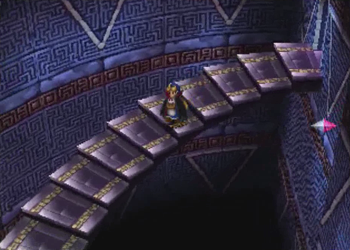
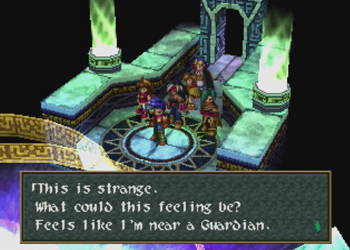
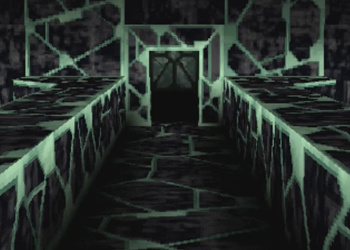
Here we are. Spiral Tower is just sitting here at the exact center of the world. This is one of those weird, millennia old structures that just kind of hangs out, and apparently no one but Irving and ARMS have ever explored the place.
At least someone is keeping the lights on.
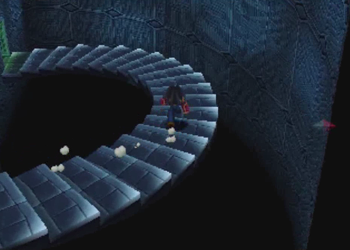
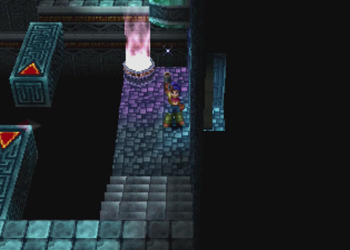
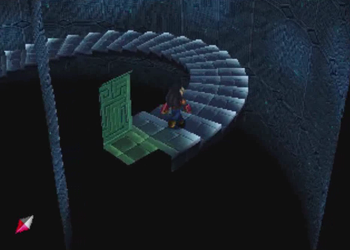
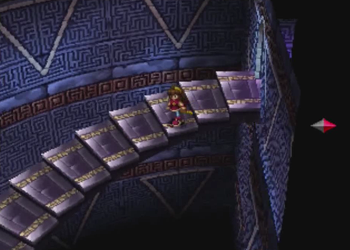
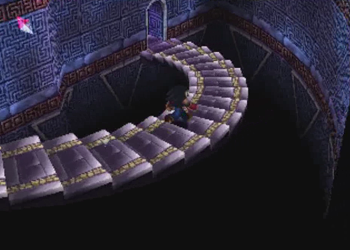
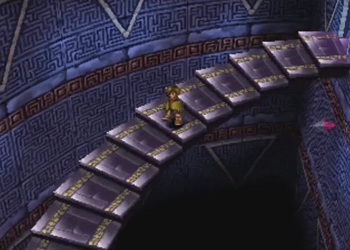
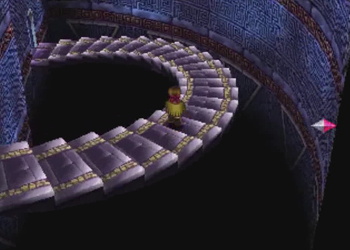
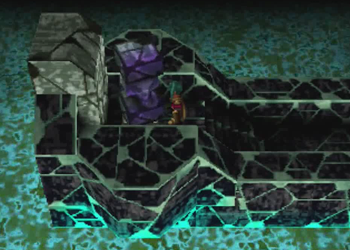
Despite the world map graphic, it appears Spiral Tower is a gigantic tower going straight down. A downward, spiral staircase will appear after every proper room in this dungeon.
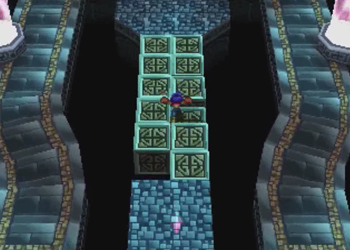
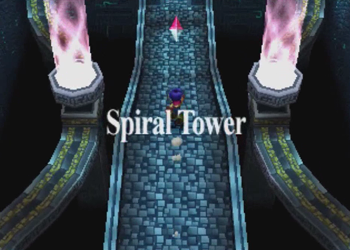
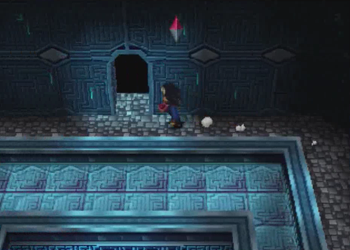
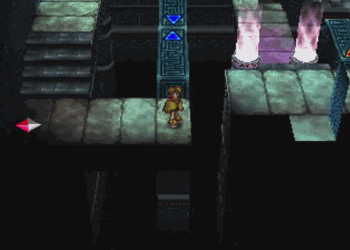
First challenge: a terrible bridge.
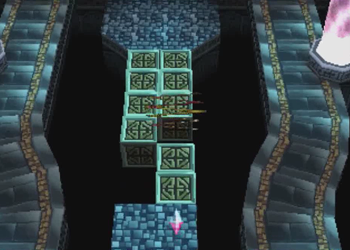
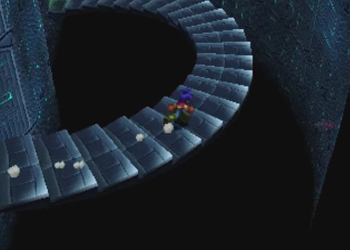
These falling blocks will not restore after they drop (so you don’t have to perfectly remember the hole locations), and Tim’s Mist Cloak is a must for crossing at least one gap.
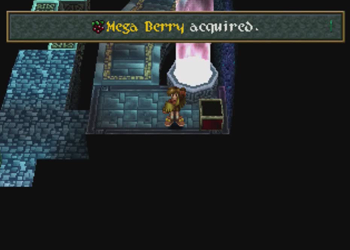
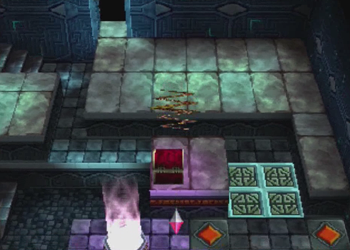
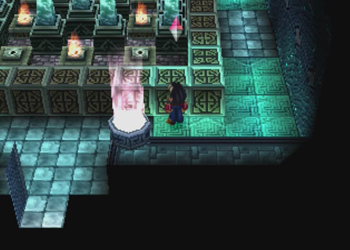
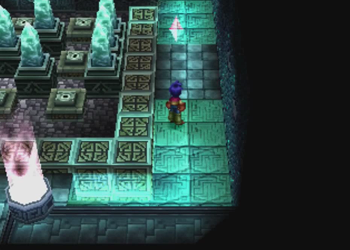
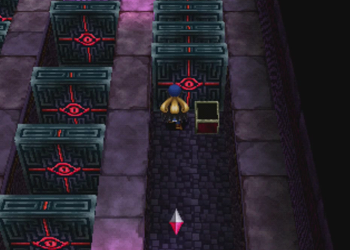
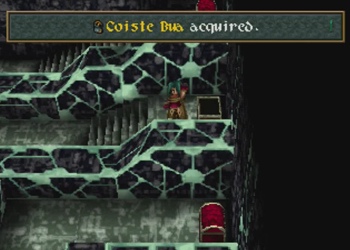
Treasure chests are all over Spiral Tower. Most contain high-level consumables, like Mega Berries or Revive Fruits.

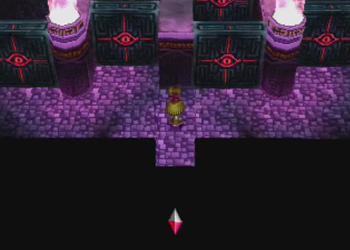
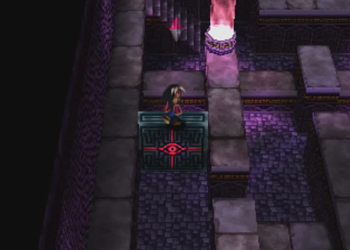
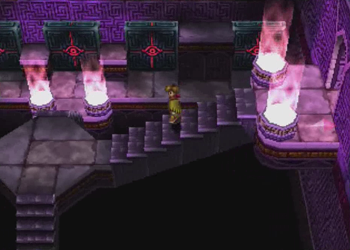
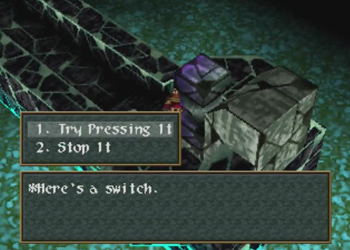
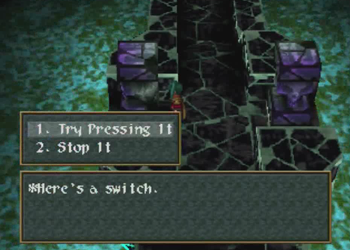
The next room contains the worst puzzle ever.
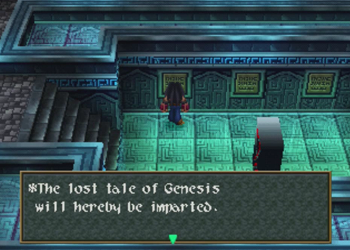
Just for funsies, here’s the complete text of these plates all over the room:
“The spiral turns from the Moon to the Sun won’t change the past, the future nor the present.”
This is our guiding principle or something. The rest of the plates read…
“The lost tale of Genesis will hereby be imparted. I am Saturn, god of agriculture and ruler of the world during the age of happiness.”
“The lost tale of Genesis will hereby be imparted. I am Tiu, god of the sky and war, bringer of the flame of disaster to destroy all creation.”
“The lost tale of Genesis will hereby be imparted. I am Frigg, goddess of love and fertility. After losing my husband Od, my tears turned to gold.”
“The lost tale of Genesis will hereby be imparted. Looking down are the new Moon and the old Moon, king mother’s face and cruel queen of the night.”
“The lost tale of Genesis will hereby be imparted. I am Thor, god of thunder, wielder of the hammer Mjolnir and the defender of the Aesir.”
“The lost tale of Genesis will hereby be imparted. I am Wotan, leader of the Wild Hunt, a band of specters riding the winds of winter storms.”
“The lost tale of Genesis will hereby be imparted. The sun glitters with hope. If one’s heart is filled with hope, darkness exits and the sun appears.”
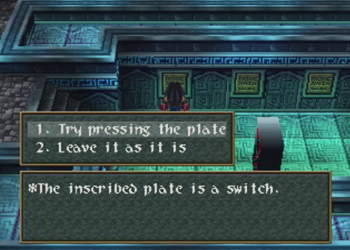
Each of these inscriptions is a switch. Obviously, you’re supposed to press them… at some point?

I’m betting that, for your average player, Thor is about the only recognizable name here.

So what are we supposed to do? The instructions mention going from the Moon to the Sun, and there certainly are obvious Moon and Sun plates. But what are we supposed to do in-between? Do we have to use every switch? Is there a particular order that has to be followed? What do all these random gods (gods that, incidentally, have not been mentioned elsewhere in the game, nor seem to exist [even in legend] in Filgaia) have to do with anything?
Can you solve this puzzle?
Here’s a hint: The Black-Eyed Peas would be able to solve it.
Yes, like in their seminal song, I Gotta Feeling, the answer is to party every day (party every day). The Moon is Monday, the Sun is Sunday, and you’re supposed to press the plates in “day” order:
Moon – Monday
Tiu – Tuesday
Wotan (Odin)- Wednesday
Thor – Thursday
Frigg – Friday
Saturn – Saturday
Sun – Sunday
How the hell you’re supposed to immediately make that connection with this puzzle is beyond me, but, man, good on you if you managed to pull that one off without a FAQ.
And I have no idea how this puzzle/room works in the original Japanese.
Also, Tyr got robbed.
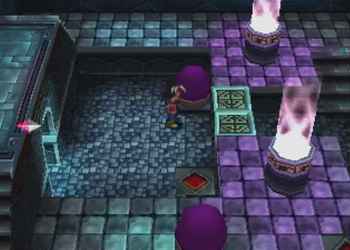
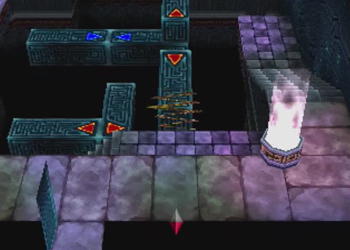
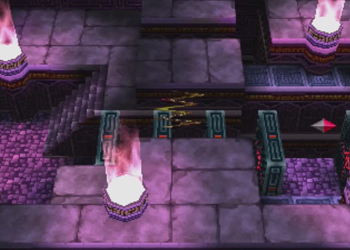
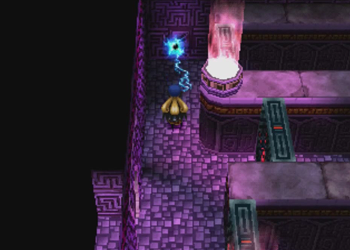
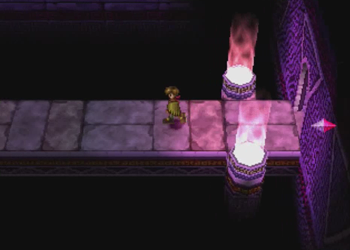
Okay, moving on to some more explosion-based puzzles.
First little area is easy: stand on the switch, and use a bomb to activate the glowy egg thing. This will lower the platform, and you can move on.
Two switches, and two eggs? This is much harder than knowing the days of the week.
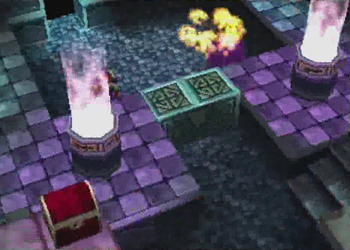
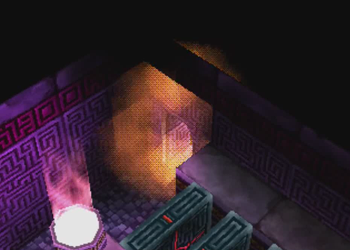
Don’t forget to use one of Tim’s oddly useful tools to obtain a little treasure.

The next room is the same basic deal, but you have to be a little nimble to drop your bomb, and then quickly scurry over to the proper floor switch. It might take a few tries, but it’s not challenging.
And now for a little extra running.
That’s it for eggs for now.

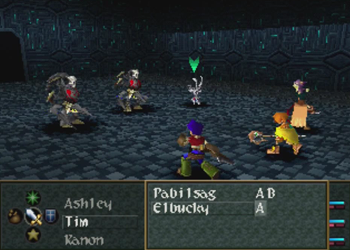
Have I mentioned that the last dungeon contains monsters? It does! Also, oddly enough, I want to say that spikey skeletons and gargoyles also appeared in the Final Fantasy 7 final dungeon, too…
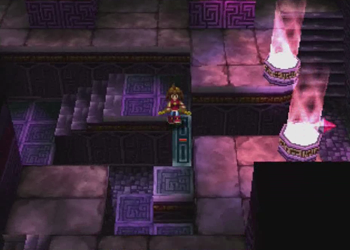
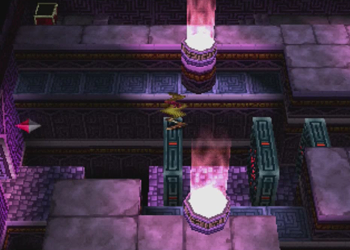
Our next challenges are some platforms that move more than you’d expect. These are very similar to the blocks found in the Lost Garden, and it could be a bit of subtle storytelling that these ruins were constructed around the same time.
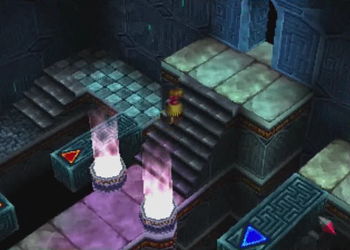
This room has a rare “middle” exit. What could be in here?
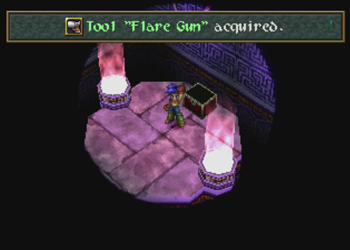
Why, it’s Ashley’s (and the party’s) final tool.
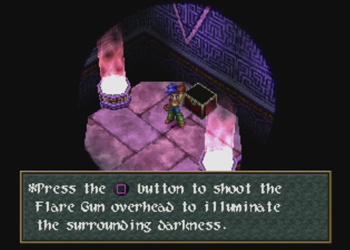
The Flare Gun has two purposes. It can light up a room, and it can hit switches on the ceiling. Coincidentally, it will also be used, like, twice.
Let there be light! At this point, you can now exit the dungeon and fight that one hidden boss at Pirate’s Warren. This is as deep as you have to go to see all optional content back on the surface world, but you can keep going further for more treasure. Or to, ya know, save the world.
As you might expect, leaving the next room requires using the Flare Gun to hit a ceiling switch. I guess Ashley would never otherwise figure out he could throw one of his throwing knives “up”.

More moving platform fun. This room is a little more complicated…
But Mist Cloaking around will solve any big problems.
How far down do you think we are at this point? And how musty do you figure this dungeon has to be? Did Irving dust on his way down?
The next room is a little dark. Incidentally, aside from Pirate’s Warren, the only other place (outside of this dungeon) where the Flare Gun is useful is Werewolf’s Den… but that’s pretty manageable in the dark.
This room has some randomly lit torches, but you can’t touch any of them. … Wait, shouldn’t the torches have lit up this room?
Whatever. Let’s move on.
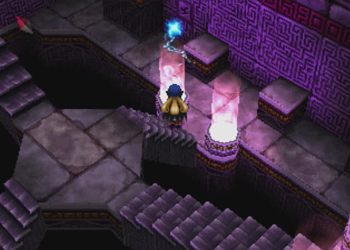
Ah, here we go. This room looks exactly like the last one, but none of the torches are lit. Guess the solution!
Yes, you have to light the torches to match the layout of the previous room. If you forgot what you were doing, feel free to climb those stairs behind you to refresh your memory.
Now this looks like fun.
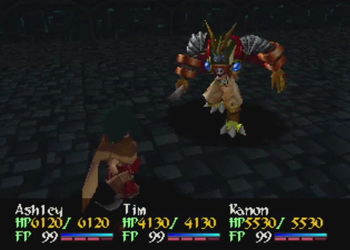
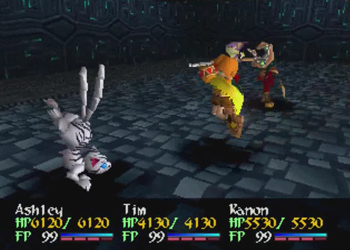
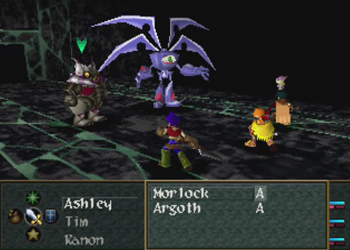
Midboss!

Grodine: Like Undine, but after growing? I’ve got Undine on the brain…
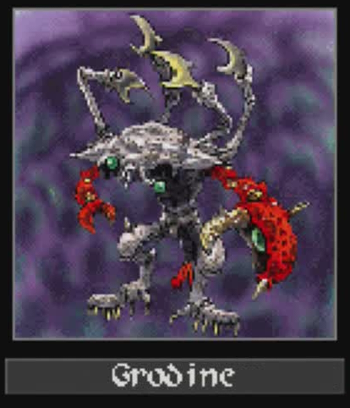
And King Crab is on the menu!
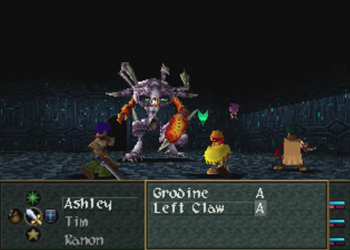
There is just nothing exciting about Grodine. I guess someone felt this area needed a midboss?

He hits hard… or… uh… medium? He hits medium. And he uses water attacks. Other than that? I’m pretty sure Grodine would not have been a challenge back before the end of Disc 1, left alone now.
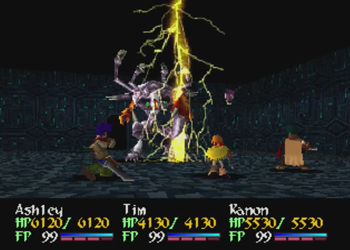
It is also hella weak to lightning, so just go ahead and get pikachu on its crusty ass.
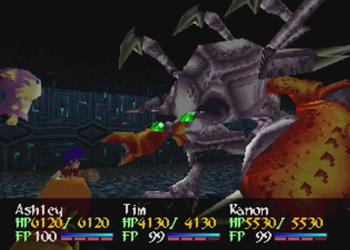
Aw, if you break its king claw, it has to attack with its lil’ baby claw.
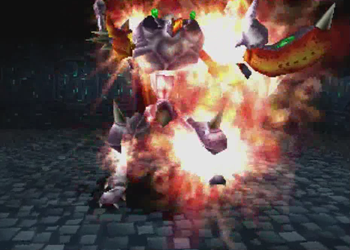
And then it exploded and was gone forever. The end.
“I already forgot that monster’s name!”
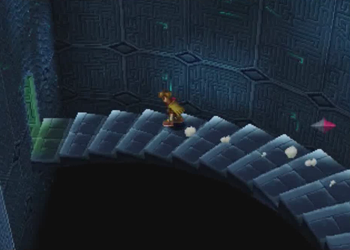
Good cardio dungeon.

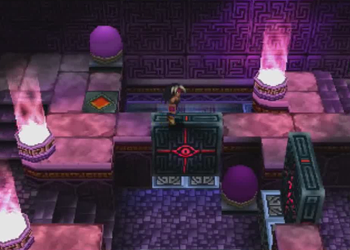
Our next trick or trap or whatever is cursed doors.
Interacting with these doors will summon a random monster mob, and… Wait. Is that a twin-tailed cat balancing on its front legs? Huh.
Anywho, defeat the monsters, and the door disappears. Sometimes you don’t want to do that, though, as the tops of these doors are perfectly valid platforms.
In order to get all the treasure in this room, you have to actually walk out the exit, turn around, and then re-enter, causing the door/platform to respawn, but now you’re behind it, so you can sneak over to goodies.
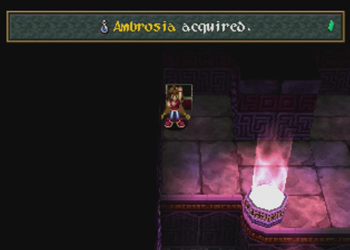
Ambrosia restores everyone’s HP. Very useful!

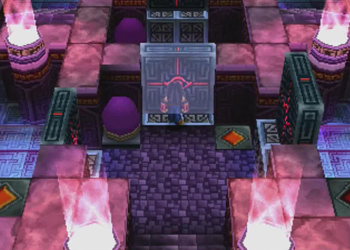
The next room contains demon doors and those egg/bomb switches. Lowering and raising doors is the name of the game.
You basically have to walk around the perimeter of the room without activating a door to hit all the switches…
And then it’s time for door bustin’.
I still love the monster design in this game.
Stair design? Not so much.

This room is a jerk.
Your goal is to Mist Cloak along the tops of the doors, but if you fall, you have to fight your way out from between the doors and reset the room. It’s not all that difficult, but it’s a rather annoying punishment for misaligning a “jump”.
And the final door jump has a really wonky hitbox for ramming into that round torch and falling into the pit. Be careful, and maybe aim slightly diagonally.
Pooka is our MVP of treasure collecting.
The next room is a choose your own adventure of demon doors. Which path contains the least conflict?
But first be sure to use Marivel’s electric tool on a barely perceptible block to the left.
This will open up a hidden door at the end of the room.

Still have to make it through these doors, though. The far right path looks like the easiest…
Nope! It was a trick! Dammit!
Yeah, that is a cat doing a handstand. How is that considered a threat? Are we curtailing a super-intelligent cat uprising?
Hidden door time.

A Brad-based chest!
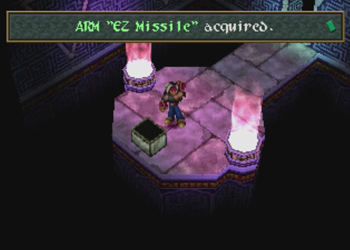
Here is Brad’s final Arm, the EZ Missile.
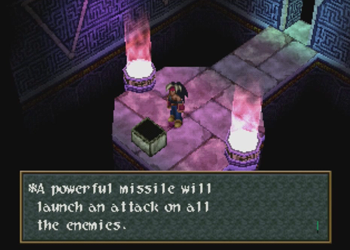
Brad’s final ability is a hit-all attack for the guy that has the least hit-all abilities on the team.
The Rail Gun is still Brad’s most powerful Arm, but the EZ Missile is ideal for large groups. It’s a final ability that isn’t exactly going to set the world on fire, but it is going to incinerate a few monster mobs.
If Filgaia’s core was at all warm, we’d probably also be on fire by now.
This room initially appears to be similar to the previous one…
But it’s actually a series of zigzagging corridors.
You also have to walk across a few doors to get where you’re going, so don’t just eliminate every door you see.
After that… a long hallway. Okay?
How in blazes did Irving make it down all these stairs? Did Altaecia carry him?
Another long hallway! Are we getting close?
Close to more stairs, that is.
This room is fun. Technically, you don’t have to interact with a single demon door in this section.

But you just know there’s treasure somewhere around here!
One door hides another spark block for Marivel…
And that opens another hidden room.
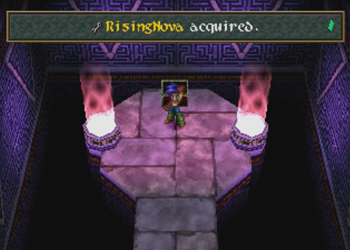
Rising Nova is, naturally, Ashley’s final Arm.
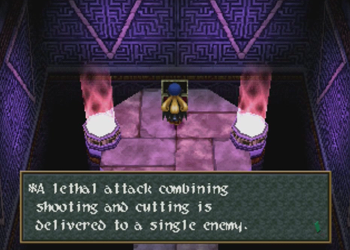
Shooting and cutting? Who can stop us now!?
Rising Nova is Ashley’s rail gun, and can do an awful lot of damage. Mind you, most times Ashley is still better off switching into Knight Blazer mode, but it’s good to have some options that are less FP-intensive.
You know, it kind of sucks that someone built all these stairs without handrails.
Here we are! Last stop!
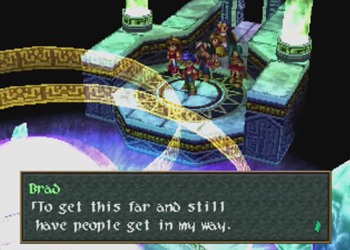
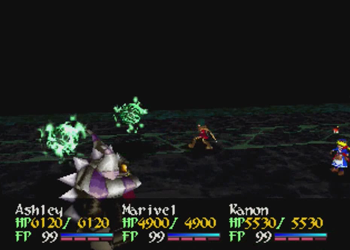
Time for a boss!

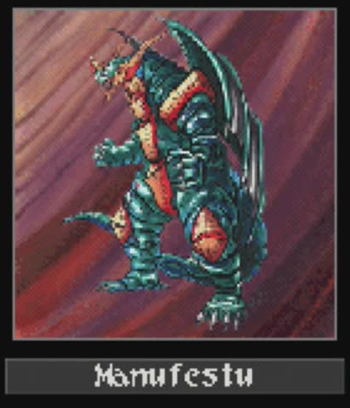
This is the… Not midboss… 75% boss?
Are you a dragon? Do you know our airship?
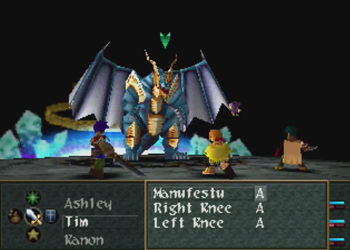
Manufestu is pretty similar to his crab buddy upstairs, and isn’t much to write home about. I guess this is the last non-final boss in the game? That could be a niche.
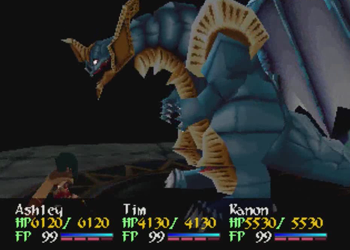
As you might expect, this terrible thunder lizard uses physical and fire attacks.
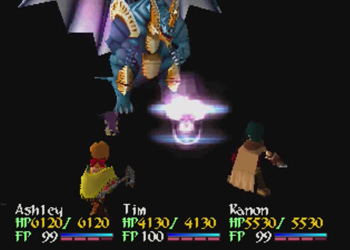
It also knows an instant death attack.
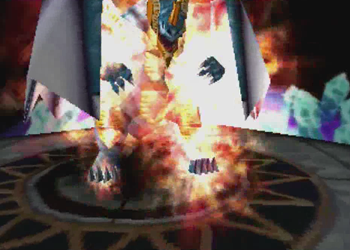
It is also dead. Moving on.
“Did we just kill a god accidentally?”
“Probably not…”
If you couldn’t tell from the geography of the rooms (and so many stairs), Spiral Tower is a spiral leading down. And pretty far down, too!
Journey to the Center of the Filgaia.
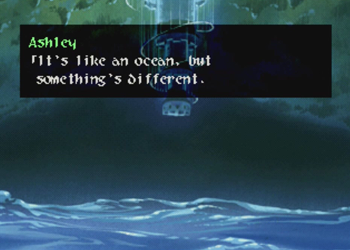
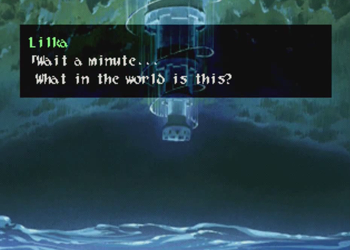
“It’s a lot less… pleasant.”
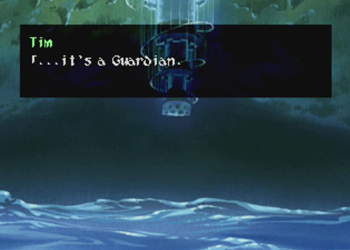
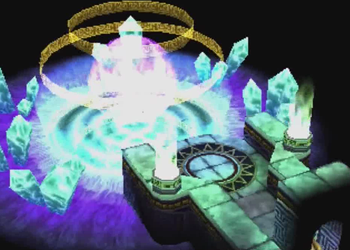
It is simply divine.
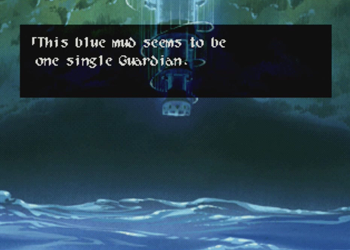
The final Guardian we encounter is a gigantic puddle of blue mud. That’s going to be an interesting summon.
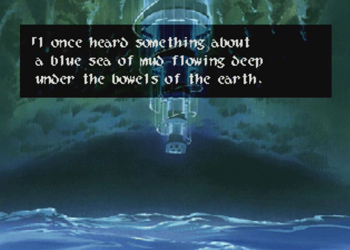
Incidentally, this was never actually mentioned in dialogue, but there is a book back in Baskar that makes direct reference to this mud god.

This somehow isn’t the only Playstation 1 JRPG that features a mud god, and I really have to wonder how that happened.
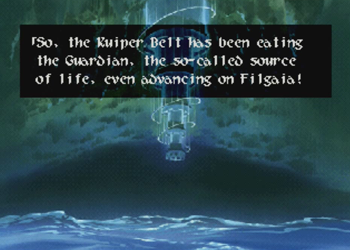
So, yes, apparently we had to venture all the way down here because the Kuiper Belt spiritually attacks the planet from the inside out.

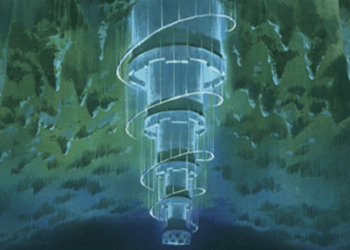
And the Spiral Tower ends in a teleporter that will put us down in the muck.

Hope everyone brought comfortable shoes!
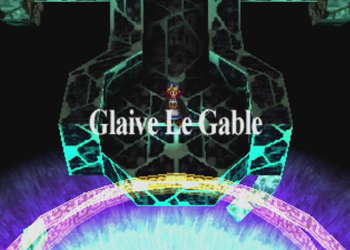
In a technical sense, the absolute final dungeon is Glaive Le Gable, the guardian that stands above all other guardians as the Creator Guardian. Side note: Glaive Le Gable is never mentioned in the franchise again, save as a reference to a misnamed action figure in Wild Arms 3.
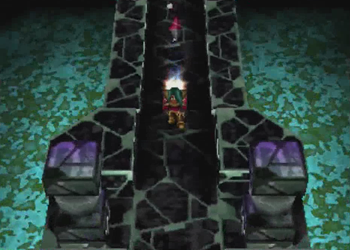
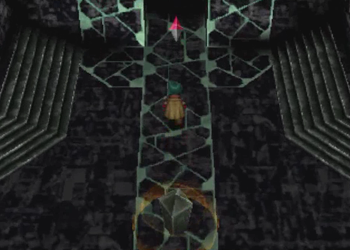
The finalest dungeon is basically a series of extremely long hallways. You might want to make your own map, as the scale of the place is huge.

And there are sealed doors! That means puzzles!
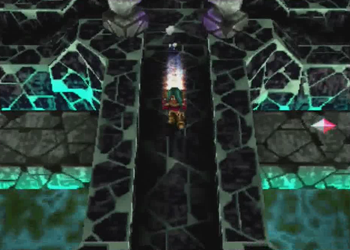
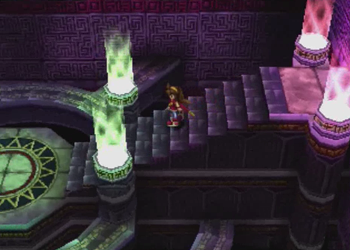
The constant straightaways are ideal for Kanon skating.
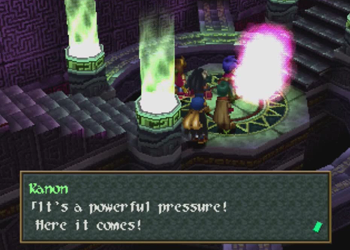
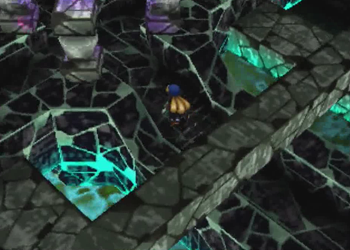
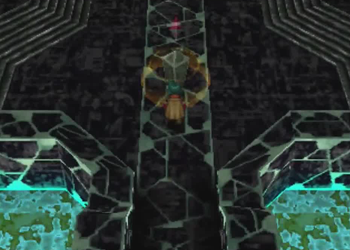
These discolored pillars are something to note.
How about we play with a few?
Rotating the pillars into their proper positions will open doors elsewhere. Sometimes it’s a nearby door. Sometimes not so much.
And if you didn’t think monsters were about, you weren’t paying attention.
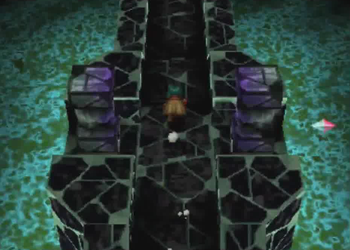
When there is more than one pillar, you have to rotate both until they’re facing the proper direction (usually toward a nearby door).
And then we’ve got a way forward.
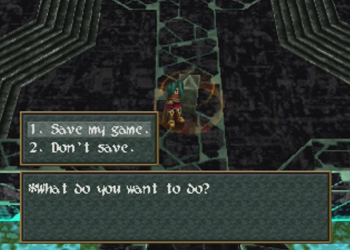
The final save point!
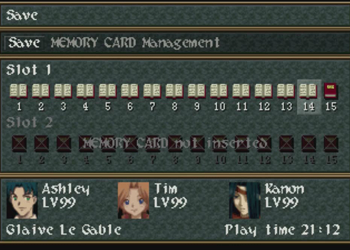
I haven’t really been keeping track within the LP, but it took about 21 hours to reach this, the final room before the final boss. That’s how long Wild Arms 2 takes when you’re cheating your ass off. Reminder: I had to “reboot” this entire playthrough, and I really rushed about the first third of the game.

The final room contains more locked doors.
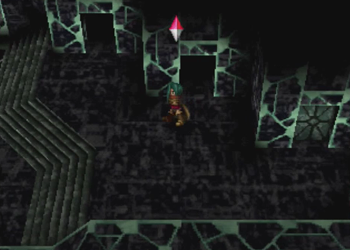
But there are a few that are unlocked.
Each of the rooms contain a final armor for a different character (save Marivel). The rooms’ locks are all tied to the various pillars elsewhere in the dungeon, so it’s very likely you’ll hit this area with one or two already opened without really trying.
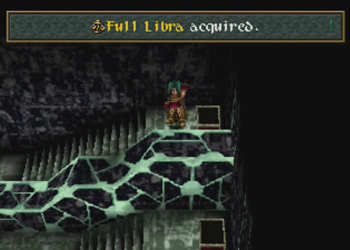
Oh, and since there are six rooms but only five characters receiving armor, one of the rooms contains a Full Libra accessory. That will prevent all status effects, so it’s a pretty good get.
There is no way I’m missing out on the best armor in the game, so I hit the dungeon again to find those other switches.

I’m not going to screenshot the whole adventure, but suffice to say it took a little bit of time to find every last pillar (and not just constantly route myself back to a pillar I’ve already hit).
Aw, the final dungeon contains color-swaps of Balloons, some of the first monsters ever encountered.

Okay, now the doors are open.

Lilka’s final armor is a bridal gown? That doesn’t seem very fitting. Literally.
Now we’re ready to have our final save before the final battle. At this point, assuming you’ve opened all the doors, you’ve got all the items and armor that can be found in the final dungeon(s). There is no exit spell in Wild Arms 2 (boo), so feel free to hoof it all the way back through Glaive Le Gabel and Spiral Tower so you can face the optional bosses with maximum gear.
Or don’t do that, and face the final battle.

Who could ever simply walk into the finale?

Yep!
Next time on Wild Arms 2: “We didn’t win or lose. It’s just over, finished.”