
Okay, we’ve got about an hour before I compulsively have to play more of my latest addiction, so let’s make the most of our time today, March 20, Gecko Day. Extract from baby geckos is used to dye cherries and olives green for cake and cocktail decoration. Being the kind of person that I am, I make a grave in my backyard each time I eat a green cherry. Today is Gecko Day… Please say a prayer for all the geckos you may have consumed.
Previously on Wild Arms 3: We found the battle coliseum, and we conquered two out of three fighting divisions. Guess what we are tackling today…

So, like last week, we are looking at the future of our “real” playthrough timeline here. In fact, Wild Arms 3’s final coliseum battle (and most of the rest of this update) all but requires an end-game party. So please be aware that everything you have seen in this Let’s Play so far has been possible for a “regular” party, but a significant chunk of this update is entirely reliant on a party prepared to slay god(s).
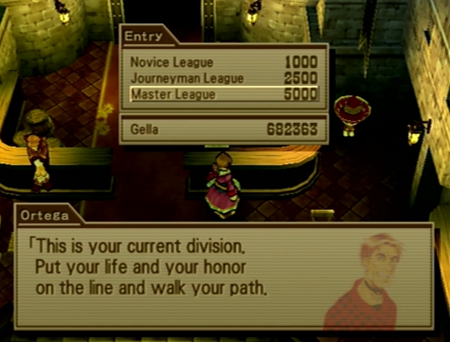
And with that caveat out of the way, let’s destroy the Master League.
The Master League has a general recommended level of 80 or so (reminder: in “real time”, my party is around 40), though even at level 100, this is not a cakewalk. You have a scant 15 rounds to take down some of the hardest monsters on Filgaia.
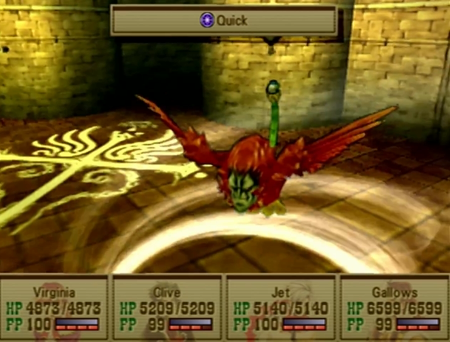
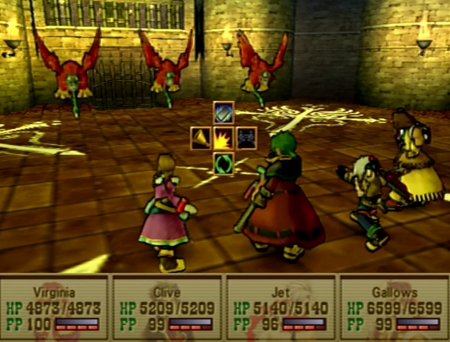
The Daredevils are all about speed…
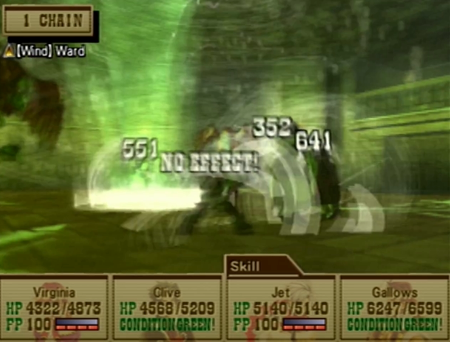
And wind attacks. They also have the ability to paralyze your party. Protect against paralyze and wind, and you should at least be able to survive.

Either shoot ‘em down, or blow some FP on summoning a Guardian that exploits their Earth weakness.
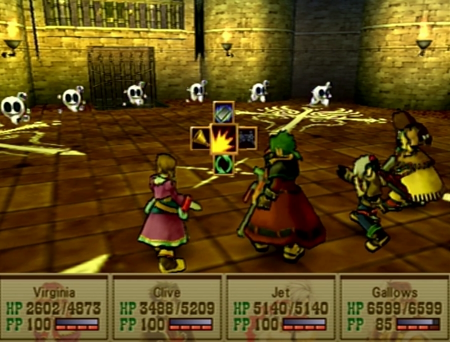
You know the deal with this mob from the first two battle leagues…
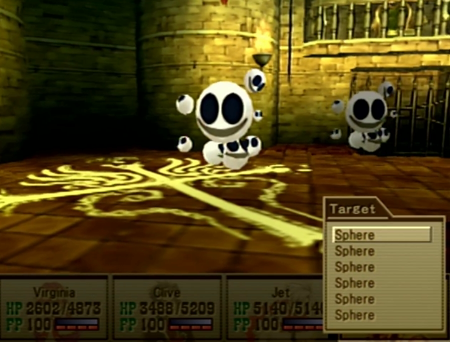
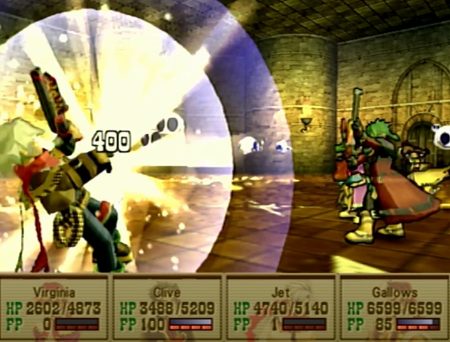
Spheres are all separate orbs, so you need to find the right Guardian to summon to wipe them out as fast as possible.
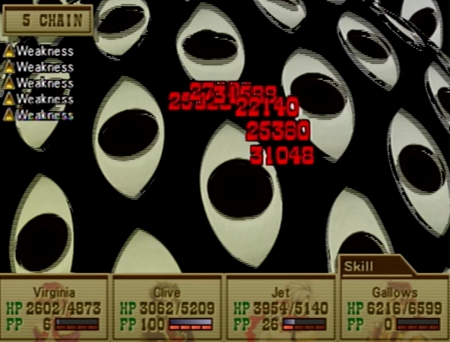
They are light monsters that use light attacks, so utilize the dark-based Luceid to see some big, red numbers.
Even after all that, you may have to deal with a few stragglers. Remember that you can blow all of one character’s FP on summoning a Guardian, but then you can juggle that same Guardian over to another fighter that still has all their FP…
Next up: a bug.

Death Mask is appropriately named….
As it uses an instant death attack that is a real hassle if you do not have Instant Death (Fallen) Ward equipped.
Death Mask will also use an ability that reduces your defense, which is a status problem that will carry forward to other battles. Try to dodge that.
When Death Mask takes a few too many hits, it will transform into this “UFO form” and start using a hit-all attack that is very dangerous. Don’t let that happen! Use Gatling or another powerful attack to kill this thing as quickly as possible.
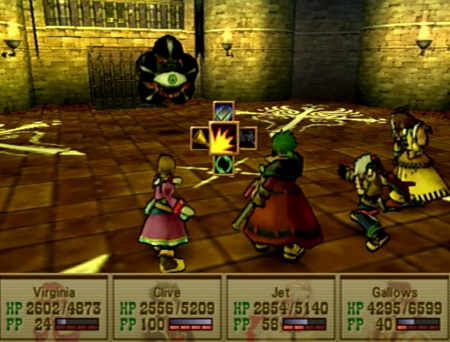
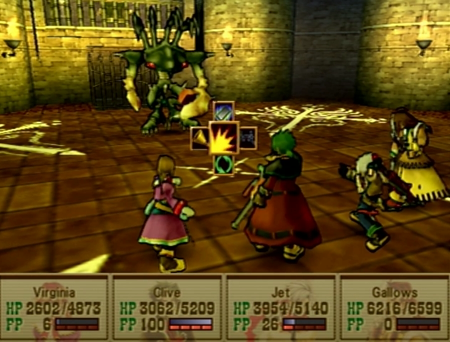
Behold the Dantalion!
Another (difficult) puzzle fight: Dantalion will alternate every round between “shelter form” and “open form”. When sheltered (pictured), it has maximum physical defense. When open, it has maximum magic resistance. Its attack stats stay the same, and it can utilize confusion and paralysis when sheltered.
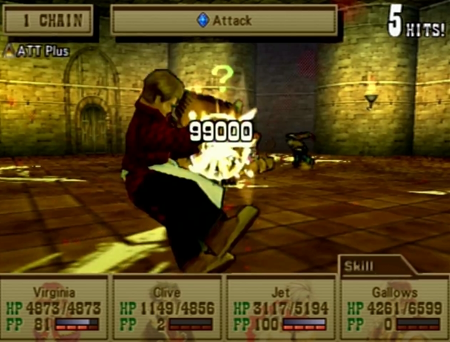
With the shifting defenses, you obviously are supposed to utilize your mages when sheltered, and then fire away with ARMs when opened. However, I was not having this today, so I just had Clive use Finest Arts. We’ll be talking about that move soon enough.
Let’s rock!
Ultimately, if you know what you are doing, a lot of this league can go by pretty quickly.
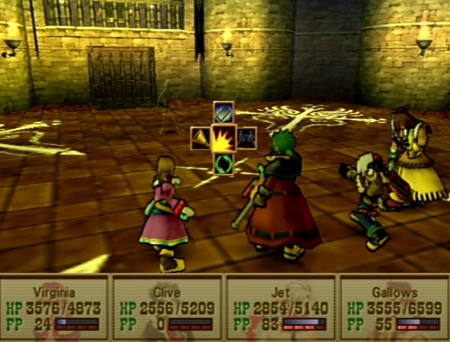
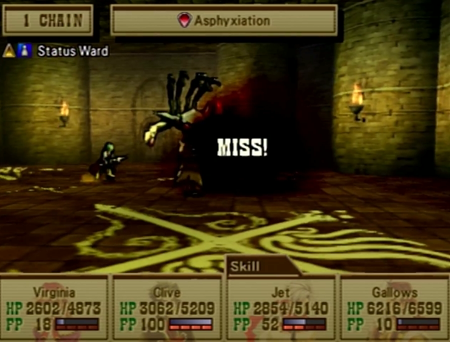
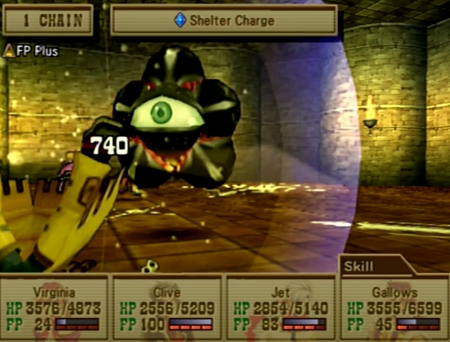
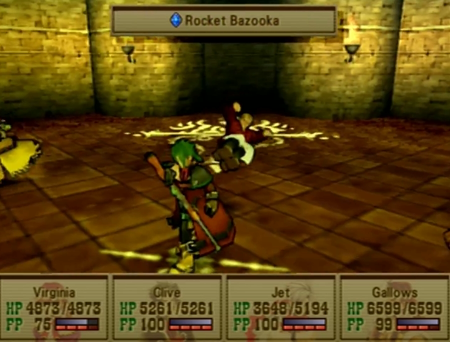
But this invisible jerk is one hell of a roadblock.
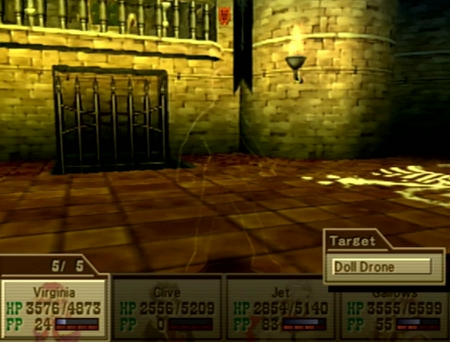
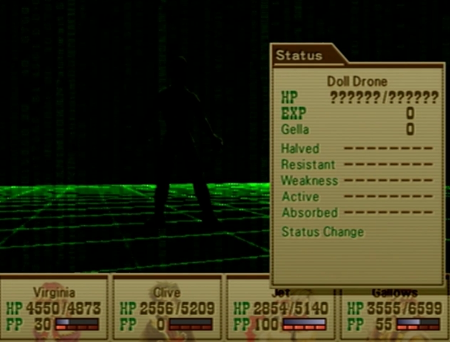
Doll Drone: the champion of the battle league that nobody felt like actually designing.
As you can guess from the invisibility, Doll Drone is (almost) completely immune to physical attacks.
In your favor: Doll Drone only has one attack, and it is another instant death attack. If you have Fallen Ward equipped, Doll Drone can’t touch you either.
Unfortunately, that is not going to help you finish up the coliseum before your turns run out.
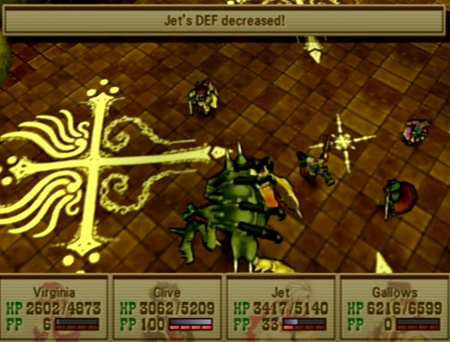
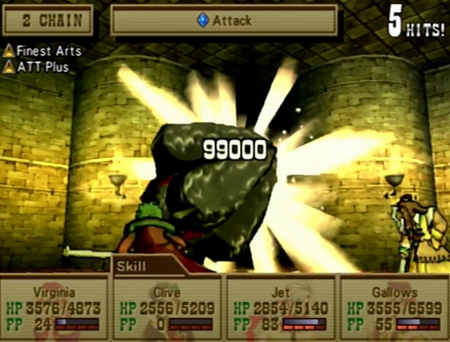
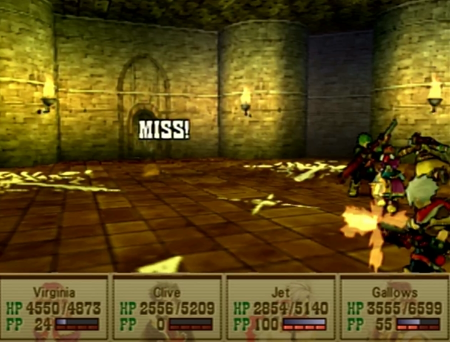
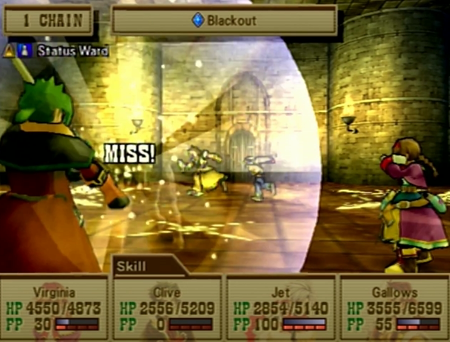
The obvious answer here is to use magic… but this jerk has no weaknesses and a significant magic resistance stat.

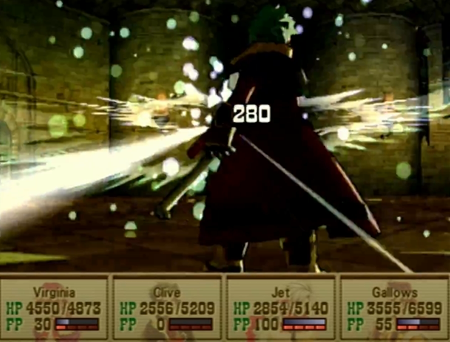
And Wild Arms 3 has all of its strongest attacks (Gatling, Finest Arts) balanced on the physical side of things. Finest Arts, the most powerful attack in the game by an unfathomable margin, is completely useless.
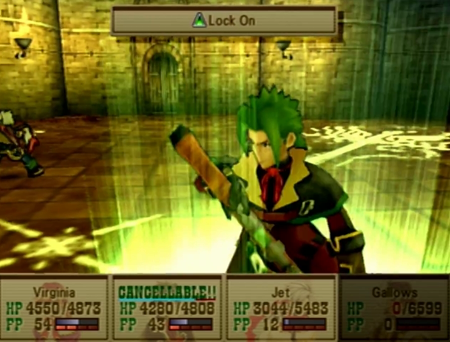
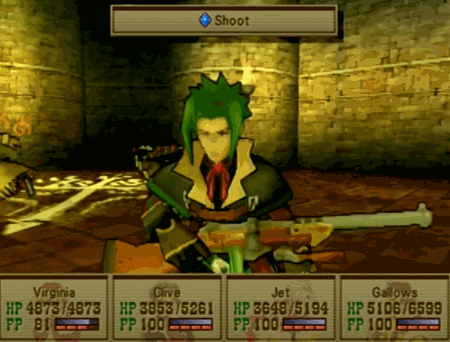
Clive’s Lock On will actually work (as it has a perfect accuracy rating). Unfortunately, that only applies to Clive.
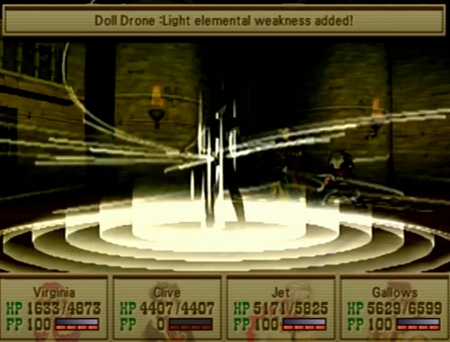
So I guess we have to exploit the Weakness ability. Virginia, give that armor a chink!
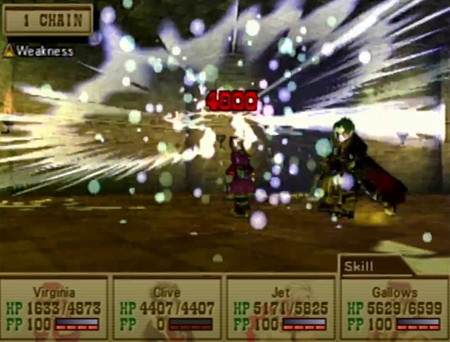
And now it is just a matter of hammering away at that vulnerability. Doll Drone has 20,000 HP to eat through, but it is doable.
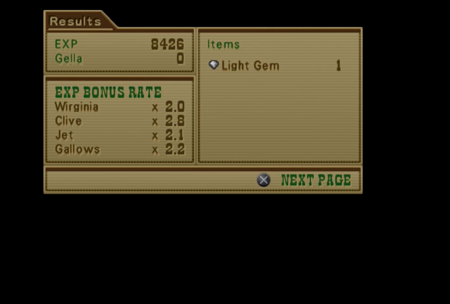
Victory!


You may recall the humble Gimel Coin, a consumable item that can be used to save anywhere or continue after falling in a battle. The unique prize for this league is the Relic Coin, which is an “infinite” Gimel Coin. Unfortunately, by the time you are powerful enough to win the Relic Coin, you probably have 99 Gimel Coins you are never going to use anyway…
But you don’t complete the Master League for the prizes.
You do it for the next challenge.
There are no more leagues at Gunner’s Heaven, but if you talk to its owner, you will find something is amiss.
Dude has gotten kind of full of himself.
Fights beget fights.
“The fact that he is rich helps, though. And he has a lot of followers on something called Truth Social…”
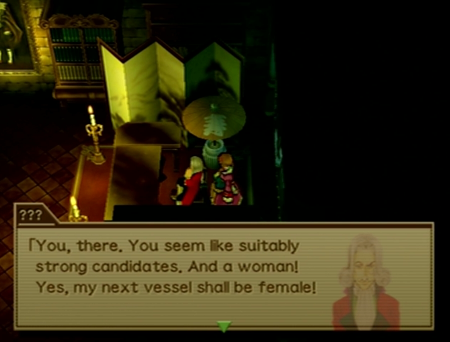
??? says trans rights.
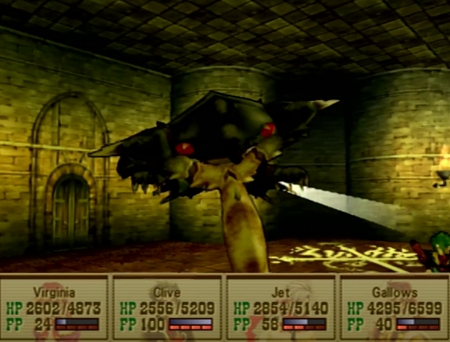
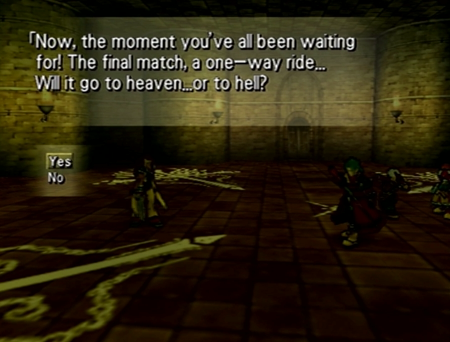
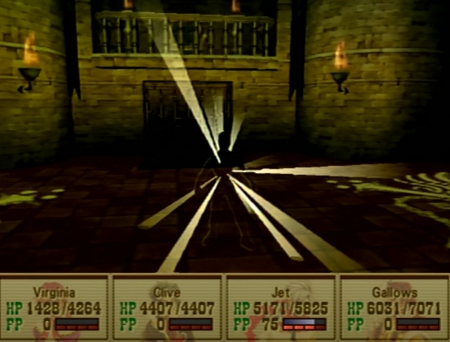
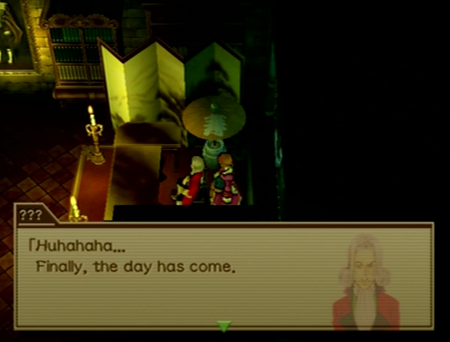
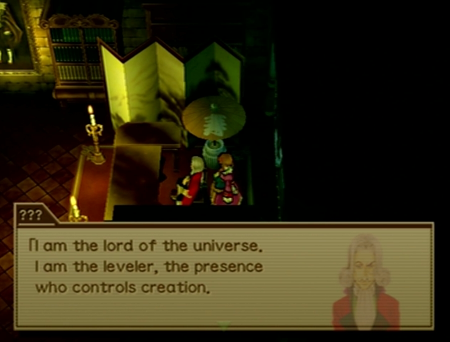
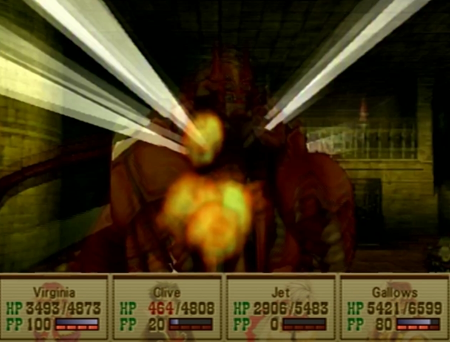
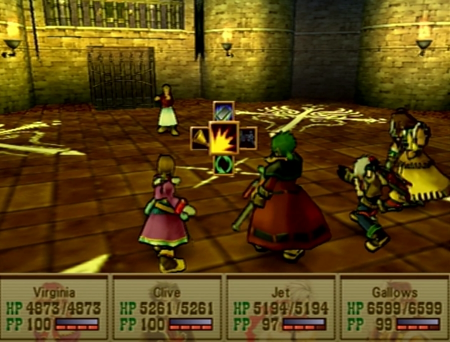
Okay! Psychic monster fight!
So let’s talk about what we’re looking at here. This is clearly a color swap of King of Angolmois from earlier in the game. At the time, Malik claimed he was summoning a “creature from ages past”. At this point in the plot, we know that the Prophets had access to Hyades, and were experimenting with summoning the stored information on demons, only completely succeeding with the recreation of Siegfried at the finale of Chapter 2 (and, arguably, that only worked because of his leftover Dark Spear artifact). So, putting that all together, we can hypothesize that the King of Angolmois we fought back at Lunatic Garden was a hollow copy of the ancient demon , and this… uh…
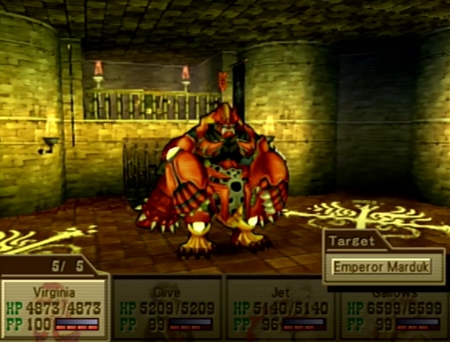
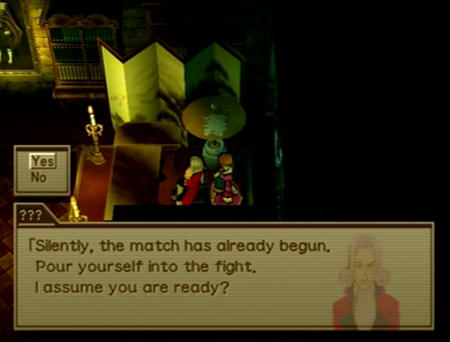
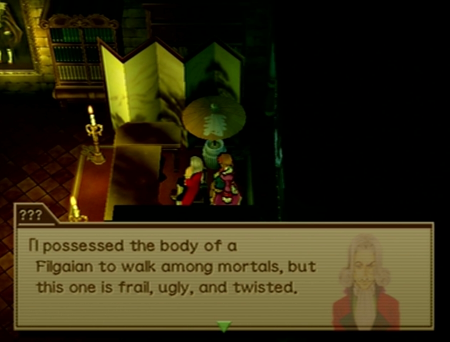
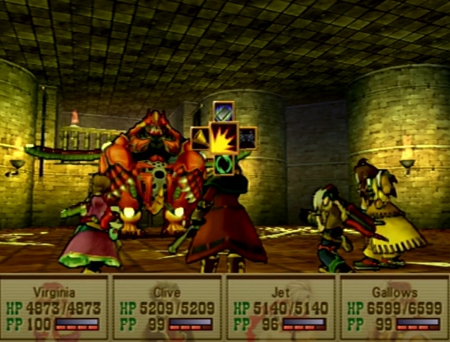
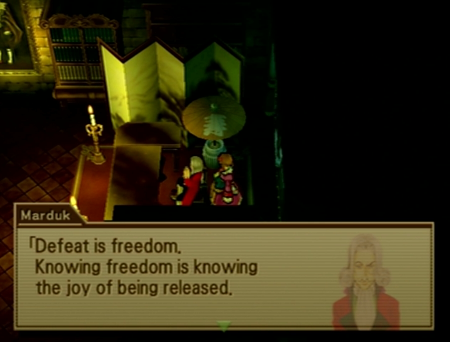
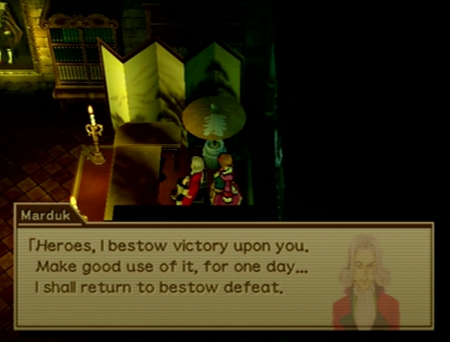
Emperor Marduk is the “real” Angolmois. He has been alive as some sort of possessor demon since the old days, and his current form is possessing Mr. Moustache, only revealing his true form for a fight against a gang that has proven worthy. This tracks with previous appearances: he didn’t have much backstory in Wild Arms 2, but Angolmois in Wild Arms (1) was described as “a psychic force”. Additionally, that “Angol Moa” was found at the end of a battle coliseum, which is relevant to our current situation.
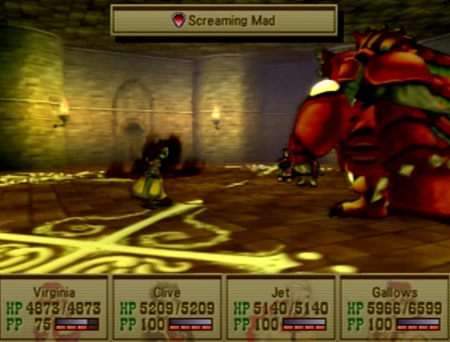
Whatever the case, Emperor Marduk uses a variation on Angolmois’s signature moon laser, and it does some significant damage.
Other than that, we are looking at general attacks.
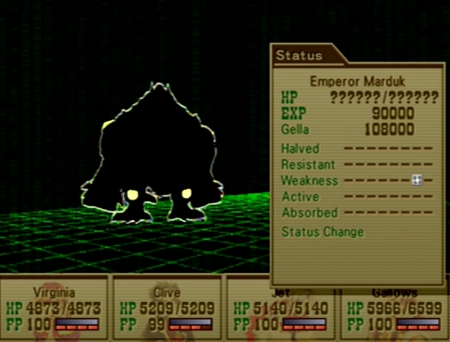
And “big bad boss” stats. That light weakness is only there because I stuck it on him in the first turn.
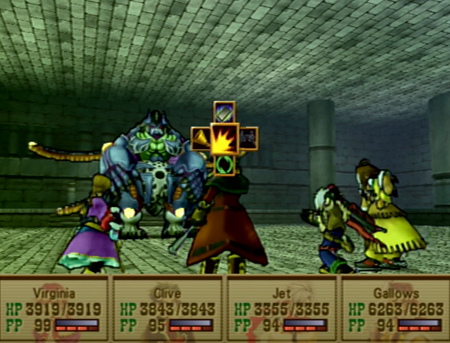
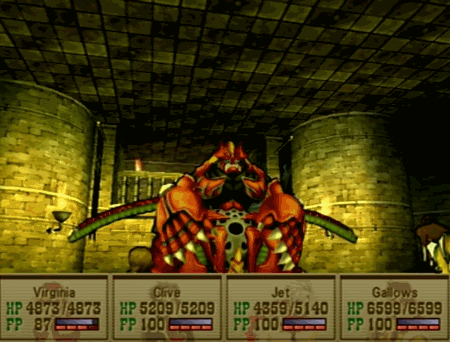
The good news is that Emperor Marduk will use dark magic attacks, and, if you are protected against dark, it’s a free turn. For the record, many of the super bosses use dark attacks, so obtaining maximum Darkness Wards is an excellent strategy.
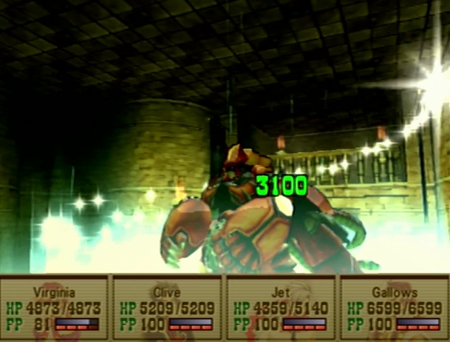
The bad news is that Emperor Marduk has a healing spell, and he is not afraid to use it. At a decent level, Clive should be able to chip off more than that heal in a single Comet Mark-boosted hit… but if you cannot outpace the healing, give up now.

Emperor Marduk has 240,000 HP. The mandatory second to last boss of the game has 028,000 HP (I would use the final boss as a comparison point, but it has multiple forms, so things get murky). Point is that Emperor Marduk is one of the longest fights in Wild Arms 3, and using anything that does as much damage as possible is fair game.
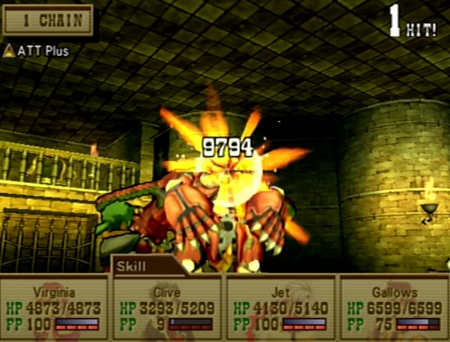
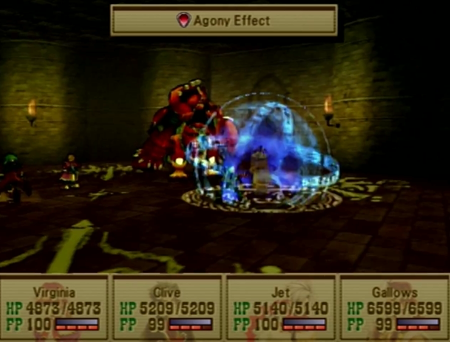
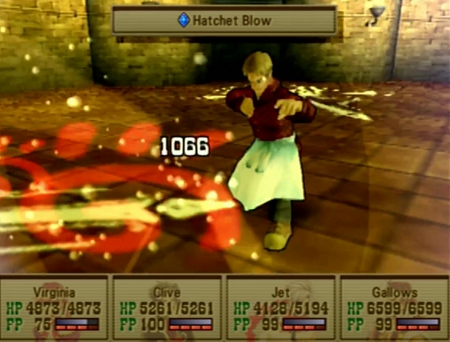
See? There’s a basic, ATT Plus-boosted attack from Clive at this level. Only have to do that 25 times! Assuming Emperor Marduk doesn’t randomly heal himself constantly!
Eventually, the battle ends. Honestly, so long as the healing isn’t a big deal, Marduk is just a time sink of an opponent, and not all that difficult. Always make sure Virginia has 25 HP to mystically heal the whole party after that dang moon attack, and you’re golden. You just have to have enough Mega Berries to outlast the big guy, or rely on Full Carrots to maximize Gatling/Finest Arts damage. Clearing the time limit of the arena is more difficult.

Our reward for this leg of the quest is the Dist Dims.
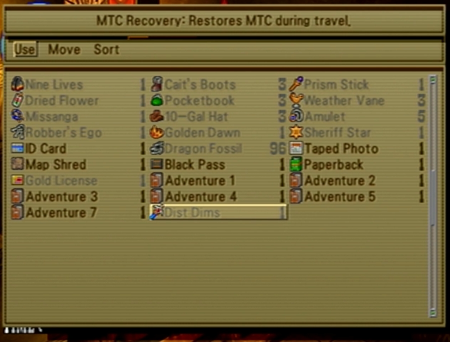
This is a magic wand that was a mage princess’s ultimate weapon in Wild Arms. Or the supreme weapon of a summoner boy in Wild Arms 2. Now it recovers summon MTC while walking. If you rely on summon attacks (because you’re a weirdo), it is very helpful for the excessively long Abyss dungeon.
Uh… thanks?
Yeah yeah, franchise recurring super boss. We get the idea.

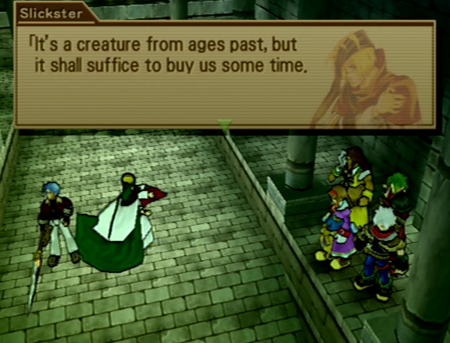
And with that, Begucci is freed and now acts… exactly the same. Huh.
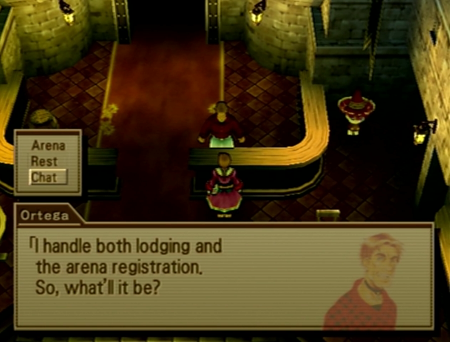
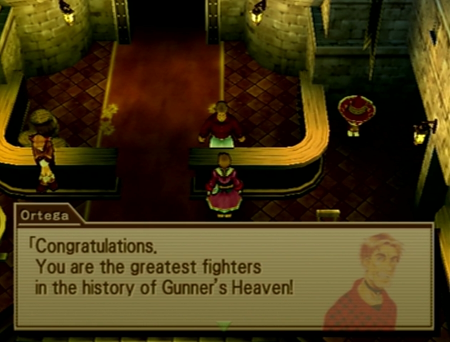
But we’re not done here yet! Checking in on Begucci after conquering the arena makes a certain amount of sense. Chatting with Ortega the random yokel that manages the fights after conquering Emperor Marduk is less apparent…
But if you do chat, he will note that he saw your extreme monster battle…
And he reveals that he is the old champ of the arena, and is itching for a fight.
… How strong is this dude?
Pretty damn strong, as it turns out.
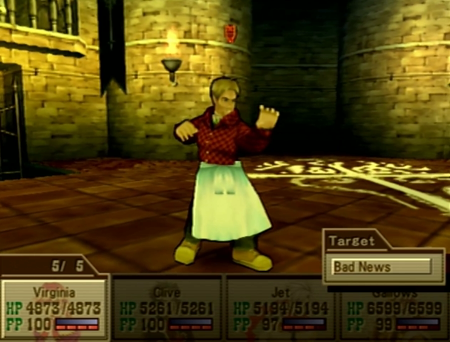
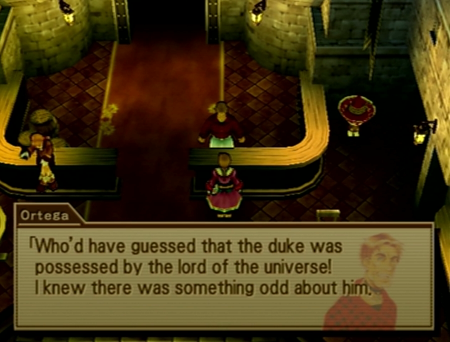
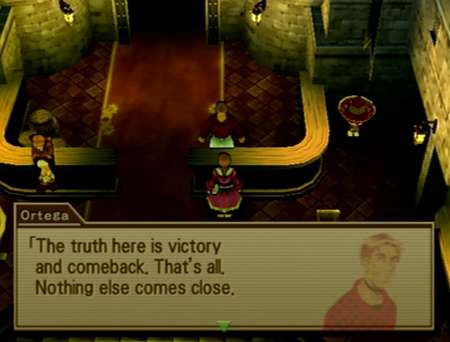
Ortega is going by his old ring name, Bad News. Bad News is a recurring monster throughout Wild Arms, and this is the first time he is distinctly a human-human. Previously, he was kind of an edge case.
Bad News is bad…
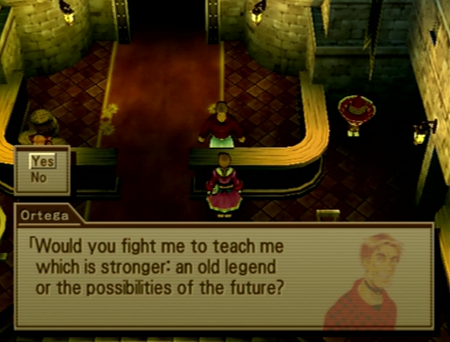
…
I’m not going to say it. He’s powerful. Let’s go with that.

The prize here is obvious, but remember how I said Emperor Marduk had a ridiculous amount of HP at 240,000? Bad News is rocking 325,000 HP, with about 70% better stats in defense and magic defense. Did I say Bad News was human? No, he’s a monster.
Bad News does not have any attack-all abilities, though. While he is very likely to counter, your weaker party members are relatively safe with only a 25% chance of ever being smacked around. This makes general recovery a lot easier than in the previous fight.
Unfortunately, his wrestling-based attacks do hit hard, and he does have a (used less often than Emperor Marduk) healing ability that will make the battle last longer.
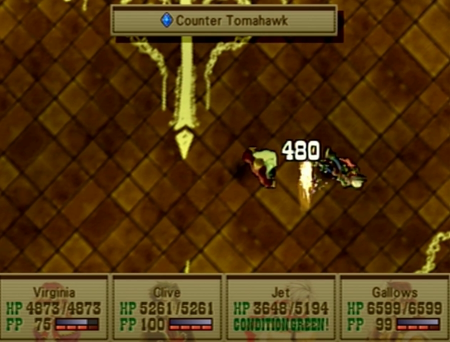
Look at that recovery! Bad News can also inflict confusion and amnesia, but if you know that going in, you can just ward up against it. Note that amnesia doesn’t make the fight any worse one way or another, but who would want to miss out on all that sweet experience?
So Finest Arts is an ability we will look at in greater detail when we finally earn it as part of the “real” playthrough, but just know that Finest Arts all but exists for these last few super bosses. Emperor Marduk, Bad News, and the final boss the upcoming Abyss all have absurd HP counts, and fighting them any other way seems like an unnecessary time sink.
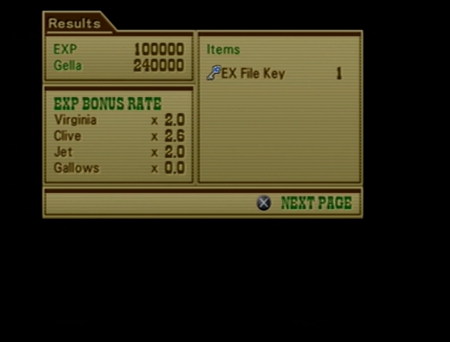
Eventually, we win the final prize of Gunner’s Heaven, an Ex File Key (and a whole lotta money and experience).
Yahoo.
Like his boss, Ortega now goes back to his usual canned dialogue.
And that is it for Gunner’s Heaven. After you have completed everything in these last two updates, there is nothing more to this location, and you never have to return for any reason. About 70% of the content here is optional, and the only remaining “challenge” is potentially repeating the leagues for better “scores”… even though those records are not saved in any way, and prizes do not get better.


Now we’re back to the more linear playthrough. Everything you see now takes place immediately after completing the paltry beginner league at Gunner’s Heaven.
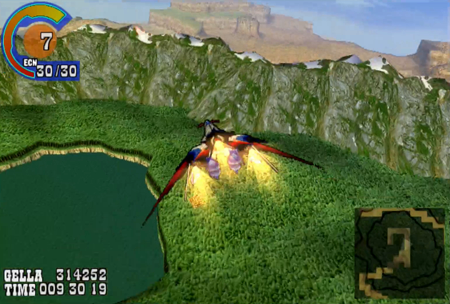
Yggdrasil canyon looks nice from the sky.
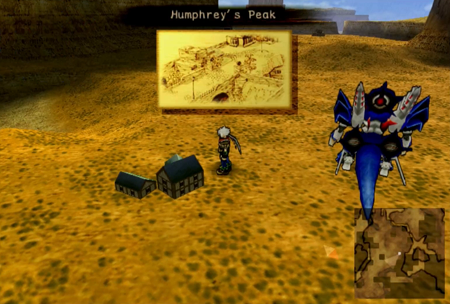
So the reward for the Beginner League at Gunner’s Heaven was the Item Scope. If we want a clue as to where to actually use this scope, we can swing by Humphrey’s Peak.
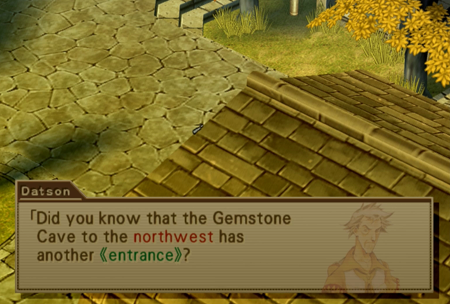
What an interesting little factoid.
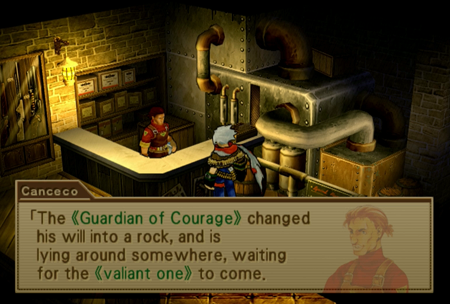
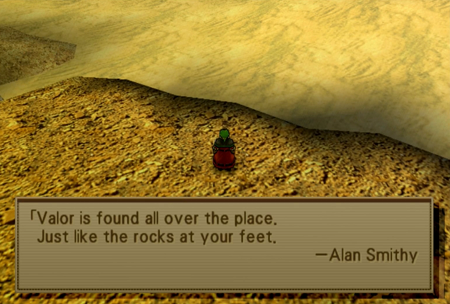
Canceco draws a connection between finding the Guardian of Courage and general valiance that might lead an inquisitive player down the right path…

Or he outright tells you what you are supposed to be doing. Dude just cannot keep a secret.
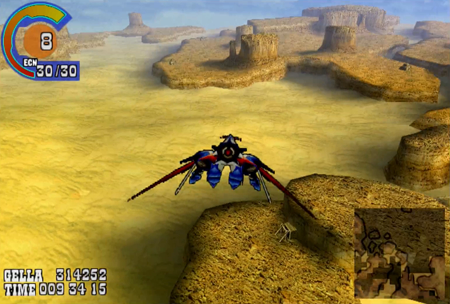
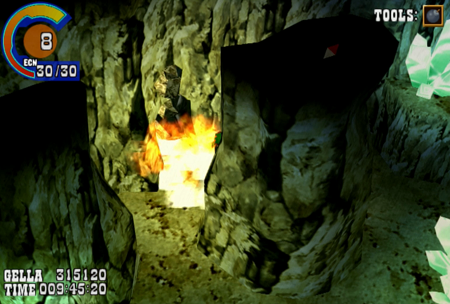
So if you fly over to the nearby Gemstone Cave, you will plainly see that it does have another “secret” entrance (or exit).
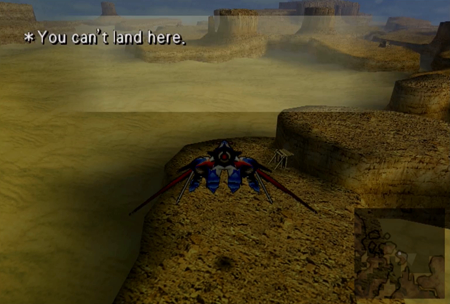
However, you cannot land on its island with ship or dragon.
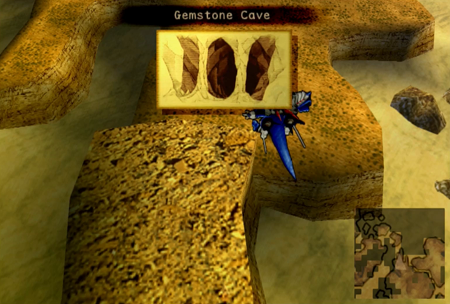
So back to the dungeon we completed ages ago…

Remember our good times with Maya here? Wonder what she’s up to right now.
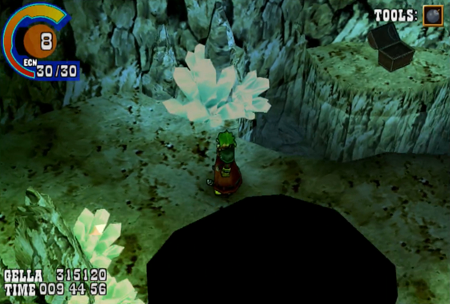
This dungeon is pretty straightforward…
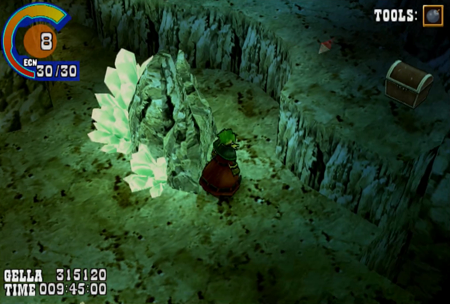
But you may notice that there must be some kind of secret area around the midpoint, as there is a treasure chest that is inaccessible.
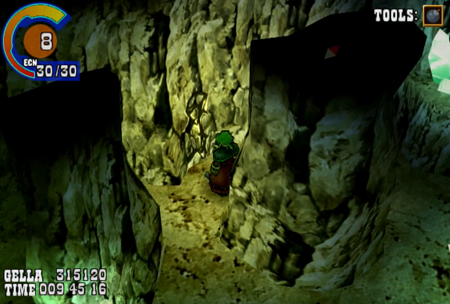
This cracked wall is conspicuous, too.
Blammo.
Zelda rules! Now we can reach that treasure chest, and…
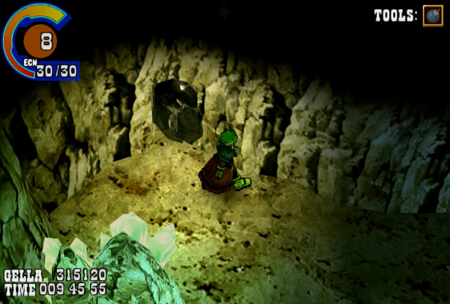
Another cracked wall that leads to…
Another exit!
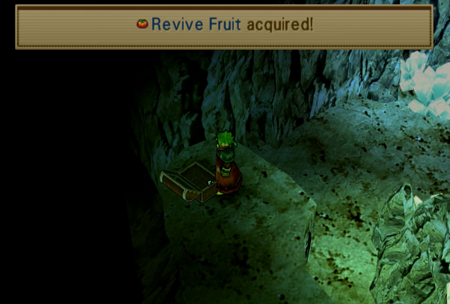
So this area was always available, and you could even stop by while pursuing Maya back during your first visit. Unfortunately, if you get here early, all you will find is a cryptic sign.
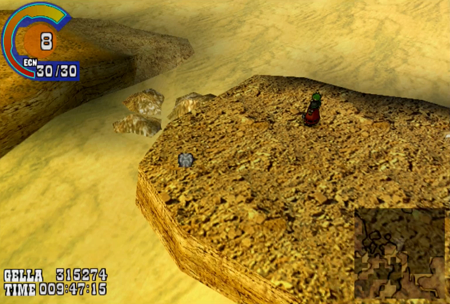
But if you have the coliseum-won Item Scope, you will find… an item. See how that works?
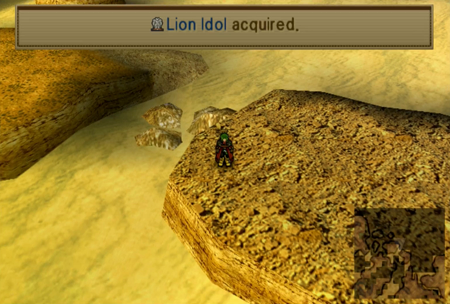
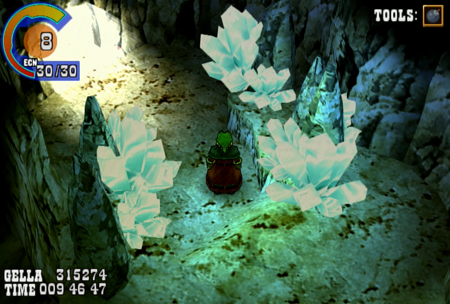
Kitty!
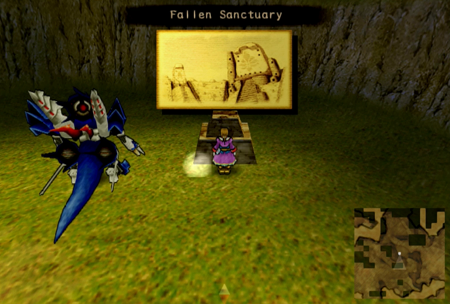
Go back to the cave, walk your ass back to your dragon, fly across the world, and head back to the Fallen Sanctuary for this (eventually mandatory) prize.
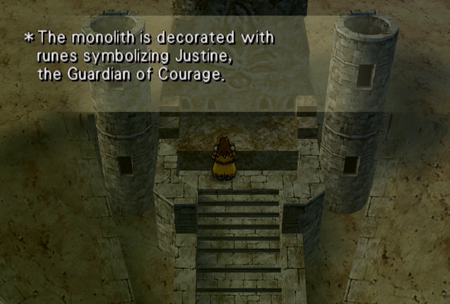
Time to fight Fantasy Justin.
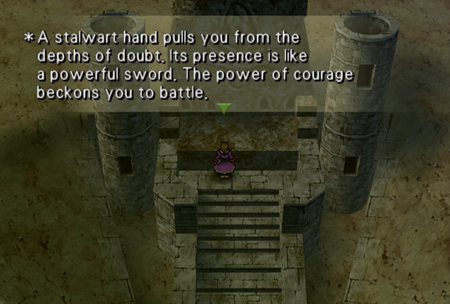
“The visions in your minds are bound together. A stalwart hand pulls you from the depths of doubt. Its presence is like a powerful sword. The power of courage beckons you to battle. The bearer of the Ark Scepter’s light must have the strength to fight that which has no form. Fight, and show your strength to Justine!”
Presumably owing to being the one to preside over Justice, Justine is often portrayed as the most battle-ready Guardian in the franchise.
One of the few Guardians to bring a (useful) weapon.
In Wild Arms 2, this guy was basically Voltron. I liked Wild Arms 2.
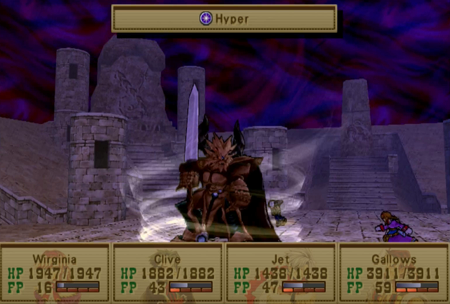
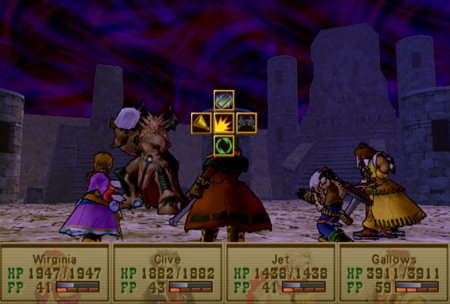
Justine knows Hyper. Hyper will double the attack of its target, so please dispel that immediately.
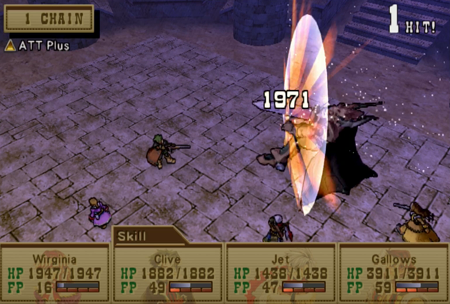
Now that we are all pumped up from Gunner’s Heaven battles, Justine is going to go down easy.
Keep his Hyper under control, and there isn’t much to “manage” in this fight. Bro can’t even heal!
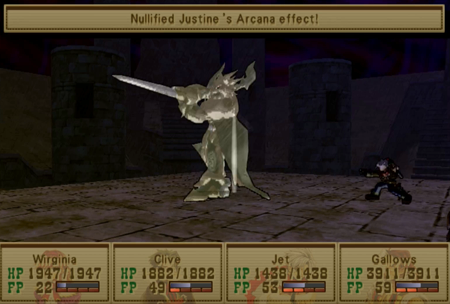
Justine’s summon is an instant death attack that may murder the whole party instantly. Fortunately, it has the same meager hit percentage in this battle as when you use it, so there isn’t much to worry about.
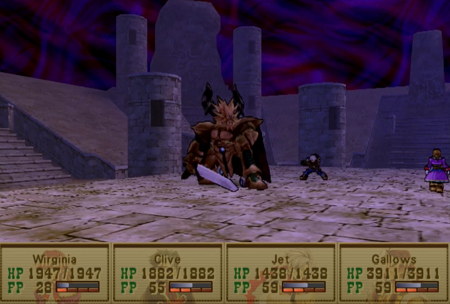
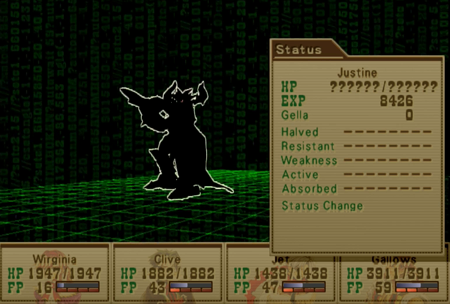
The Lion King needs a nap.
Guess I nietzsched the god with a magic spell. Pathetic.
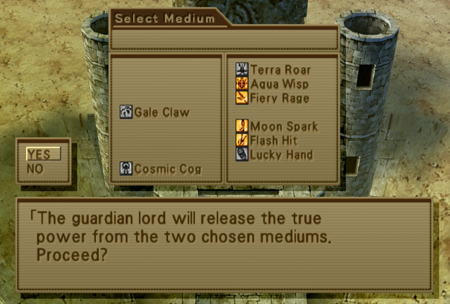
We have now conquered three out of four Guardian Lords, so nearly our entire stock of mediums is powered up. I am leaving Jet to languish with a pair of silver mediums, as he seems to contribute the least.
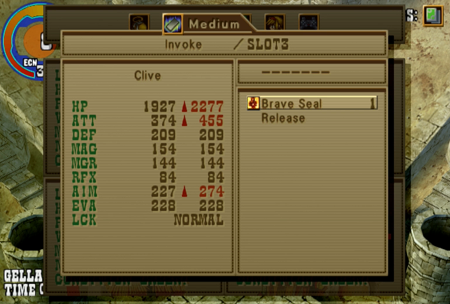
But as a consolation prize, Jet can watch Clive equip this new Guardian Lord medium. Extra HP, Attack, and Aiming will only enhance Clive’s impressive offensive capabilities.
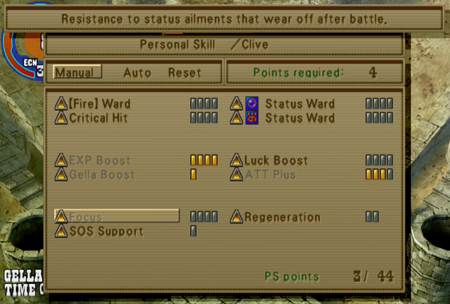
Focus is the counterpart to Raftina’s Inoculation: Inoculation protects against status effects that linger, Focus protects against status effects that only last through a single battle. Given that list includes paralysis, stone (bronze), and confusion, Focus may be the more useful ability. SOS Support activates all support arcana currently equipped when at critical HP… which is not all that useful if Virginia is the only one equipped with worthwhile support arcana. And Regeneration restores HP as your FP climbs. Considering damn near every action grants FP points, this can be very useful.
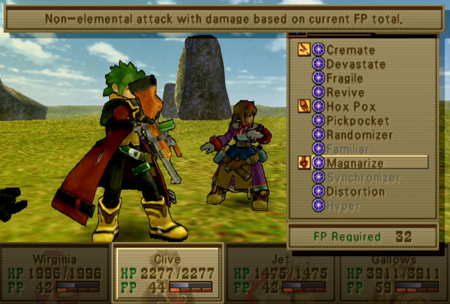
Synchronizer confers any status ailments impacting your character on an enemy. It… has never once worked effectively. Magnarize is a non-elemental attack that does more damage according to your current FP total. If you have a decent amount of FP for Magnarize to work, you are often better served using anything else.
The sweetest gem here is Hyper, which doubles your attack power. This does not stack with the other “attack up” spell in Wild Arms 3 (Valiant), but, for 48 FP, you can turn 3,000 damage into 6,000 damage. Clive’s extreme hits earlier in this update? All Hyper-enhanced. The only downside is that Hyper will wear off after like three turns. But we will have a solution to that problem soon enough…
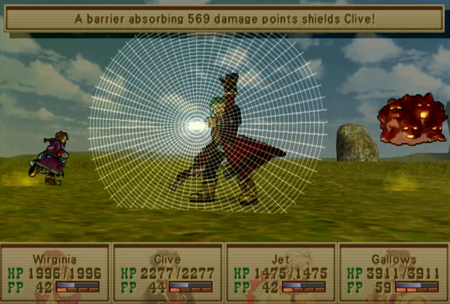
Distortion works vaguely like Pokémon’s substitute, as it creates a barrier equal to 25% of the user’s Max HP. This actually does work well with the previously mentioned SOS Support, so I’m sorry for insulting that skill a moment ago. Also noting that I appreciate that it gives you the shield HP when first cast.

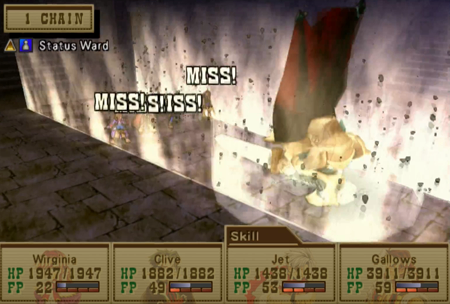
And here is Justine’s summon attack. As previously stated, it is an instant death attack, and its accuracy is based on your current FP. If you summon Justine with 100 FP, it is practically guaranteed to wipe out an enemy party. But, if you have 100 FP anyway, the battle is probably already over. If you have less than 100 FP, it will miss every time. It’s not supposed to miss that often, of course, but that is also why I stay away from casinos. Pictured here is Justine missing the weakest monster in the world.
Regardless, it can help if you have spare MTC and are level 100 while trawling around the Abyss. Maybe that Dist Dims can come in handy!
And that’s that for all that battlin’. Let’s take a well-deserved rest back at Baskar Colony. I wonder what tomorrow brings!
Next time on Wild Arms: Pain (Live!).
[…] in the game. There is not a matching Disaster for Time, or the four High Guardians (Hope, Love, Courage, […]
[…] speaking of the coliseum, you receive an EX File Key for defeating Bad News in combat. Note that you can only challenge Bad News after defeating Emperor Marduk, and Emperor Marduk is […]