Previously on Xenosaga: Junior and pals wrapped up their little adventure, but we’ve still got a lot of ground to cover with the rest of the cast. So, naturally, we’re going to ignore all that in favor of…

Our next update will begin the final descent into the final dungeon. This doesn’t mean the next update will be our final update (as the final dungeon has… pacing issues), but it does mean this is our last dedicated respite before the end of the game (and the series!). So we’re going to take this update to cover all the sidequests available at the end of XS3 (and a sprinkling of the miniscule postgame, too).
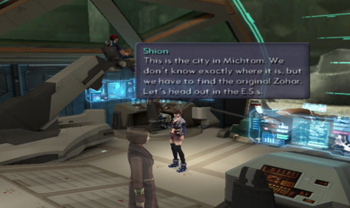
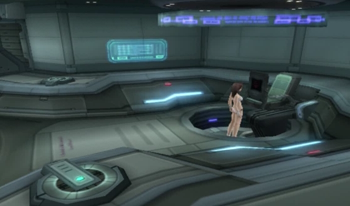
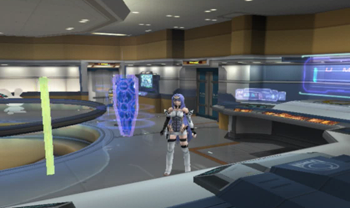
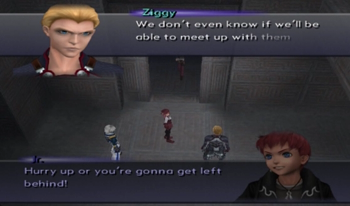
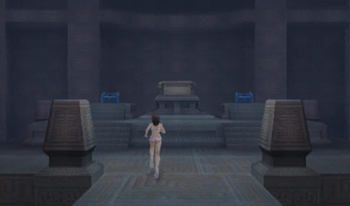
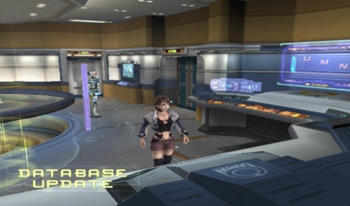
This update will involve a little bit of a time skip, as there are a few cutscenes that precede this exact moment in the game, but they’ll make a lot more sense when visited in the next update. All you need to know right now is that, after escaping Abel’s Ark without incident, we are now parked in the Elsa on the surface of Michtam. Technically, we won’t leave the ship at all during this update, and will be abusing the virtual reality UMN interface.
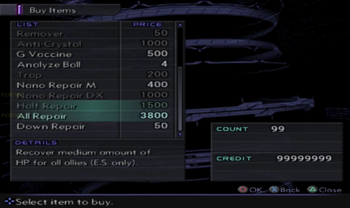
Relevant to this update, though: the shop has updated. This is not the absolute final shop update, but this shop update grants access to a number of “final chapter” style items, like the “megaelixir” for ESes.
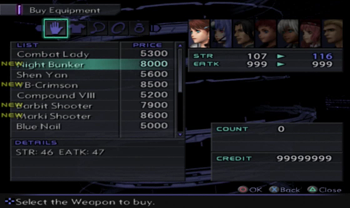
Also, there are new weapons available, but they’re (mostly) not the best available.
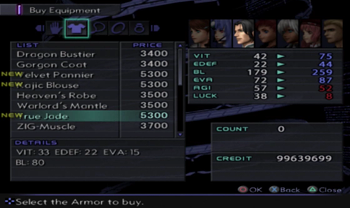
The armor currently available is probably the best in the game, though. There are a few upgrades here and there, but XS3 mostly relies on accessories for the big defensive bonuses.
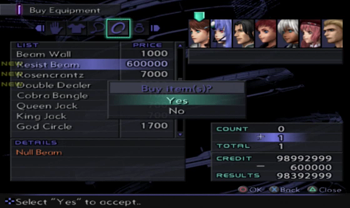
Speaking of accessories, for some insane prices, you may purchase some insane defensive accessories. For instance, there are rings that completely nullify individual elements. They’re not as useful as that possibly sounds, and they’re prohibitively expensive (you’d be better off spending your credits on ES upgrades), but they can definitely help out if you know there’s a scary x-element incoming.
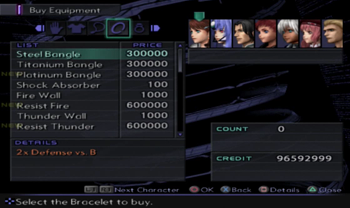
There are also rings that defend well against particular enemy types. As you might be able to guess, investing in anti-gnosis rings is probably a good idea.
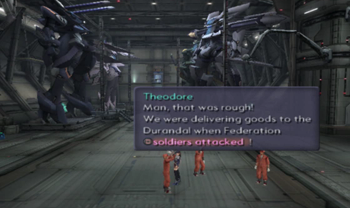
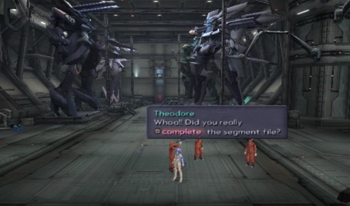
There are also some new passengers on the Elsa. Theodore and his buddies appeared waaaaaay back on Fifth Jerusalem, and Teddy himself explained the Red Segment Door system in the absence of any obvious Swaims. These guys are important if you’re trying to complete all sidequests, so we’ll look at them more later.
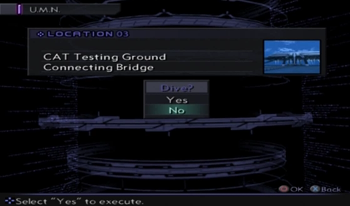
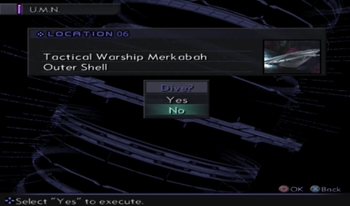
But for now, we’re going to hit the UMN and use that key we obtained after murdering Citrine two updates back.
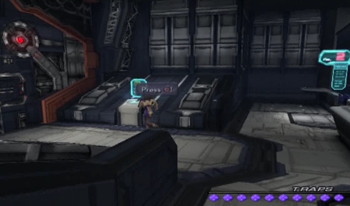
After making our way thought the opening bits of the CAT Testing Grounds (which, reminder, was one of the earliest dungeons, and monsters don’t evolve, so there are more than a few battles here that ended shortly after hitting the circle button once) Monorail #5 takes Shion and the crew over to that ominous locked door.

And guess where that key fits.
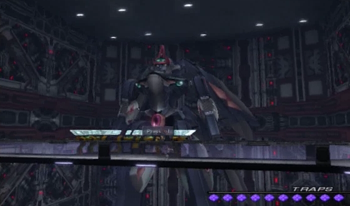
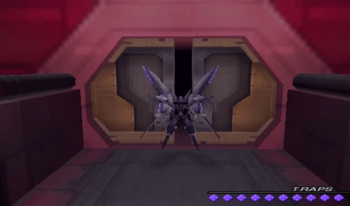
This will lead to a hanger hiding Omega Universitas. You may remember this Omega as the prototype we battled at the end of the Labyrinthos dungeon fifteen years in the past.
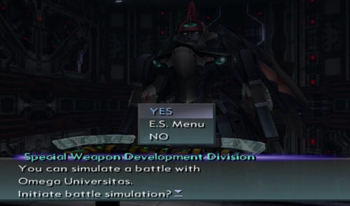
And we get to fight it again! This is an ES battle, and the game helpfully provides an option to check your ES equipment before the fight. You… probably should do that.
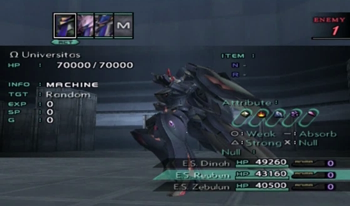
This Omega Universitas is actually weaker than the boss we fought a few chapters ago. That mech had about 130,000 more HP.
This battle doesn’t take long at all, and my ESes took it down in literally two rounds.
But when it’s defeated…
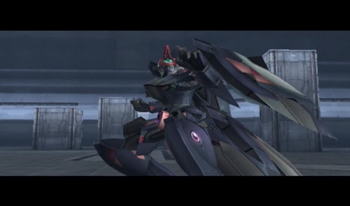
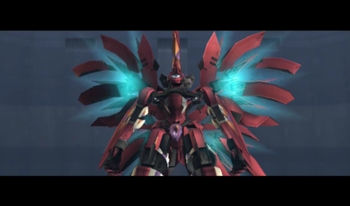
Then the real monster comes out to play.

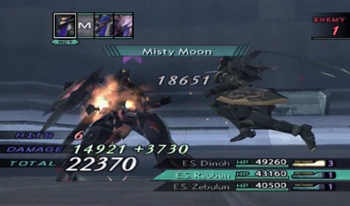
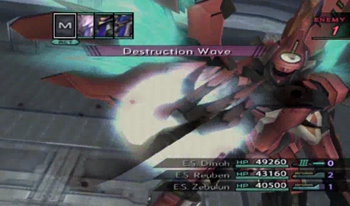
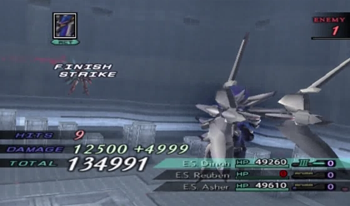
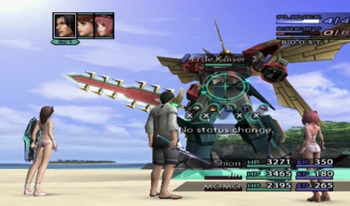
Omega ID is a clear reference to Weltall and Weltall’s ID mode of Xenogears. This mech is an echo of probably the most important Gear in Xenogears… well, except Xenogears. Oh, it’s also insanely powerful. Here’s a shot of it performing a “double” attack and knocking Zebulun down to half HP on the first turn.
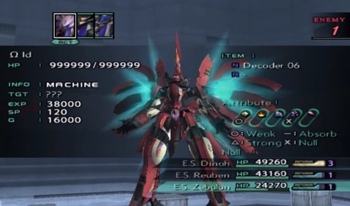
As you can see, its stats improved just a tweak. You may also recall that Omega Universitas tried to go ID mode fifteen years ago, but stalled out. It’s pretty obvious now that, had it pulled that transformation off, we’d all be dead.
In addition to brutal physical attacks, OID also has area attacks. Under normal circumstances, I’d recommend completing a part (or all) of the final dungeon, gaining some new ES upgrades, and only coming back after obtaining some of the absolute end of the game equipment. I’m committing to this battle early almost entirely because I have nigh-infinite cash and 99 “heal all” ES repairs. Basically, I can heal everyone’s HP every turn, and that’s the only way to survive this “low level”.
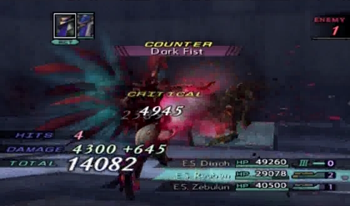
And it’s still a pain in the ass! Here’s something I noted way back when we introduced ES combat, but it finally pays off now: sometimes your combatants will “sync” and add an extra attack to the end of a round. Dinah attacks, and then Reuben is all “let me help!” and attacks, too. Normally, it’s a precious free hit. However! In this battle, Omega ID counterattacks so often, pretty much anyone that “helps” is going to get a fistful of death. This can be terrible, because a low HP ES “helping” is going to lead to its death, and then, whoops, no way to revive from that. Yet another reason to heal all the time during this battle.

And then Omega ID powers up even further. Have I mentioned yet that this is the most difficult ES battle in the game?
OID always gives you a warning that Demon Lord is coming, and… just defend. Don’t even think about doing anything else. Here’s the Demon Lord attack doing damage to (a not defending) ES Asher. You will note that attack drained over 100% of Asher’s HP.
And as another phenomenal screw you to the player, if you horde over one level of Anima gauge, Omega ID may absorb the Anima and heal itself for major gains. Argh!
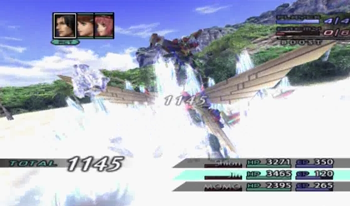
While we watch Asher’s Level 2 Special Attack, let’s talk about something else: Omega ID randomly switches its resistances and weaknesses. One of the most stressful bits of this battle is praying that your special attacks sync properly with OID’s rotating weaknesses. Junior’s Flare Buster here consumes two bars of Anima, and is fire-based. If OID was resistant to fire this turn, it would be a complete waste. If you were equipped with an accessory to read OID’s stats (which I absolutely recommend), and knew this resistance, you’d obviously wait until your next opening… and OID might absorb your hard-earned Anima to heal before that happened.
This battle really is a masters class in XS3 ES management.
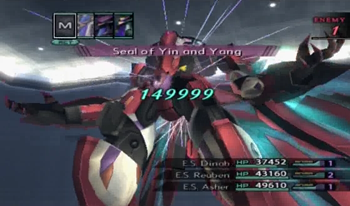
If you lose, it’s not a real Game Over, and you’re just booted back to the “do you want to fight” screen from before the battle (and, while it’s really easy, you do have to fight regular Omega again). Any items you used during your loss are, of course, still consumed. I took some heavy casualties, but I did triumph with a brutal special attack compliments of ES Dinah. That seems appropriate.
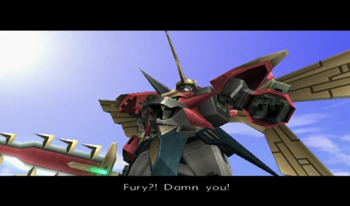
Omega ID is done. Would be nice to get some kind of fun explodey sequence, but the dang thing just winds up looking kind of annoyed.
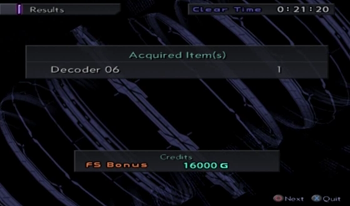
And our big prize is a Red Segment Door Decoder. Well, actually, Gold Segment Door in this case.
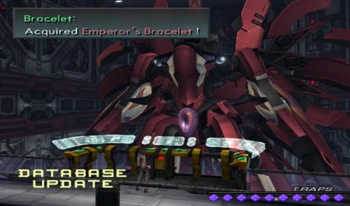
And we get a keen bracelet and database update out of the deal, too.
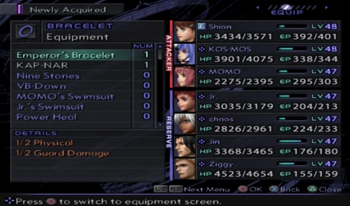
Uh, I assume “1/2 Physical” means we take half physical damage? This game needs its own equipment annotation guide.
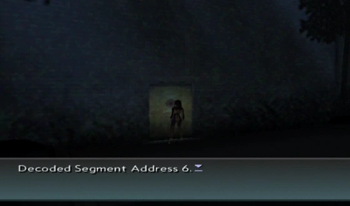
That’s it for Omega ID! Segment Door #6 is hiding back on the Durandal, and behind that golden door rests…
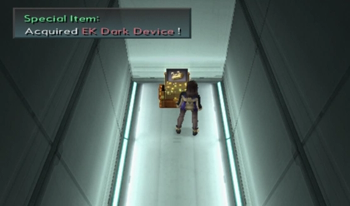
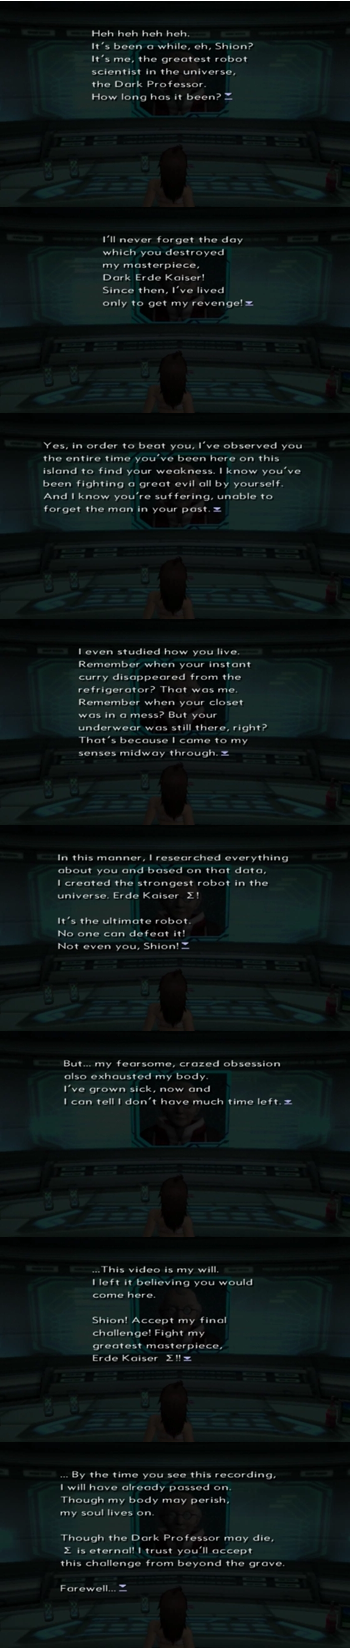
Dark Erde Kaiser! Beat the secret boss of XS3, and earn the ability to summon the secret boss of XS2! For the record, Dark Erde Kaiser in XS2 was a lot more difficult to find than Omega ID.

Dark Erde Kaiser is basically a super powerful version of the Fire 3 spell. It’s the most powerful EK summon… for the moment.
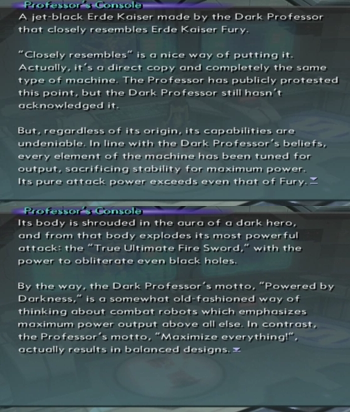
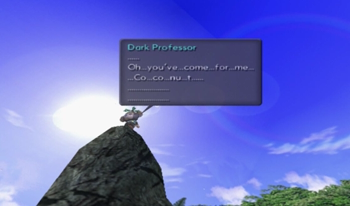
Professor’s console back on the Elsa provides some additional insight into the lazy color swap that is Dark Professor’s masterpiece.
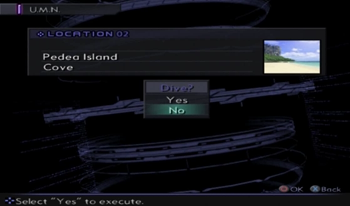
Hey, speaking of Dark Professor, didn’t we get a postcard from him waaaay back when we first hopped on the Elsa (well, first time for XS3, at least)? It came from Pedea Island, so let’s check that out.
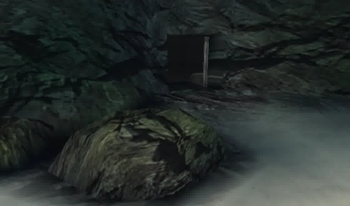
Remember that door with the D on it from the very first update? It’s open now!
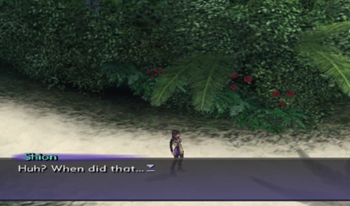
I have no idea when that door opened, Shion. Seriously, I’m not certain exactly when this sidequest becomes available, but it’s pretty impossible until about now.
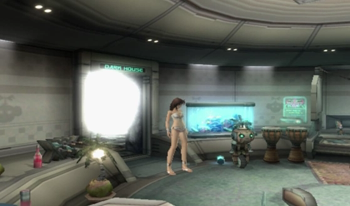
That door leads to a messy little laboratory.
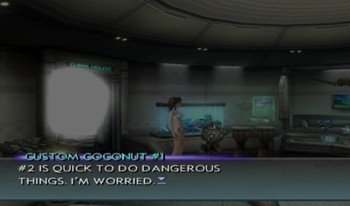
Here’s Custom Coconut #1. He’s worried about his buddy.
Talking monkeys abound!
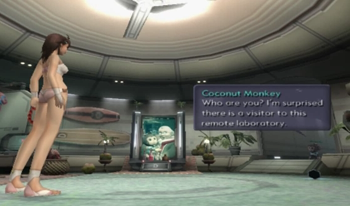
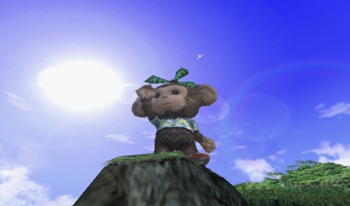
This is a small, talking monkey with a palm tree on his head and a tiny, monkey-sized Hawaiian shirt. Why… why did Xenosaga take so long to introduce such a creature?
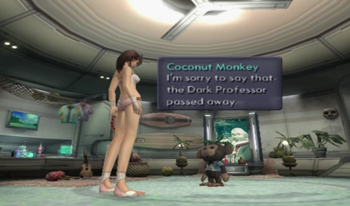
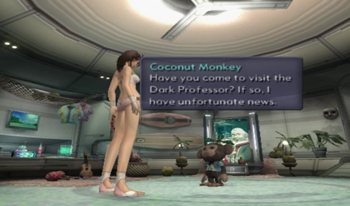
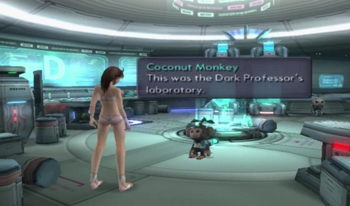
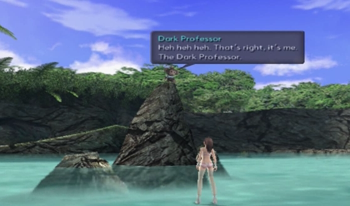
Oh, and Dark Professor is dead. Note to self: start business revolving around tiny, talking monkeys giving people bad news.
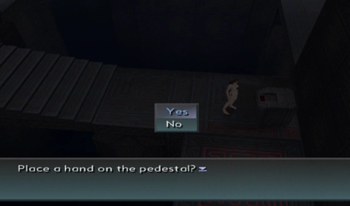
I’m sorry to hear that. Would it make you feel better to hop into a transparent ball and roll around mazes?
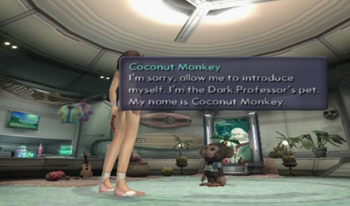
Regular Professor has a pet, too. Its name is Assistant Scott.

Your only choices are probably going to make this monkey sadder.

Claim to be either, and Coconut Monkey retorts that Dark Professor only had one rival, and he’s an old nerd.
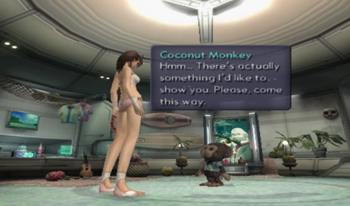
Whatever you want, Coconut Monkey.
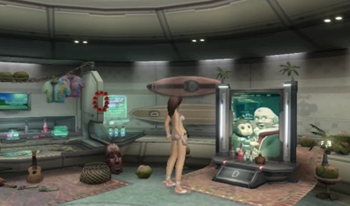
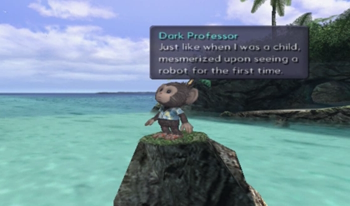
On the way to our destination, there’s a lovely photo of Dark Professor and his beloved and loyal monkey. There’s also tiny monkey laundry hanging over at the side, too.
Obvious Monkey.
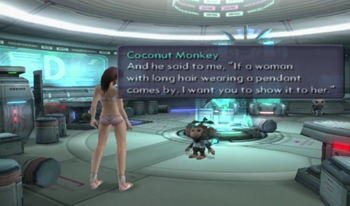
It’s cute that the dialogue allows for Shion’s many costume changes. If Shion is equipped with the Vector uniform, the swimsuit, her default outfit, or anything else, she’s always got the hair and pendant, so it works.
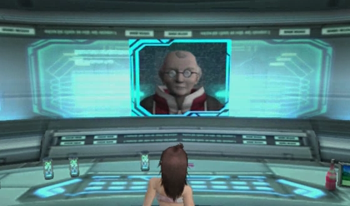
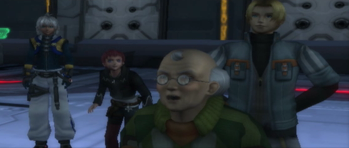
I know that guy!
Some notes:
• I guess DP got Shion’s info during his five minute appearance last game.
• Oh, and I guess that means the complete sidequest chain of XS2 was canon.
• DP is kind of a pervert. Shocking, I know.
• We’ve got a robot to fight!
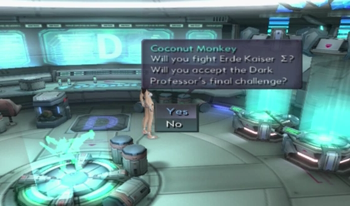
Oh my yes.

Monkey summoning powers, activate!

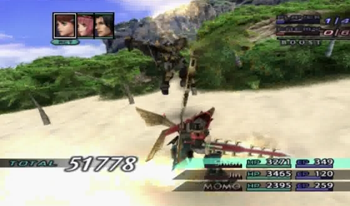
A proper giant robot deserves a proper introduction.
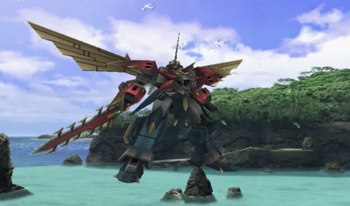
Even more than the original Erde Kaiser, Erde Kaiser Sigma resembles G-Elements, the combining Gear of the Elements of Xenogears. Also, with the wings, lion chest, and sword, it resembles Predaking, a really rad Transformer I coveted since I was a child. I’m sure there are also other influences.
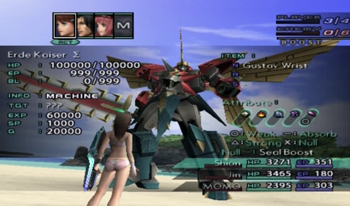
Erde Kaiser Sigma has some monster stats, and he’s weak to beam. You basically want a mage party for this battle, because, even if they’re squishy, at least they’ll be able to hit that beam weakness.
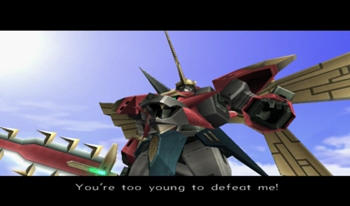
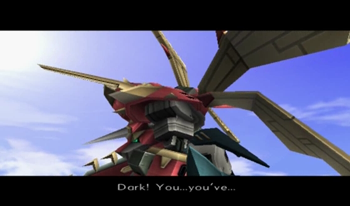
Erde Kaiser Sigma is the first Erde Kaiser that speaks. And he’s pretty chatty! He also sounds exactly like Vanderkam, aka Strickland aka that dude with the purple x on his face. I’m not certain if this is just an invention of the dub or if it’s consistent with the original Japanese intention… but I like to think it’s a deliberate way to reuse a memorable voice/character.
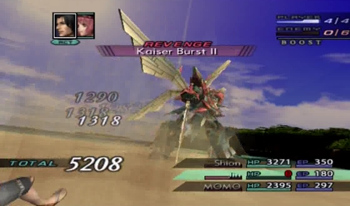
Anyway, don’t worry about using “weak” characters, because when EKS decides to use an attack, it’s probably going to be an instant kill regardless of your HP count.
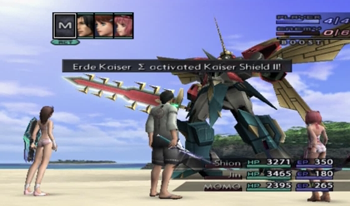
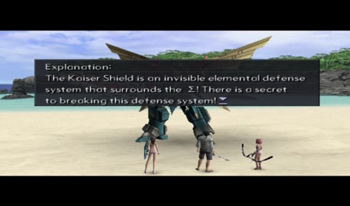
The gimmick of this battle is that EKS uses Kaiser Shields, and each shield blocks everything except a specific element. Also, even though the shields are numbered, they’re generally not used in sequential order.
Thanks!
If you’re equipped with an item that allows you spy on the elemental weakness, you can probably surmise the answer here…
Each shield is weak to a particular element that perfectly corresponds to the Erde Kaiser units that have already been collected. Shield 1 is weak to lightning and Erde Kaiser (I), Shield 2 is weak to ice and Erde Kaiser Fury, and Shield 3 is weak to fire and Dark Erde Kaiser. You can attempt to destroy a shield by merely using the corresponding element spells, but that takes a while.
Incidentally, this is why you should tackle Erde Kaiser Sigma after the Omega ID battle, because you can’t have Dark Erde Kaiser without winning that fight. EKS doesn’t offer any rewards that benefit your ESes anyway, so it works out.
EKS reacts to each Erde Kaiser, incidentally.
Shion’s Level 3 Special for no particular reason. XS3 decided that the best way to showcase its heroine’s abilities in her ultimate attack would be to knock her over. Cloud Strife never had that problem.
EKS will continue to summon shields for a while, and it’s your job to determine that “Shield 3” equals “Erde Kaiser 3”. Not exactly giant robot science here.
I really like that Dark Professor’s final creation seems upset that DP’s previous robot is on the wrong team.
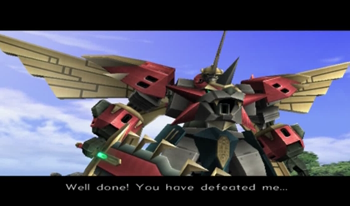
When EKS finally gets low on HP, he ramps up, buffs himself, and starts wholesale murdering the party. You want the battle to be over as quickly as possible at that point, so try to save up a lot of boost in anticipation, and then use the most powerful attacks over and over again without letting EKS get a turn. Should you succeed, Erde Kaiser Sigma is a gracious loser.
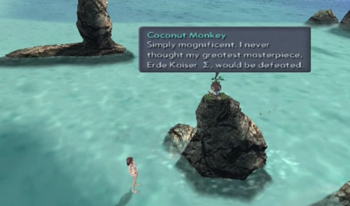
We get a Gustav Wrist and a LOT of experience for our troubles. And the best wishes of a monkey.
Gasp!
I guess Dark Professor downloaded his mind into a robot monkey. He built giant robots, but he went with the tiny monkey option…
Hm?
Yes, you’ve gotta have fun with your giant robots.
We’ve all been there, buddy.

I think building giant robots… was really the friends we made along the way.
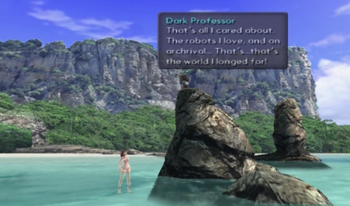
Just makes you feel warm inside, doesn’t it?

I think we could all learn a little something from this weird old man that implanted his brain into a robotic monkey wearing a Hawaiian shirt.
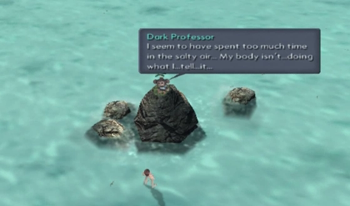
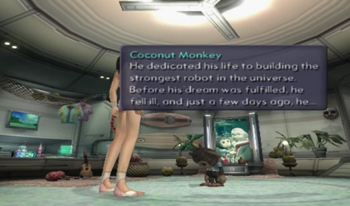
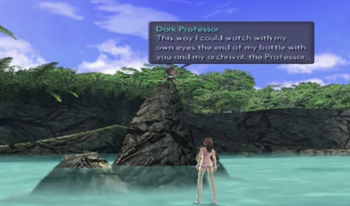
No! Dark Professor! You were just getting interesting! Don’t leave us!
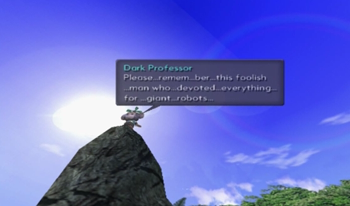
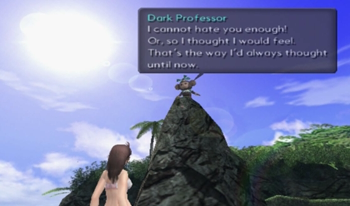
If you remember one thing about the Xenosaga franchise, it should be this foolish man who devoted everything for giant robots.
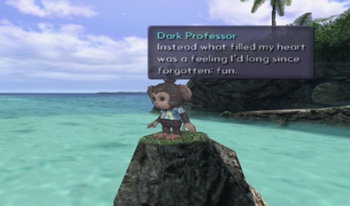
And dying Dark Professor sees his beloved (original, real) Coconut Monkey waiting for him on the other side.
Good night, sweet prince.
Now let’s go see what this key unlocks.
Back at Dark Professor’s lab, pressing the button on a wheeled coconut monkey robot… doesn’t work out so great.
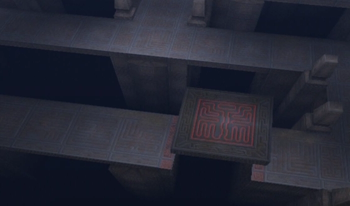
But Dark Professor’s futon transforms into an elevator…

And below the lab is a Golden Segment Door that matches that key we just earned.
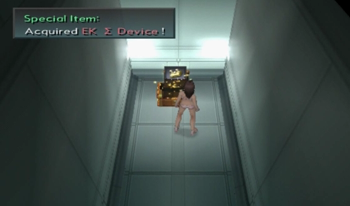
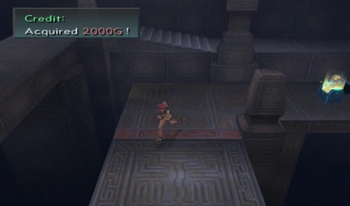
Inside is our final Erde Kaiser device. Now we can summon Erde Kaiser Sigma at will. Hooray!
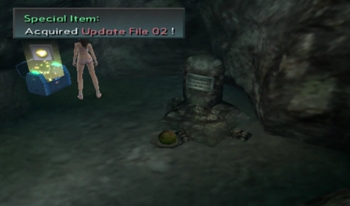
There is also an update file down here.
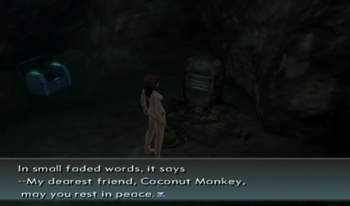
And the grave of the original Coconut Monkey. Way to choke some pathos out of a damn monkey, XS.
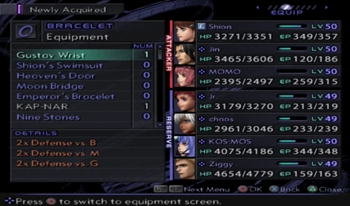
And that Gustav Wrist we earned from the EKS battle is ideal for defending against… everything.
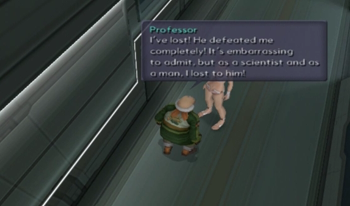
Professor has a bit of dialogue on the Elsa about how Dark Professor truly won in the end, and he’ll miss his lifelong frenemy. Assistant Scott has no input on the matter.
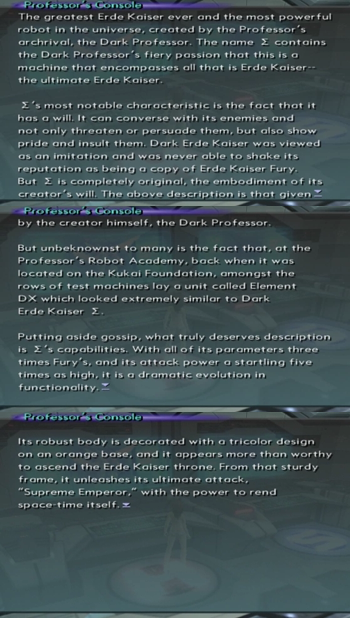
Here’s the rundown on Erde Kaiser Sigma.

And here’s the big guy in action. Note that EKS does insane physical damage to an entire enemy party, and, unlike in XS1, anyone can summon him as many times as you want. Two pulls of the EKS lever will obliterate the final boss, incidentally.
Though I’m still kind of disappointed Erde Kaiser (I) of XS1 was the only bot to get a full combining summoning sequence.
And that’s it for Xenosaga’s Saint of Sidequests, Professor. Yes, this sidequest mostly focused on Dark Professor, but let’s look at Professor through the franchise.
In Xenosaga Episode 1, Professor was a silly side character. His plot was all prologue (here’s how Professor met Assistant Scott and built a giant robot), and Erde Kaiser was barely more than a religious/Xenogears reference.
In Xenosaga Episode 2, Professor officially joined the crew, but was still predominantly optional. His quest involved hunting all over the world for his evil twin, a malevolent force that must be stopped. Or he’s just misunderstood. Erde Kaiser Fury was an interesting experiment in variable design, but, in the end, everyone wound up with the same robot anyway, because there is a best way.
In Xenosaga Episode 3, Professor is officially part of the “real” plot. He’s front and center for a number of scenes, and Dark Professor, formerly believed to be completely evil, steals the spotlight for the sidequest. Dark Professor learns to get over the endless cycle of giant robot one-upmanship, and finds happiness in the battle itself, not the cycle. Erde Kaiser Sigma is a giant Xenogears reference, and the other Erde Kaiser models all make cameos as summons.
So, basically, Professor (and pals) mirrors exactly what’s going on in the “real” game with his sidequests. Neat trick.
(And Assistant Scott has a drinking problem, but that’s a story for another day.)
Let’s see, what else is there to do? Oh, I guess we can appease any turtles in the audience and revisit that damn Merkabah dungeon.

All the puzzles of the Merkabah are already solved, so we just have to walk aaaaaaall the way back to where Sellers provided that stupid little recap to press one stupid button.
Then we hop back in the ESes and putter along through that stupid elevator “maze” to make it back to big, stupid doors.
And we get one update file, and one ES accessory for our troubles. That was sure not worth it!
Now it’s time for “individual” sidequests
Like Chrono Trigger, XS3’s endgame has a number of sidequests that are character specific. Find some dude talking about something weird, perform the task, and then wind up with an ultimate weapon along the way. XS3 actually does one better, and ultimate weapon quests usually come with a free accessory, so even if you don’t ever actually use Ziggy for some silly reason, at least you also get an accessory that can be equipped on anybody. Additionally, each character gets a swimsuit, and all of those are associated with their own miniquests.
So let’s take a look at those quests, starting with our heroine…
Shion Uzuki

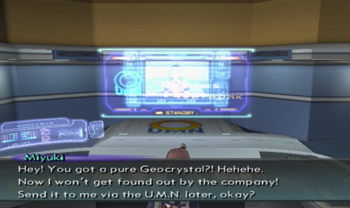
Upon clearing Abel’s Ark, the next time The Brews pass the communications screen on the Elsa, Miyuki will call in.
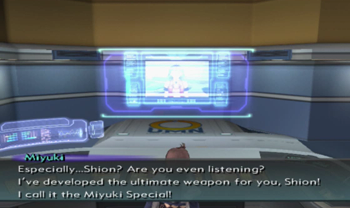
Miyuki made Shion’s first weapon, and she’s going to make the last.
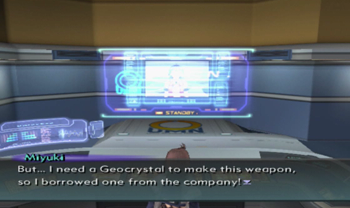
Miyuki already made the weapon, but she stole company property to do it, so would you please be a doll and bring her a replacement so she doesn’t get fired?

So I guess it’s time to find a Geocrystal.
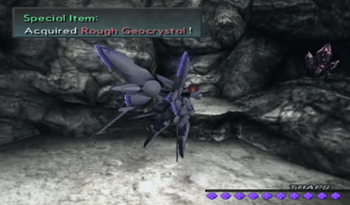
If you recall, we already earned a Rough Geocrystal back during the Floating Continent dungeon. If you missed it during your first run through the area, I’m not certain there are any hints on where to find one. Not like there’s an entire mine dungeon to throw you off the scent…
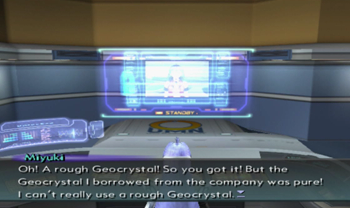
Dammit! More to do!
But we do get a consolation accessory for making it this far in the quest.
This “combo” accessory is useful for earning rare items. Oh boy.

Bunnie Bob is here to save the day! Bunnie Bob is totally into minerals, and will refine the Geocrystal free of charge. Bunnie Bob is just that much of a nice guy. Really proud to have him be part of the Fraternal Order of Bobs.
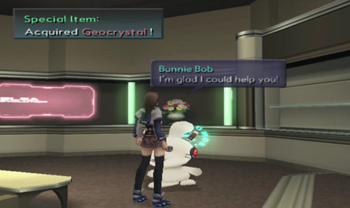
No prob, Bob.
And that earns us our Miyuki Special. This winds up being one of the easiest sidequests, assuming you know where to look.
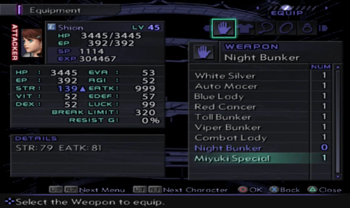
There is a whole set of “better” weapons in the final dungeon, so earning the ultimate weapons at this point in the game (which is totally doable and encouraged) allows you to jump two “levels” in damage output. This is just a complicated way of saying “the ultimate weapons are really strong”. The Miyuki Special effectively doubles the stats of the most powerful weapon available right now, Night Bunker.

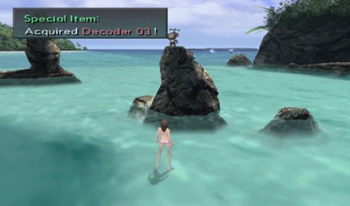
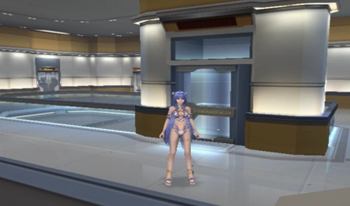
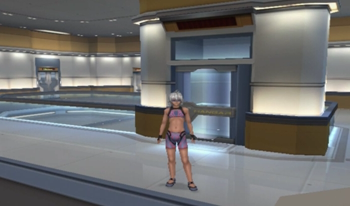
And if you want Shion’s swimsuit, return to Pedea Island any time after the start of the game, and rifle through her stuff.
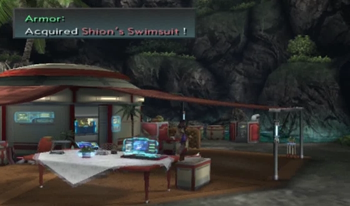
We already saw Shion’s swimsuit during the opening prologue, so it only makes sense you’d find it where she was actually wearing it. This “armor” and Erde Kaiser Sigma are the only reasons to ever return to this area.
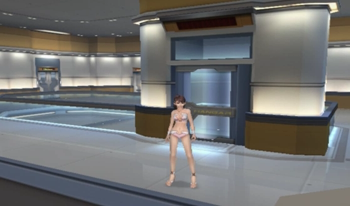
In case you forgot, here is our heroine modeling her swimwear. As I mentioned earlier in the LP, the swimsuits don’t really offer much of a stat advantage in this game, and mainly exist for the visual change.
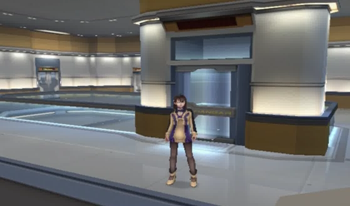
And, for the hell of it, here’s the Vector Uniform we earned for having XS2 Completed Save Data. Shion actually gets two more outfits (both we’ve already seen, technically), but they’re earned during the final dungeon, so we’ll save those for later.
KOS-MOS

KOS-MOS is the one exception I obliquely mentioned during the shop rundown earlier in the update. Her final weapon is sitting right there in the shop… it’s just ludicrously expensive. It’s probably in the player’s best interest to spend that hard-earned dough on ES upgrades, but if you want the best KOS-MOS weapon in the game, fork over the moola.

And while we’re in the shop, there’s a unique piece of armor for KOS-MOS that will raise her ether attack, lower her other stats…
And change her model to her Episode 1 incarnation. She isn’t as adorably “chibi” anymore, but it’s still a fun callback for Xenofreaks.

KOS-MOS’s swimsuit is available from Theodore, the Segment Door nerd.
Find all the Segment Keys, open all the Segment Doors, and report back, and you’ll earn a robot’s swimgear. Note that this quest indirectly requires defeating Erde Kaiser Sigma, Omega ID, and conquering Level 2 of Hakox!?. No small feat.
Swimsuit KOS-MOS looks remarkably human. And pale.
Jin Uzuki

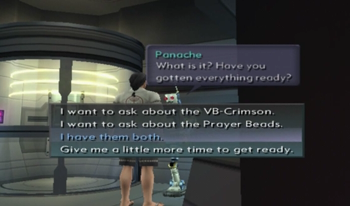
Let’s get the rest of the family out of the way. Panache, a robot that hangs out in the men’s bathroom, claims he can make a legendary sword. Draw your own conclusions.
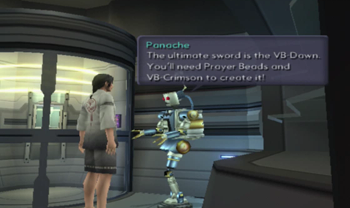
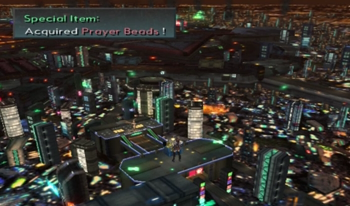
The VB Crimson is a sword easily purchased at the shop. The Prayer Beads, though, take a little more searching.
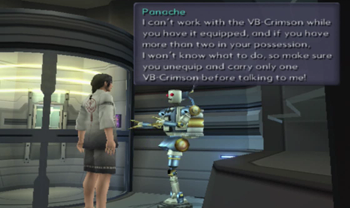
Also, someone on the testing team probably found a glitch wherein Panache here couldn’t easily deal with “building” the sword if more than one contributing sword was purchased or equipped, so here’s the quick and dirty work around. Programming is hard, and I’m not even being sarcastic.
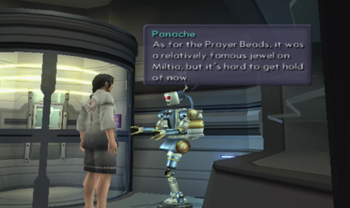
At least Panache points you in the direction of… an entire planet.

The Prayer Beads are in a treasure chest on Miltia’s world map. But they’re behind a gate with a number code.
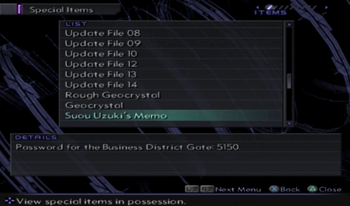
Suou Uzuki’s Memo, found earlier in the game when we were stalking the guy, holds the answer. I think, technically, we could have used this information as early as the Miltian Invasion.
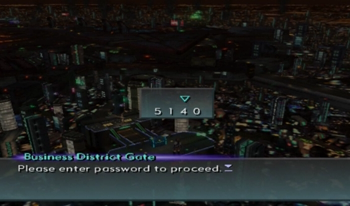
Ugh, I have to remember the code between menus.
There we go.
Let’s do this thing!
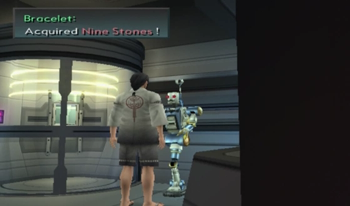
We get the new sword, and a pretty bracelet.
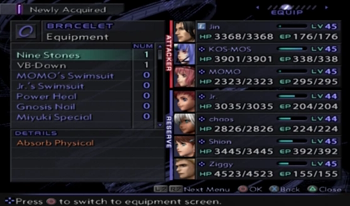
Now there’s a useful accessory! Absorbing physical attacks is an ability that is just as useful as it sounds.
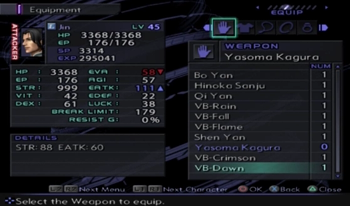
And, naturally, the VB Down is pretty damn powerful. It’s nice that one of our primary bruisers has such an “easy” sidequest.
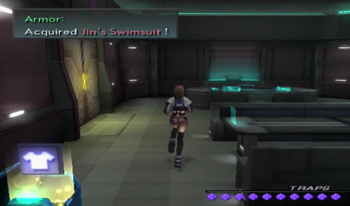
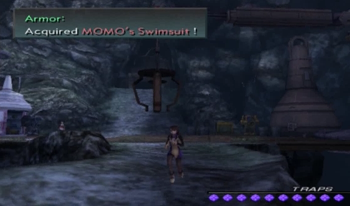
You may recall we already found Jin’s swimsuit during the Labyrinthos raid.

And here it is in action… even if you’ve already seen it in this very update.
MOMO
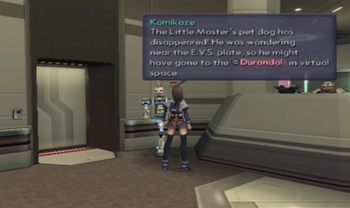
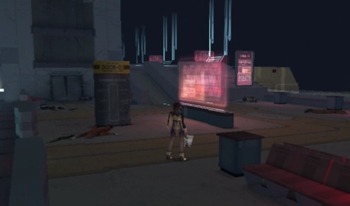
Remember when we rescued Alby the Dog during the Durandal event? Well, he ran off into the virtual world, however the hell the works. Time to rescue a puppy!
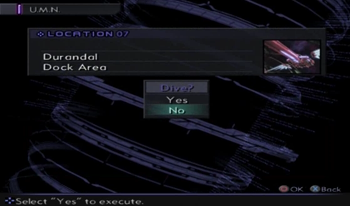
Time to hit the Durandal.
Alby the Dog is just chilling at the entrance. Easiest quest ever!
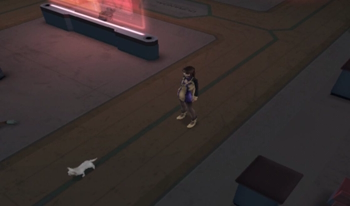
And then Shion graciously stands there like an idiot while the dog hops on the monorail and somehow directs the thing to his intended destination. I was okay with the talking monkey, but the dog that can steer a train is too much, man.
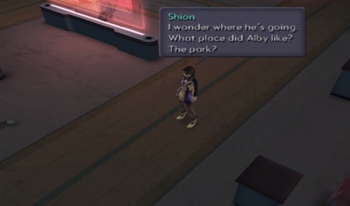
Damn thing just wants to pee on some dearly departed trees.
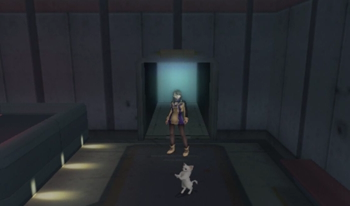
So here’s Alby at the entrance to the park. If you approach the dog from behind…
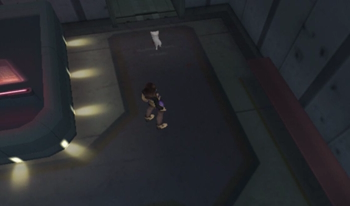
Shion will step aside so the dog can continue his adventure. Nothing better to do, guys?
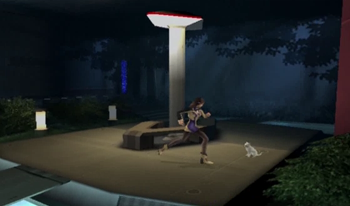
Alby is sitting at this particular spot in the park…

And Alby retrieves an item Junior left laying around, Heaven’s Door. It’s supposedly useless, but the dog decided it was important.
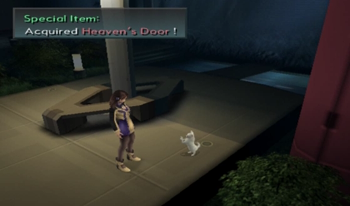
Alright, that’s it, time to jack out and return this dog to reality.
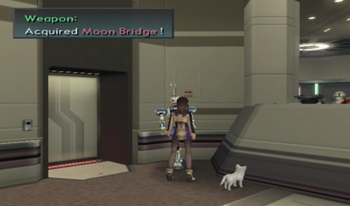
Our reward is Moon Bridge, MOMO’s best weapon.
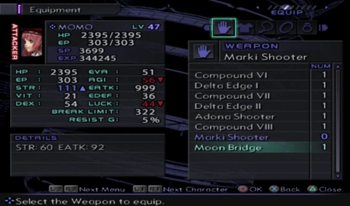
Isn’t it nice for us that these ultimate weapons impact our mages’ EATK? I always hate when JRPGs provide “ultimate weapons” for characters that can’t effectively use ‘em.
The real prize for this quest is Heaven’s Door, which this bot will turn into a useable accessory if you defeat Erde Kaiser Sigma. That’s a pretty big “if”, but if you do it…
Well, you won’t learn how useful it is until you hit the menu.

… And even that description isn’t helpful. But if you actually equip the thing, you’ll learn “EP-1” means that this ring is XS3’s “economizer”, and it will reduce all EP cost to a single digit. This means that MOMO could summon Erde Kaiser Sigma 303 times! Suffice it to say, this is a very useful item for your head mage, and it’s only hampered by the fact that more than half of the final dungeon doesn’t allow ether attacks. Still could work for the final boss, though (if you don’t think too hard about how you must possess Erde Kaiser Sigma to obtain this accessory in the first place).
MOMO’s swimsuit is back at Mai’s mine on Old Miltia. Tinker with the crane “minigame” and you’ll earn a random item.
After some basic consumables, you’ll eventually gain this armor. Maybe it was from when Mai was younger?
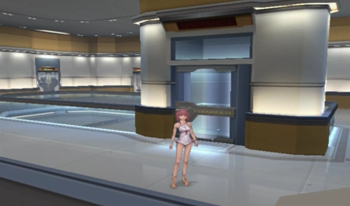
Isn’t she just adorable or something?
Junior
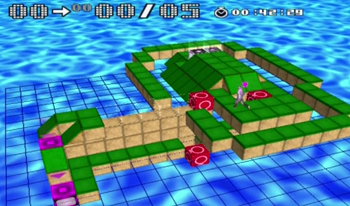
Junior’s ultimate weapon is earned by playing HaKox!?. I’m….not doing that.
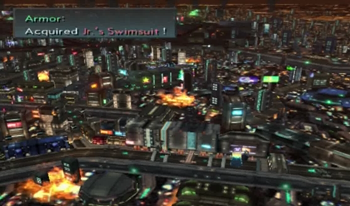
His swimsuit is lurking in the rear of the Old Miltia world map. I think you can earn this easily on your first visit, and I think the location on the map is roughly meant to equate to where chaos and Canaan landed ES Asher during the opening of XS2. Or it’s just a coincidence.
That looks like the most ineffectual life preserver ever.
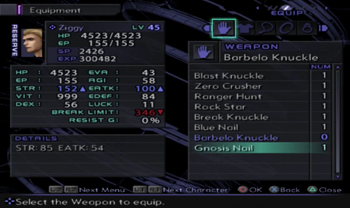
Ziggy
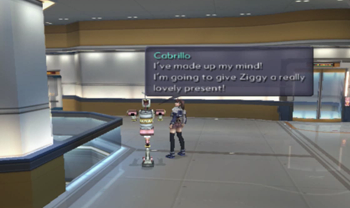
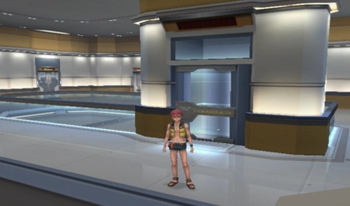
Ziggy’s ultimate weapon is the ultimate pain in the ass.
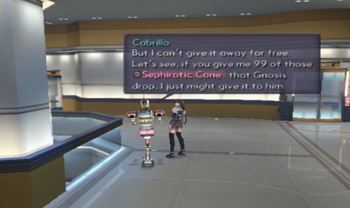
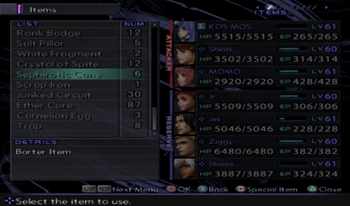
Cabrillo wants 99 Sephirotic Canes.

And you have to have all 99 in your inventory at once. No gradual accumulation for you!
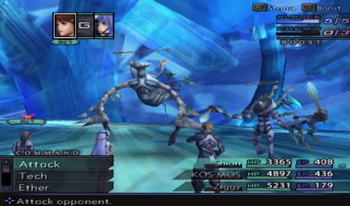
Sephirotic Canes are dropped by gnosis monsters in the absolute deepest stratum of the final dungeon. This means that Ziggy’s ultimate weapon is the only one that cannot be obtained until after entering the final dungeon.
I checked my original save file from my ten years ago playthrough, and, after completing the game and all other sidequests, I had earned… six Sephirotic Canes. 93 to go!
So, yes, if you want to know why I hacked 99 of every item into this game at the outset, here’s the reason. Screw you, XS3, gimme my weapon.

And a Power Heal! Whatever!
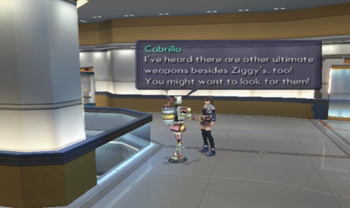
With the possible caveat of Junior’s HaKox!? weapon, this is a lot more likely to be your last ultimate weapon, not your first. In fact, given the state of your levels after grinding in the final dungeon to earn 99 stupid Sephirotic Canes, I’d claim that Ziggy’s ultimate weapon is entirely superfluous thanks to this quest. This is a troll quest, plain and simple.
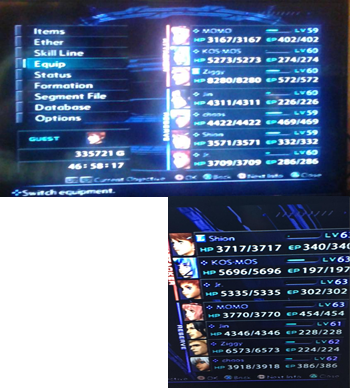
SpoonybardOL and Pudik of the Talking Time forums were kind enough to provide screenshots of their save files with “real” completed Gnosis Nail quests. Despite my assumptions, it appears the grinding for Ziggy’s ultimate weapon does not dramatically boost your EXP count. I don’t know whether to laugh or cry at this level of Xenosaga trolling.
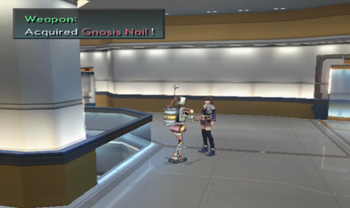
The Gnosis Nail is good, but not “waste hours of your life” good.
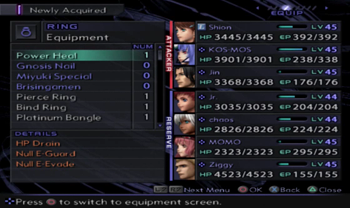
And even Power Heal doesn’t seem to be the best accessory we earned this update. What a letdown of a quest.
Oh, and Ziggy’s swimsuit is HaKox!? related, too. Tell you what, fans, if someone wants to set up a kickstarter and raise a grand, I’ll livestream the entirety of HaKox!?. No takers? Alright, we’ll just have to imagine Ziggy’s swimsuit, then.
chaos
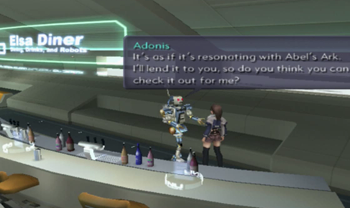
chaos’s ultimate weapon quest isn’t as bad as Ziggy’s, but it’s still pretty stupid.
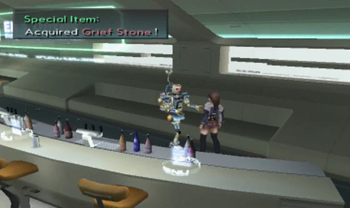
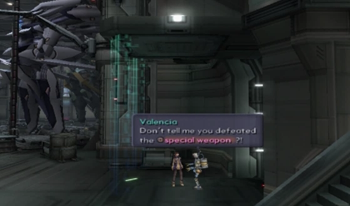
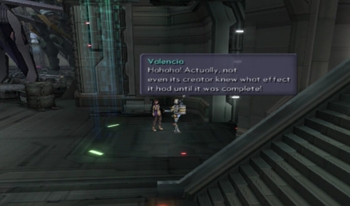
Adonis the bot (who was responsible for that hangover sidequest during XS2) provides a Grief Stone, and claims that it is resonating with Abel’s Ark.
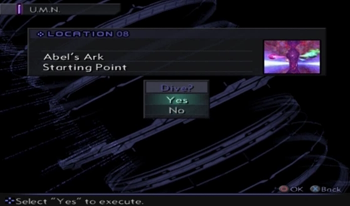
I know where we’re going!
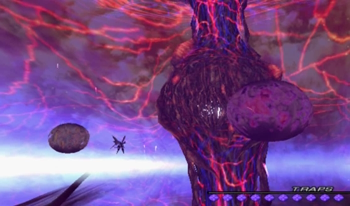
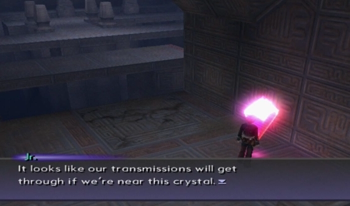
Because this quest appears immediately after completing Abel’s Ark, it’s unlikely your ESes are that much more powerful than during the last trip. So, basically, this sidequest is “do the same dungeon you just finished, again.”

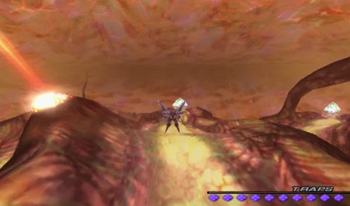
And here’s the fun part! You’ve got to complete each of the orbs again! Oh boy!
Luckily, all the traversal puzzles are already solved, so you don’t have to spend forever building bridges or shooting spirals in each orb, but all the enemies have respawned, and there are no shortcuts.

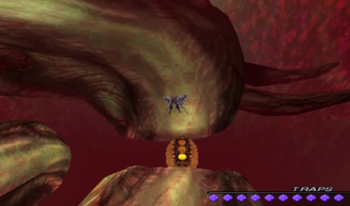
At the end of each orb area, you must investigate some random glowy bit, or it doesn’t count.
And it’s not like orbs change color or luminosity or anything this time. Try to remember which orbs you’ve (double) completed!

Are we done yet?
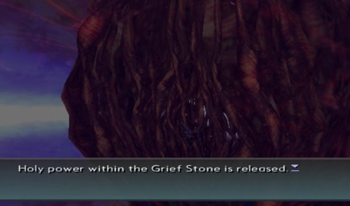
After completing all the orbs, investigate the middle area again, and…

Yay! Stuff!
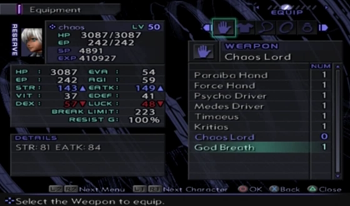
God Breath is chaos’s ultimate weapon. Keeping to his red mage persona, the weapon has almost exactly balanced STR and EATK. Almost.
The Universe is a lesser Heaven’s Door, as it reduces EP cost by half. This ring also nulls ether-counter abilities, so it’s quite useful for a mage.
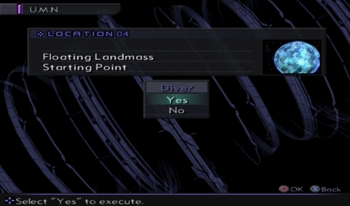
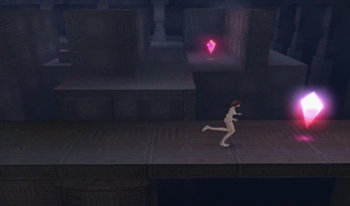
And XS3 is hiding one secret dungeon. You may recall we found a mysterious item hiding in the tomb on the floating landmass. If we return there…
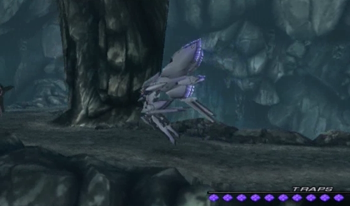
And venture through the ES portion again…
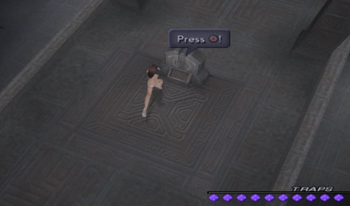
We’ll come back to the entrance of the tomb, and that mysterious indentation.
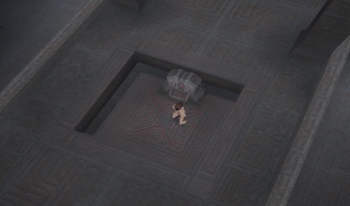
Stick the Arcadian Resource in there, and we’ve got an elevator going.
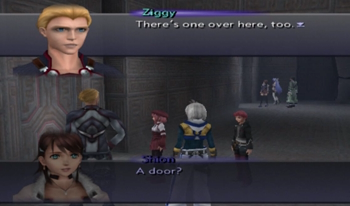
Downstairs, there are two doors.
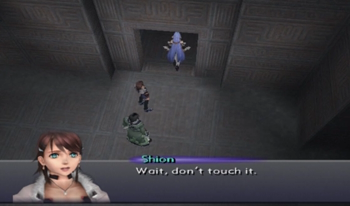
KOS-MOS rushes into Door #1.
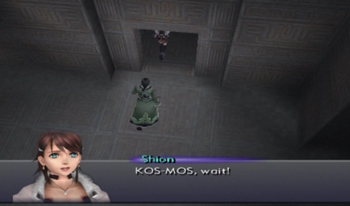
So Shion and Jin follow.
And are then locked in. Whoops.
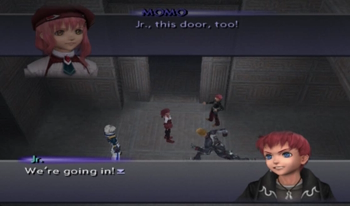
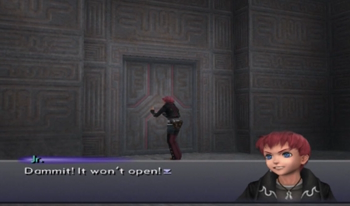
But the other door is open, so let’s head on in.
Ziggy, please stop being the voice of reason.
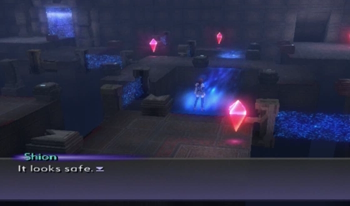
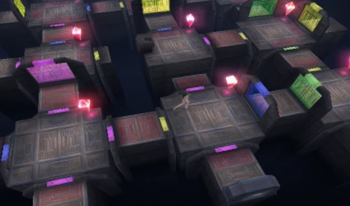
Inside, we find that this is the “two parties” dungeon of Xenosaga.
Ya know, we never had anything like this ever before in the franchise.
This area… is surprisingly complicated. I could probably write an entire FAQ about this dungeon, but this is a LP, and this is a sidequest, so I’ll just give you the generalities. First of all, there are no monsters in this entire area, presumably because the XS staff had no idea how to re-code the battle system for two separate parties.
There are a lot of switches in this area…
And they move platforms between the two sections. Junior might run into a dead end, but Shion may pull a switch that floats a platform into place. Easy peasy.
There are also treasures about, but they’re all consumables or cash, because you will not be reentering this dungeon.
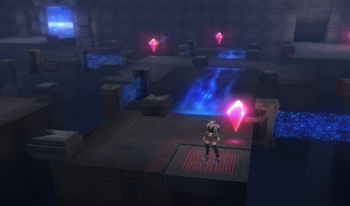
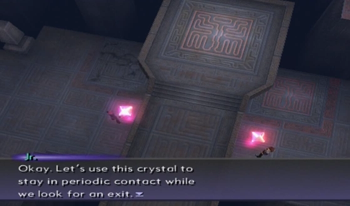
The second floor of this dungeon is a… what do we call this… bridge puzzle?
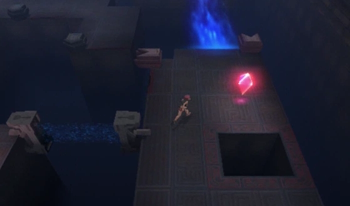
The glowy blue bits are platforms…
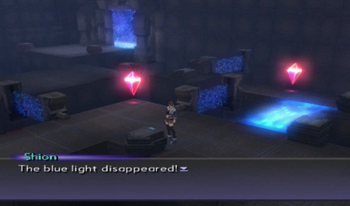
And you can switch the bridges off and on.
The idea is to use the two parties to coordinate the bridges so they don’t criss-cross. Blue lights do not play well together.
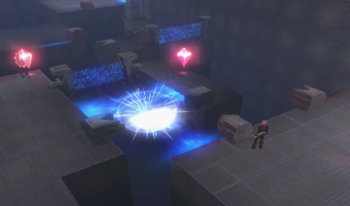
There are also these “power gates” that will extend a bridge further, but only if they’ve been switched on.
Anyway, lot of switchin’ ‘round these parts.
And then it’s time to head on up.
Floor 3… alright, maybe the reason I’m not writing more about this area is because even I don’t know how I solved this one.
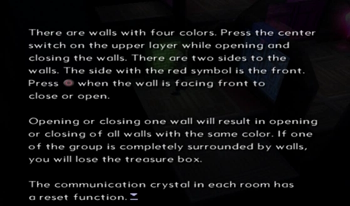
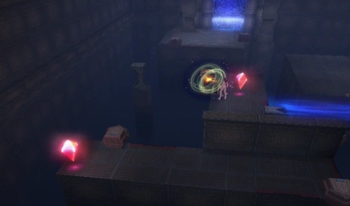
Junior and Shion (teams) are on two mirror floors, and when you turn off a green wall on one floor, the green walls pop up on the other side. All colors work together, and it’s possible to accidentally “trap” the other party between walls, which will require a reset (of the puzzle, not the game).
Even still, I pretty much conquered this area by randomly touching as many walls as possible. I’m not proud.
There are treasures in this area, too.
Somehow I completed this puzzle and earned the treasure to boot.
That… sounds useful?
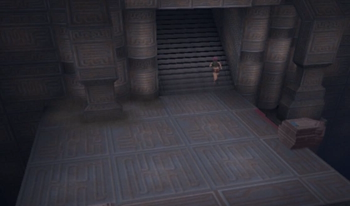
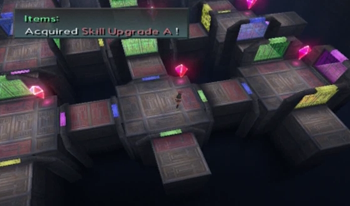
The party reassembles on the fourth floor, and… is that the Ark of the Covenant?

The two treasures on either side are a Skill Upgrade and Angel’s Experience. AE will boost your experience gain, so that’s always nice.
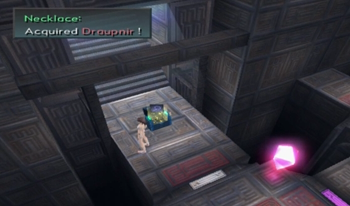
And inside the ark is… chaos’s swimsuit. Well… okay then.
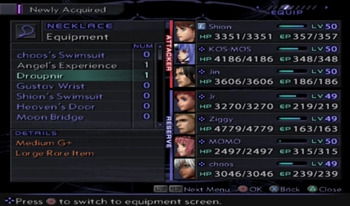
Incidentally, that Droupnir we earned is useful for earning rare items, so hooray.
Ultimately, this dungeon probably takes about an hour, give or take how likely you are to actually solve the puzzles or just hit a FAQ. It’s a completely unique, monsterless dungeon, and you can complete it at practically any time as a result. There’s probably a major benefit to getting that EXP+ accessory as early as possible, at least.
And here’s chaos’s swimsuit. I can see why this thing got left in a tomb for a few millennia.

And chaos gets another costume we’ll earn for beating the game. Figured I’d mention it now, and leave anyone that hasn’t played through XS3 really confused.
Speaking of beating the game, there are no extra bosses or extra dungeons that open up after completing the main story. Unlike XS2 (which locked about ten hours of content into its postgame), XS3 only has one extra dungeon, two special bosses, and the rest of the sidequests we just covered. After you clear XS3, there’s basically no reason to play it ever again.

However, you do unlock “swimsuit” mode. So… that’s something?
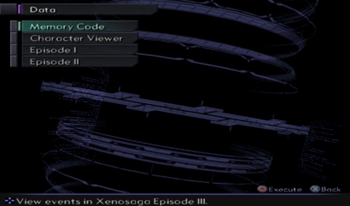
Xenosaga Episode 3 has a “data” mode accessible from its opening menu (before officially loading the game). This is available at any time during the game, and updates as you complete more chapters and earn data files.
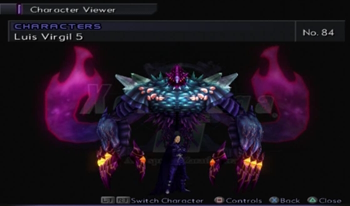
Character Viewer allows you to see every significant character model in the game. This grants you a good look at the Testaments’ buddy gnosis. You may also view some of the characters’ many outfits, though only the ones you’ve unlocked. If I was really thinking, I would have used this “mode” to showcase the swimsuit models, but then Captain Matthews would have missed the Elsa Fashion Show.
The Memory Code feature allows you to re-watch any scene from XS3. Once you’ve unlocked Swimsuit Mode (again, the prize for beating the game), you can toggle swimsuits off and on for any of the stupid dialogue scenes in the game (not the cool, fully-rendered “letterbox” segments). You’re still restricted by which characters actually earned swimsuits on your memory card (so no banana hammock Ziggy for me, stupid HaKox!?), but you do get a free swimsuit for Allen with Swimsuit Mode.
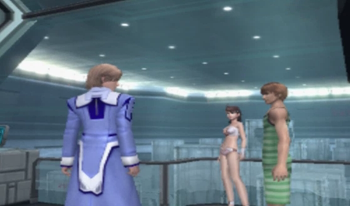
As an example, here is the historic first meeting with Roth Mantel.

And remember Shion and Allen’s ham date?
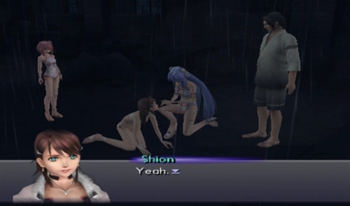
Or when Shion watched her childhood mentor die?

And here’s a special preview of an upcoming update.

Incidentally, chaos’s earlier… unusual… outfit is known as Flawless. Related: there’s Swimsuit Mode, but you cannot reexperience the scenes with any of the other outfits available, like Shion’s Vector uniform. Why? Who knows.
Oh, and the other “bonus” for completing the game is that your database may finally be complete after the ending. This makes sense, as the database covers information that you only learn during the ending (like the final fate of various party members), but it means you can’t have that all important 100% until after everything is done.

How sweet it is. Note that to get 100%, you have to clear out the bonus bosses, find all the update files (like the one in the stupid Merkabah), and even fish out those Federal Reports during the Old Miltia segment. You, technically, do not have to complete HaKox!?, find all the swimsuits, or open all the Red Segment Doors.
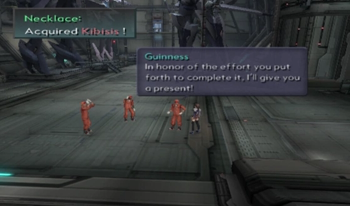
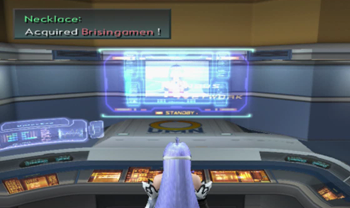
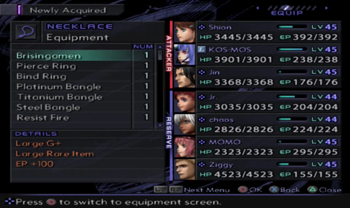
And if you earn that 100%, you’ll gain Kibisis from Guinness.
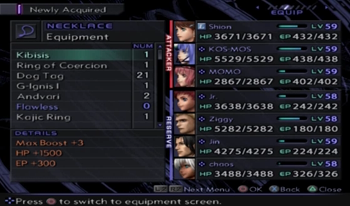
That’s a pretty good necklace (the extra boost is ideal for… everything), but you have to literally complete every worthwhile challenge in the game to get it, so you can use it to… uh…. Look pretty?
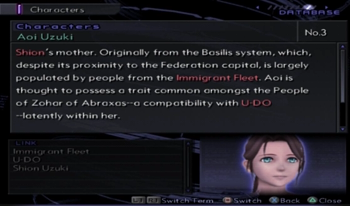
But since we completed that database, let’s take a look at some of the extra data in there. Here’s an actual picture of Aoi Uzuki with her eyes open, which never happens in the franchise.
Xenosaga: A Missing Year and Pied Piper characters get data entries, but nobody wanted to spring for whatever it would take to import the images from those specials. They clearly reused models from XS1 and XS2 for some of the images, so it’s not like a 2-D picture or cell phone pixels would be that jarring.
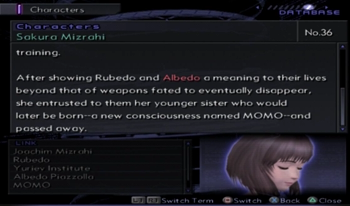
Sakura’s death is still a general mystery in the main franchise (but not the DS game).
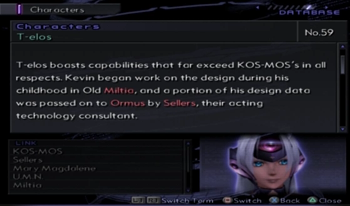
I swear this bit of the T-elos entry exists only to explain why there was T-elos data on a U-TIC ship during XS1. Uh, Sellers stole it. Yeah.
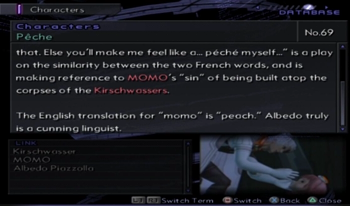
Somebody snuck the infamous “cunning linguist” pun into an entry about a grown man menacing a little girl. My revulsion is tempered by admiration for the writer of this entry.
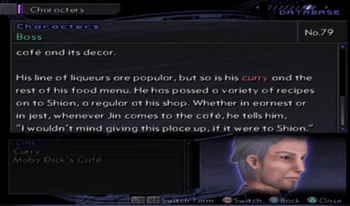
Apparently “Boss”, a character that appeared in one scene and doesn’t even really have a name, cares enough about Shion that he would consider leaving his business and life’s work to Shion. Boss is a very confused man.
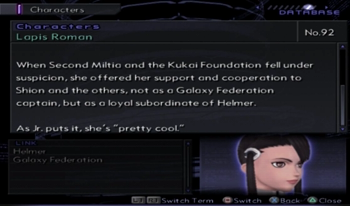
‘Member Lapis? I ‘member Lapis! Kinda!
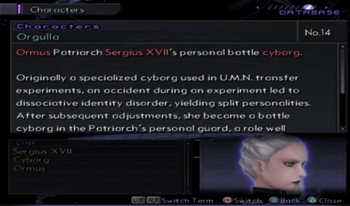
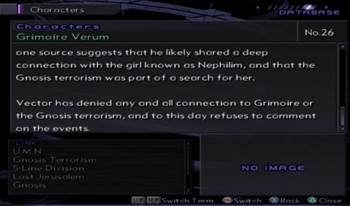
Oh, here’s where that additional information on Orgulla/Manes comes from. Would have been nice to know any of this when she was experiencing her thirty seconds of Xenosaga limelight (before we killed [?] her).
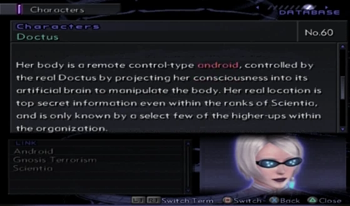
I want to say this is the origin of that “Doctus is hiding something amazing” rumor that the Xenosaga fanbase latched onto like a rabid dog. “Doctus” as we know her is just a robot shell, and the real Doctus is hiding in some undisclosed location. This seems wildly unnecessary, as we’ve only seen Doctus in imaginary space (the opening UMN area), or via video-conference (the entire rest of the game). Does she fire up a fake android body just to make a space-phone call? I’m convinced there were major plans for this character that seems to only exist as an exposition device.
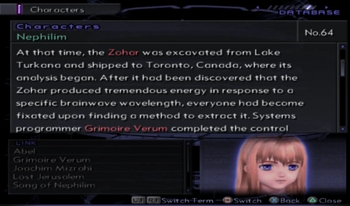
And here’s the greatest secret of the franchise: Nephilim has been Canadian this entire time! Think about how that explains everything!
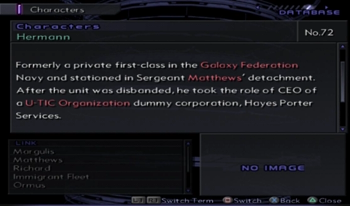
Oh, and details on Hermann and Richard are available here. This confirms some data that was from a Xenosaga audio bonus track or something, and will become relevant next update (not really).
So that’s it for sidequests and side… stuff for Xenosaga Episode 3. We’ll start in on the final dungeon next update, and…
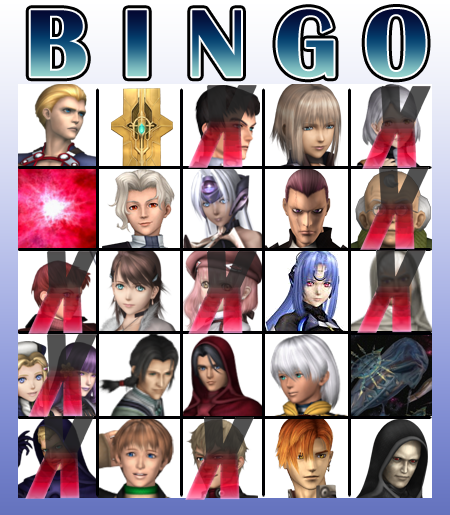
Whoa. Looks like we have a lot of ground to cover. I count sixteen squares on that bingo card that need filling, and… well, I don’t think that’s going to happen in one update.
Next time on Xenosaga: Ormus? You guys are still here?
1. There’s one thing you forgot to mention about EKS…likely because it never happened to you. Hell, it only ever happened to me once. See, along with being powerful enough to casually kill your party members, there’s a small chance (not sure what the chance/trigger is) he’ll use an ability called Victory Spark. As far as I could tell from that one time I saw it, this is game over: he’ll hype it up like he does with the shields, before actually doing the attack and slaughtering your entire party. So, next time you decide to fight Sigma, just know that there may or may not be some invisible time limit.
2. Ah right, Jr’s Vaquero. Even as a big Jr fan and someone who actually liked Hakox, I never got this one. That game seriously tests your multitasking skills as it goes on; trust me, if you couldn’t even be bothered to play the game in the first place, than I’m willing to bet that (semi)final set of stages to get Jr’s ultimate weapon would make you pray to go back to the Merkabah.
3. “You got The Universe!” Good, I think we need another one now that this one’s well and truly screwed.
[…] – Spoilers: This game may or may not eventually tie into the one and only Xenogears in the exact same way that Xenosaga tied into the one and only Xenogears. Or maybe it won’t. It is a […]
[…] Oh, hey, there’s that sword forge/unequip thing just like we would eventually see in Xenosaga. […]