
Don’t just stare, because today is October 2, Shades Day. A marshal who always wore sunglasses was nicknamed Shades by his boss. Shades even wore his sunglasses at night. During an investigation in a dark dungeon, he was caught in a trap he couldn’t see and died in the line of duty… Shades Day was named to mourn for his death. So please, don’t wear your sunglasses at night.
Previously on Wild Arms 3: Virginia learned the truth about her father, and they had a touching moment where she shot him until dead.
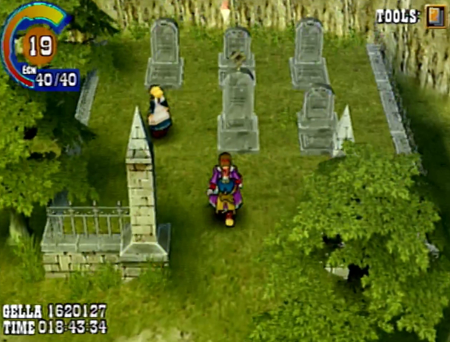
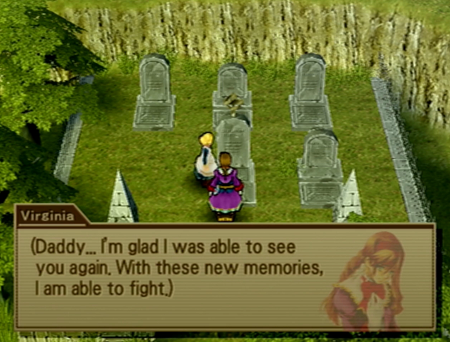
So now we’re at the cemetery, as that is usually what happens after that kind of thing.

“Hey! Whatshername! Stop walking over my daddy’s not-corpse and telling strangers about shades!”
“I was kind of half-assing it before…”
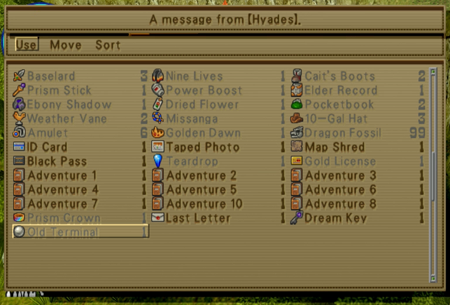
So we picked up two items during that last part. The Old Terminal is the Daddy Ball, and it is basically Data-Werner’s bones. Or… something. Virginia is keeping it for sentimental value, and sleeps with it under her pillow.
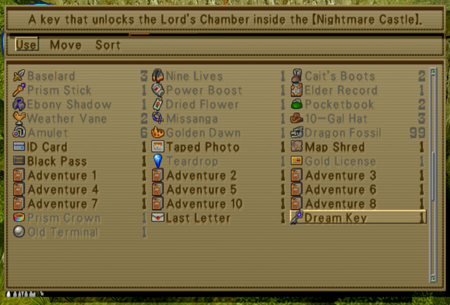
We also have the Dream Key that Beatrice dropped on us. That is the more straightforward key to the final battle.
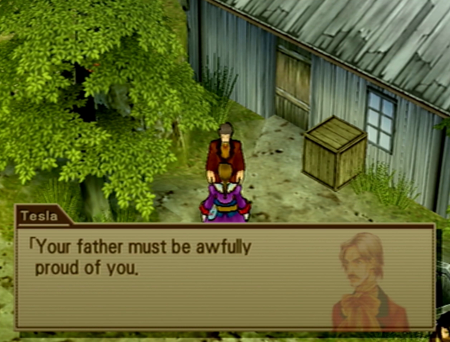
You would think Tesla would have more to say regarding the final fate of his brother.
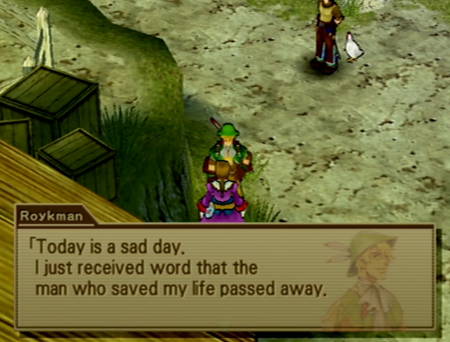
Roykman’s subbest of subplots is now concluded.
Is Janus going to pop up again?
“I never got to say goodbye to that dude with the hat!”
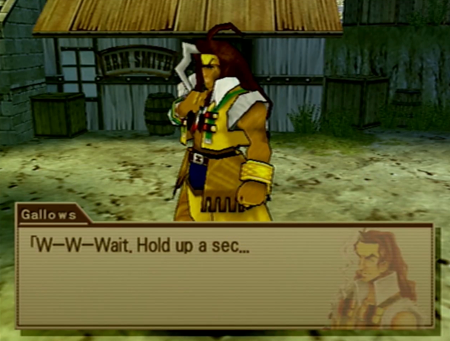
“Are you sure you don’t mean to say, ‘I’ve got a ham,’ Gallows? I would believe you having a ham.”
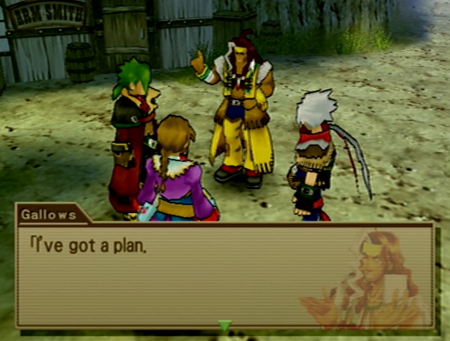
“I’ve got a plan. If all goes well, we might be able to find out where Beatrice is.”
“Really?”
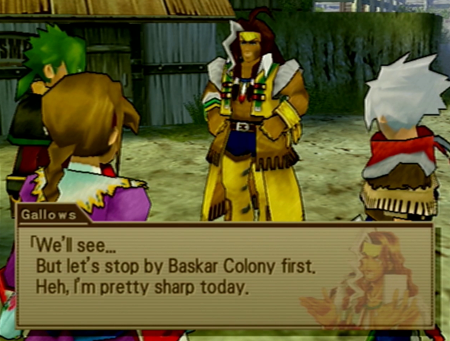
“We’ll see…But let’s stop by Baskar Colony first. Heh, I’m pretty sharp today.”
This is our plot hook for where to go next if we want to advance the story (straight through to the end).
But we’re going to ignore that!
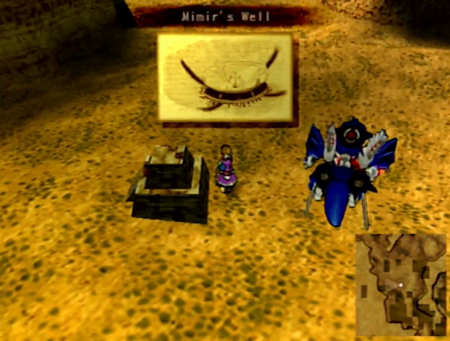
And go right back to Mimir’s Well.
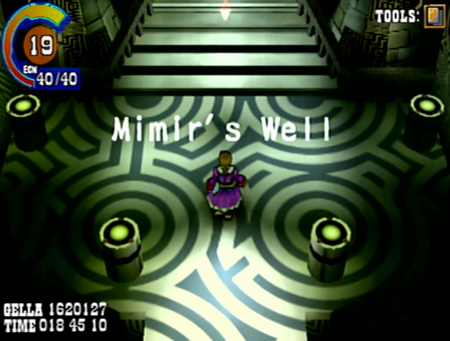
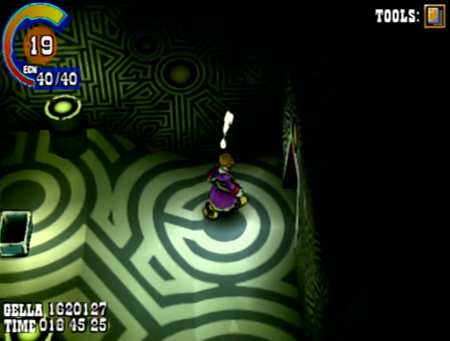
You may recall that a cutscene kicked in the absolute moment we hit Mimir’s Well the first time. We never got to actually explore a single inch of this place.
So let’s do that!
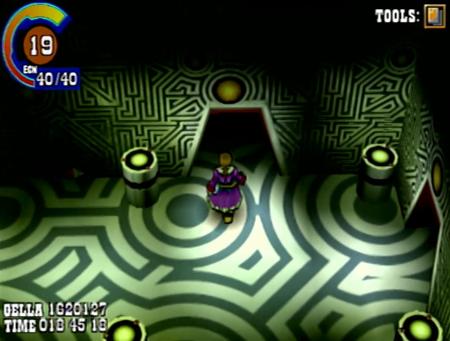
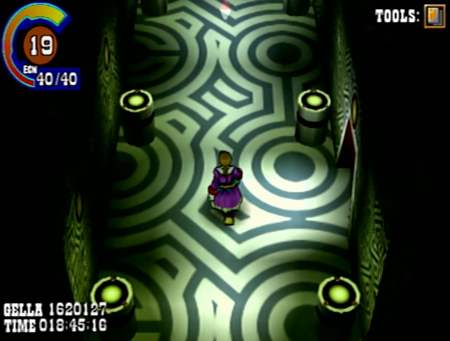
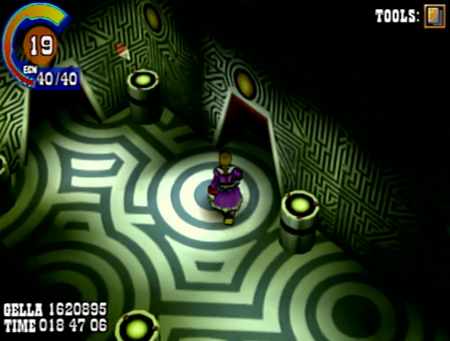
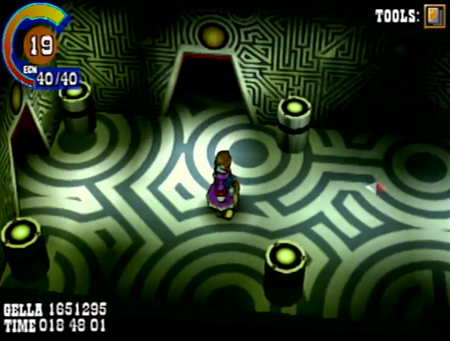
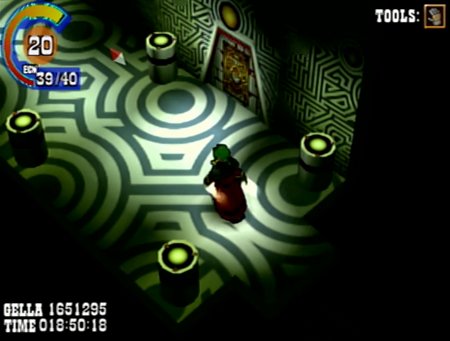
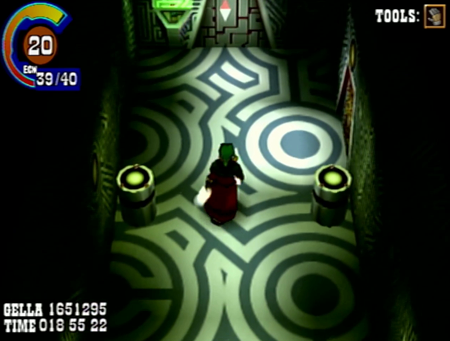
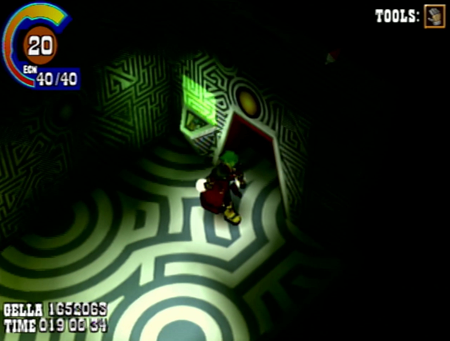
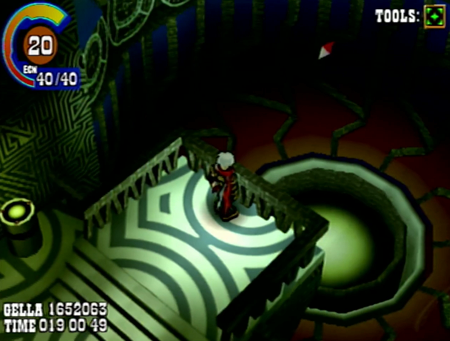
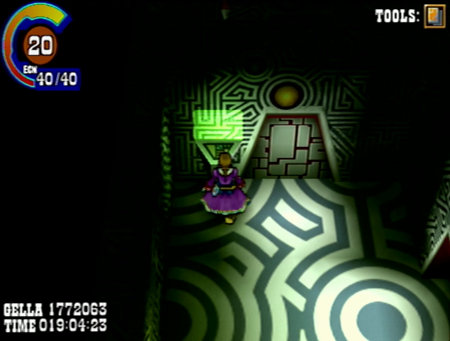
Mimir’s Well is two long hallways with a series of random doors interspersed around the area. The hallways we walked through during exposition time, but we haven’t seen a single other room in this dungeon.
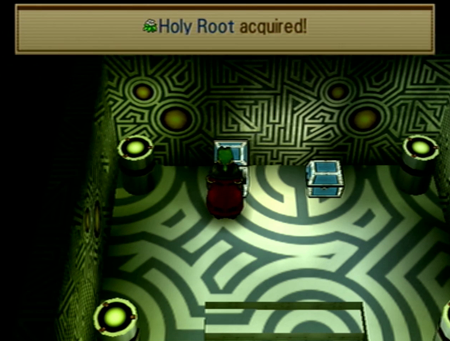
A room with nothing but treasure! Score!
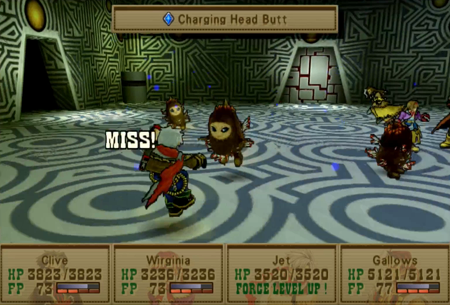
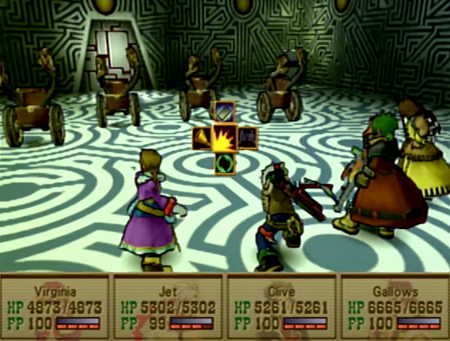
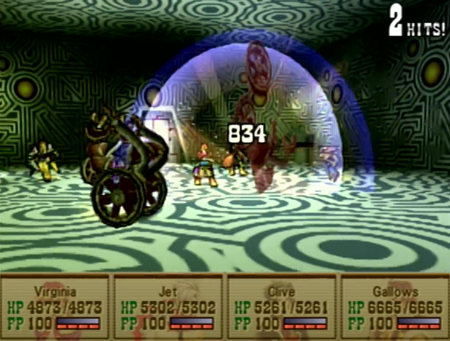
Ah! A random encounter! We will use the plot excuse that Werner was using his forcefield to keep the monsters at bay during our last visit. Either that, or we left the door open like idiots, and they all crowded in while we were crying at Boot Hill.
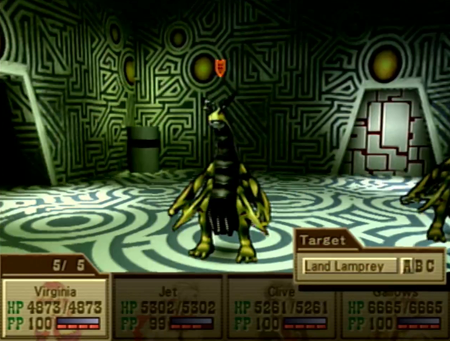
A land lamprey? Why not.
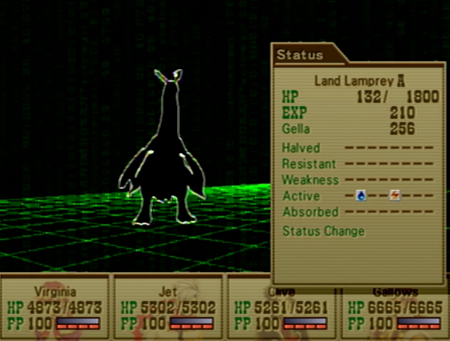
Like their eel-y friends from a few dungeons back, these lampreys will only grow stronger if you hit them with water or electric attacks.
They have their own water…
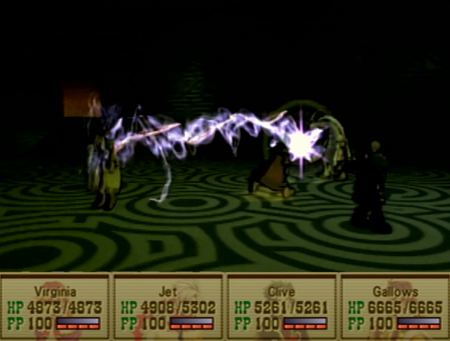
And electric attacks. Plan accordingly.
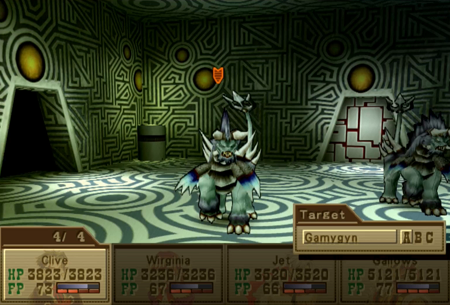
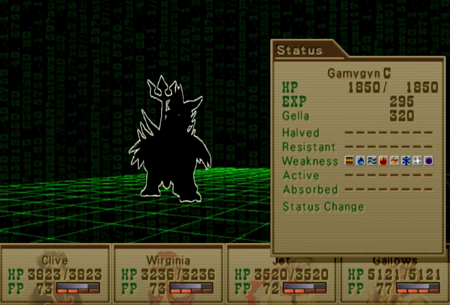
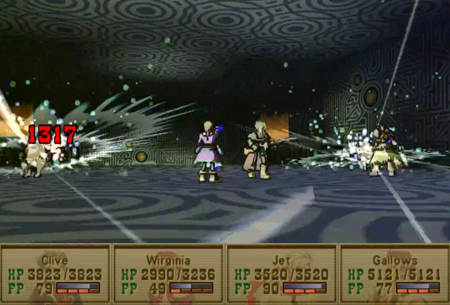
Other monsters include the Gamygyn. If you are curious, these guys are mythological demons that were popular in medieval grimoires, but you don’t hear about them much anymore. I think centaurs stole all their thunder.
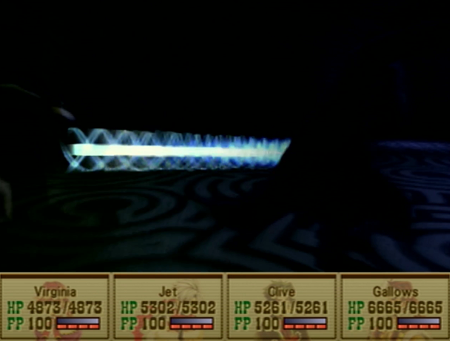
And speaking of thunder, feel free to use any damn element you would like on ‘em.
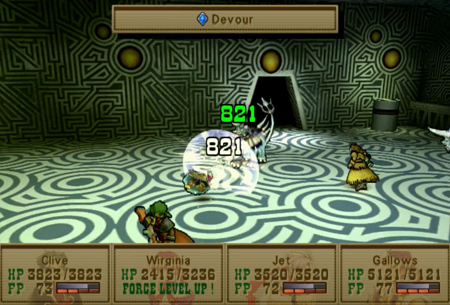
Otherwise, they’ll eat ya.
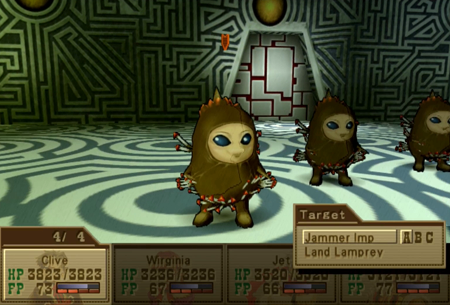
And lastly, we have Jammer Imps.
Watch out for their big heads.
And show them the light.
Those are the encounters that Werner had to deal with every time he stopped back “home”. Moving on.
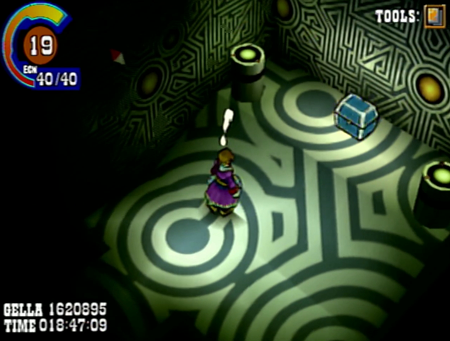
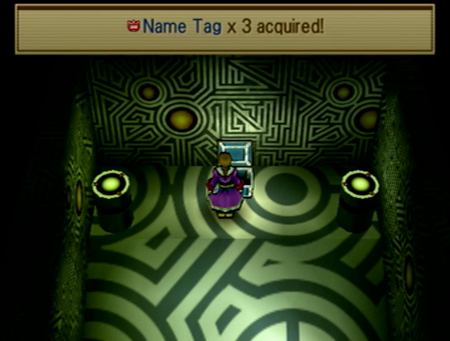
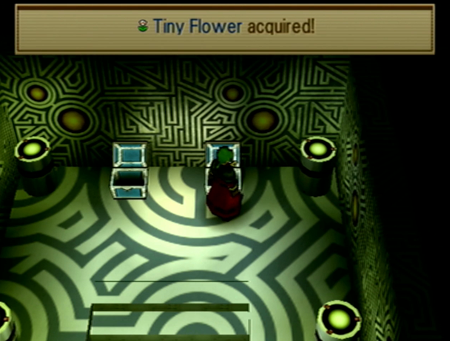
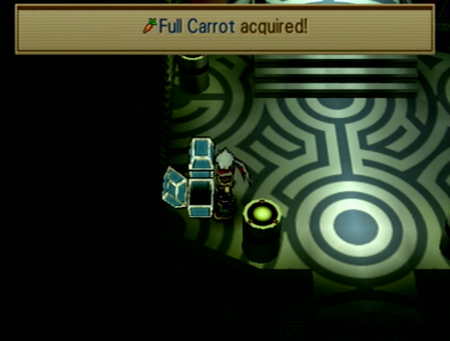
More easy treasure!
Slightly less easy than expected.
This is the last pack of imitators in the game. They are not appropriately scaled.
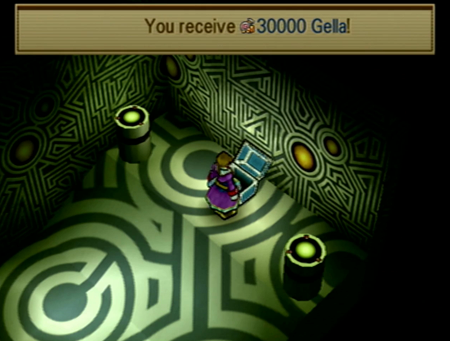
This was Werner’s walking around money.
Come to think of it… The prophets are dead… The Seven are dead… Werner is dead… did we just inherit Mimir’s Well?

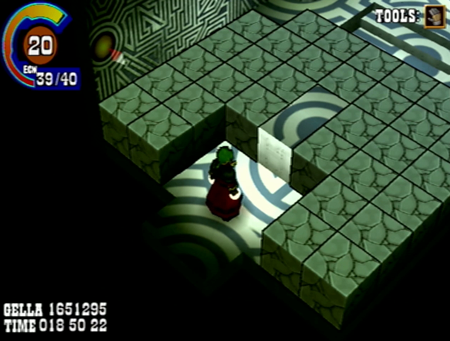
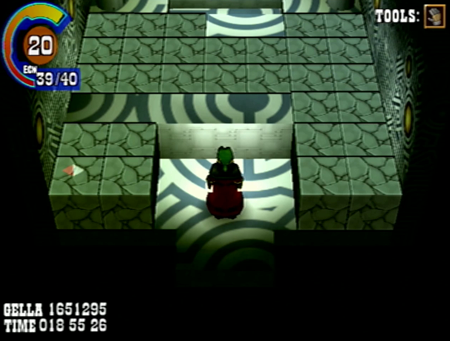
And its many block puzzles?
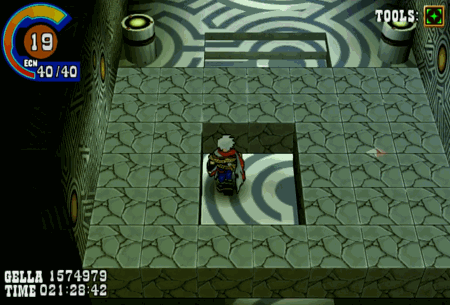
We are going to see a couple of these today, as they are apparently the gimmick of this dungeon. You have a limited space to work with, and you have to push/pull blocks to make progress to an obvious endpoint.
You don’t need any tools to solve these puzzles, and they are basically a matter of moving a few blocks at a time to keep the party moving.

And our first reward is a duplicator. Some of these Mimir’s Well doors are locked, so that will be used immediately.
At least the return trip is easy. Walk all over that puzzle!
See? Great place for a duplicator.
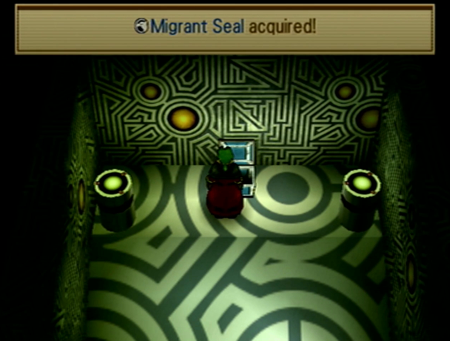
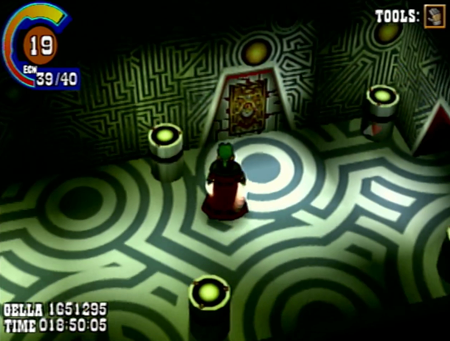
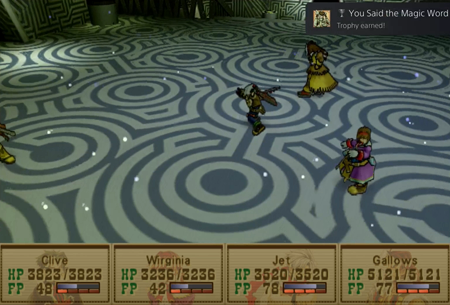
The final Migrant Seal!
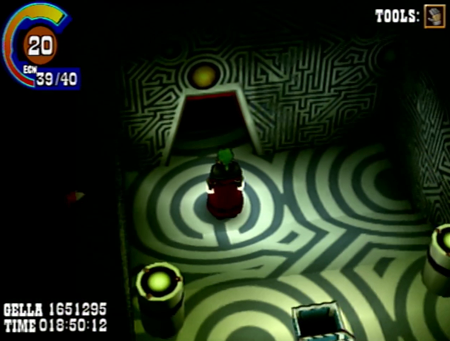
If you have been good about finding Migrant Seals across the game, this is the final one. There are 19 seals (you start at level 1), and now, at Level 20, you can cancel most any encounter. Well, if you ignore the Abyss and the final dungeon…
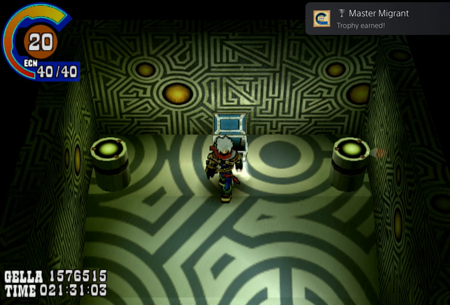
On the PS4/PS5 version, this earns you a trophy.
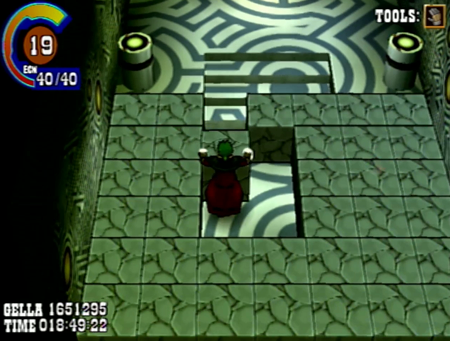
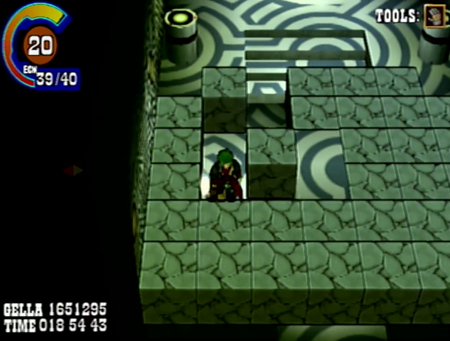
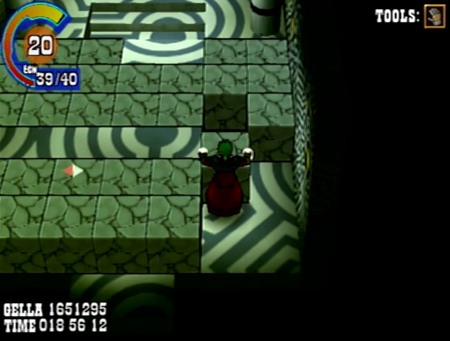
Second hallway.
Second block puzzle.

The trick is that you cannot just aim down the middle with that obstruction. Other than that, this is the same deal as last time.

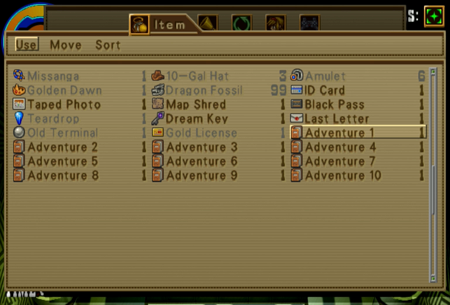
Adventure #9! We already won Adventure #10 from the porn mags at the laboratory, so this is about where we can complete the Kaitlyn’s Story Time quest.
We are so ready to read to Clive’s adorable daughter.
Remember! You can just walk back over the top of the blocks. You don’t have to reverse-solve this puzzle. Learn from my mistakes!

Back on track.
Just about at the end here.
Final block puzzle.
Push and pull around the perimeter.
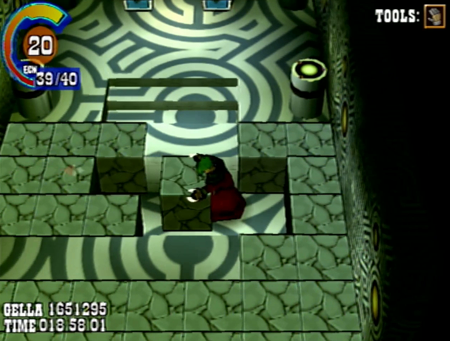
I like that these puzzles use the same basic concept as the Millennium Puzzles, but work in an entirely distinct way. Very different goals involving blocks.
Woo! Clearing status effects!
Oh man. This was Werner’s flower stash. I feel bad now.

Let’s get out of here before I cry.
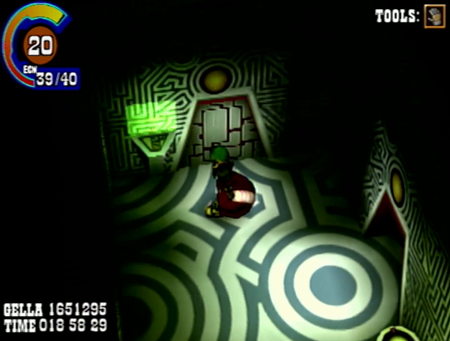
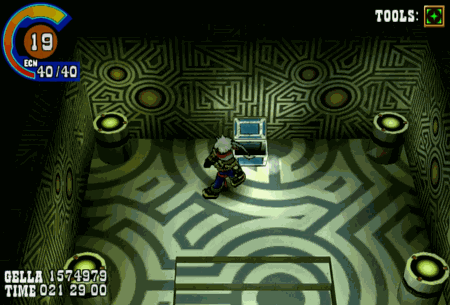
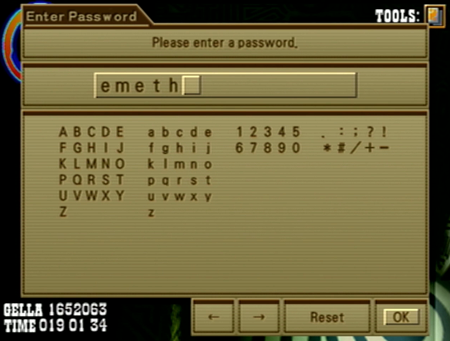
And here we are at that terminal from the cutscene.
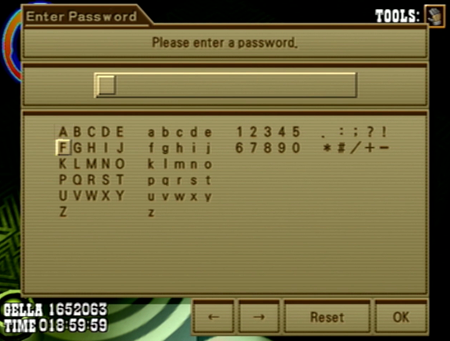
We have two options.
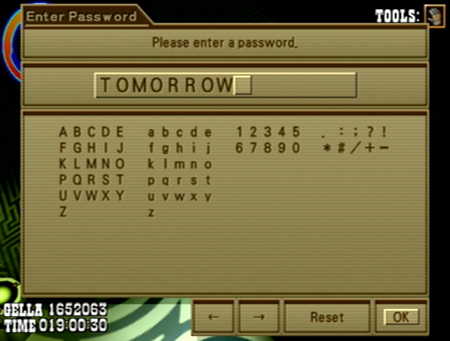
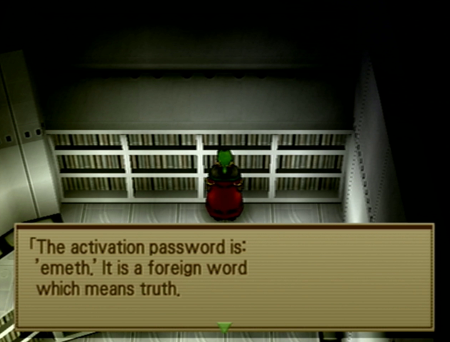
This was the password used by Werner. He made a big deal about it.
This will unlock the door forward.
Virginia was too busy shooting her dad to notice the two treasure chests in the server room.
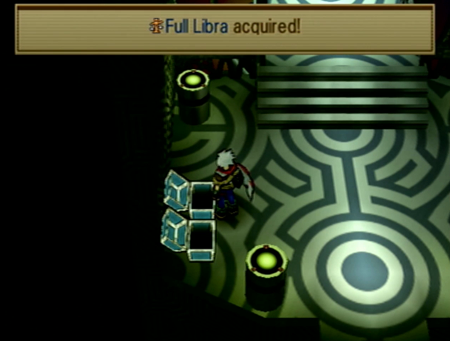
Full Libra is well worth the trip.
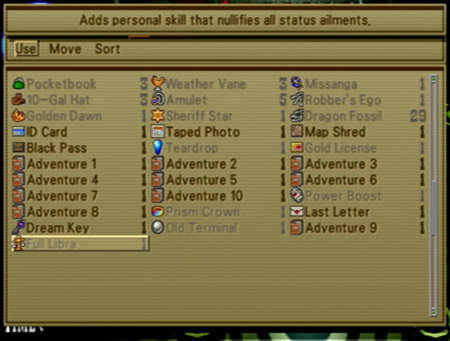
Like the Prism Crown from the previous dungeon, this is one of those all-purpose accessories. Full Libra will protect against all status effects. Status effects aren’t that much of a bear in Wild Arms 3 (they are rarely exploited by the bosses), but this would be great if you are going UFO hunting.
And there’s the server hole. Virginia friggen’ obliterated Hyades.
Note that Mimir’s Well contains the last treasure chests in the game. If you have kept up on exploring every dungeon, returned to previous dungeons with new tools, and now looted Mimir’s Well, you have opened every treasure chest across Wild Arms 3. There are no treasure chests in the final dungeon.
But there is still one last to-do item in Mimir’s Well.
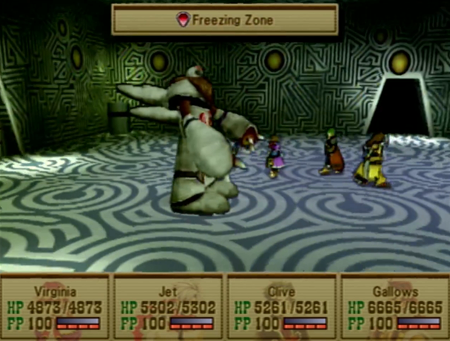
You may recall a book at the Ark of Destiny which said “The Ice Queen has been assigned to guard Mimir’s Well, the place where wisdom is granted.”
And its activation code is the Hebrew word for truth…

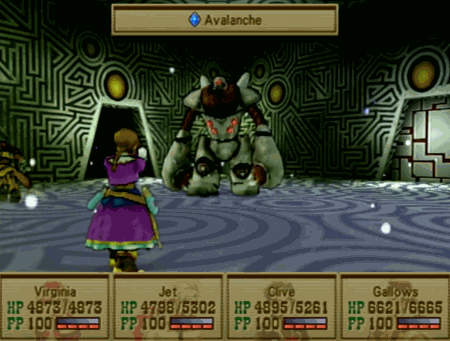
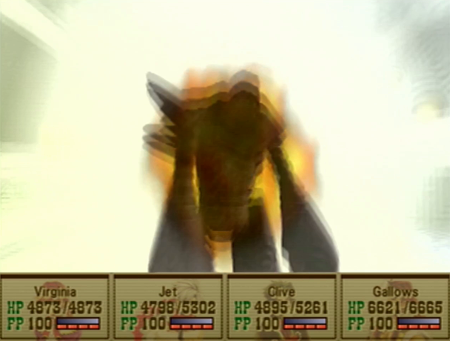
We’re gonna meet Elsa!
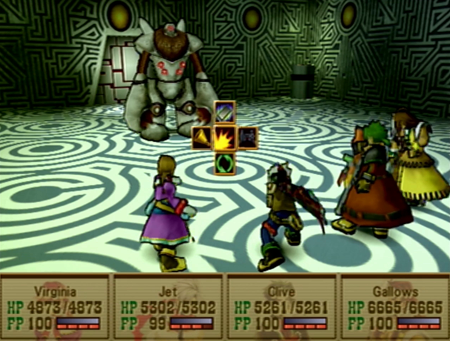
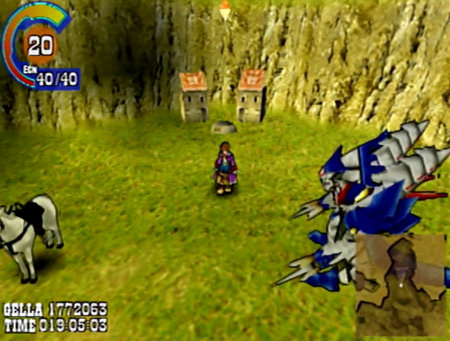
It’s another Wild Arms legacy golem!
Lolithia was one of the golems of Wild Arms (1). It was the first golem discovered in the plot, and arguably the reason the cast of Wild Arms gathered at all. It is a bit shorter here (Golems were building-sized in Wild Arms), but is otherwise immediately recognizable. Oddly, when Lolithia returned in Wild Arms Alter Code: F (a remake of Wild Arms primarily using the WA3 engine), this model got scrapped, and she was redesigned to be more obviously robotic (aka she dropped her sweet beard).

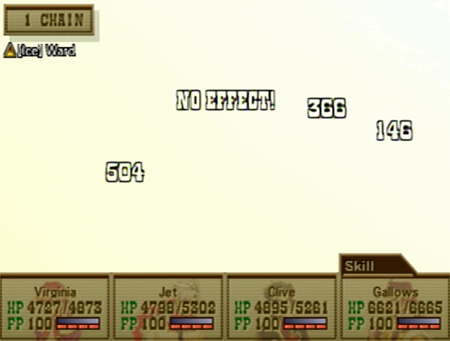
Lolithia is an ice boss to the core, so use fire, and ward ice.
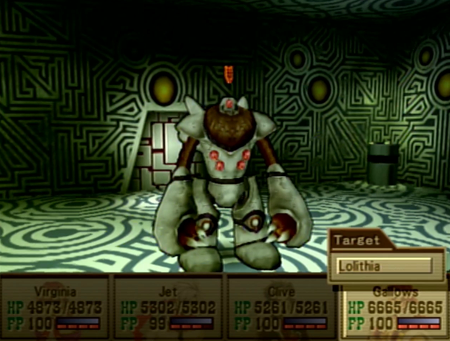
Naturally, her first move is to increase the attack strength of ice abilities.
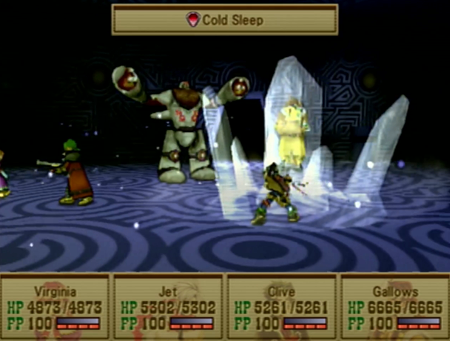
Cold Sleep is appropriately named.
It is an ice attack that may inflict sleep. And I just got done saying status effects weren’t that dangerous in Wild Arms 3…
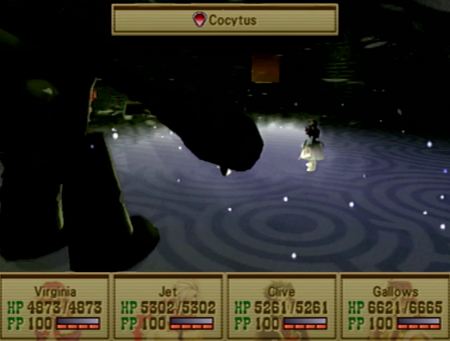
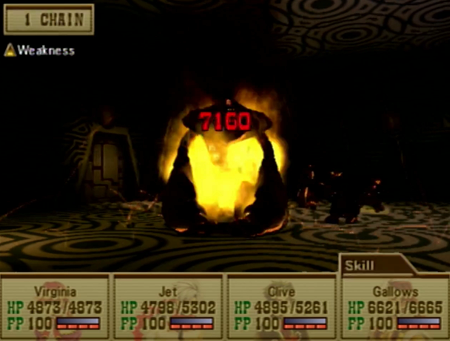
Cocytus is the big scary ice attack that may murder everybody if you’re under leveled.
But there is not much to worry about if you have faced other optional bosses. Unlike many of the super bosses, Lolithia seems to be scaled for exactly this point in the plot.
I would guess that Lolithia was planned as the “real” boss of this area, but was demoted to optional when the directors decided that Virginia’s big scene would work best not interrupted by a random battle with a robot.
Anyway: burn the witch.
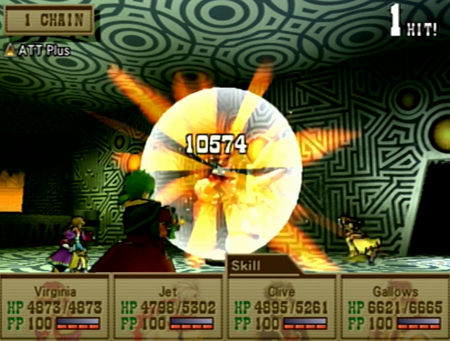
Lolithia is not very strong. Asgard is embarrassed for his sister.
That’s it for Mimir’s Well’s security system.
This complete nothing of a fight earns you a trophy on the PS4/PS5.

Our reward is a decent amount of cash and an ice ring. Ice Rings aren’t all that common, so it is a reasonable prize for a reasonable battle.
And that’s that. After you have entered both passwords (TOMORROW and emeth… case sensitive!), the terminal no longer works. The door is open forever, though.
Mimir’s Well is now thoroughly explored. This whole adventure is optional, but, as you’ve seen, it houses the finales to multiple game-long quests.
And right about now we could head straight for the finale of the game-long quest of the game. But we’re not going to do that, because…
Next time on Wild Arms: The side quest roundup begins!
[…] the time you have completed Mimir’s Well, you may have found all the chests in the game. But, like me, you probably missed a couple. Happens […]