Don’t spit on a stranger just because today is May 8, Pavement Day. When I was a child, I took a big jump on the stone pavement to celebrate this special day. The cobblestone that I landed on sprang up and smacked me straight in the face. Upon realizing the sad fact that it was my first kiss, I slowly fainted.
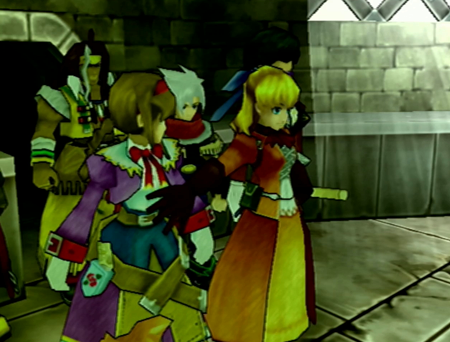
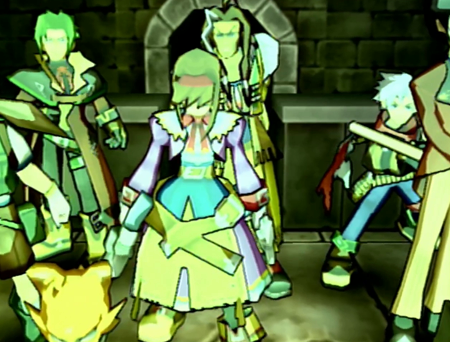
Previously on Wild Arms 3: Virginia and Maya had a reconciliation of sorts while their emotional support boys stood around picking their collective noses. Now everyone is going to work together to scale this Caging Tower and claim the Teardrop.
So let’s get to it!
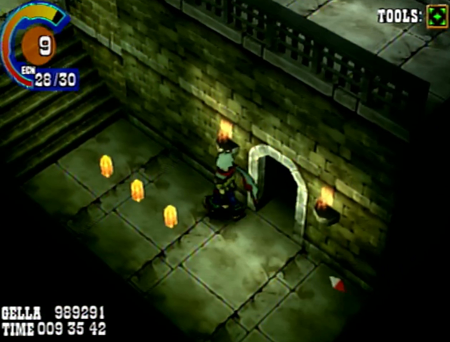
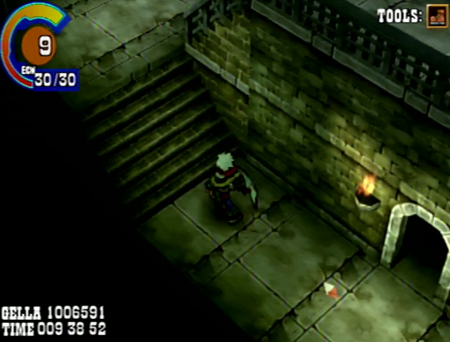
We are picking back up immediately after the battle with Maya. It’s balls.
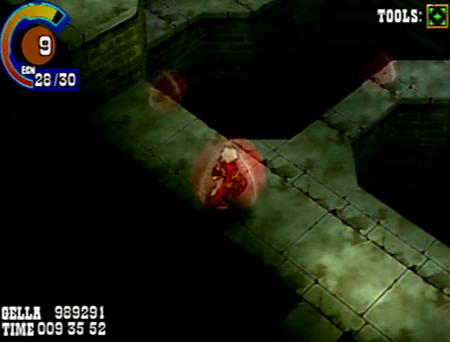
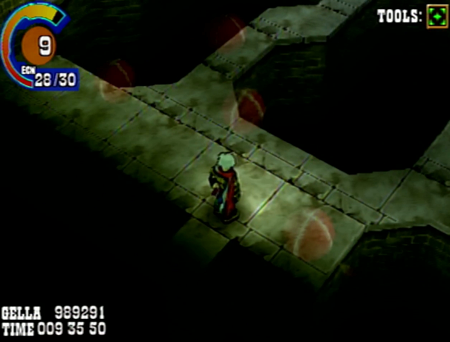
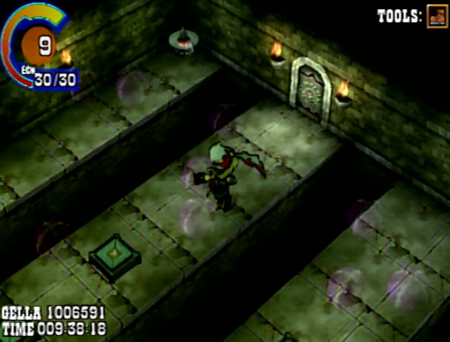
These spheres seem to “move” faster than their predecessors further down in the tower. They also contract around your character faster, so wiggle for your life if you run into one.
Other than that, they’re still stationary, and it is just a matter of finding a route where you don’t smack right into one.
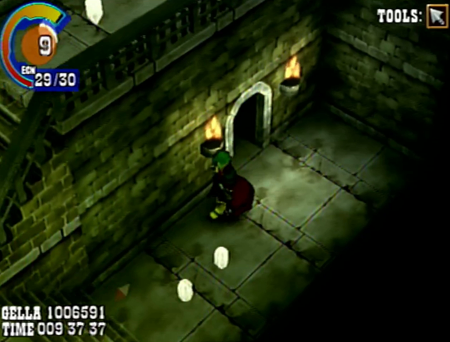
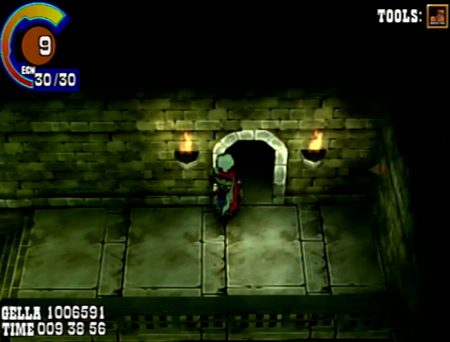
There is not a jump plate in this room, but Clive’s grappling hook will help us get where we need to be.
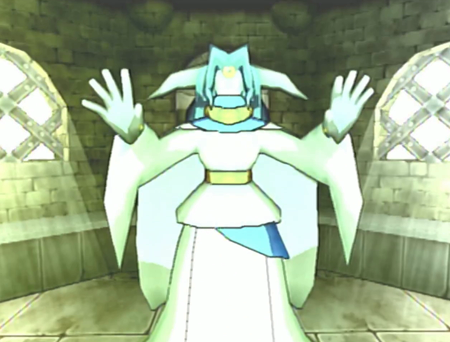
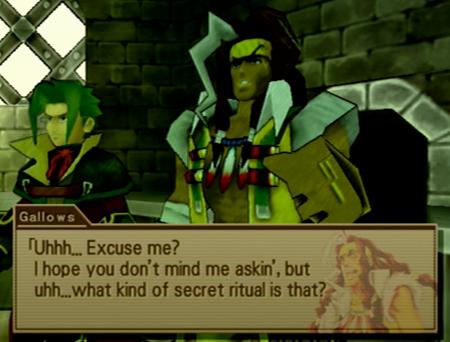
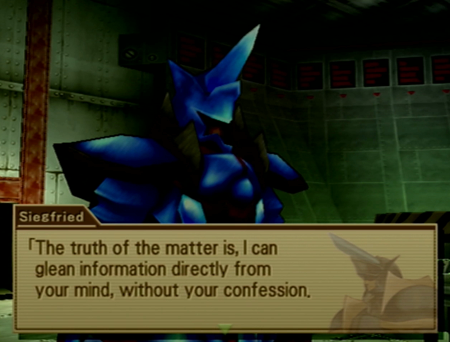
Mr. Winslett? Tear down this bubble generator.

And grab some cash from the other end of the room. There is no disadvantage to exploring these areas fully after the bubbles are destroyed.
Still might be some booby traps left, though.
Oh boy. The ability for one character to summon one extra time. Really going to use that a lot.
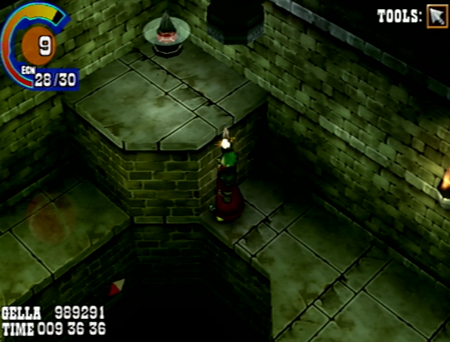
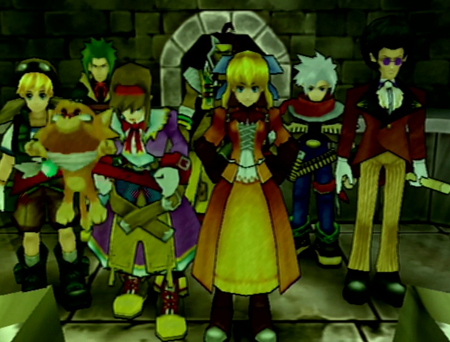
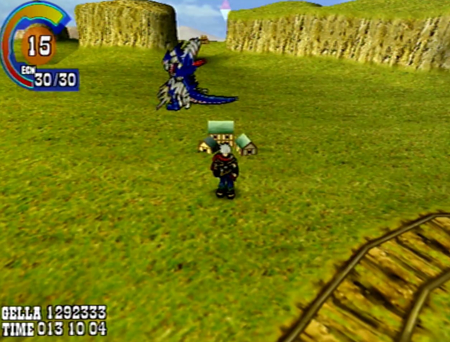
So much tower…
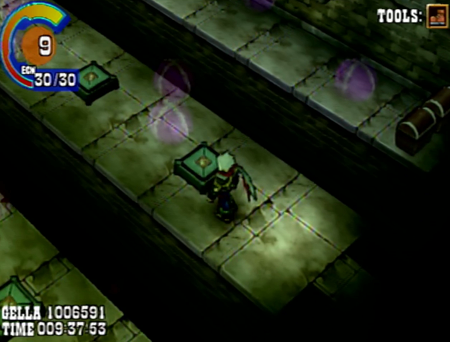
Next bubble room. These spheres are presumably even worse than the red ones, but the wider platforms here make it less likely that you will run into one.
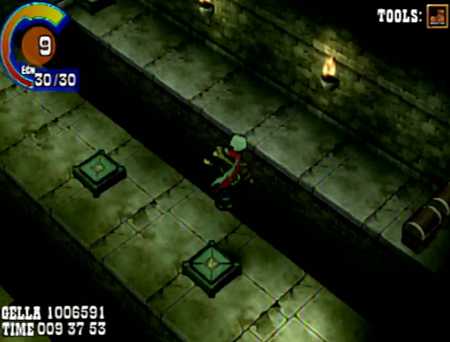
Once again, jump plates only send you to predetermined landing spots, so here you basically have to guess if a jump will shoot you where you actually want to go.
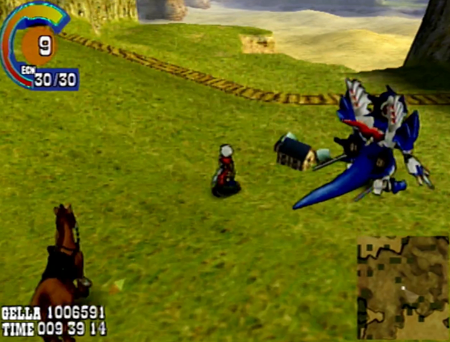
We have an airship-dragon, and you are giving us treasure that calls our horses? Lombardia is probably outside eating them as we speak!
Weeeeee.
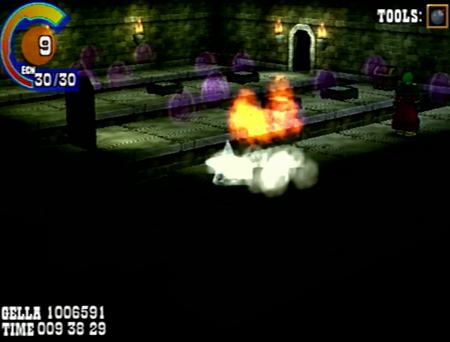
Our greatest threat, bubbles, is defeated.
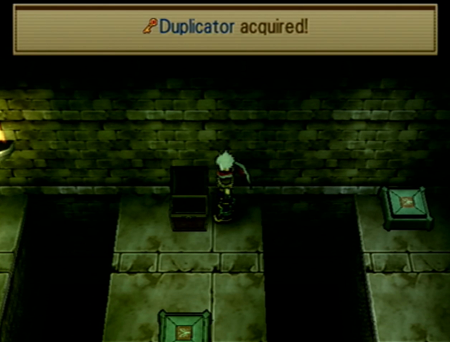
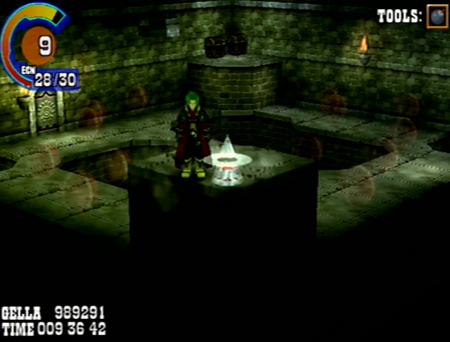
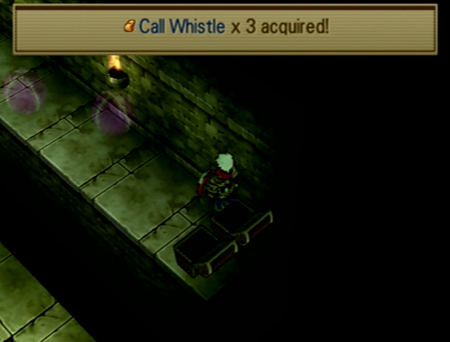
A useful find.
Exits are also useful.
Loving the repetition of this dungeon. Absolutely love it.
Are we done yet?
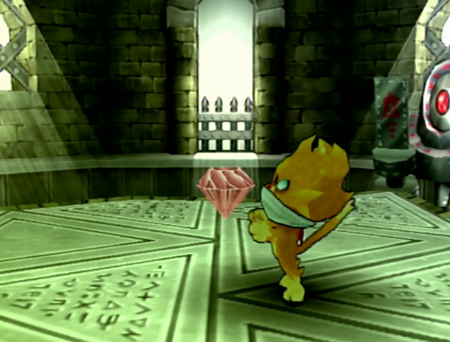
A Chaos Emerald! I guess we are!
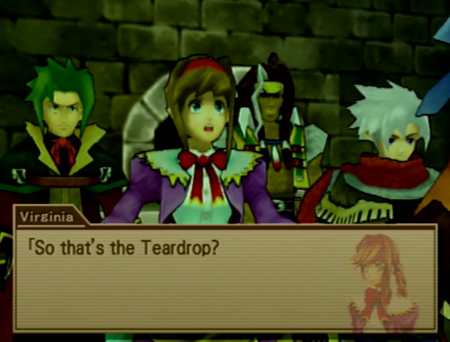
Looks a lot more… not-blue than I expected.
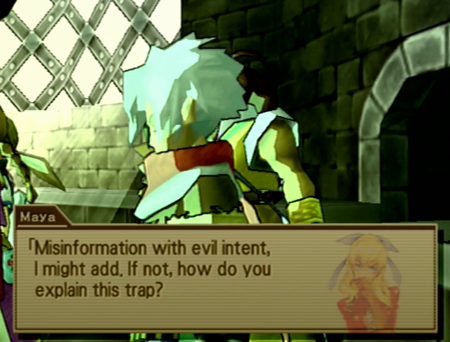
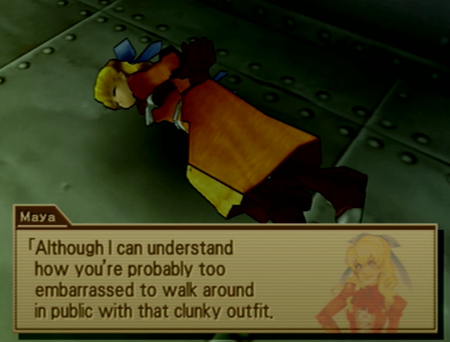
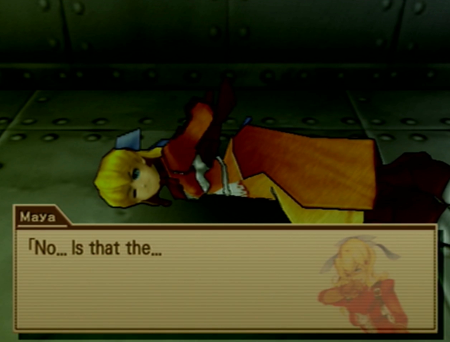
"Maya, we’re in public."

If you prick Maya, she bleeds cool.
So we’re sending in the flying cat.
Come on, Tails, finish that special stage.
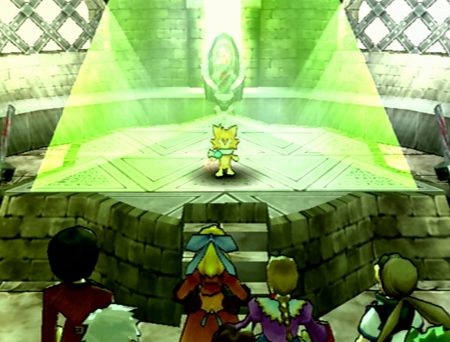
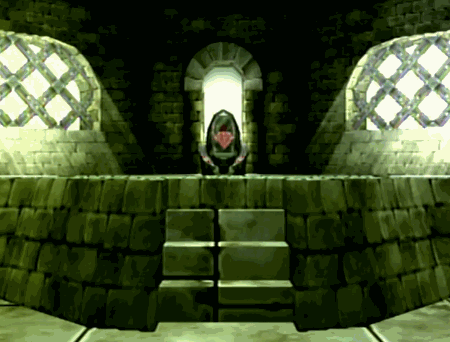
And it is a trap. In Caging Tower, no less!
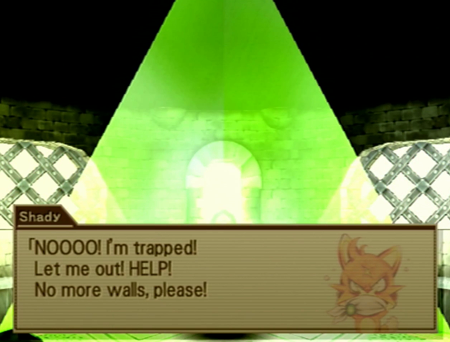
Claustrophobic kitty.
It’s always such a cute time in a relationship when you learn about the quirks of your significant other’s pets.
The spirit of the question…
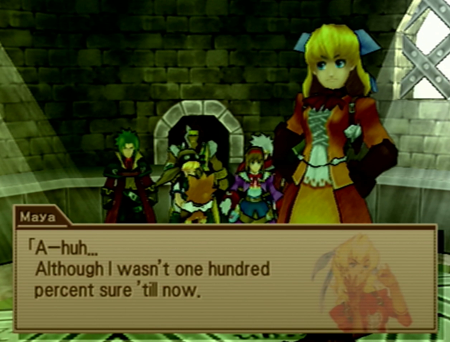
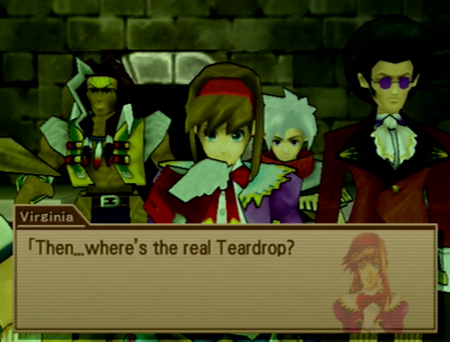
Yep, looks like we’ve been had.
Probably something started by the Claiborne Tourism Commission.
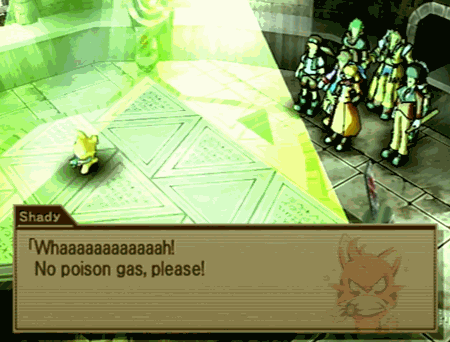
The fact that a Schrödinger ancestor used to trap Shady the “cat” in a box and expose him to poison is low key my favorite joke in this game. It is a dark joke, but a great one all the same.
This whole scene/dungeon is very reminiscent of a bit from Wild Arms (1) wherein our heroes scale “Cage Tower”, wind up in a trap like Shady here, and then “Calamity” Jane Maxwell (no relation), a woman very similar to Maya, shows up and shoots down the barrier generators. If you played Wild Arms, you may have expected such an outcome from this Caging Tower.
Incidentally, this creates an amusing meta situation wherein an experienced Wild Arms veteran player will have the same reaction/intuition as experienced Drifter veteran Maya.
Poor kitty.
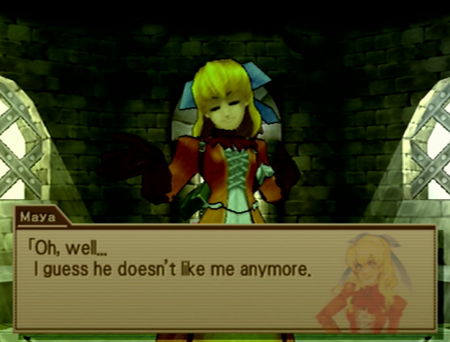
Maya is broken up about this.
“Unlike me, who doesn’t ever know anything?”
Gotta check out those leads.
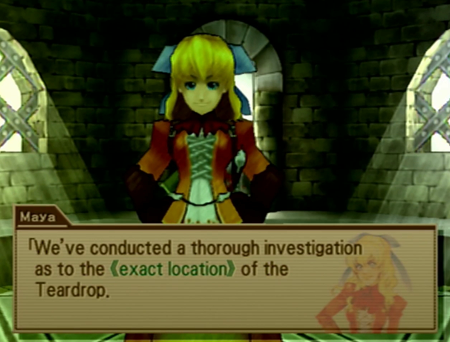
Maya knows the real score, though.
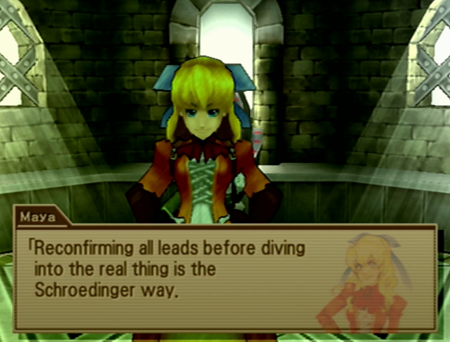
You must eliminate all those quantum possibilities.
Also the Schrödinger way.

I choose to believe the family here is stage whispering, and our team can hear everything they’re saying.
“And can we hang out there, too? Get a whole big adventure party going?”
But!
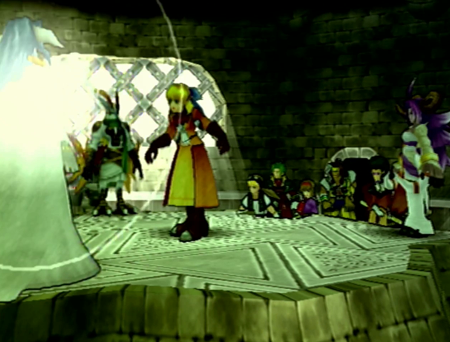
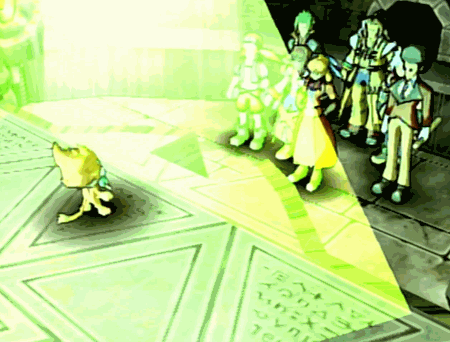
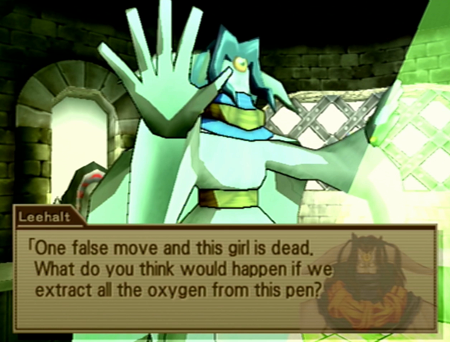
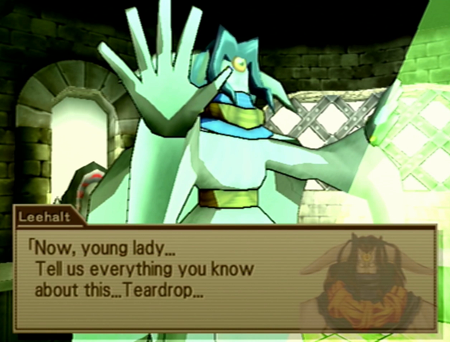
It was a trap, and not a trap for any old Drifter…
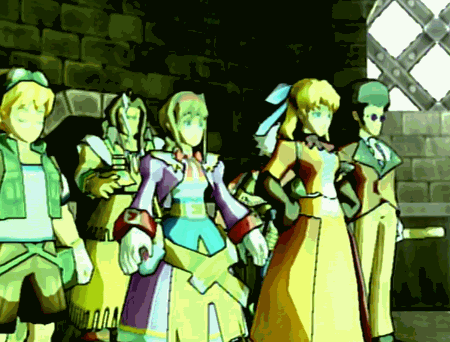
It’s the goon squad!
And they’re making their own damn demon barrier.
So this is where things deviate from the events of Wild Arms.
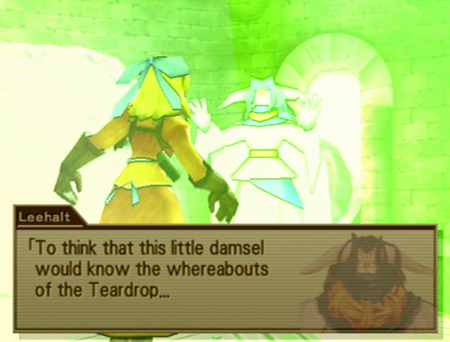
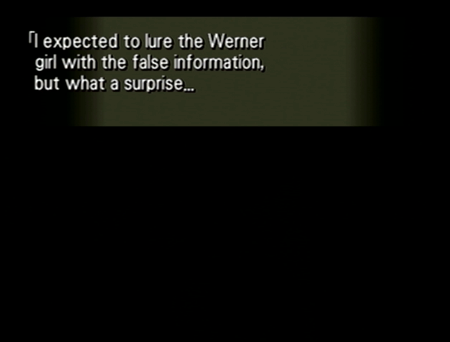
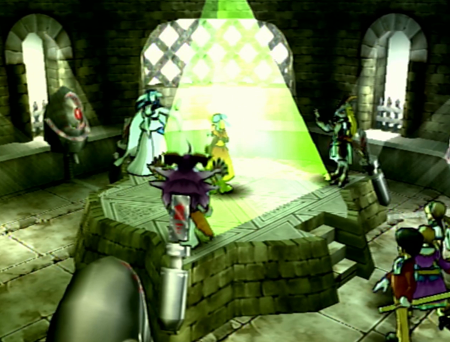
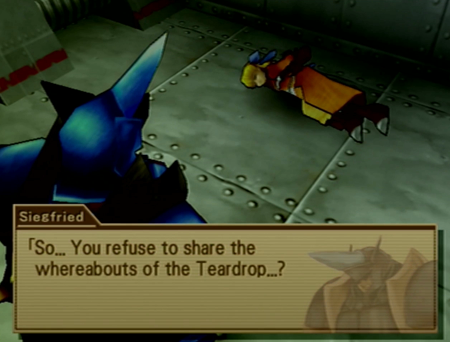
The goal was to capture Virginia, but Maya will do if she’s got the information they need.
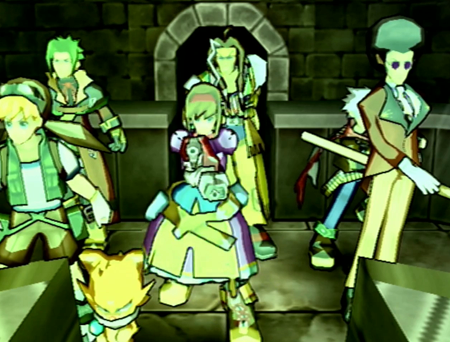
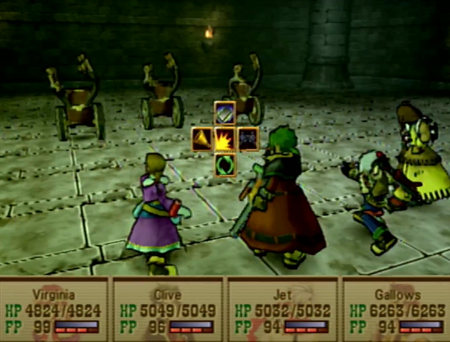
Of course, it will be three against seven if these Prophets try anything.
Dammit!
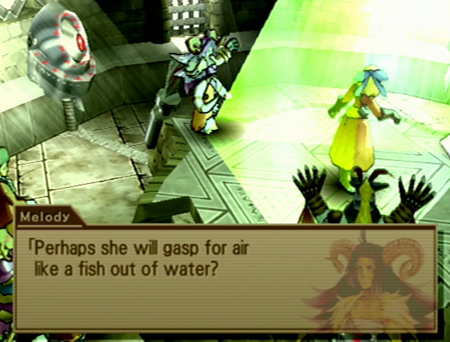
Were you three always this sadistic? Wait, yeah, we know they were…
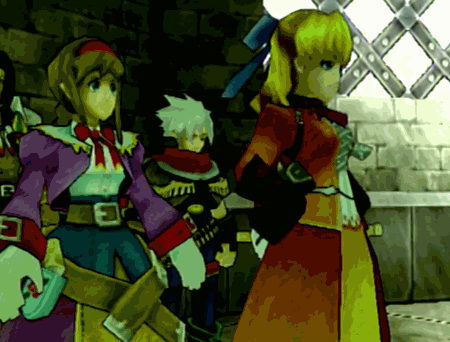
Virginia is not going to put her damsel in danger.
And please shout it while we are within audible range.

Fair enough.
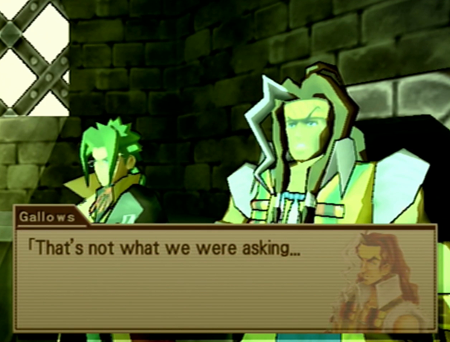
You just found out what was happening, like, ten seconds ago! You expected nothing!
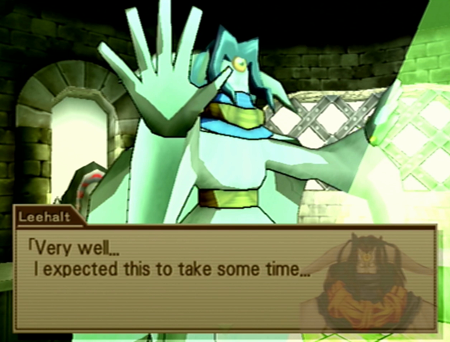
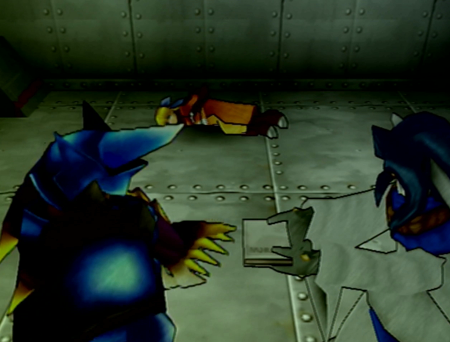
And away the Prophets and Maya go.
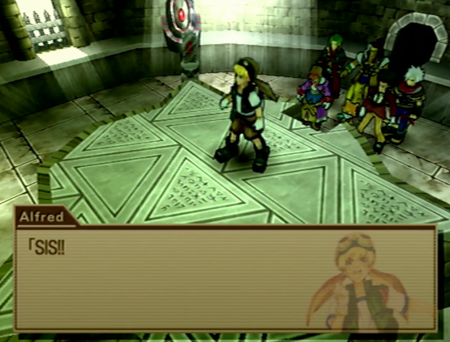
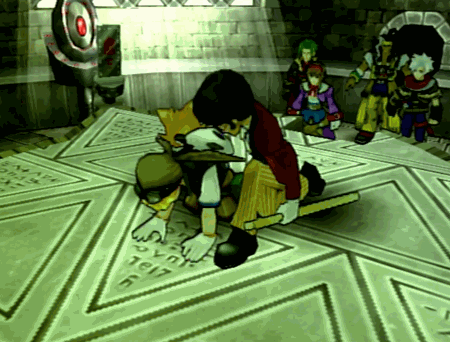
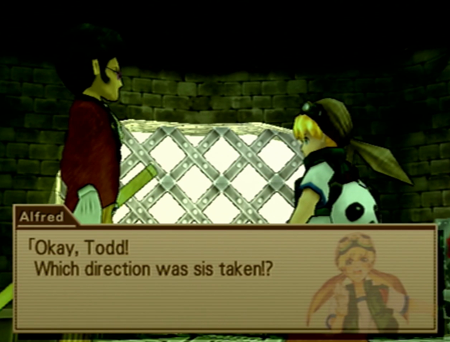
Could everyone please stop standing on the trap platform…
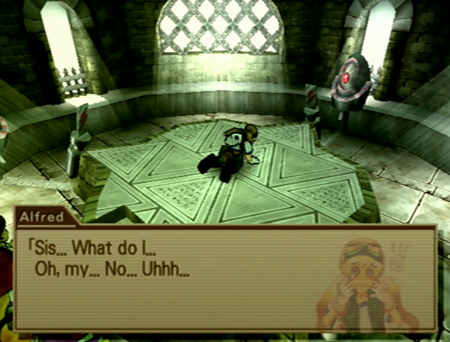
Alfred has got confusion status!
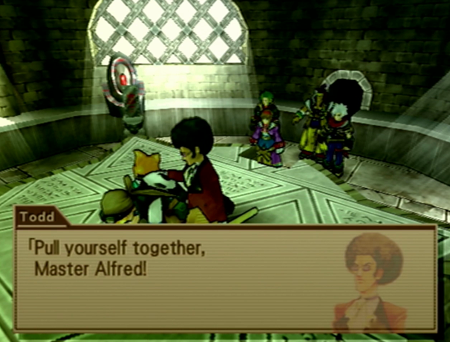
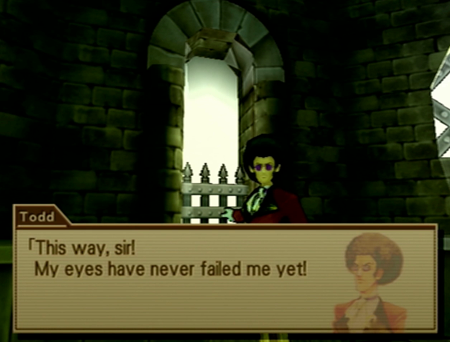
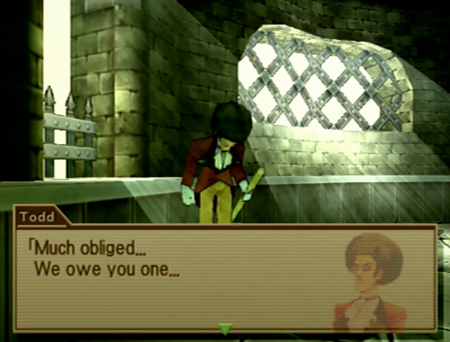
Todd to the rescue.
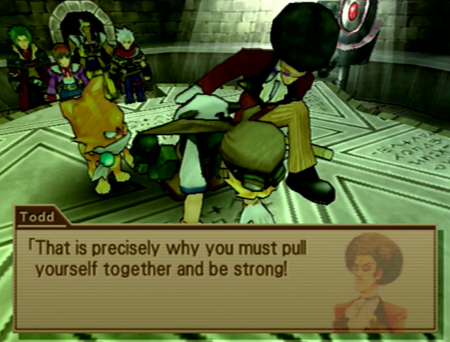
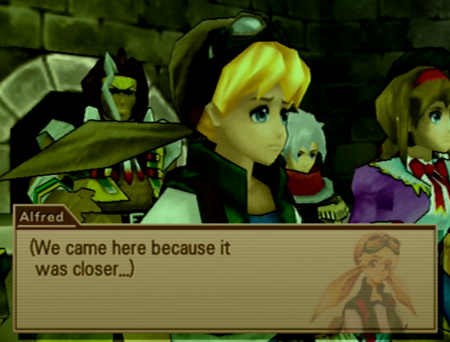
Maya is gone, and now Alfred has to lead the cat and the butler.
Shortly after my favorite joke in the game, my favorite one-off animation in the game.
“He’s going to burn this mother down.”
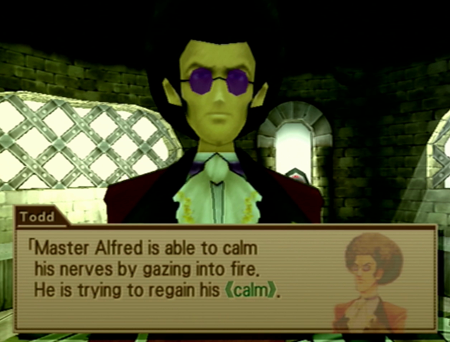
He’s a pyromaniac? Sure.

With the healing skills in battle and the clinical explanations… is Todd a doctor?
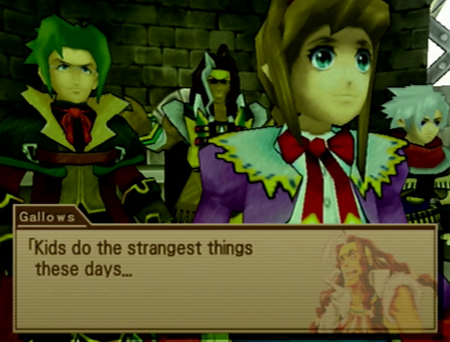
Alfred and Shane should hang out.
Now let’s get down to business.
… Do the shades help?
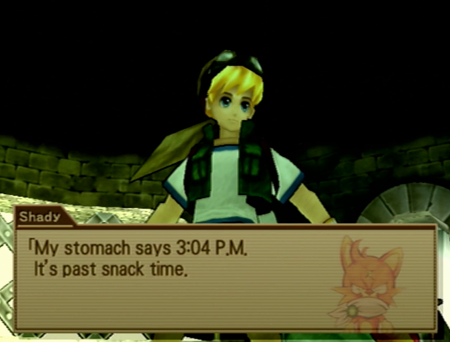
Shady offers assistance in his own Garfieldian way.
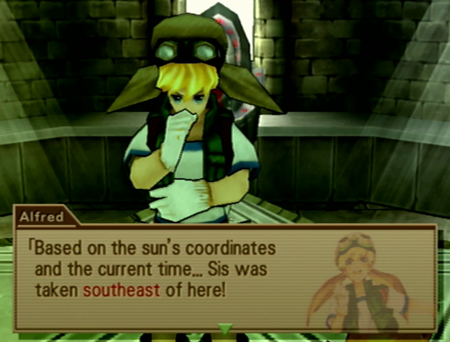
Directions to the next dungeon! Thanks, math!
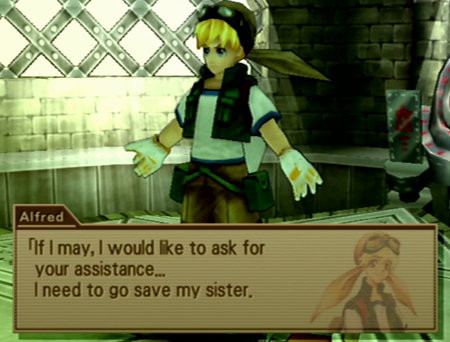
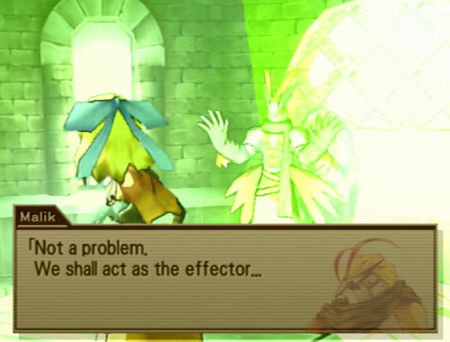
“Sure. Our own plot kind of dovetailed with yours anyway.”
“Ain’t no demons that are weirdly obsessed with my mom gonna steal my girlfriend!”
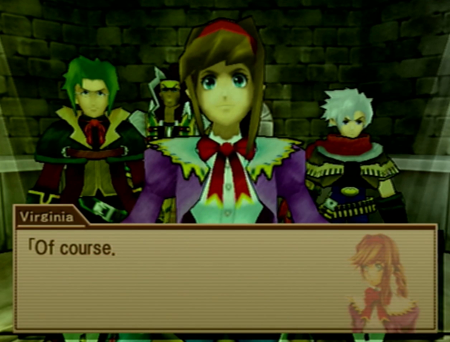
Yeah! Let’s save that woman that was shooting at us last update!

“Yes, Todd, it’s because of the sex. It is amazing.”
You didn’t miss any dialogue here: it’s just a clunky way of calling back to their heart-to-heart from earlier in the tower.
“Where would we even find our own dragon to get there?”
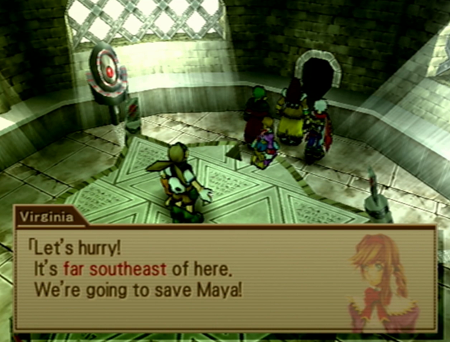
So! Obviously we have to go rescue Maya now at some nebulous location “far southeast of here”.
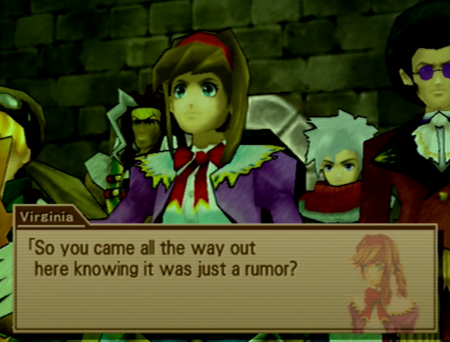
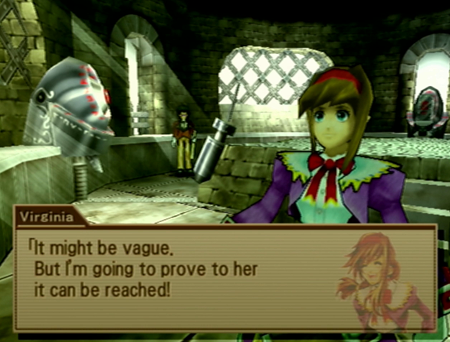
Unfortunately, we don’t have directions that are better than that. Let’s check in at that nearby town where rumors almost got us killed.
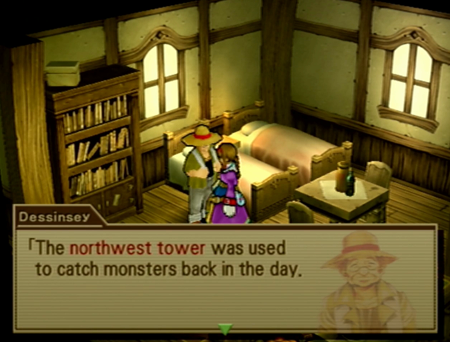
Here is the man you must talk to. Seriously, if you don’t talk to this random NPC, the next dungeon will not activate.
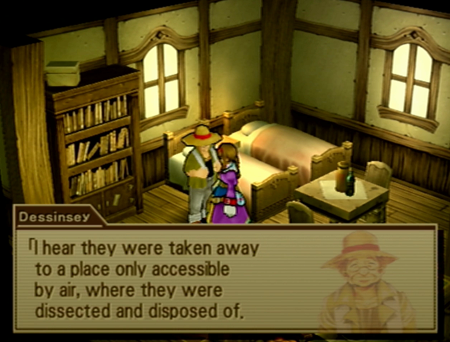
Dessinsey claims that Caging Tower has a sister dissection facility. Note the emphasis on "only accessible by air".
On a sidenote: I would really like to meet the people that used two whole locations for capturing and researching monsters.
And now when we try to leave Claiborne…
Cutscene!
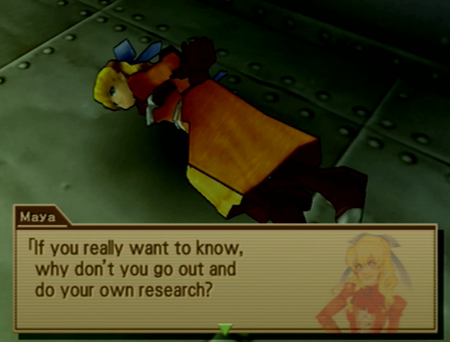
Maya is being exactly as cooperative as one would expect.
Maybe even a little extra uncooperative.
These two are going to get along famously.
I don’t like the sound of that…
Oh snap! A book!
What could it be!?
We’ll find out later.
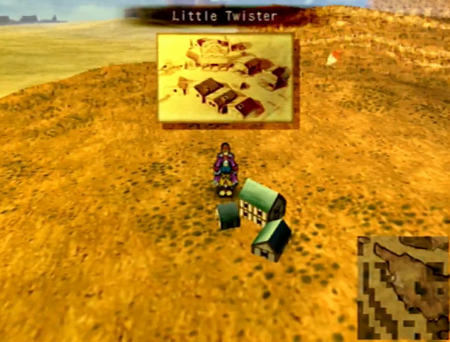
Because we have to stop at Little Twister right now.
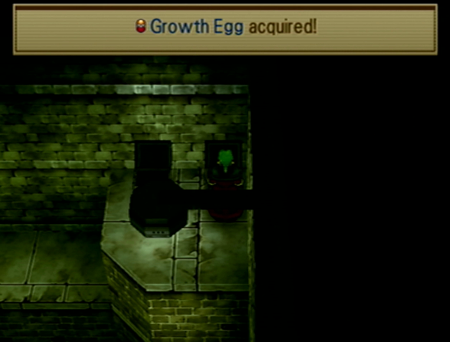
That last dungeon wasn’t a complete bust: we did pick up a fancy new item.
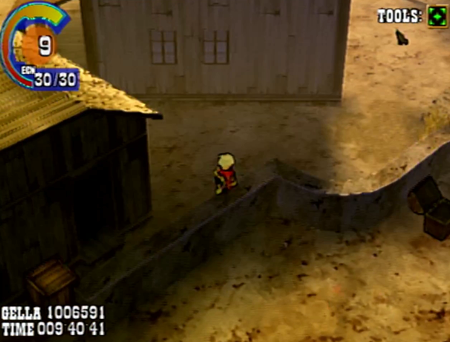
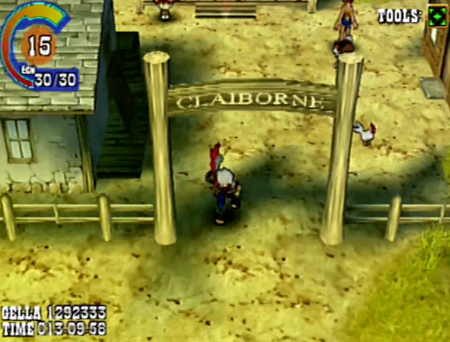
If we scoot around the “edges” of the lawless town of Little Twister…
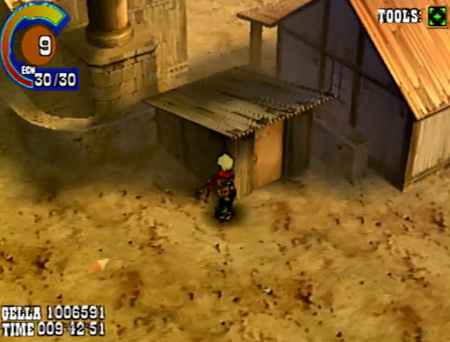
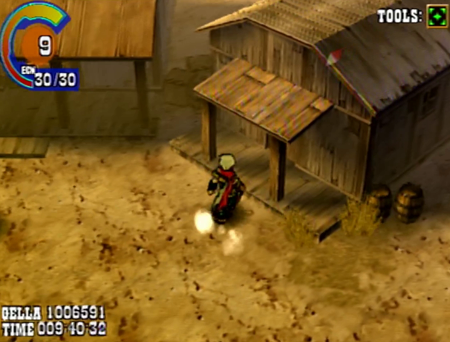
We will find this nondescript shack.
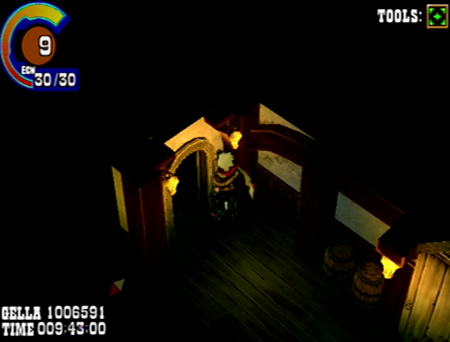
And while we saw this shack and its mysterious locked door before, now we can use our recently acquired Black Pass to open the way forward.
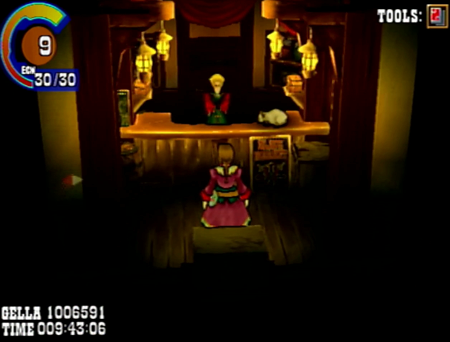
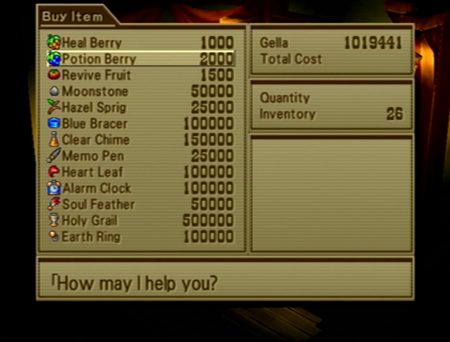
And welcome to the Black Market!
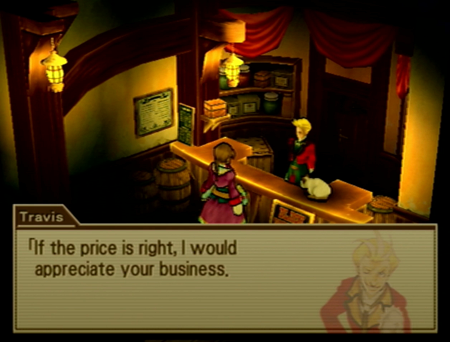
The Black Market is a recurring Wild Arms tradition. If you need to buy Black Market goods on Filgaia, this is where to look!
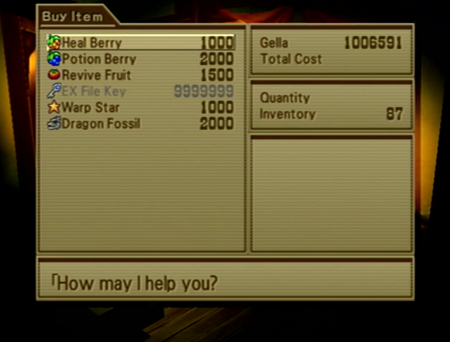
But… not too much of a selection.
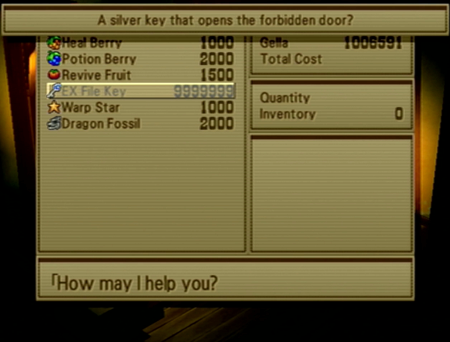
First of all, you will notice an EX File Key is on the menu. Like all of the EX File Keys, this is a reward for “beating” some aspect of the game. In this case, you will be able to purchase this EX File Key if you have all the money in the world. This is vaguely impossible. We can reduce that sticker shock with an upcoming item, though. Additionally, in a normal game, the EX File Key, Warp Stars, and Dragon Fossils are the only default items on the menu.
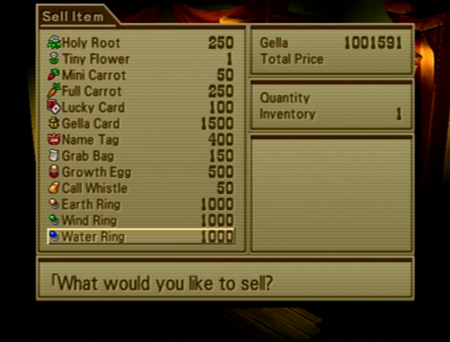
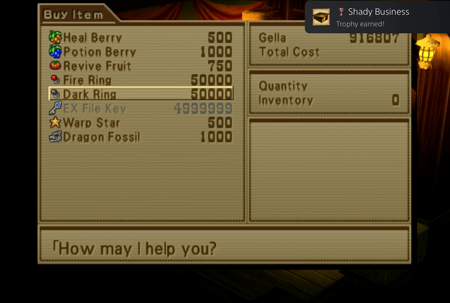
But the real trick to the Black Market is selling. If you sell an accessory…
It will be added to the Black Market inventory at an exorbitant price. This is… kinda good?
Here are the exact mechanics of the Black Market: if you sell any status/element-based accessory, it will be available for purchase here. This is important, as accessories in Wild Arms 3 are “used up” when you equip them, and many accessories only appear singularly in guaranteed quantities. However, you have four party members, and, while most accessory skills appear on at least one Guardian, you then would need three total of any given accessory to 100% protect your party. With this in mind, you can either hope for the best with enemy drops, or save one instance of an accessory for selling, pawn it, and then purchase the three you need. Buying accessories from the Black Market is ideal if you want to avoid dealing with the RNG, but you can also see how just an elemental ring has 100 times markup…
Note that many accessories with unique abilities (like Counter, Attack Plus, Finest Arts) do not enter the sale list if you sell them. There is never an indicator if a particular accessory will join the Black Market inventory, so maybe save and reset if you sell off something valuable.
In general, my recommendation is to hit the Black Market hard at the end of the game when you are considering the final challenges/super bosses. For an easy example, the big boss of the pit, Ragu o Ragala, all but requires a full set of Fire Rings, and it is entirely possible you will have “accidentally” acquired three anyway by the time you are getting to roll the credits. Or maybe you weren’t lucky, so you should return here, sell one fire ring, and then stock up before entering the Abyss. This is true of a few items (Holy Grail’s protection against instant death is similarly indispensable in the arena and the abyss), but all those situations are what could be considered optional and “post-game”. So see where you are when you reach that point, and take it from there.
Also: any healing plants you have maxed out at Florina’s Garden are available for instant purchase here. Already, we have successfully cultivated Heal Berries, Potion Berries, and Revive Fruits during this playthrough. In general, these prices aren’t too crazy for items this useful, but if they are “instant breeds” at the garden, you are better off saving your dough and cultivating some for free. Still, this is the only place in the game where there is even the possibility of buying “potions”, so that is intriguing for a classic RPG.
And worth remembering: there are not actually that many opportunities to spend your earnings in Wild Arms 3. Spending to upgrade your ARMs is essential, but some of your characters (Virginia, Gallows) might barely be using their weapons anyway at this point. Beyond that, you have the ability to purchase status restoring items, the Black Market, and… that’s it. So saving up for that EX File Key is noble an’ all, but don’t worry too much if you want to blow your savings on blocking Confusion forever.
Though don’t purchase anything right now. Wait until after the next update for that.
Also, you earn a trophy on the Playstation 4/5 version if you buy and sell here. Woo achievements.
Okay! Shady business done, we’re back to the plot.
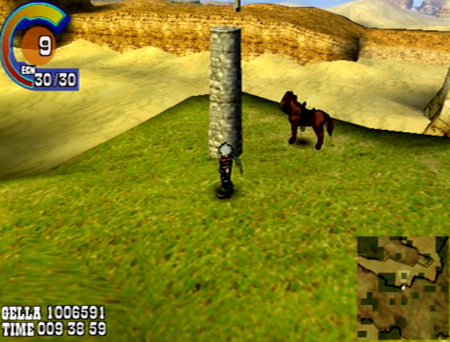
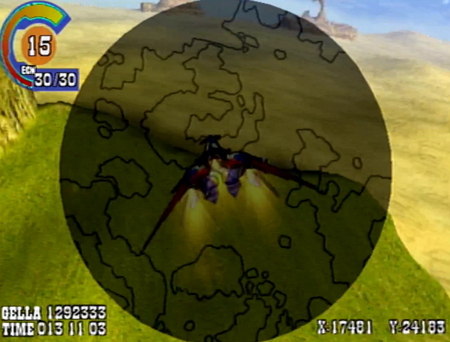
This next location is the first area in the plot-mandated portion of the game that requires your airship. So if you have ignored all the optional content at this point, Lombardia just got a whole lot less optional, and you must conquer Bal Quo Naga and claim your dragon. If you need a refresher on that portion (and how its length might interrupt the narrative here), check Official Goggle Bob Wild Arms 3 Let’s Play Parts 43 & 44. Once you have a proper airship-transformer, you can access this beachless area.
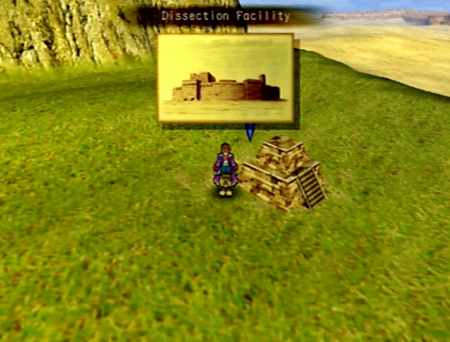
And now we’re at our next dungeon. Everybody always has a good time at a Dissection Facility!
Next time on Wild Arms: Cozying up to the family