Enjoy your day, because it is October 30, Knight’s Day. For this year’s school research project, I chose knights as my topic. Flowers have no effect on knights. Knights love to get their pictures taken. Knights don’t appreciate jokes. Any further experimentation could endanger my safety, so I will stop here for today.
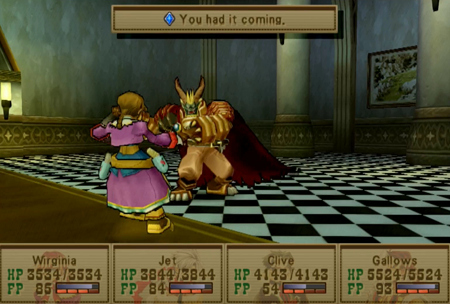
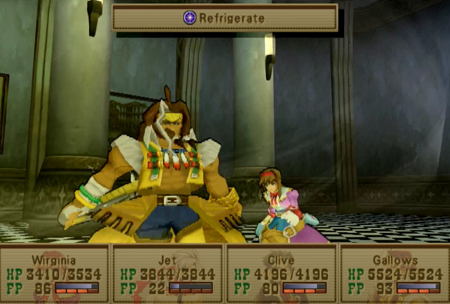
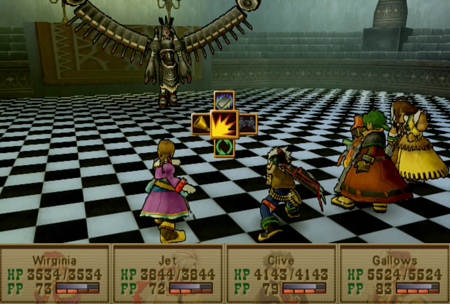
Previously on Wild Arms 3: We entered Beatrice’s Nightmare Castle. We technically defeated the combined might of The Seven Disasters, but…
Now we are rewinding time back to when we first visited.
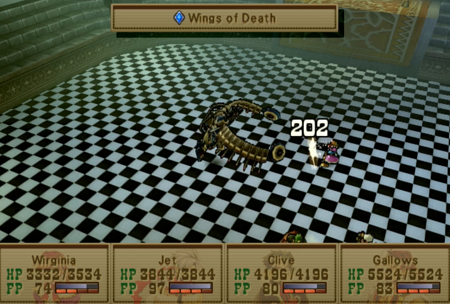
Beatrice’s castle is a choice: you can either fight a super-super boss, or you can “solve” the dungeon and weaken the boss dramatically by roughly 85%. We are now going to see how long it takes to weaken Tiamat to kitten levels.
(Yes, I am saying a kitten is exactly 15% as powerful as a super-super boss. I am confident in this assessment.)
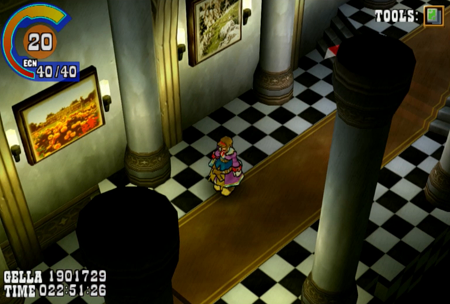
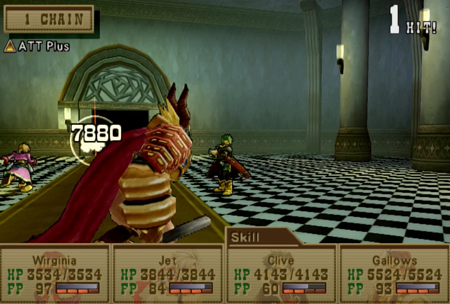
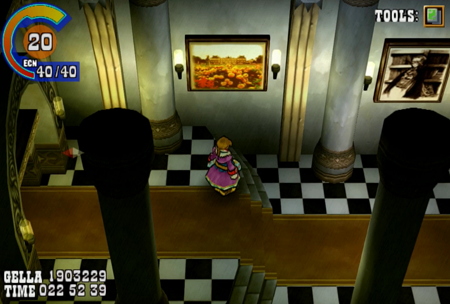
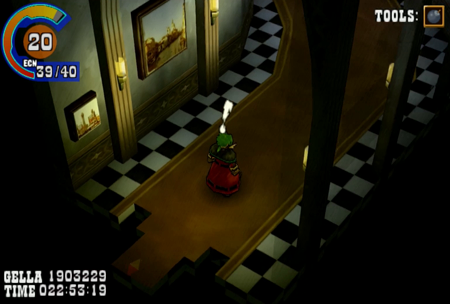
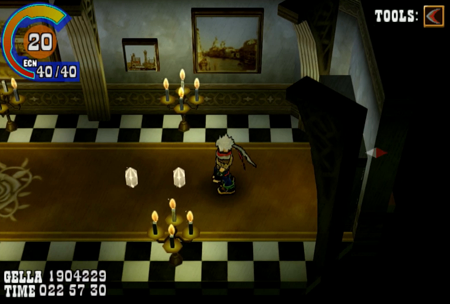
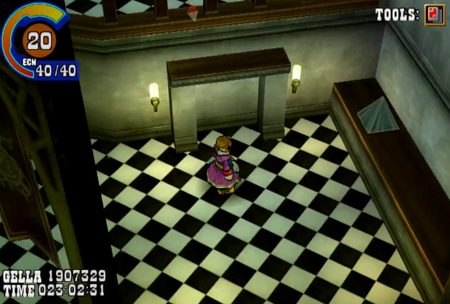
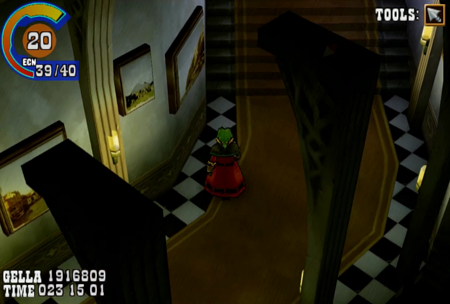
And while we are doing that, we are going to admire the art on Beatrice’s walls. Some of these pictures are recycled assets from the Adventure book series.
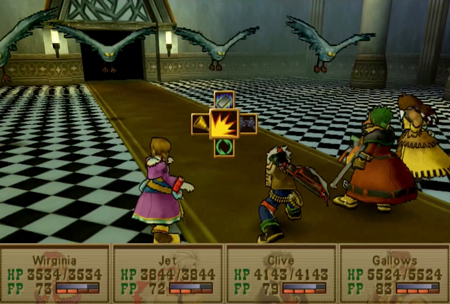
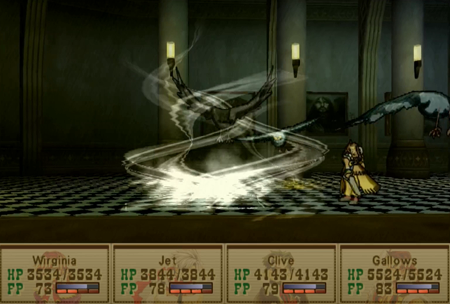
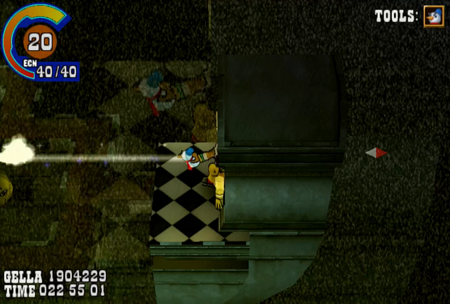
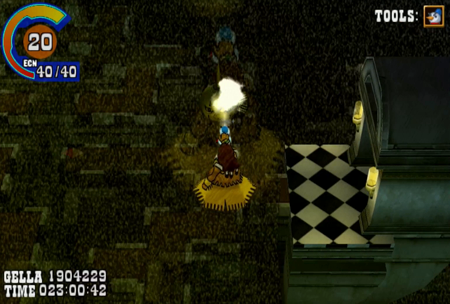
Oh! And there are random monsters around, too.
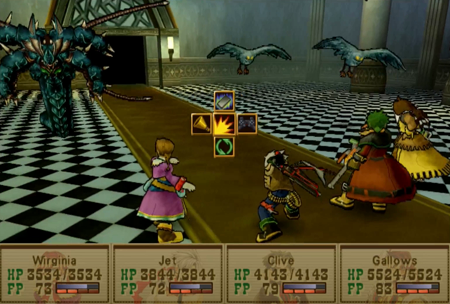
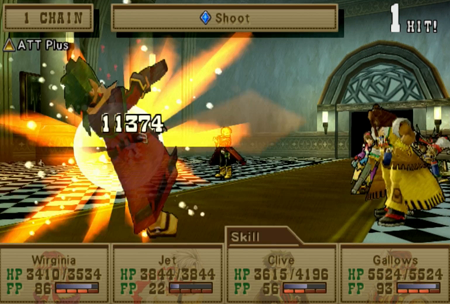
Let’s look at the last random encounters in Wild Arms 3.
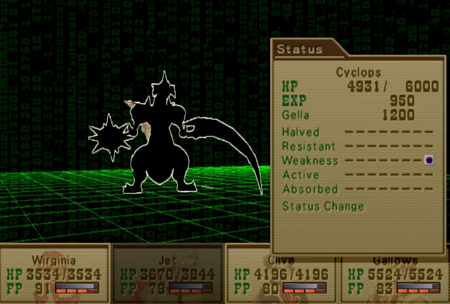
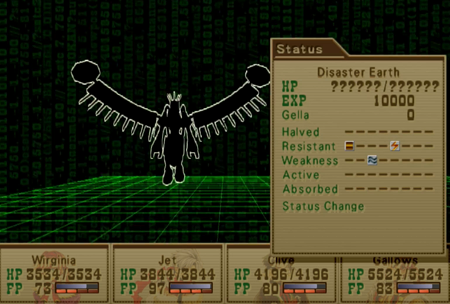
Here we are examining the final form of all those thievin’ birds from across the game. They are still weak to earth attacks.
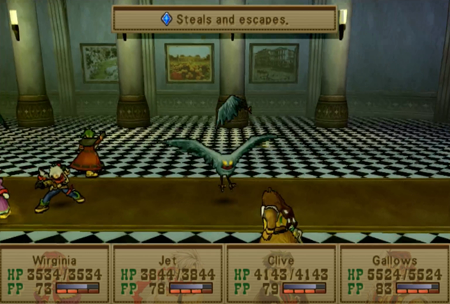
Like their Abyss cousins, these dorks will steal and run on the same turn. Hopefully they don’t take anything useful!
Now we have a color swap of super boss John Dee from back at the Yggdrasil area.
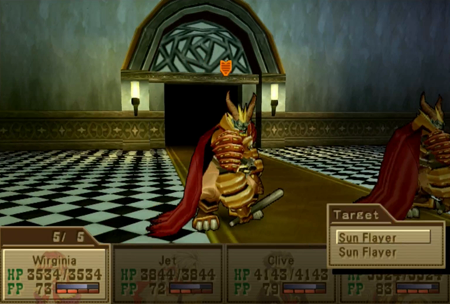
Is this a flayer that is powered by the sun, or a monster that flays the sun?

Be careful using magic! Why are you hitting yourself?
This is the same physical attack that John Dee uses, but generally less effective.
Since magic is likely to be reflected, go ahead and shoot these suckers.
Got a smaller version of Balal Quo Naga over here.
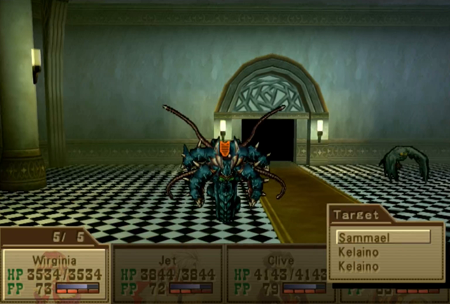
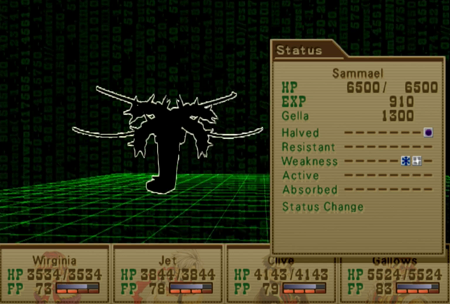
This is a dream castle. It is possible Sammael is not to scale.
Time to freeze this wannabe.
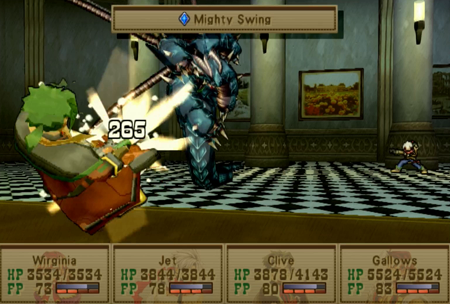
Mind the swings, though.

Ah! Here are the most interesting random encounters in this or any other WA3 dungeon (they were opponents in Wild Arms 2, too).
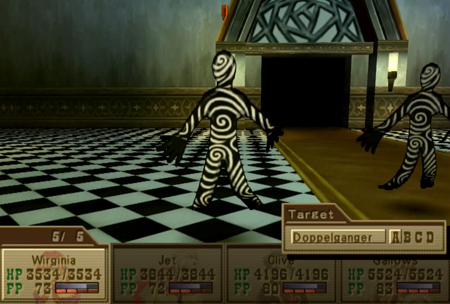
Doppelgangers initially appear to be weird little 2-D creatures…
But they have nigh-infinite speed, and will immediately simulate your party.

Now it is a four versus four mirror match.
The bad news is that Queen Dopplepopalus and her minions will roughly match your stats, so they may be scary in a fair fight. The good news is that they basically work on “confusion” rules (IE what your characters do when they are afflicted with the confusion status effect) and will randomly use whatever abilities your party has. Thus, this means there are really good odds that DoppelClive will use magic ineffectively, or Gallows will cast a random status healing spell that does nothing.
Regardless, kill your strongest doppels first.
Jet using magic? Preposterous.
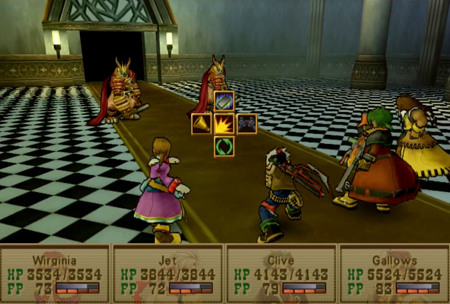
Back to the boring ol’ traditional encounters.
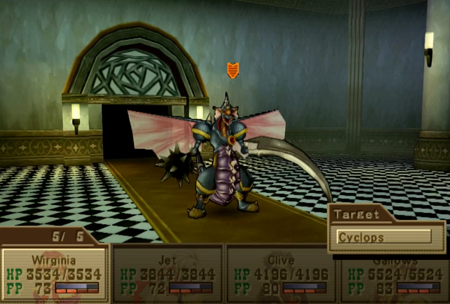
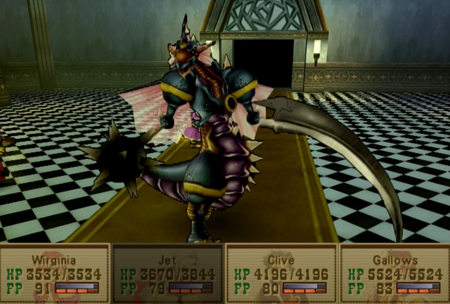
Cyclops? Huh. Is your dad a space pirate, too?
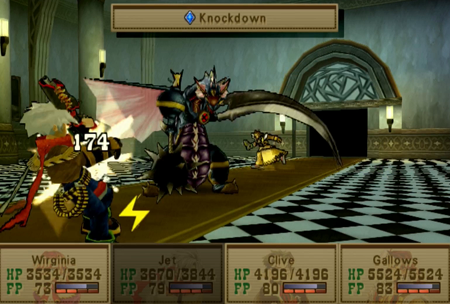
Bro has a mace for one hand, and a sickle for the other. Good for a monster, but makes it really hard to make a sandwich.
Bring on the night.
Cyclops and the Doppelgangers really sell the “nightmare castle” possibilities here. The angry birds… not so much.
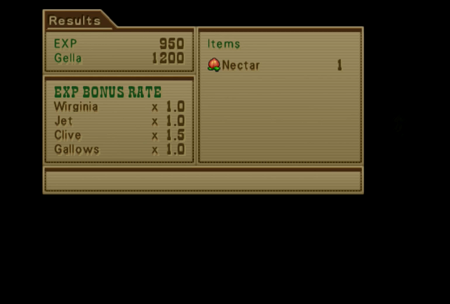
Nectar is a drop from Cyclops. Nectar is technically a rare item. It is a useless rare item, but rare all the same.
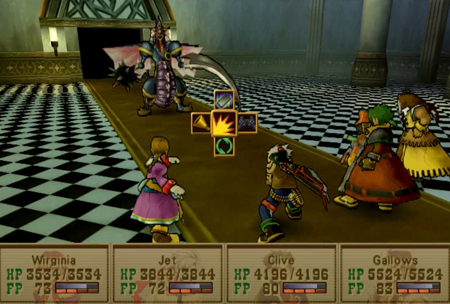
Those are the random monsters for the entirety of this castle. We will see a lot of “sections” to this citadel, but we only ever face that same handful of monsters.
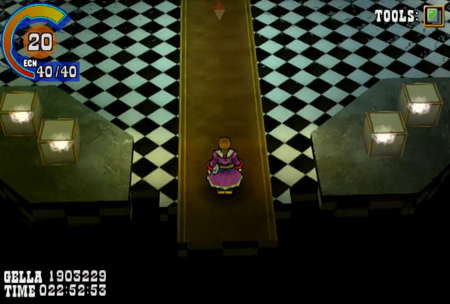
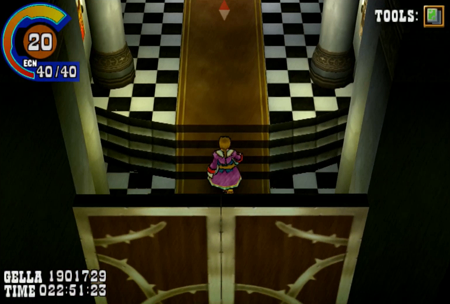
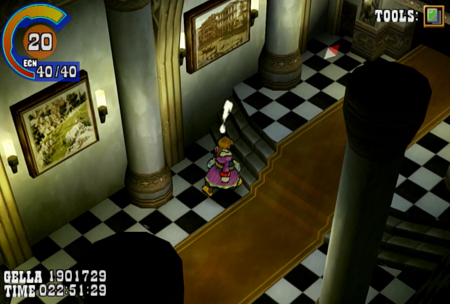
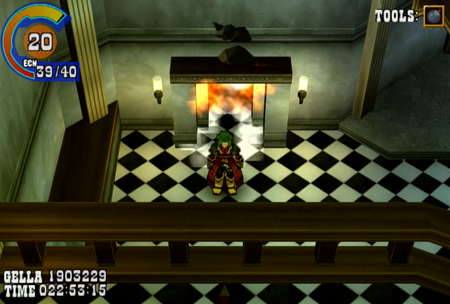
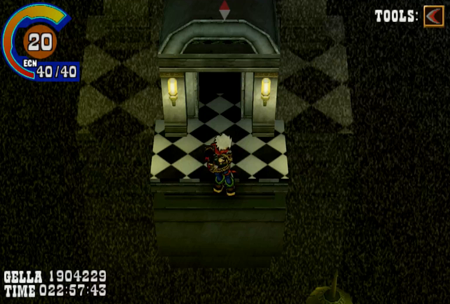
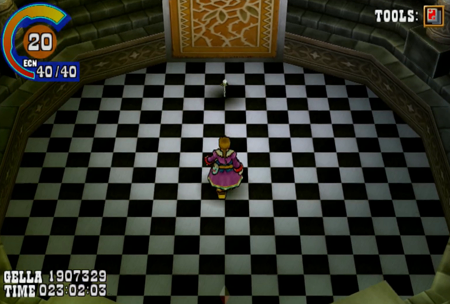
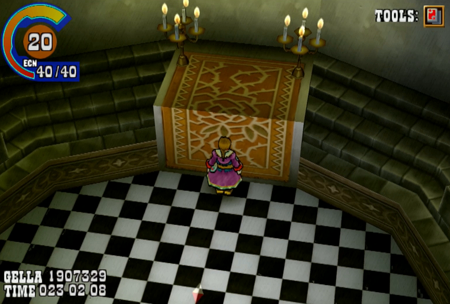
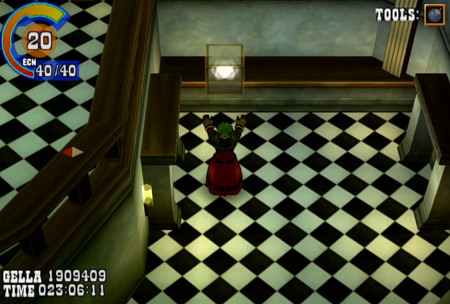
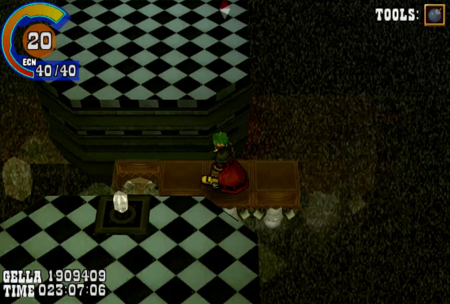
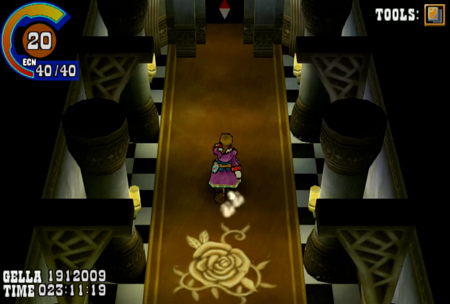
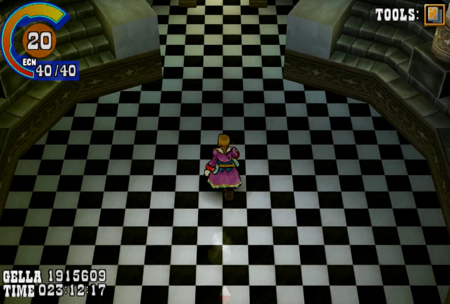
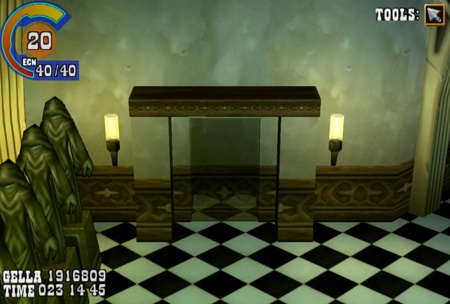
Now, back to the main hall.
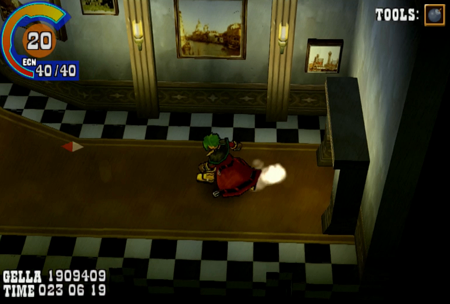
The main exit from this hall will lead us back to Disaster Luck/Tiamat. We are going to anywhere but there. This cracked entryway looks like as good a spot as any.
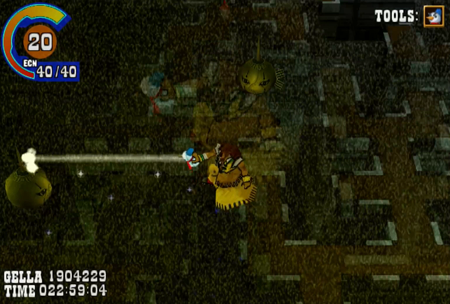
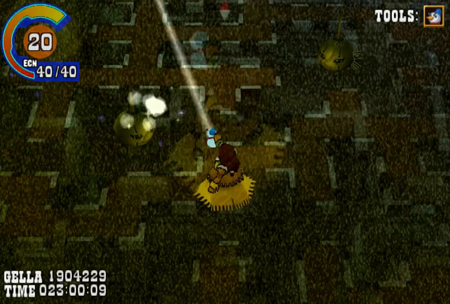
I just can’t quit you, bombs.
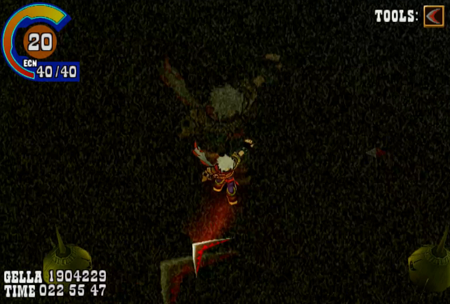
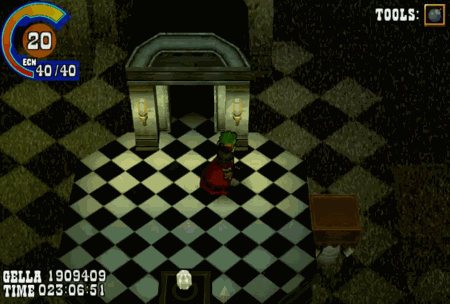
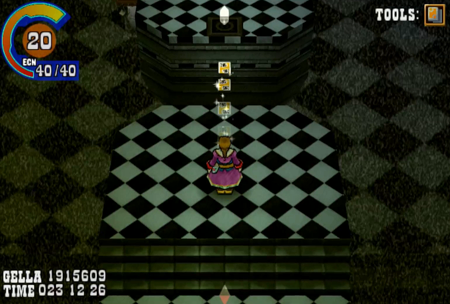
There are seven disasters. The “seventh” appears to be Disaster Luck, so there are six other branches off the main hall. Welcome to what we are going to designate “Path Moon”.

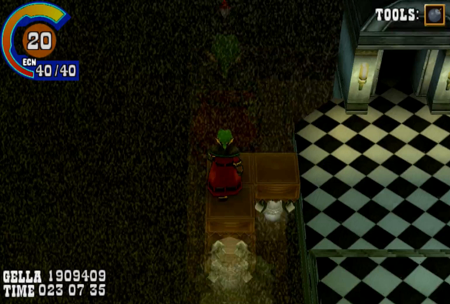
Path Moon is Hell.

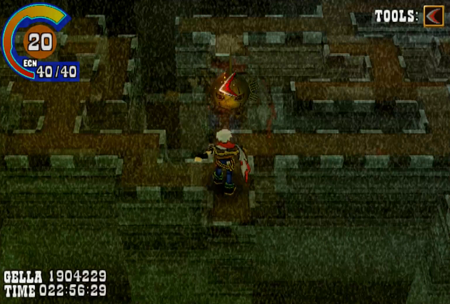
Like back at Sacrificial Altar, this is another situation where we have to navigate a (mostly) invisible path.
Previously, the Frost Doll illuminated the path forward. This time, the path only appears when a projectile-tool hits one of these urn things scattered about. A Frost Doll may be utilized, but now in a different way.
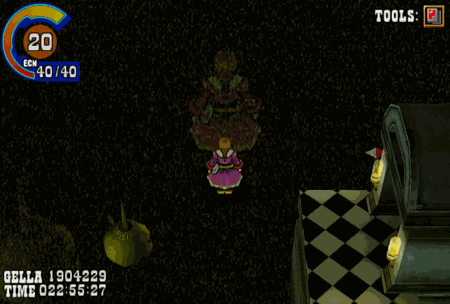
Unfortunately, the path does not appear for very long, and said path is extremely complicated.
And hitting an urn is not always easy. Depending on your angles, you might have to bank a boomerang around to see the way forward.
If you fall off this path at any point, you must start again from the beginning. There are no random encounters in this room, and falling does not impact your HP or health in any way… but it is a pain in the ass to repeatedly restart and “fail” this room.
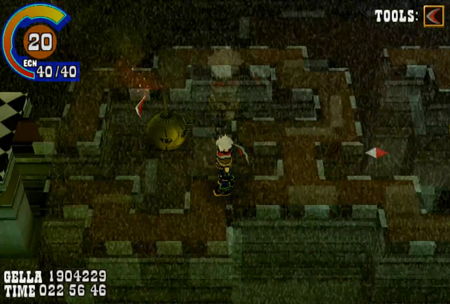
And, as you can see here, there are a number of dead end paths that exist exclusively to waste your time.
This is obviously a surmountable challenge, but it is one that can lead to a lot of frustration.
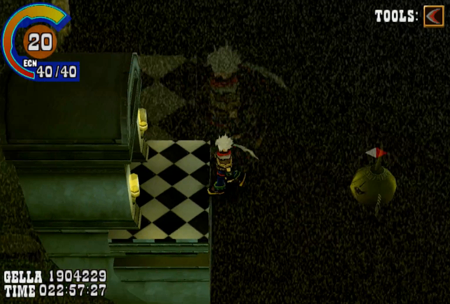
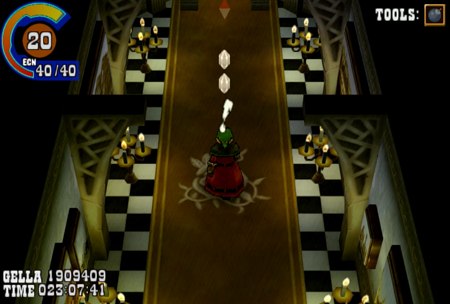
Most of the paths have a simple pattern of “hallway – puzzle – hallway – puzzle – boss”. This is the second hallway of that equation.
And here is the second puzzle: this bullshit again.

This path is more complicated than the first, and has fewer urns to light up the area.
I am not going to tell you how many times I fell off this path.
Eventually, you don’t have to do it anymore… If you ever had to do it in the first place…
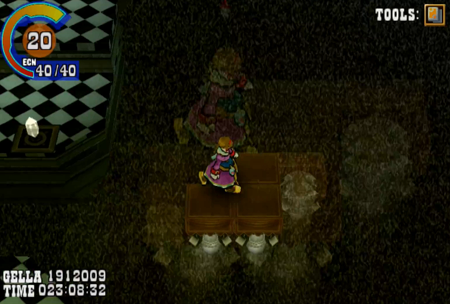
And our reward is…

Boss fight!
Hiya!
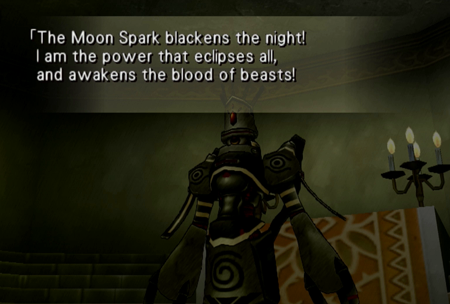
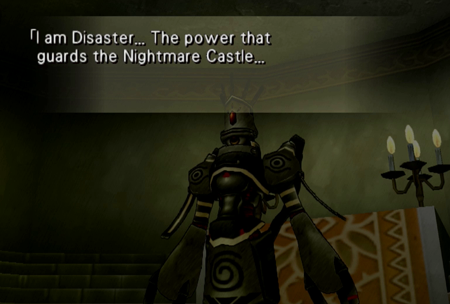
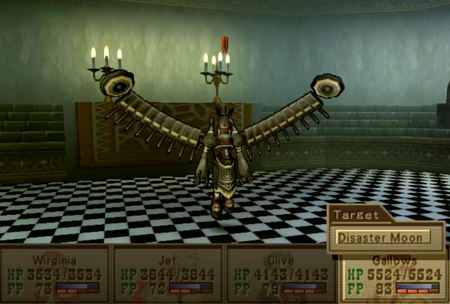
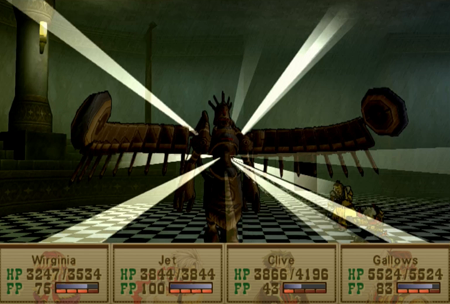
So we have the Moon Disaster at the end of this hallway.
Going to be seeing this model a lot…
Each of the Disasters are simply color swaps of each other.
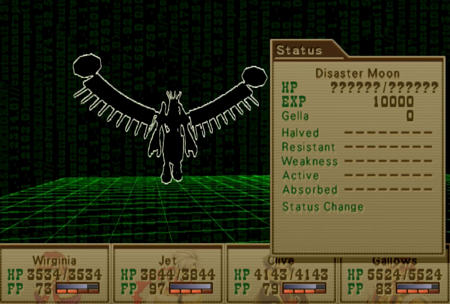
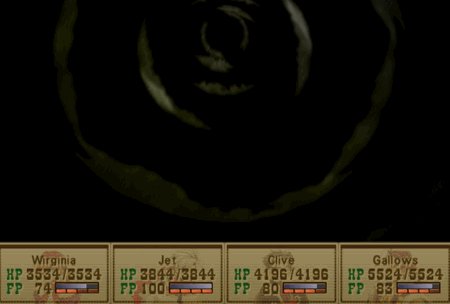
Disaster Moon is not particularly elemental. Like Luck, Moon was not strictly assigned a weakness/strength.
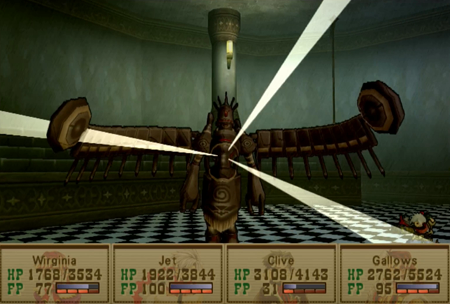
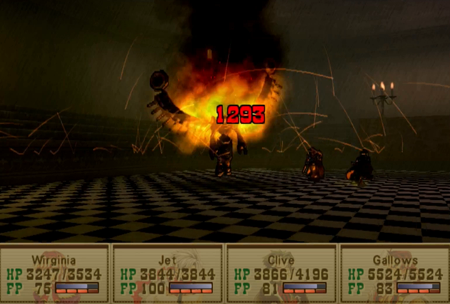
And Disaster Moon uses the Moon Guardian summon. I’ve never been certain on how its damage calculates, but it does “decent” non-elemental damage to the whole party.
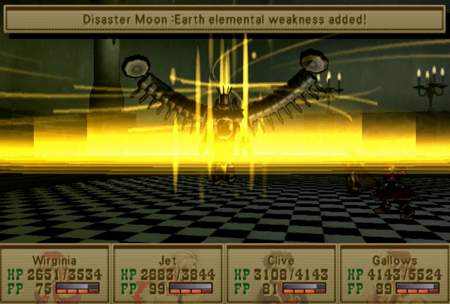
When an opponent does not have a weakness, why not add one?
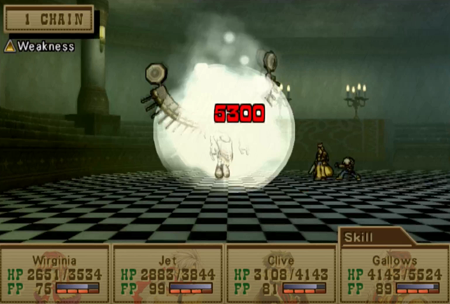
Sliding earth attacks into your DMs.
And they go down easy.
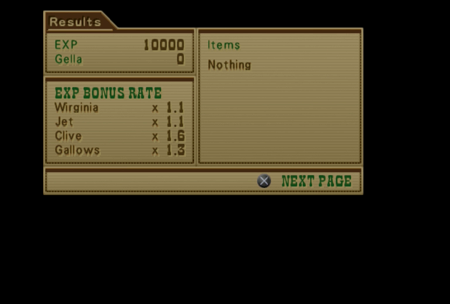
There are no rewards for defeating a Disaster save the fact that a defeated Disaster will not join Tiamat when you finally fight the Disaster boss. This would be a great opportunity for each Disaster to drop a specific “final weapon” or something… but Wild Arms 3 doesn’t really have equipment, so scratch that plan.
And… that’s that for this path.
You technically have to revisit each of those stupid paths to walk out of here…
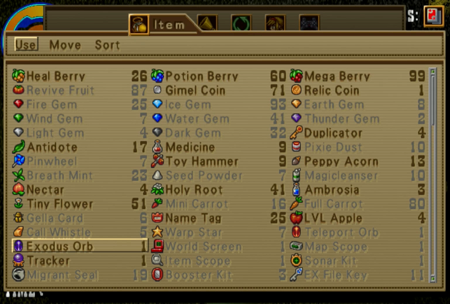
But screw that noise! Shane gave us the Exodus Orb for a reason!
One quick teleport later, and we are back to the main hall.
This solid wall across from the last path looks suspicious.
This puzzle requires you grab a nearby box and chuck it at the pyramid.
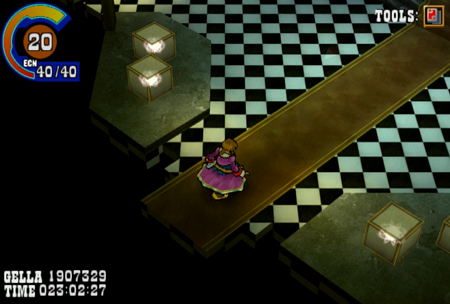
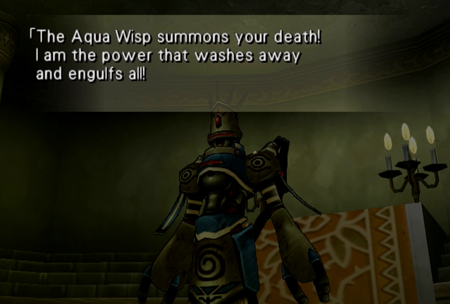
Welcome to Path Water.
Bullshit intensifies.
The puzzle for this area is that you must follow a Mario-ass moving bridge across the abyss. Like last time, if you fall off at any point, you will have to start from the beginning.
This first game of snake is annoying, but not overtly sadistic. We have to wait for that fun later…
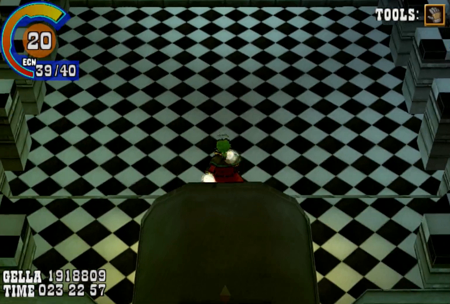
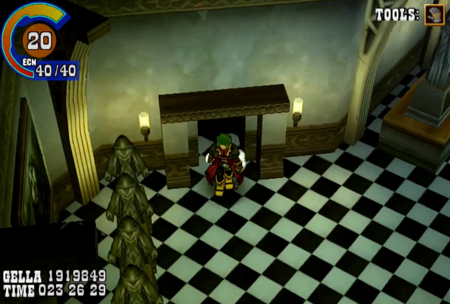
Generic hallway…

Okay, now we enter the Danger Zone.
This snaking platform is cruel.
It will occasionally branch in two different directions, and you have to immediately identify which way to go. The first time you fail is a guess. Every successive time you fail is because you have the memory of a goldfish.
Glub glub.
And then, just when you reach the end…
You find that this platform will not actually take you to your destination. You have to quickly recognize that you must use Virginia’s Change Crest to “teleport” to that white gem. Using the Change Crest to access the start of this room is mandatory, so the game moderately prepares you for this. Moderately.
Personally, that nonsense did not take me as long as the Moon Path, but it was still very frustrating. Wild Arms 3 saved all its “break your controller in anger” missions for the finale.
And now we have…
An excuse to get wet.

… Wait. Are these things even different colors? Maybe just the highlights?
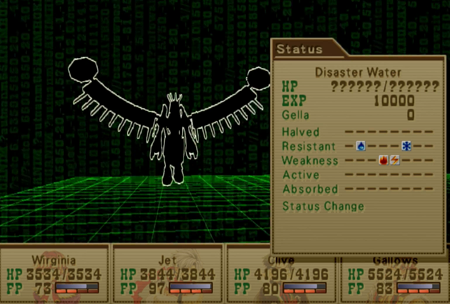
Disaster Water is a proper elemental boss. Weak to fire and lightning, strong against water and ice.
For the record, while I never saw Tiamat use anything but its Final Disaster summon attack, the individual Disasters will occasionally use their (ineffectual) physical attack. You don’t have to deal with a summon on every round.
Just most rounds.
Disaster Luck and Disaster Moon are non-elemental, but literally every other disaster has an elementally-locked attack. If you equip water wards for this battle, you will be safe (ice wards are useless, though). Fight back with fire, and you are in the clear.
Blammo. Two disasters disasted.
Time to head on back.
These puzzle rooms were set up with white gems so you can quickly teleport back to the start.
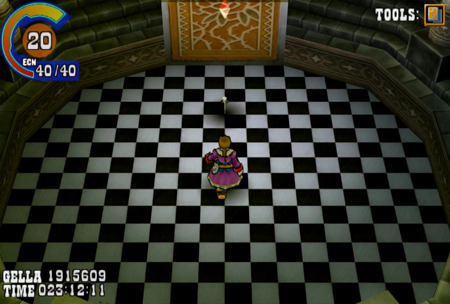
Main Hall again. Is it supposed to be significant that there are flags and carpets with the same symbol as Virginia’s gun holsters?

Wall switches, eh?
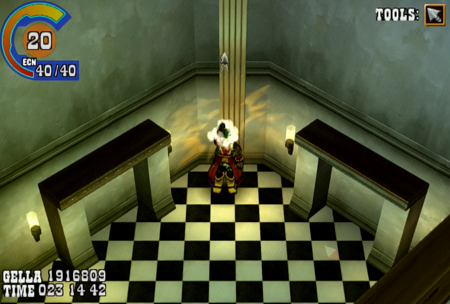
Ignore ‘em! Just shoot your grapple up into the sky to hit a switch that can only be seen from the second floor.
And a door on the second floor opens.
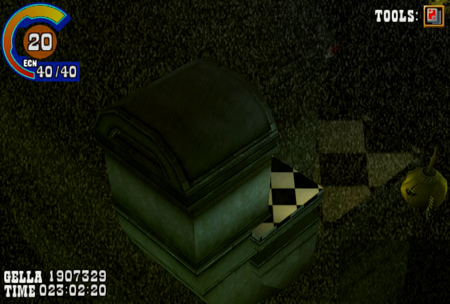
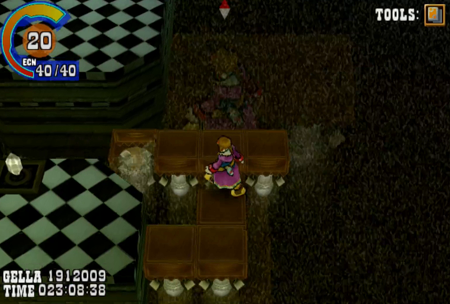
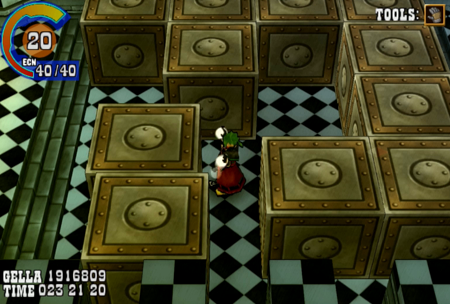
Path Earth: start.

Blocks. It had to be blocks…

You must use Clive’s Mighty Gloves to shove these blocks aside to make a path. Quarters are tight, so plan ahead.
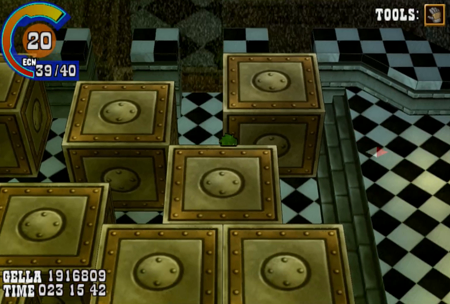
The best way to solve this puzzle is look to the “end” of the room, and work your way backwards to access an available path through the cubes.
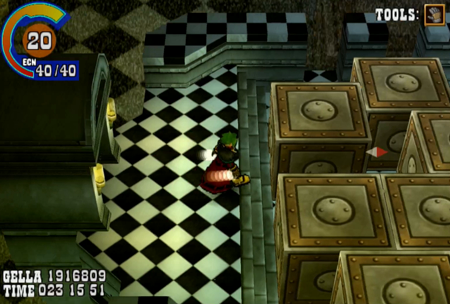
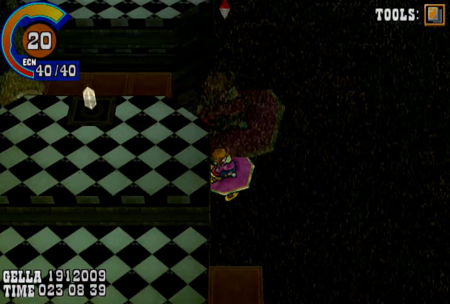
One hallway later, we are in block room #2.
This one is extremely tight. But there is a block that is not blocking the way forward in the bottom right, so see what you can do about clearing a path over to there.
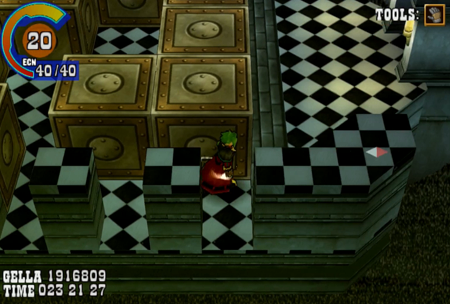
You can always throw yourself into the pit if you trap yourself in the middle of your block pushing. Exiting and reentering the room will reset the blocks back to start if you need, too.
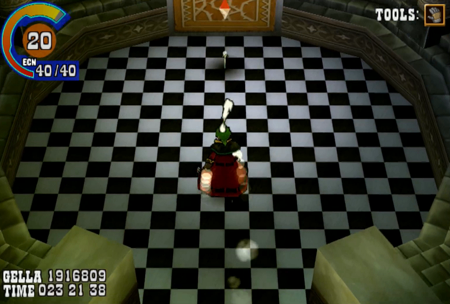
And the disaster du jour is…

Earthy.
I guess Mr. Pounds is appropriate after hefting those giant boxes around. Were the snake platforms meant to be watery? And the dark path evocative of the moon?
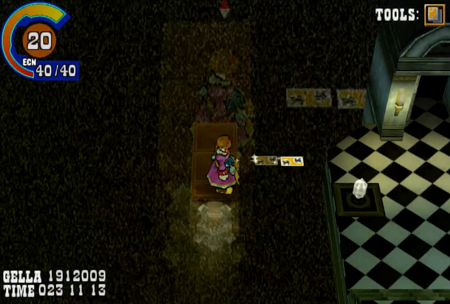
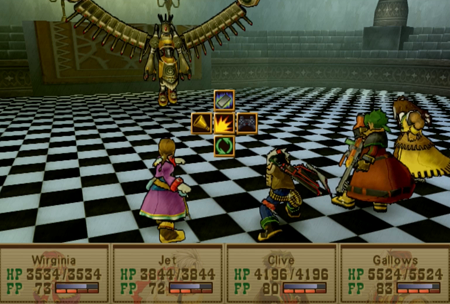
Break out your wind magic to blow this house down.

Each of these summons are a simple “model replacement” of the original Guardian summon. In some cases, I haven’t seen the initial summons in a while.

Anywho: time for a mighty wind.

Blammo (again).
When you are walking back from that battle, the boxes have mysteriously disappeared. An easy trip back to the Main Hall!
And we are going to chill in this Main Hall until the next update. We have eliminated three out of the seven disasters, so we basically still have a full half of dungeon to go. We are making progress!
Next time on Wild Arms: Which Disasters are left? Sushi? Is Disaster Sushi on the menu?