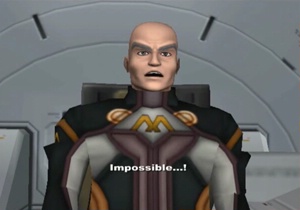
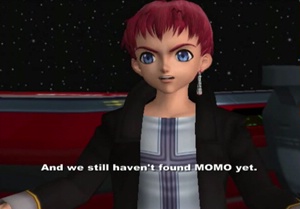
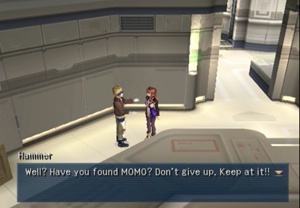
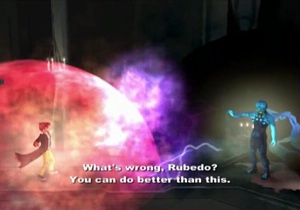
Previously on Xenosaga: Things were looking grim for our heroes, as the entire Galactic Military pointed their collective guns at the Kukai Foundation. Meanwhile, Albedo pointed his gun elsewhere.
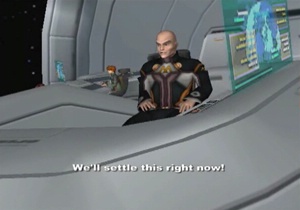
Captain Baldguy is on the warpath, and no one is safe.
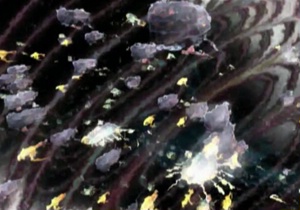
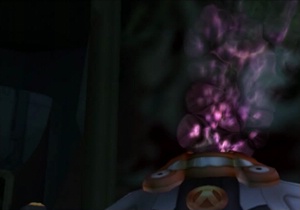
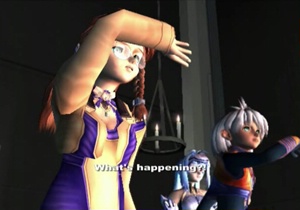
But just when all seems lost, a giant… ripple… wave… thing?… tears through the gnosis, and the day is saved. Buh? KOS-MOS, was that you again?
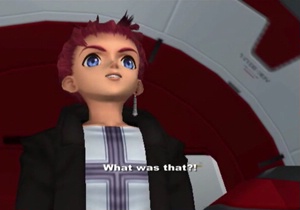
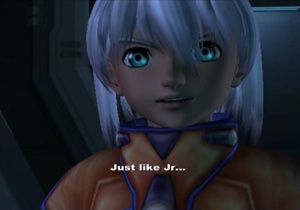
Junior is just as confused as anybody.
Oh, smack, it’s an even bigger ship than all the other friggen huge ships! Yay, food chain!
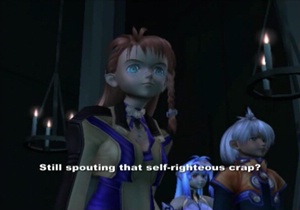
Yes, yes, we get it, reaction shots all around.
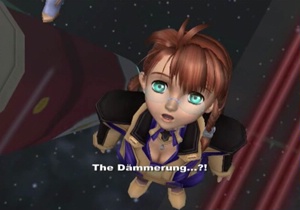
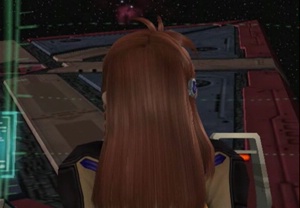
Shion at least knows the name of the thing dropping her jaw.
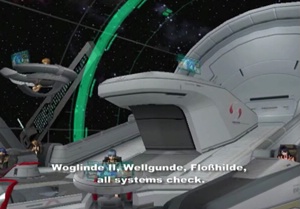
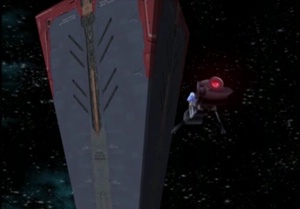
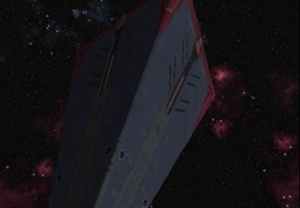
Yes, it’s the Dammerung, aka Vector’s private fleet of death-class ships. Fun fact: you could not pay me enough to set foot on the Woglinde II.
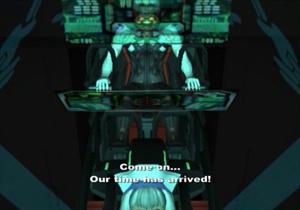
And the whole shebang is helmed by none other than Wilhelm himself. Turns out his freaky space pyramid was the captain’s chair or something.
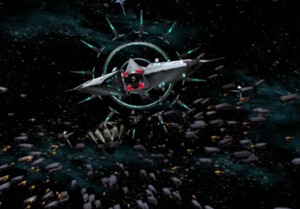
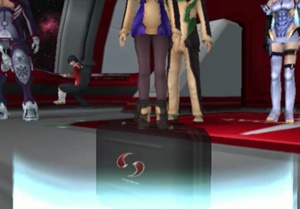
Seriously, this thing is huge. There’s the itty bitty Kukai Foundation in the bottom left, which houses an entire city and the Durandal, which itself houses the Elsa. Scale means nothing anymore.
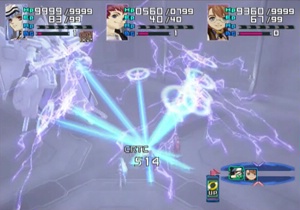
The Dammerung fires off another anti-gnosis blast. Apparently, this tech allows for the vaporization of gnosis, but all humans and buildings/ships are unaffected. It’s a like a gnosis-neutron bomb. Gnostron bomb?
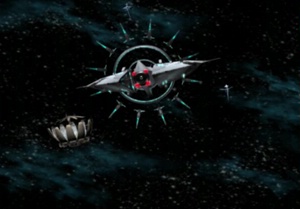
There we go, nice clean space. Wilhelm likes things tidy.
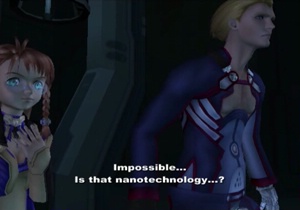
Shion is, understandably, shocked. Also maybe concerned, because who the heck needs KOS-MOS when you’ve got that?
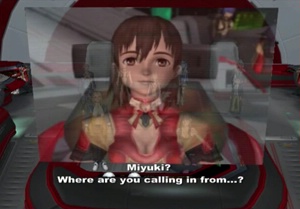
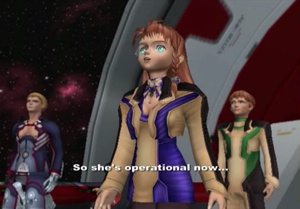
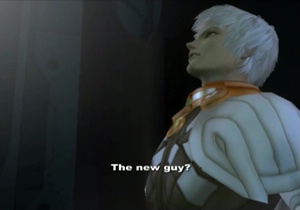
And up on the big screen is Miyuki, Shion’s subordinate, and that woman that was emailing us continually at the start of the game. We last saw her way back before Ziggy boarded the Elsa.
Whoops, Shion’s former subordinate.
Shion, you haven’t even bothered to call in sick for days, don’t be surprised when H.R. poaches your team. Except Allen. Nobody wants Allen.
Miyuki, have you met Shion? Do you really have to ask?
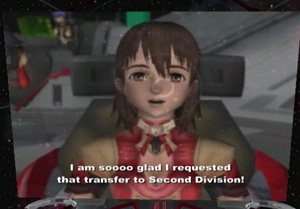
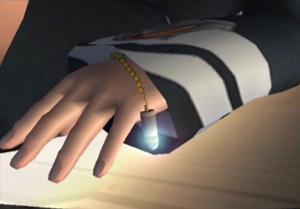
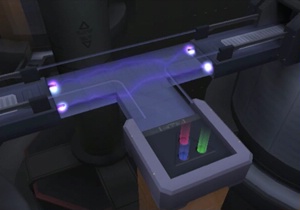
Miyuki beams over KOS-MOS’s… luggage?
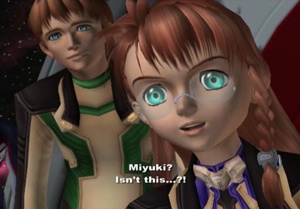
Don’t get too attached to it, Shion, someone will probably steal it out from under you at a diner or something.
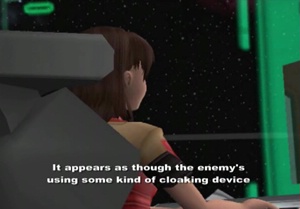
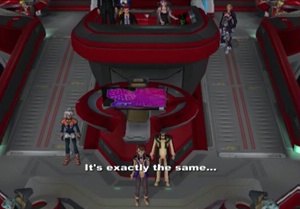
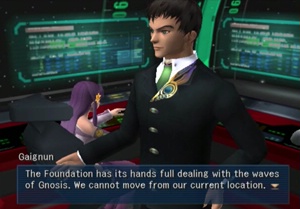
Vector, naturally, is all over the situation, and is completely aware that “the enemy” is cloaked and hiding somewhere in the area. They likely know this because the president of the company is pretty much bankrolling “the enemy”… but we don’t know that.
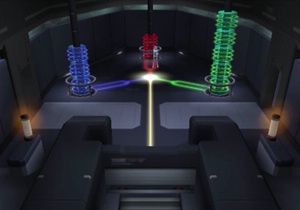
So Vector/Miyuki sent over this… thing… to help KOS-MOS move the plot along, as this ain’t no Hunt for Red October.

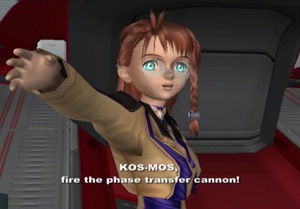
And Shion explains what it is… the bomb to end all bombs. But it could, incidentally, short out a cloak, I guess.
“Mom, you never let me have any fun. Lemme have my new toy!”

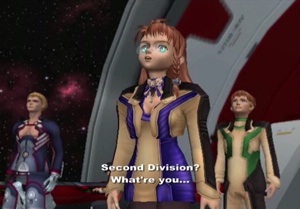
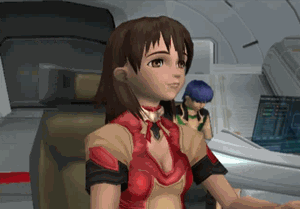
Miyuki points out that while the Dammerung is the most amazing, awesome ship fleet in the universe, it doesn’t have unlimited ammo, so let’s hurry this up.
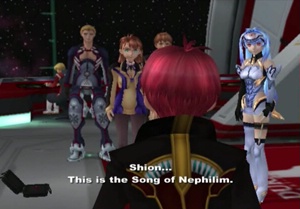
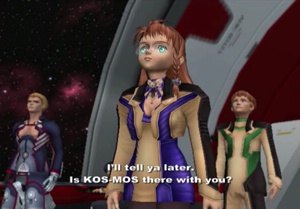
And Junior finally chimes in and confirms that this is the Song of Nephilim’s doing. In this case he’s talking about the song and the space station that both have the same name. It would get confusing if I ever talked about the game’s music.
Coming from Junior, that’s saying something. He’s also wrong.
Though, yes, I could see how that would be a factor.
Oh, right, the other problem.
Ziggy just wants someone to do something. It’s been a long century or so, and, ugh, everybody takes forever with this talking crap.
Shion finally relents and decides to hand the apocalyptic weapon to the death-bot fated to destroy an entire planet.
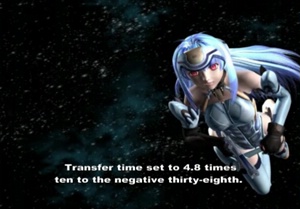
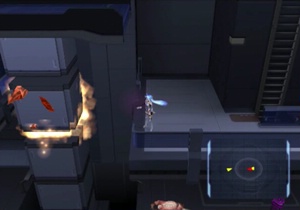
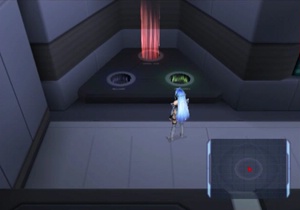
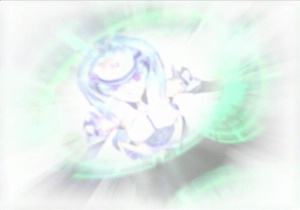
So KOS-MOS lazily drifts out into space to aim her doomsday device at the… wait… this isn’t a very good cloak, is it?
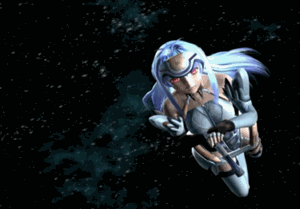
Sigh. Brings a tear to my eye every time I see it. So majestic.
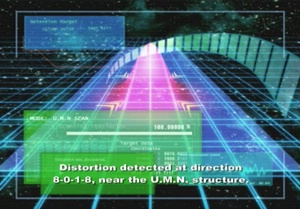
“Aiming at barely cloaked object now.”
“Mom, I was already gonna!”
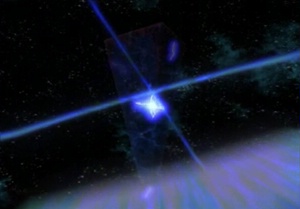
Direct hit on the invisible thingy!
Now there’s the enormous, upside down pyramid we were looking for.
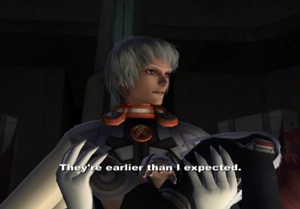
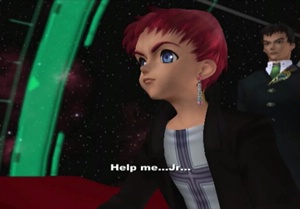
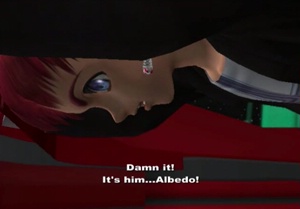
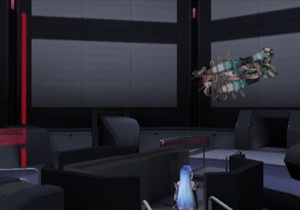
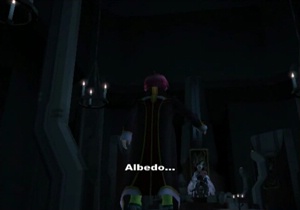
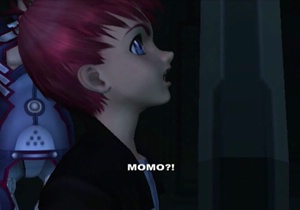
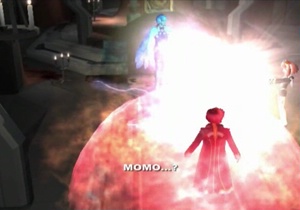
Hey everybody, Albedo’s back! And he’s holding MOMO like a footlong. Wait, sorry, Subway does not need to be associated with another one of these guys…
What’s that?
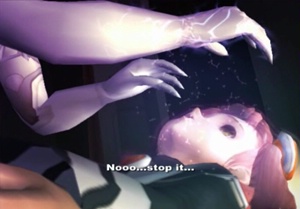
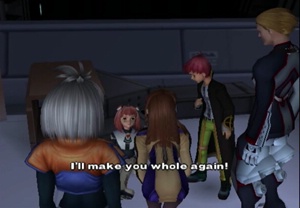
Oh, geez. Great, now Albedo has decided to stop simply scaring MOMO to death in favor of sucking out her brain.
And MOMO’s lucky Junior souvenir is calling home…
Junior recognizes the Song (structure) immediately, and is not happy to see it.
Psychic distress calls! No droids needed!
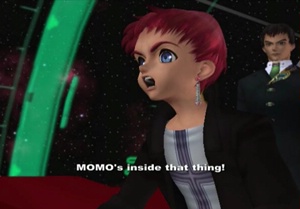
Yay, the two seemingly disparate plots have dovetailed into each other!

“The boss isn’t crazy, she is in there, over.”
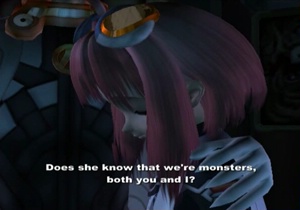
Okay, maybe three plots? Albedo is Junior’s rival, he’s responsible for the attack on the Kukai foundation, and he’s got MOMO.
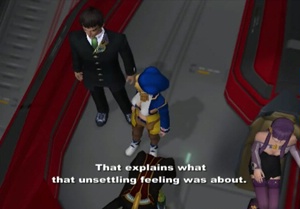
I like that Albedo is the source of the “unsettling feeling”. It wasn’t an attack by space monsters attempting to slaughter your entire company/community, no, it was just one dude.
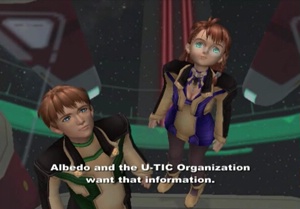
Shortly, there will be a sort of soft confirmation that Junior is surprised to see Albedo alive at all, but here Gaignun immediately knows that Albedo is in bed with U-TIC… meh, whatever, what’s important is that this is our lucky seventeenthousandth reminder that U-TIC wants MOMO.
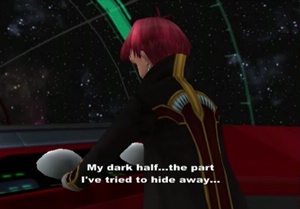
And when Allen asks who this Albedo guy is, Junior elaborates that he’s his “dark half”. Given how this universe works, no one would be faulted for believing Albedo is anything from a sentient shadow to simply a dark-haired clone of the kid at this point. Be more literal when you’re talking to at least two robo-people, Junior.

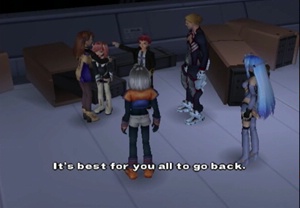
Ziggy is tired of all the talking, again, and is going to go rescue MOMO himself. This may seem like a suicide mission, but remember he already grabbed MOMO out of U-TIC’s clutches single-handedly once already, so what’s one Dark Side Junior gonna do?
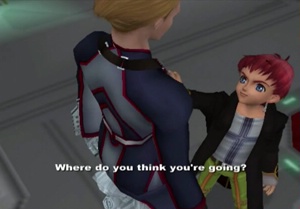
Remember the “punch assessment” scene, Junior? Back off.
Ziggy points out that Junior is not a good candidate to go rescue MOMO right now. Only way Junior would be worse was if he was the single human being (or cyborg) on this vessel that had known MOMO the absolute longest.
You get attached, you go into battle, you die. The end.
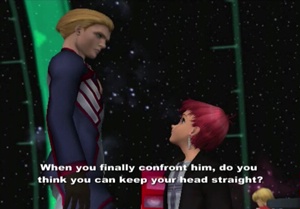
Spoilers: he won’t.
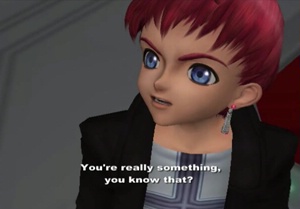
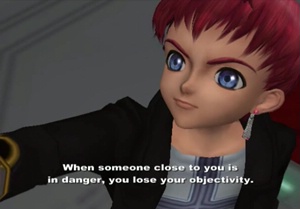
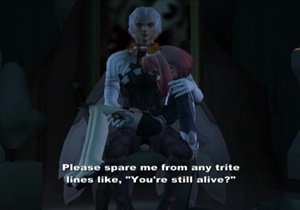
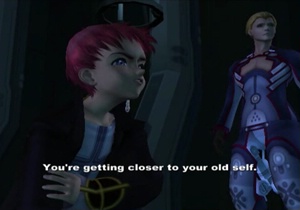
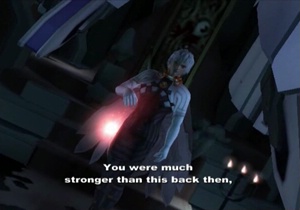
“You’re really something, you know that? You think you’re such a hardened soldier compared to me. Tell me then…how can I become cold and detached like you?”
(Psssst, he’s not really asking)
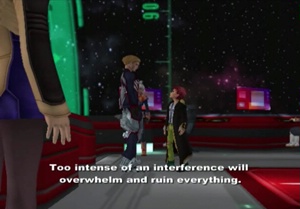
“Only allow yourself to think of numbers and battle strategy. Don’t let your mind wander to the faces or voices of those precious to you…even when it seems cruel not to. Too intense of an interference will overwhelm and ruin everything. That’s what I’ve learned over these past hundred years.”
The Ziggy mantra, ladies and gentlemen.
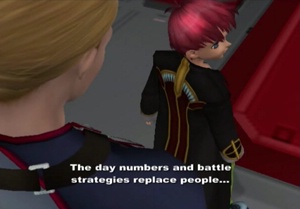
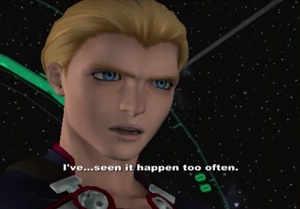
“The day numbers and battle strategies replace people…it’ll be game over, cyborg.”
Ziggy and Junior are diametric opposites. Have you gotten that yet?
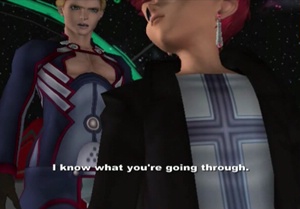
Ziggy tries to be a little, I don’t know, empathetic? But Junior doesn’t want to hear it.
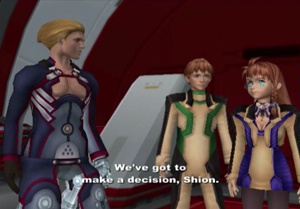
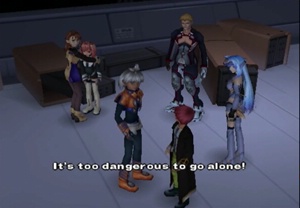
I guess the VA budget ran out about there, as we finish this one off in dialogue boxes. Looks like this whole operation is up to a rag tag bunch of misfits as opposed to the Kukai Foundation’s entire security team or Vector’s enormous fleet.
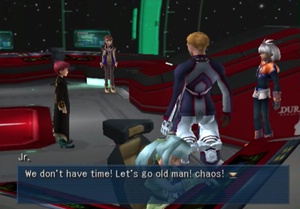
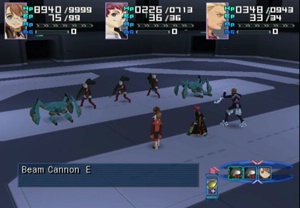
Alright, three man party! We can do this!
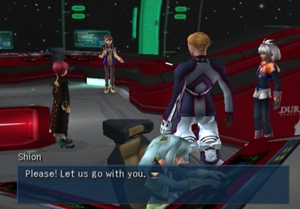
And I guess Shion can come too, but only if she brings the murderdroid and juju beans.
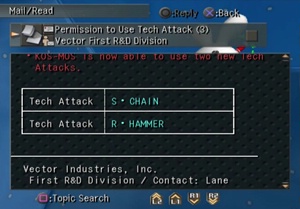
Now we’ve got free usage of the controller again, and we know a dungeon is on the horizon, as Shion receives an email unlocking two more of KOS-MOS’s tech attacks. This might seem like a boon, but S Chain is only a status effect style attack, and R Hammer is a single hit physical that will be outclassed by the next unlock. X-Buster still reigns supreme.
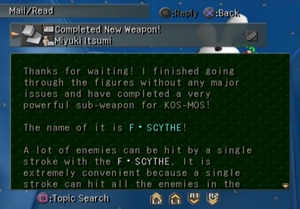
Also, if you bothered to deal with Miyuki’s emails back at the start of the game, she’ll send over KOS-MOS’s best weapon, the F-Scythe. It’s a (rarely used) circle attack weapon that can hit the entire enemy party at once, and I’m sure it’s really great if you’re not just using X-Buster all day long.
At this point, you can revisit old areas and generally dawdle on your way to saving MOMO and the entire universe. If you revisit Kukai Foundation District town, you’ll find that everyone is already rebuilding, and, while everything is a little worse for wear, it looks like those plucky townsfolk are going to bounce back. Oh, wait, another email!
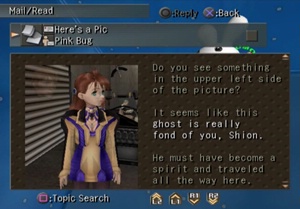
Here’s the picture Pink Bug said he’d send us. Shion is being haunted? By whom? Zoom in!
Ugh, Allen? Stop being a creepy specter of longing!
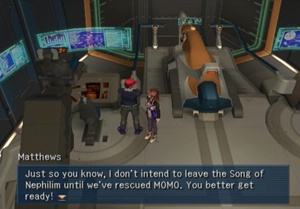
Anyway, real world playing, at this point, I actually completed (mostly) a few side quests I’d been ignoring, and we’ll look at that tour in Update #17. But to move the plot along, head to the Elsa and tell Captain Matthews it’s time to throw the poor Elsa into danger again.

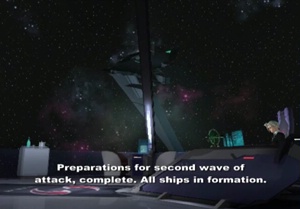
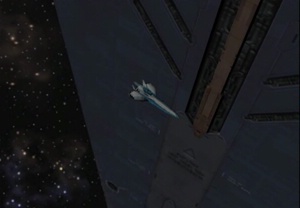
Let’s get this show on the road and zoom on in there while the Dammerung provides cover blasts.

Hopefully Tony’s skills haven’t atrophied while the Elsa was chilling in the Durandal for the past few updates. Man, show me the JRPG where the party accidentally dies on the ride to the dungeon.
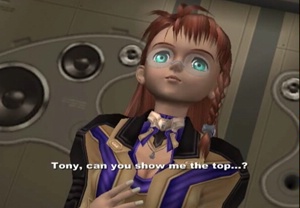
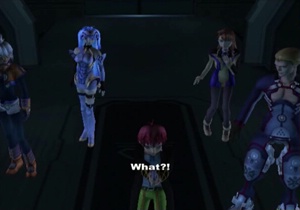
What? Shion, why?
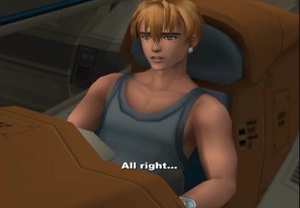
Tony is confused, but also kind of a doormat. Sure, might get us all killed, but lady’s choice.
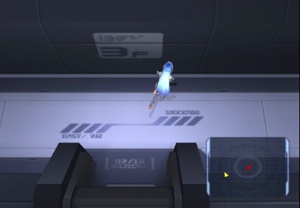
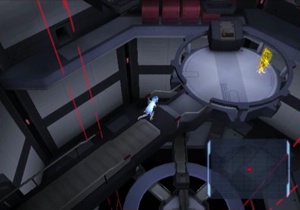
Going up…
Here we are, top floor.
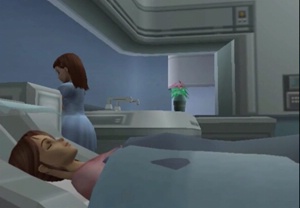
Flashback to Shion’s mother’s hospital room, with lil’ kiddy Shion hanging out.
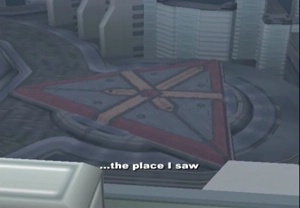
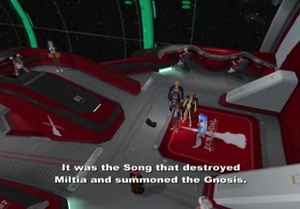
And it turns out that The Song of Nephilim (structure) was outside Shion’s mother’s hospital, just, ya know, hanging out, back in the day. I’m sure this will never be plot relevant.
Anywho, Shion’s curiosity sated, The Brews swing on down to the Song’s space dock.
First important thing: you are actually walking out of the Elsa into the Song of Nephilim. Since the Elsa isn’t going anywhere, at any point you can walk back to the Elsa, rest, save, and restock your supplies. This is a great help if you’re underleveled, and the Song, miraculously, is basically set up so you can easily return from the opening areas. Good job, Xenosaga!
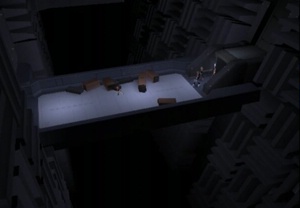
Apparently that place MOMO originally found herself was right outside the space entrance. I guess Albedo… is kind of lazy? Maybe he really had to pee, and figured he’d get back to MOMO later.
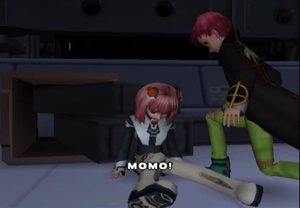
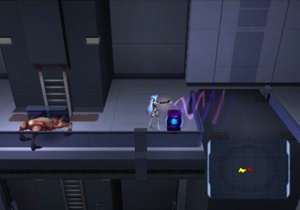
Oh, hey, speaking of which, we find MOMO exactly where #97 was left last update. What a coincidence.

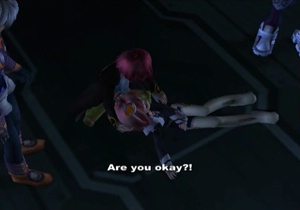
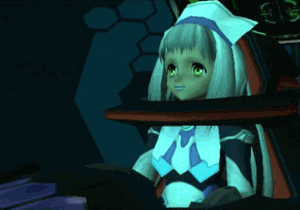
Yeah, she’s not looking too hot.
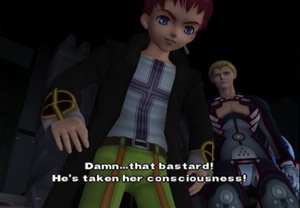
Sucked the brains right out of her.
I guess we’ll beat MOMO’s brains back out of Albedo. Or something.
Junior elaborates for the party that he’s familiar with this because it’s something he and Gaignun can do as well. Nobody thinks to ask about the fact that Master and Little Master possess horrifying telepathy.
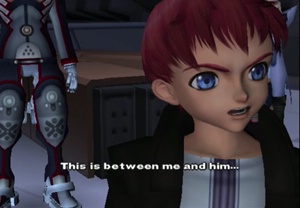
Junior, once again, attempts to send the party away, this is between me and him, etc etc. Look, it wasn’t convincing before we got to the dungeon, and it’s not going to work now.

WE GET IT!
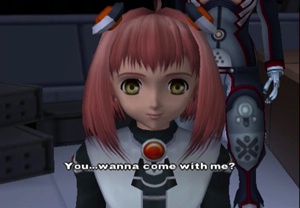
MOMO mimes her way into convincing Junior that this shouldn’t be a solo mission. I’m not sure how cool I am with one of our heroines being reduced to Lassie status, but I suppose she always gets a treat.
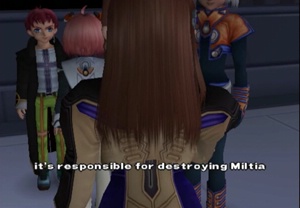
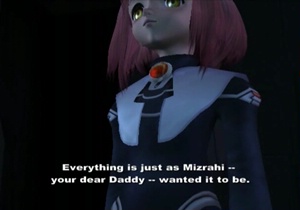
Shion also claims she’s got a stake in this one since The Song demolished her home planet. Is she mad at a building? Mizrahi is already dead.
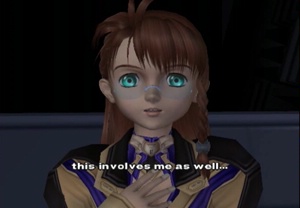
Alright, good, now everyone has an excuse to be here, let’s move on.

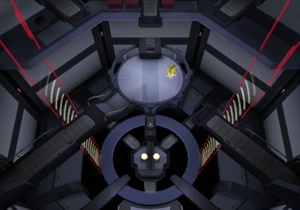
Woooo ominous dungeon introduction. In all seriousness, I have the oddest feeling this dungeon got the most attention to design in Xenosaga Episode 1. It’s also, probably not coincidentally, my favorite dungeon in the game… but that wasn’t exactly a tight race.
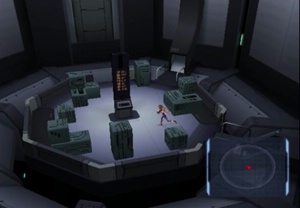
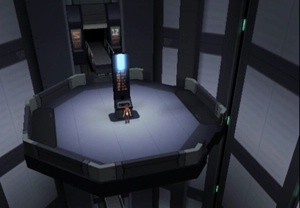
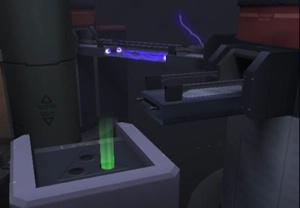
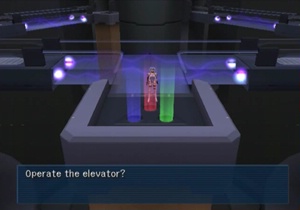
The Song is separated into three distinct towers. The first tower’s centerpiece is an elevator going to seven or so different floors. How the elevator “works” is initially opaque, though. When you destroy a few boxes, you can press the center button and go to a seemingly random floor. The trick is that a certain number of boxes destroyed will always take you to a particular floor, but that may not be obvious at first glance.
But if you’re at all attentive, the solution is hanging in plain sight. To the left of each floor is the floor number, and to the right is exactly how many boxes must be destroyed (in this screenshot, you can see floor five has a twelve hanging nearby, so blow up twelve boxes to reach the fifth floor). Thanks for the tip, Xenosaga.
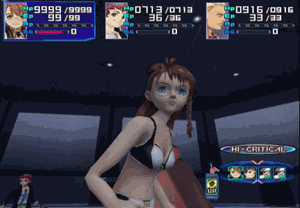
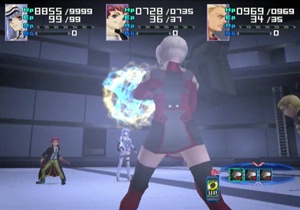
Shion picked up a new tech along the line, so let’s watch her spike a gravity well. She’s wearing a swimsuit because she needs all the tech points she can get to save up and finally unlock a powerful multi-hit attack. One day, Shion, one day those points will help you…
And here’s that tech Junior earned after murdering that boss last update.
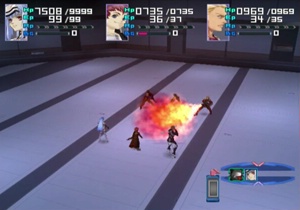
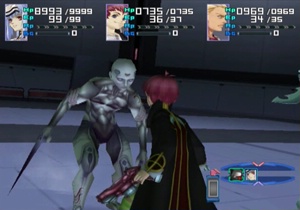
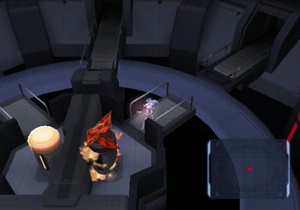
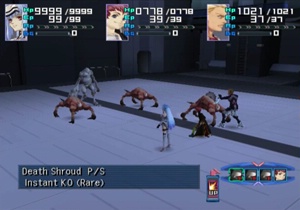
It’s not all fun and games in this dungeon, though. The enemy swarms are packed with five or so opponents, and they’re not shy about utilizing boosts and multi-hit attacks. For the first two towers, the enemies are usually two different kinds of mech, or two different kinds of Realian. Whatever you’re facing, though, they hit hard, so do your best to keep KOS-MOS, Ziggy, or Junior in the front lines with their decent attack, defense, and HP. This dungeon is nowhere near short, so the “support” team should mostly hang back and save their EP for healing.
Anyway, decided to take my own advice and swap KOS-MOS for Shion, and here we are back to exploring the dungeon itself. Each of the seven (or so) floors is pretty much identical, just with different enemy configurations, and, more importantly, different treasure/switches. This is one place where having a FAQ handy isn’t a bad idea, as the “empty” floors are practically just monster closets. It’s trial and error for a “blind” player, though, and God help the poor fellow that misses something important on a floor and has to play them all again. Floor three has…
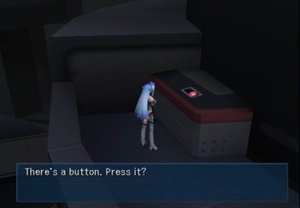
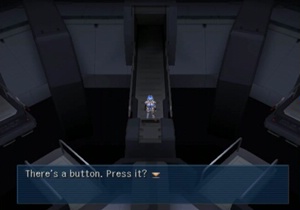
I wonder what this switch does?
That’s cool. It opens up the bridge between Tower 1 and Tower 2, and activates the Triforce of Courage in that center area. Of course, we’re not on the same floor as that bridge, but it is a step in the right direction.
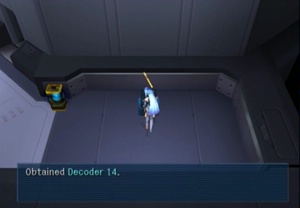
Floor 5 hides a door decoder. …. That’s about it for interesting, unique treasure/switches for this tower.
Good news: each floor contains a… laundry shoot?… that deposits you back on the first floor. Since there are no enemies between the first floor and the Elsa, it’s very easy to head home and refuel if the enemies in this area are too much for you. This seems very deliberate, given the difficulty spike between here and the “dungeon” of last update (which was mostly reused monsters from the previous update).
Top floor brings us to this bridge, and it’s time to hit Tower 2.
Tower 2 contains the only Save Point in the entire dungeon, but how this area “works” will make it accessible from elsewhere as we go.
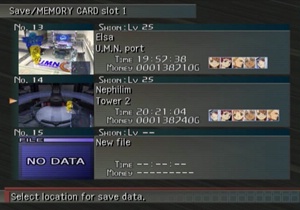
Incidentally, if you’re timing the game, the top save (19:57) was from before telling Captain Matthews it’s time to head on in, and the middle save (20:21) is from right now. As you can see, if you know what you’re doing, Tower 1 is pretty quick. Tower 2, however…
Tower 2 is a gauntlet. You’re on the top floor, and you have to take a number of ladders and passageways down to the first floor. There’s no trick to this area (other than good ol’ fashioned dodging), and you’re in for battle after battle. The good news is that, if you don’t take any detours, there are no doors between here and your goal, so clearing out each floor means a safe run back to the Save Point to refuel. The bad news is… who the hell does that? This isn’t friggen Dragon Quest.
Ziggy got a new tech! Let ‘em eat cake.
The Realian variants equipped with flamethrowers are numerous in this area, so get ready to soak a lot of damage.
The only fork along the road leads to a series of boxes that hide treasure and…
This optional “boss”, Athra. He’s not too tough (which is good, because he’s a surprise and you’ve just been through a ton of battles), but he is completely unique, and your party uses “we’re facing a boss” random battle quotes. Note that this guy is one of those things that appeared in Shion’s nightmare back in Virtual Land, and those dudes are later identified as “Asura Models” (probably named for the arm blades)… so Athra is likely a mistranslation.

Athra’s claim to fame is “morph defense”, which makes him resist whatever element last hit him. This is permanent, so the idea is to whack him with your most powerful elemental attacks until they don’t work, and then just hammer away with physicals. He should be dead shortly.
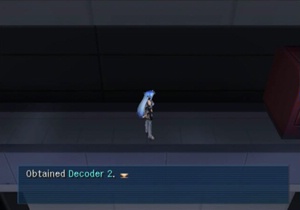
And after he’s dead, you get a door decoder. Nice. There’s also another, different hidden door at the end of this hallway.
Now back to killing every last mook in this tower. Note that entering and exiting doors causes enemies to respawn, so if you take Athra’s detour, the tower is crawling with monsters again.
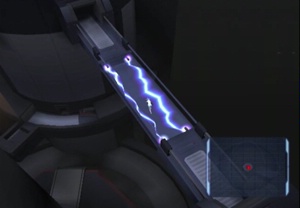
This switch hasn’t been pressed yet.
This lowers the ring from the top floor down to the bottom. Now you’ve lost the ability to return to the Elsa, but you can proceed forward to the bottom of Tower 2.
Blow up a few generators and…
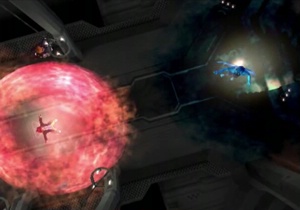
Mini boss gnosis out of nowhere. This is the first gnosis you find in the gnosis attracting space station, and it’s a doozy. Though, at least, she waits for your party to prepare and approach her. How kind.
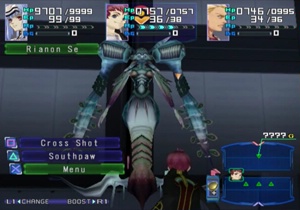
Rianon Se (Selenium?) is a mermaid-type gnosis that hits with water elements and status ailments that disrupt your boosting abilities. The biggest annoyance here is that she’s considered flying, so only Junior, with his long range weapons, can use his full complement of attacks.
Other annoying thing: she has a drain attack that siphons off a percentage of a character’s max HP. If you decided to call up your AGWS for this battle (and their large HP counts), this could be crippling. … Or if you decided to give characters 9999 HP from the start of the game. Luckily, she only targeted Junior before she was destroyed by…
Junior. That kid loves boss slaying.
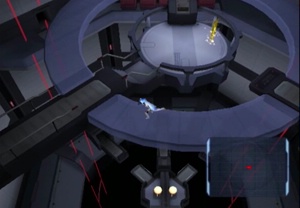
Beyond Rianon is a switch that activates the bridge to Tower 3, and…
The Triforce of Power is glowing on that central platform. Ganon is not pleased.
There’s a nearby elevator that will take everyone back up to the top of Tower 2. While you can’t return to the Elsa anymore, you can reaccess the save point, and, yep, that tower took almost an hour to descend. Hope you didn’t wipe at that boss!
Tower 3 switches up the enemies from biological Realians and mechanical mechs to gnosis gnosis.
I haven’t spoken of accessories much, and transferring skills from accessories to characters, but that little gameplay facet becomes essential as of exactly now. You will find a Defibrillator Vest back in Tower 2, and that is an accessory that grants immunity to instant death attacks. But you only have one. Extract the “skill” from that vest to two other characters, though, and you have a full party that can withstand instant death attacks… which is essential because the most common enemy in this tower uses instant death attacks constantly. At least the game decided to teach this little lesson right after a save point…
Anyway, we’ll talk about the skill transferring in more detail around when we hit the next/final dungeon.
Two fun things about Tower 3. One, all the gnosis in the game so far have leaned primarily on space fish/mythology designs, but now we’ve got a whole host of gnosis that look like failed science experiments. As you can probably guess, this is deliberate when you consider the “origins” of this area (reminder: Mizrahi may have been up to some interesting research). Two, the gimmick of this area is blasting blocks to make passable bridges. Don’t blast too many blocks, though, else the bridges will fall out of reach, and that’s no good for anybody.
There’s even this door to nowhere that exists solely so you can exit and reenter an area to reset all the block counts. How convenient.
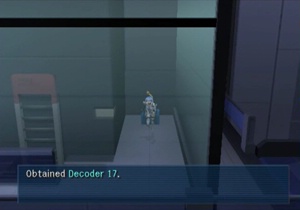
Navigate Tower 3 with some foresight, and you’ll find a treasure chest containing Door Decoder #17. This is the final item necessary to unlock the most powerful attack in the game, though you can’t use it until the dungeon is over. Just noting for posterity, we’ll talk about it more later.
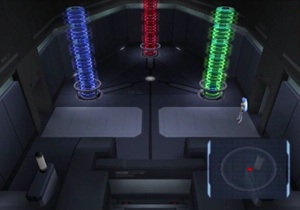
Here’s the “big” puzzle of Tower 3. These three colored pillars are all destructible, and one would assume the path forward opens when you do… something? It’s not “blast them all”, I tried that first.
The next room contains a small light ‘n sound show that should explain exactly what to do… Except, unfortunately, this entire puzzle reminds me of the finale of Chrono Cross, and I kind of zoned out and slipped into an angry coma.
Of course, if you put all the clues together, you realize Gamefaqs has been invented, check that, and blow up the right number of blocks or whatever. There’s the answer. Right there. Saved you some critical thinking, time to move on.
Final switch switched, Tower 3 connects to Tower 1 completing the circuit, and the Triforce of Wisdom activates.
Before investigating the Triforce Elevator, head back to easily accessible Tower 2 and hit that save point. You’ll be glad you did.
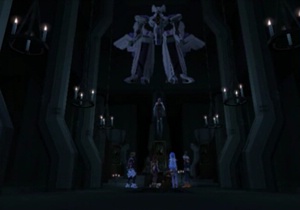
Alright, time to have all of our wishes granted.
High noon at the Not Okay Corral.
Yeah, see? How does everyone know Albedo is on U-TIC’s payroll when they assumed he was dead anyway?
I guess she missed the lecture on the telepathy from earlier when we… wait a tick.
Don’t we already have one of those?
Oh, so we had a fake, murderous MOMO this whole time, and nobody noticed? Junior, you deserve this.
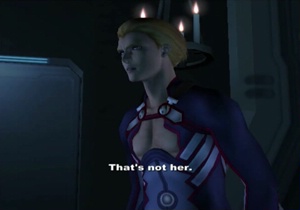
What tipped you off?
Ah-ha, turns out “our” MOMO was really that #97 that MOMO interfaced with last update. Guess our favorite Realian needs better firewalls when she’s file swapping.
So Junior deploys his personal forcefield (!?) and repels the imposter.
Yeah, would have been nice to know about Junior’s magical abilities during any of his battles…
And of course Albedo is using the occasion to troll the hell out of the kid.
Xenosaga maybe could have allowed for a little harsher language.
Big deal, kid, those firearms take forever to take down like one gnosis. Oh, wait, is this a cutscene? Are guns powerful again?
Troll troll troll.
Ha ha it’s funny because none of these characters have mothers.
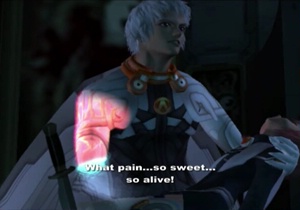
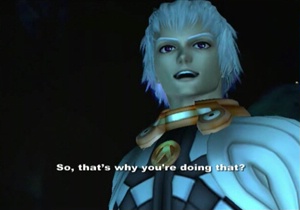
Junior shoots off Albedo’s arm… but it just grows back. This would be more shocking if he didn’t make a big deal of it last update.
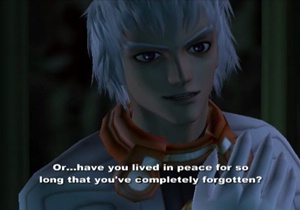
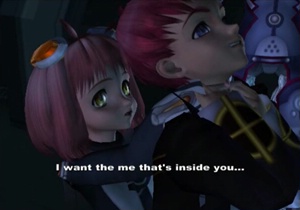
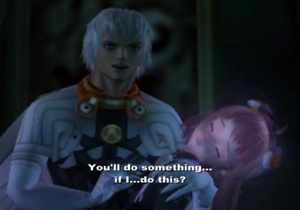
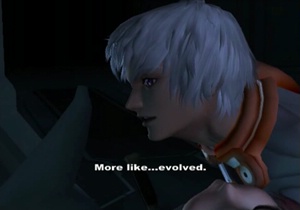
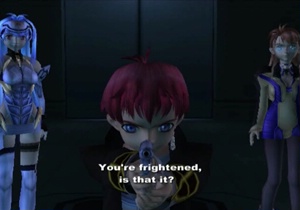
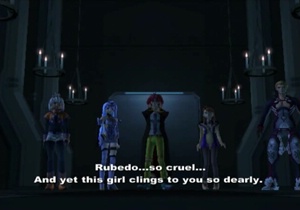
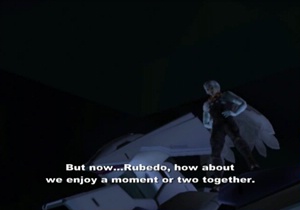
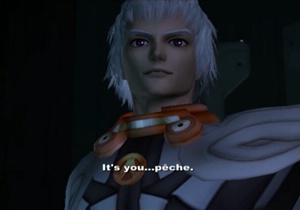
“What pain…so sweet…so alive! Pain is such a vital part of realizing one’s existence… Try to remember, Rubedo. What it takes…what you must do… Or…have you lived in peace for so long that you’ve completely forgotten?”
Albedo is one of those villains that has a philosophical monologue all prepared, and you’re going to listen to it whether you like it or not. On the weekends, Albedo hangs out with Vicious and Genesis.
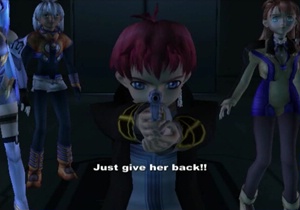
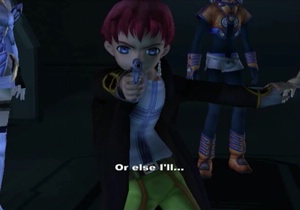
Junior, having learned nothing, continues with the gun-threatening.
Is this bugging you? I’m not bugging you, am I?
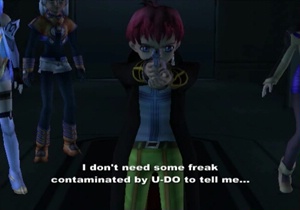
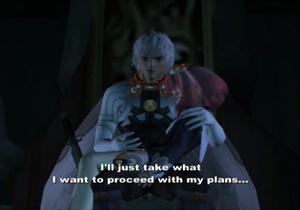
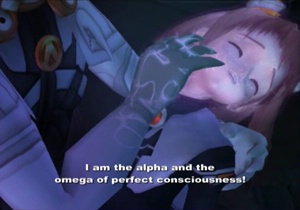
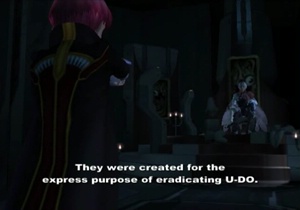
Junior claims Albedo’s issue is an U-DO contamination…
But Albedo believes U-DO is the Way and the Truth.
Misogynist, pedophile, rapist, murderer, narcissist, and religious extremist. Did I miss anything? I bet he’s also a terrible tipper, but I don’t think that ever comes up.
He is that he is?
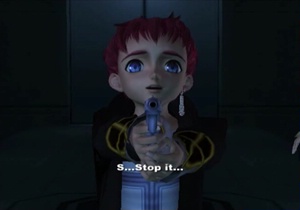
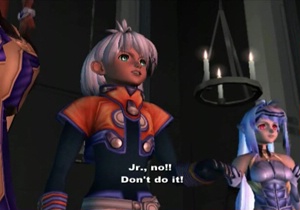
Alright, I want to mock the fact that Junior is cracking under the obvious troll being obvious, but, on the other hand, this guy just got reunited with his long lost brother, and he’s mind-raping his friend that is also a girl. It’s a pretty harrowing experience, and, while Junior wants to play cowboy at the outset, he really doesn’t want to have to shoot his (well, conceptual) brother.
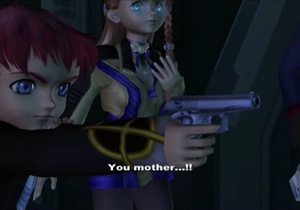
Buuuuut he does. Blows his head clear off.
For all the good that does him.
Just in case anyone was wondering…
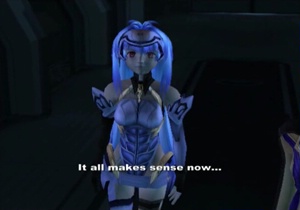
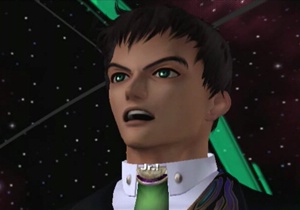
Shion explains that it’s the future, but not the Metal Gear future, so, no, that shouldn’t be possible.
chaos is tired of all this mortal bickering, so he reveals the reason for all the superpowers getting tossed around is that Albedo and Junior are URTVs.
Again, no one was at all surprised when Junior revealed he had telepathic mind-wiping abilities, but the fact that Junior is some weird mutant is suddenly shocking to everyone.
That explains everything!… Wait, no it doesn’t.
Albedo sensed the conversation was going away from taunting Junior 24/7, so back to what we know.
I don’t even know why Junior still has that gun anymore. After watching a dude’s head grow back, maybe consider other options.
Aw, MOMO dropped her plot significant charm.
Never stop being gross, Albedo.
Junior loses the firearm to unleash some crazy power.
It… turns everyone negative? I don’t know, seems pretty important.
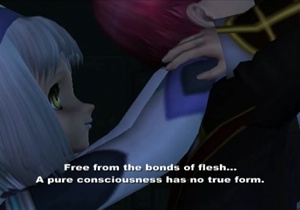
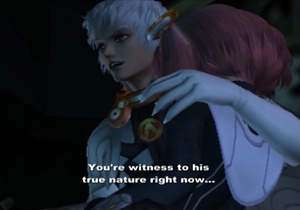
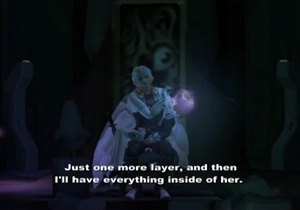
At about that moment, Albedo is poking around inside MOMO’s head. Here’s a lovely memory of Dr. Mizrahi.
Oh, good, he’s another one of those guys that speaks in cryptic flower language. Have you been to the playground with a little red haired girl, too?
Dude, what?
And Albedo cycles through the last “layer” of MOMO’s head, and finds a whole pile of random data. Think I saw a Legion Flight Ring somewhere in there…
KOS-MOS is at the bottom of the memories? Wha?
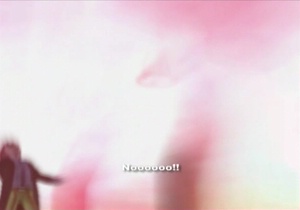
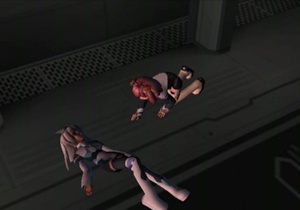
Back to reality, that’s Junior’s energy blast separating MOMO and Albedo. You can just about see his stupid little cape flying off to the right.
MOMO rescued! Mission accomplished! Do we have a password or something to prove this MOMO is MOMO, though?
Albedo is back up and checking out KOS-MOS while he claims to understand.
Yeah, I am not liking how he’s ogling our other heroines.
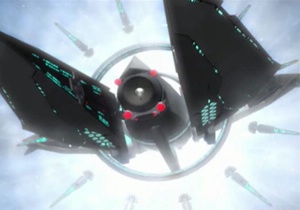
Welp, that’s all over, time to summon up a mech fight.
In a delightful inversion of usual boss battles, we’re going to fight the dude in a mech first, and then battle the man alone later.
And he’s still got a Realian co-pilot.
Or not. Wow, what? Is this mech literally powered by forsaken orphans? Now that’s a Rusty Venture.
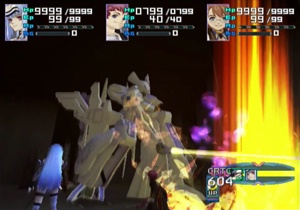
Alright, boss battle. Simeon is the name of Albedo’s mech, and that’s what we’re fighting. He hits hard…
And has crazy defense. This battle is winnable, but it’s supposed to feel like you’re fighting uphill the entire time. This is appropriate, I suppose, because, if you remember, just last update Simeon was tearing entire whale-sized gnosis and Galactic Military Vessels to shreds, so it’s a wonder anybody survives this battle.
The trick here is that Albedo will occasionally taunt one specific character (Junior is pretty popular), and then, on his next turn, unleash Airds to destroy his target. After this attack (that is, incidentally, highly reminiscent of Elly’s Vierge in Xenogears), his defenses will drop, so have the targeted character defend after the taunt, and go all out with everything (including your boosts) immediately after the barrage. That’s the smart way to win this battle, but you can also just plink along and eventually win.
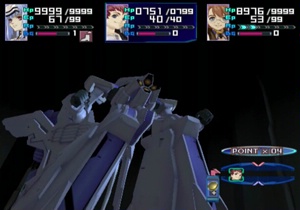
Junior, once again, aces the boss, and actually does so on a Point x 4 modifier. Good job, gunslinger!

Here’s your prize!
“It’s only a scratch.”
And Junior is not looking any better.
You get the feeling that boss battle was entirely superfluous?
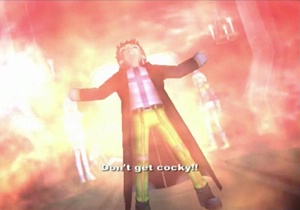
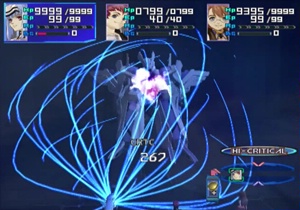
Aaaaand Junior hulks out.
Oh man, anime aura battle!
Way back home, Gaignun and his harem psychically communicate to Junior to calm the hell down.
But it doesn’t take.
“We need Albedo to survive or Episode 2 is going to be really boring!”
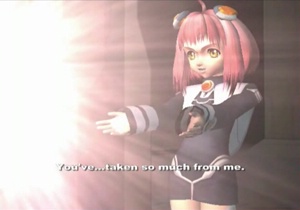
Meanwhile, MOMO decides to investigate her doppelganger. I suppose it beats standing around gawking like the rest of the party. Don’t at least two of you spectators own rocket launchers?
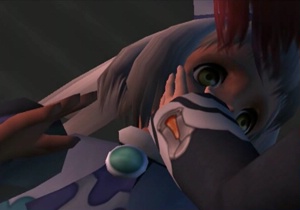
Canon fun: this touch transfers all of fake MOMO’s accumulated EXP/skills/equips to real MOMO.
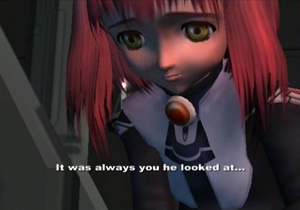
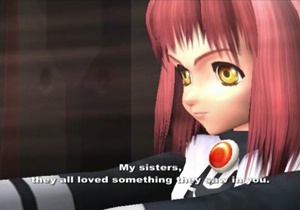
#97 confesses that this whole sorry incident was the result of sibling rivalry.
Totes jelly.
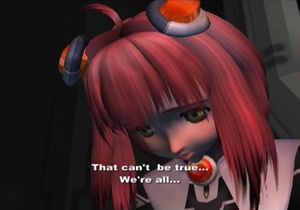
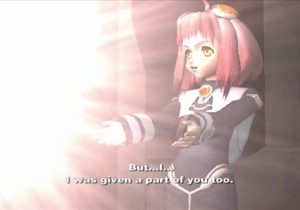
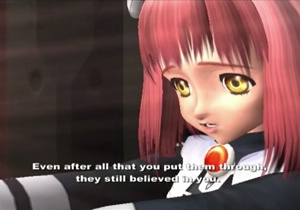
MOMO claims we’re all equal in Daddy’s eyes, but, girl, come on, you had to have a little inkling of this. #97 doesn’t even have a name.
And back to the main event.
But something happens to muck everything up. Premature auraculation?
Or that.
MOMO has her own magical powers?
Or, cool, she reverse-mind-raped Albedo and siphoned off some power there. Honestly, with MOMO being the victim for most of the game, it’s a rather nice reversal that she gets to effectively save the whole party here with some quick thinking.
Albedo would like to be madder, but he knows when he’s been out-trolled.
This raises so many questions, and would probably be a lot more poignant if Albedo’s victims had dialogue… or names.

I really hate to say it, but Albedo kind of has a point here.
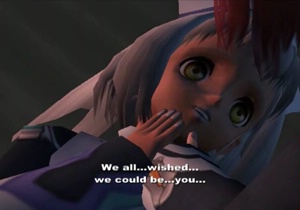
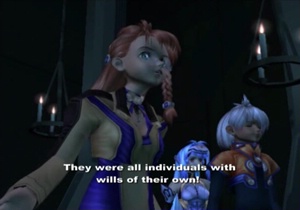
You are special MOMO, and you are the favorite. No, that’s not a good thing for everyone else in your family.
And, sadly, Albedo is straight up correct here. Nobody ever talks about the chosen one’s older, useless siblings.
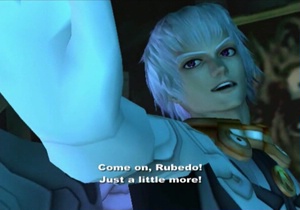
Junior, what have we learned? WHAT HAVE WE LEARNED!?
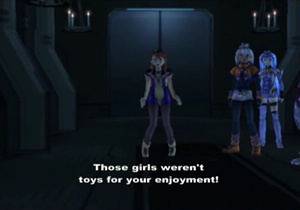
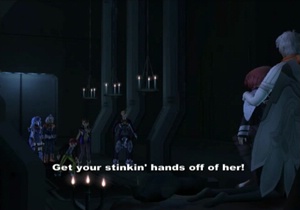
Shion’s been cool with whatever the hell’s been happening up to this point, but disparaging Realians is a line too far for the woman, so here comes Ms. Vector.
“Man, I haven’t gotten to yell at anybody like this since Virgil.”
Oh, speak of the devil.
A new challenger approaches!
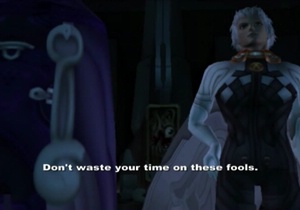
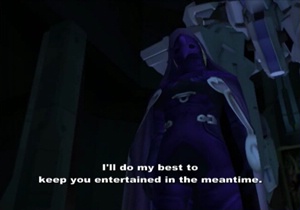
Yes, it’s the mysterious Blue Virgil. What is the secret identity of this new player on the board?
Blue Virgil volunteers to keep the party going while Albedo sneaks off with whatever secrets he pried out of MOMO’s noggin.
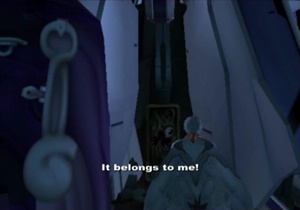
Albedo leaves while telling Blue Virgil, “Give him this message: It belongs to me!” Okay, guy, sure.
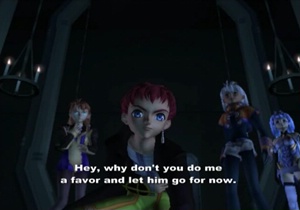
The Realian Justice Warriors attempt to stop Albedo’s escape, but, ya know, new boss to fight.
“Can we just leave, too? No? Alright, fine.”
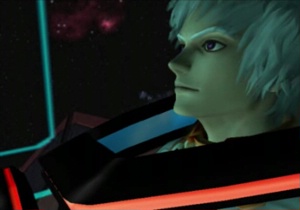
Albedo flies out to a safe distance, and considers the data he just snagged.
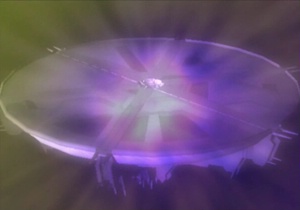
Looks like he gained the secret to… pizza? I’m not sure what I’m looking at. Bah, I’m sure we’ll figure it out soon enough.
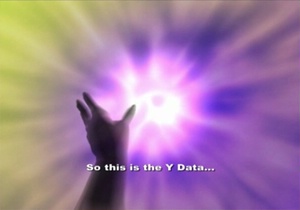
Are you trying to make a Y with your hand, Albedo? You’re not really doing it right.
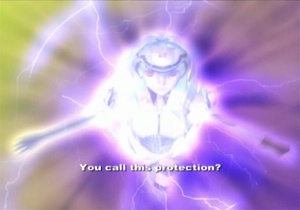
And there’s a virtual KOS-MOS protecting the thing? What?
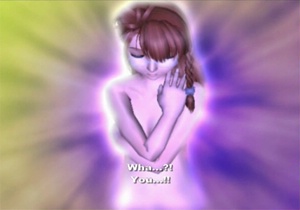
And a naked Shion? What the hell?
What!?
We’ll stop there for right now.
We’ve still got another boss to go before this dungeon is completely done, but, once again, this was probably the best gameplay experience in the game. Each tower within the Song of Nephilim contained a unique challenge (courage, power, wisdom), and, while the monsters may be difficult, healing/saving is generally a short trip away, so even a low level party wouldn’t experience the same kind of drudgery found in the previous two “hallway” dungeons. So, good show, Xenosaga Episode 1, you have one decent dungeon.
Next time on Xenosaga: If only there were another, bigger ship to dwarf the enormous ship we just introduced…
[…] may remember the Dammerung from Episode 1 as the gigantic ship that dwarfed the entire Kukai Foundation. Now that we’re inside and […]
Okay, a couple of weird things about the enemies in this dungeon. First, though it’s possible that Athra was supposed to be Asura, one little detail makes me question that. Namely, the Athra is model number 26, while the Asuras are number 27. Could still be an error, but it’s also possible the Athra was a prototype. Either way, what the hell is one of those doing on the Song of Nephilim? Just because they were both Mizrahi creations doesn’t mean they were all THAT connected (hell, the Asuras were more U-TIC than Mizrahi himself).
The other odd thing is almost definitely a mistake, though: the Tower 3 enemies. You called them Gnosis…except they’re considered Biological, they’re all called Byproducts, and even my strategy guide addresses this and says they’re experimental Realians. Except, these things show up at the end of Episode 3, with real names, and those versions ARE Gnosis. So what the hell?
I think this might eventually be noted in the XS3 section. But I also may have forgotten at that point…
Anyway! Happy to see someone commenting on the ol’ XS LP. Interesting stuff!
If the author has been ignoring the Skill system up to this point, no wonder he found some of the previous dungeons tedious. You’re supposed to be extracting skills continually throughout the game, not saving it all till the end. In particular, the Cathedral Ship dungeon gives the player the items he needs to protect against the status ailments of that area right at the start. Most of the game’s dungeons do this, actually. Using the Skill system correctly goes a long way towards mitigating the challenge (and tedium) that Xenosaga 1 can be.
[…] bothered to stick The Song of Nephilim “top” within range of Shion’s mom’s hospital, so that one flashback in XS1 continues to make sense. There is a surprising amount of attention to detail in this […]
[…] XS1’s Cathedral Ship? Terrible. Come to think of it, the only good dungeon in that game was The Song of Nephilim, and even that had a lot of same-y hallways at the start. And XS2 had that stupid dungeon that was […]