
Previously on Wild Arms 2: Tim and Lilka conquered their elemental dungeons, and we checked a few global sidequests off the list. Now it’s time to do that some more!
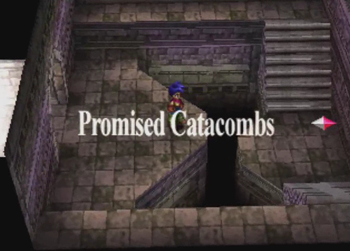
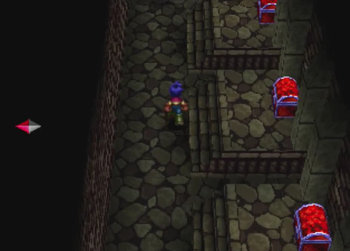
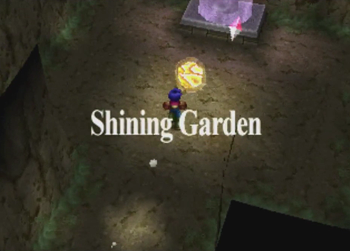
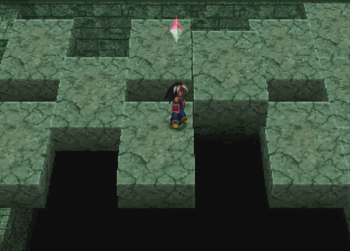
We are hitting the Promised Catacombs, an entirely optional area that can only be discovered by having vampire Marivel read a book hiding in the first town in the game. Suffice to say, a lot of people probably miss that one.
And you absolutely need to have completed Raypoint Wing… or at least dove into that dungeon far enough to claim Tim’s Mist Cloak.
Marivel, as an optional character, doesn’t get her own Raypoint dungeon, but this one seems to hold the same significance for her. Get ready to give this vampire’s tools a workout!
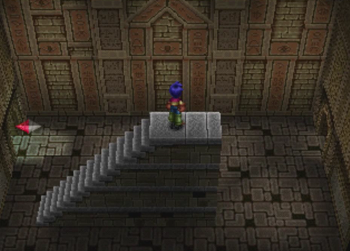
And maybe get some cardio on a whole lot of stairs.
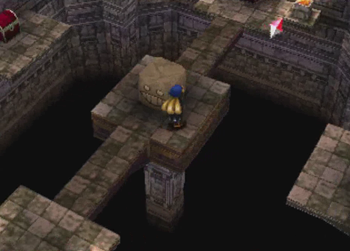
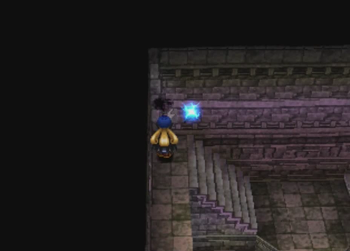
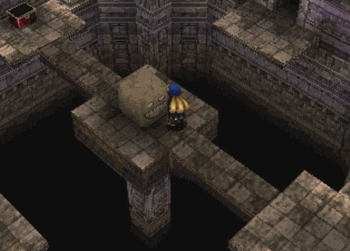
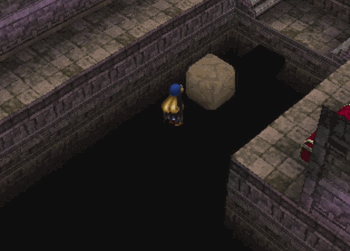
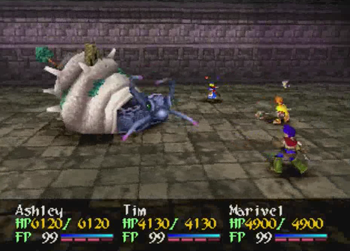
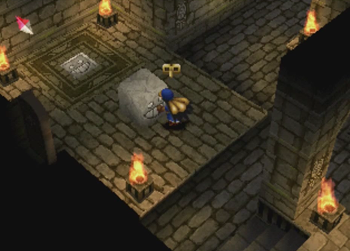
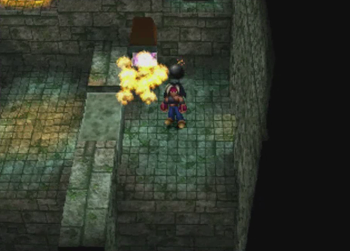
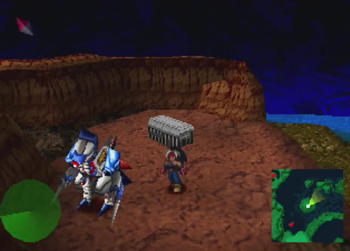
Now that is one weird-looking block.
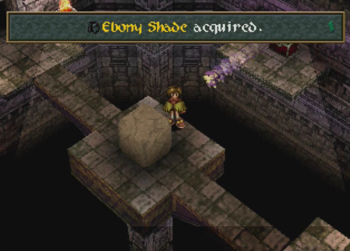
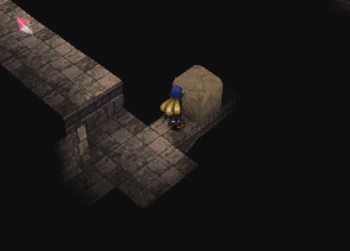
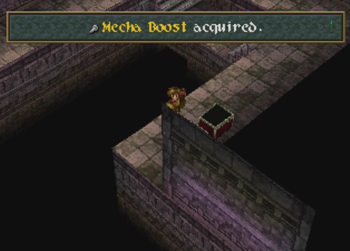
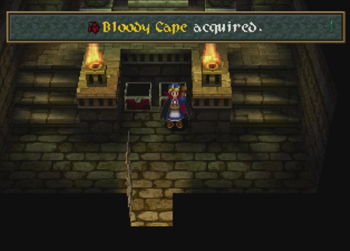
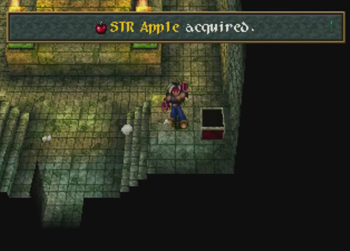
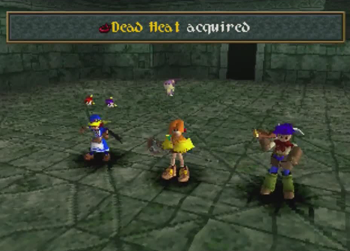
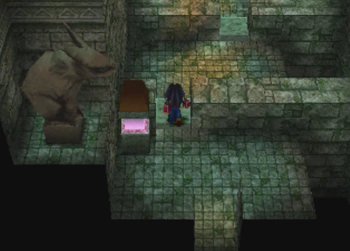
This treasure chest across a pit is supposed to only be accessible using a tool Marivel is about to obtain… but Pooka has a tendency to break puzzles. This won’t be the only time that happens this update! Anyway: new Marivel cape.
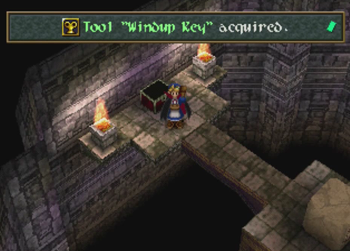
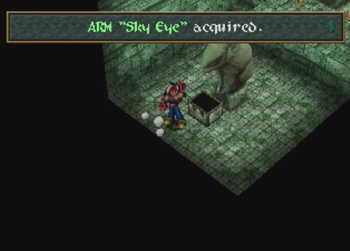
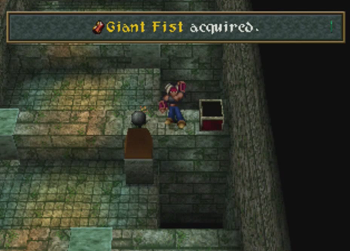
And now a new Marivel tool.
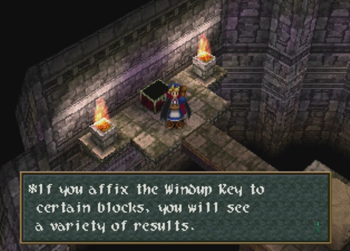
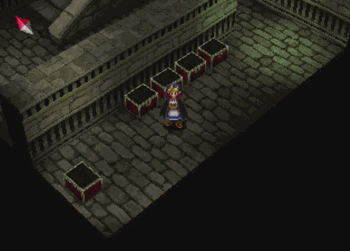
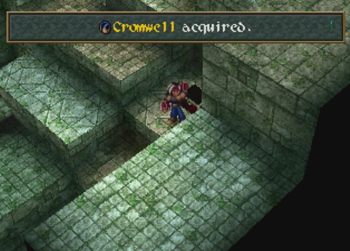
The Windup Key is a pretty typical Wild Arms optional tool. Like Marivel’s sparky tool, this item is basically an “on switch” for a few random puzzle blocks across the planet. Like the elemental dungeons, you’ll see these blocks a lot in this dungeon, and then practically never again.
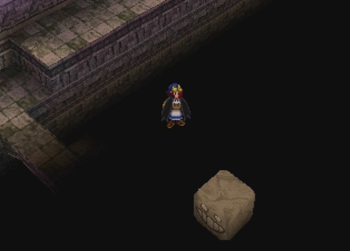
As you’ve no doubt guessed, these smiley blocks are the windup blocks. In this case, the block rotates the platform so we can proceed. Woo.
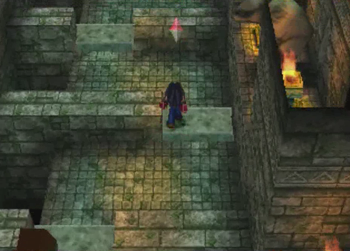
The next room features a block that appears to walk on air. Spooky!
This is a big room, and it features an invisible path over a bottomless pit. The goal here is to activate the block, watch its movements over the path, and then mimic it exactly to avoid falling into an endless void. Simple!
It’s pretty straightforward, but the camera freezes while the block is moving, and occasionally the block will get juuuuust out of view. If your camera is positioned exactly right every time, it isn’t an issue, but, short of having a psychic rapport with WA2 directors, I don’t know how you’d pull that off. Presumably, this area wasn’t tested that much before release. Or nobody cared.
Luckily, if you fall off the platform, you’re just restarted at the last place the block was activated, and not all the way back at the start of the room.
The final “jump” requires using Tim’s Mist Cloak to clear that one lost bit of pathway. Tim is so useful!
Marivel only ever has one “weapon”, the mechanical Hob & Nob. Mecha Boost items (only found in places Marivel can access) will permanently increase the attack power of Hob & Nob. This is a rather succinct way of avoiding the “a shop is selling guns, did I miss a character that could use guns” problem of optional/hidden characters and their equipment in JRPGs.
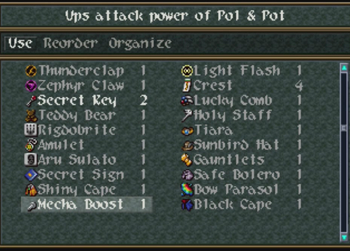
The official name of Marivel’s weapon is Hob & Nob. Pol & Pot is right out, item screen!

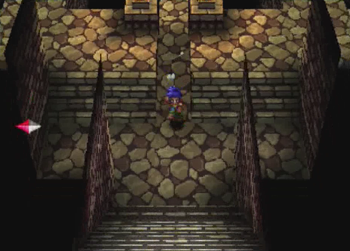
And we’re practically at the end of the place. Didn’t ever say that an optional character would get a long optional dungeon.
Cool. Cool. Can we leave now?
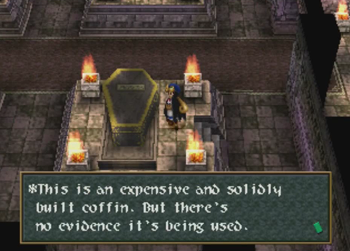
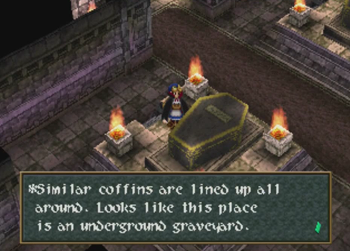
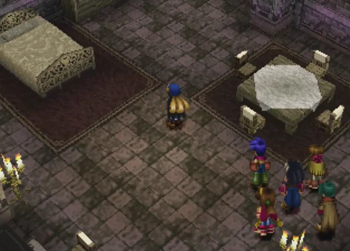
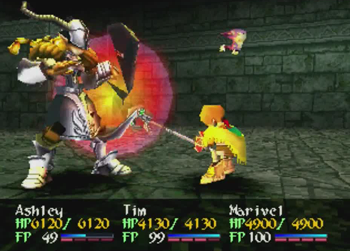
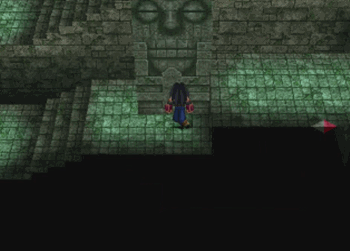
Oh, so Marivel’s secret dungeon is a… mortuary showroom?
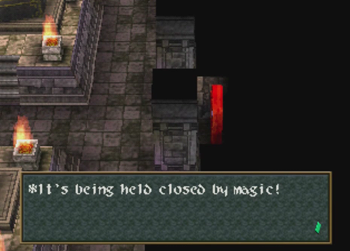
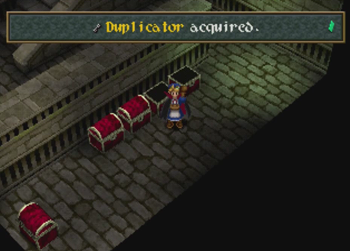
There is a magic door over here at the right, and it is basically half the reason you should ever visit this lil’ dungeon (the other half being picking up Marivel’s tool). Use a duplicator to find…
Hidden guardian!
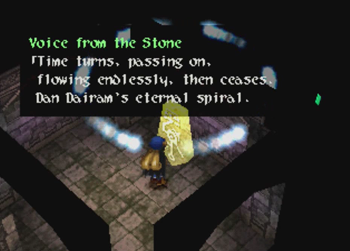
Dan Dairam is the Guardian of Time… and also an adorable puddy tat. Dan was a super-secret guardian in Wild Arms 1, and now returns as a “gold class” guardian for WA2.
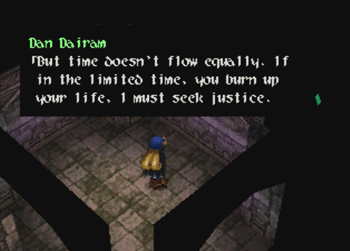
Dan Dairam is all kinds of a weirdo. First of all, there are the three “highest” guardians (we don’t have them yet), and they’re all so high and mighty that they’re gold and they only confer one skill to Tim (as opposed to the usual two). And then there’s Dan, who is in the same boat for some reason. Dan grants Tim Speed Down, which would be useful in another game where the “slow” status effect actually makes a significant difference. Here? Not so much.
But Dan’s summon: now there’s a kicker. Dan will “freeze time” for the entire battlefield, and allow Tim three full turns. This can be a literal life saver in some situations (as three free turns of healing is pretty damn useful), or an opportunity for some major damage if your opponent has an elemental weakness Tim can exploit. Additionally, technically, Tim could gobble down a Full Carrot during the time freeze, completely restore his FP, and then summon Dan again and again, effectively freezing time “forever” until the end of the battle. This will even work against all bosses! Of course, I’m pretty sure there are only like five full carrots anywhere in the game, so that’s kind of theoretical without a cheating device…
In conclusion, Dan Dairam is a land of contrasts.
Still a few more steps to go before we’re done with this dungeon.
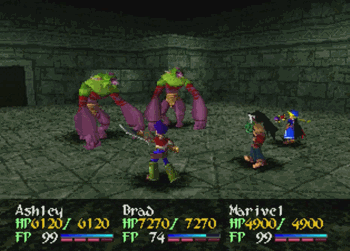
There are refugee monsters from Final Fantasy 6 intros around, but there are very few actual places to enjoy an encounter in these catacombs. That is kind of a shame, as Marivel is still a blue mage, and she could learn a few neat techs.
And now we’re at our goal. No boss for you, Marivel.
Turns out this wasn’t so much a dungeon as Marivel’s family’s summer estate.
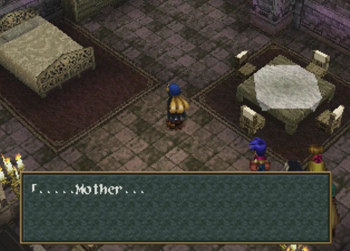
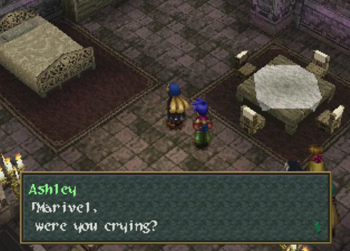
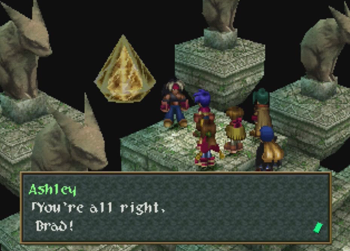
Ashley is concerned.
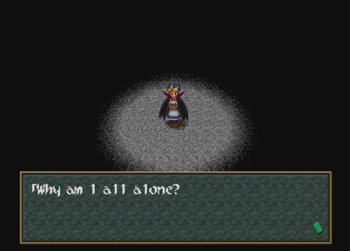
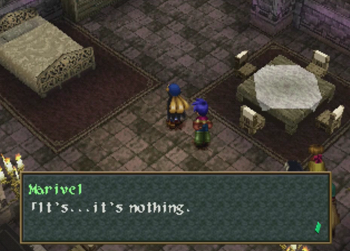
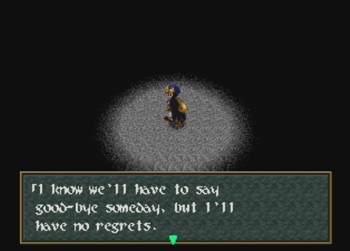
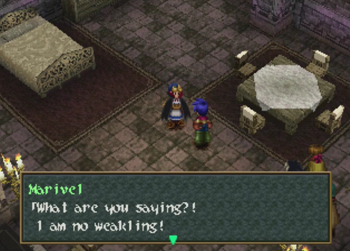
And Marivel gets a little introspective.
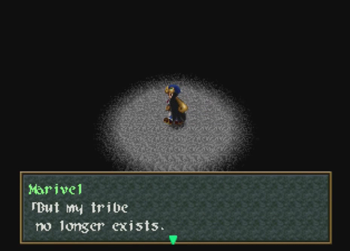
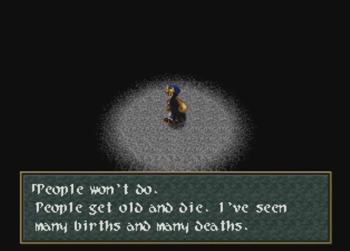
It’s hard being the last of a race of immortals.
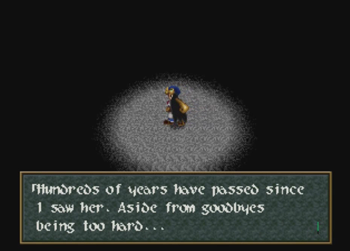
Marivel still misses the Sword Magess, which means Marivel hasn’t had a friend for a solid few centuries.
Maybe make friends with some statues?
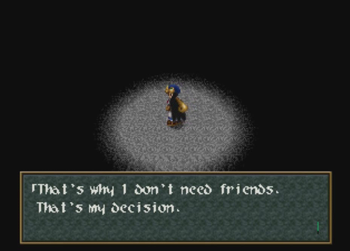
Yeah! Go live alone in a basement somewhere!… Oh, you were already doing that?
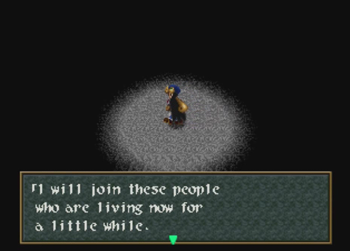
Marivel does an immediate 180, and decides to be friends with, like, all of ARMS. Unfortunately, she is still a hidden character, so we can’t really script for that…
Yay! Friendship is vampires!
It’s a shame she isn’t a Medusa, because we could really stand to get that parrot out of the palace.
Use the allergy excuse! This ancient tomb has got to be dusty!
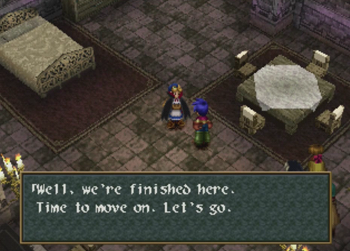
And, yeah, that’s about it.

No hidden super weapon or new special attack, we’re just done here. The “reward” for that dungeon is the Time Guardian, learning that Marivel is deeply lonely and will continue to lead a solitary existence for eternity was just icing on the cake.
Incidentally, the cutscene takes over, plays out, and then boots you back to the entrance the minute you enter that final room; but you can return to that area to read some random books on the shelves. One book is an allusion to the final dungeon, and the other is Marivel’s Diary… which is entirely blank. Boo.

But for now, we’re going to hop back in our hovercraft and hover over to a previous area.
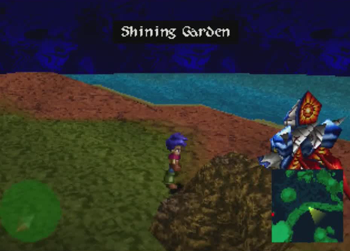
Lost Garden is where Ashley had to rescue his girlfriend from the last surviving member of Odessa.
And it contained one of those weird smiley blocks that we saw in the last dungeon. Wind it up, Marivel!
This unlocks a path to a number of treasure chests, and…
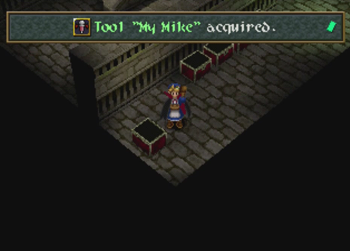
Marivel’s final tool.
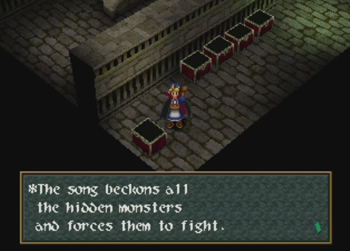
It winds up being different in every game, but this is the stock Wild Arms tool “lousy music maker”.
Marivel sings, and, if there are monsters in the area, you’re in for an immediate fight. Additionally, there are secret spots across the world where singing will unlock a hidden boss fight. The best equipment in the game is locked behind these “hidden” fights, and you better believe we’ll be taking those down in their own update. So, basically, to fight the big bad bonus bosses, you need the hidden character of the game, and you need all of her hidden tools from hidden areas. Neat line of succession, there.
While we’re gathering up items from previous areas…
Lost City of the Salt Flats had a few treasure chests behind a cage, and Tim fears cages no more.
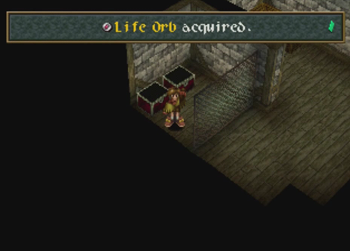
These treasure chests are amazing. One contains a scape goat, an accessory that will re-raise a character, but just once. The Life Orb, however, is the sweetest prize here. Used as an accessory, the Life Orb will refill HP after a battle. Ho-hum. But! Completely undocumented within the game itself, if Lilka uses the Life Orb as part of her Mystic skill, it completely refills the HP of the whole party. And it has unlimited uses. So, if Lilka has 25 FP, she can basically bring the party back from death an infinite number of times. Sweet! Lilka just became a whale of a lot more useful!
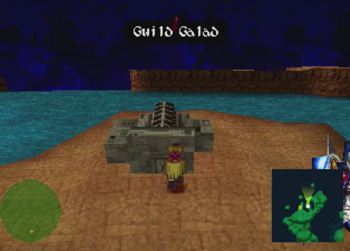
If it seems like I’m ping ponging around the world map without much actual direction: that’s because I am. There are a lot of hidden areas in Wild Arms 2, and, having just recently obtained the airship of the game, I can finally access nearly all of them. But not everything is “automatically” activated as a place that can be visited, so if I see a spot that clearly is supposed to house something, then I have to scoot around and wait until I have the eureka moment of “oh yeah, I have to stay at that one inn for some reason”. And here we are at Guild Galad.
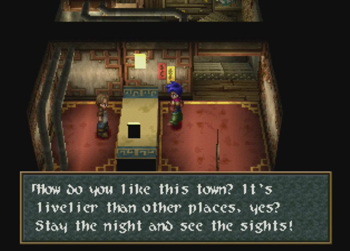
Update #21 featured a random NPC claiming that staying at this inn would reap some rewards, so let’s give it a go.
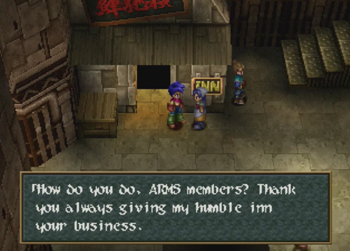
I want to say this happened after staying maybe three times.

There we go. Thanks!
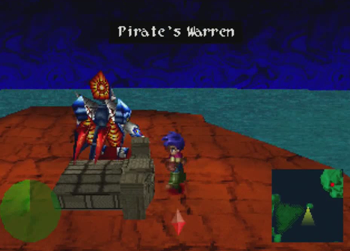
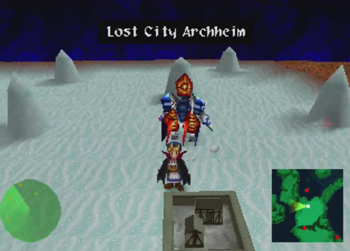
Here we are. This island is part of that “Bermuda Triangle” thing going on in the south, and it couldn’t be more obvious that something is supposed to be here.
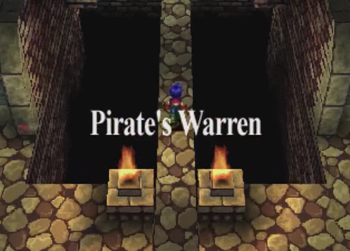
Pirate’s Warren is not so much a “dungeon” as it is “three rooms”.
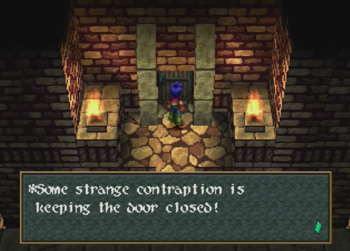
First of all, the real “prize” of this area is one of those hidden “super” bosses.
… But you can’t access it until you pick up Ashley’s final tool from the final dungeon.
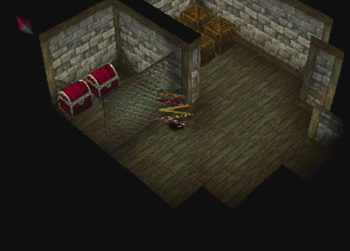
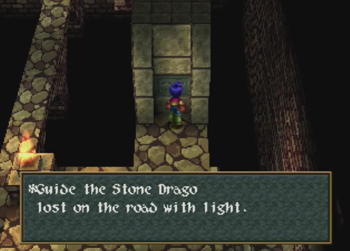
Your consolation prize in the meanwhile is six duplicator-sealed treasure chests. If you’ve got six duplicators, go nuts! If not, it’s basically a lottery. Prizes include a crest that cuts FP cast cost in half, and accessories that boost strength, defense, and encounter cancel time. There’s also an auto-regen accessory, too. You really can’t go too wrong with any item here, but nothing is particularly game-breaking, either.
And that’s it for here. We’ll be back for that boss later.
Seems to be a green dot on the radar. Let’s land here.
Oh! Shiny!
Wait? What? I’m the worst LP’er ever. Apparently this is what the Guild Galad inn-sleeping unlocks as a location. I just hit the Pirate’s Warren immediately after doing that by complete accident. Whoops! Apparently you can access this dungeon as early as when you obtain the teleporting hovercraft.
This is another optional guardian dungeon.
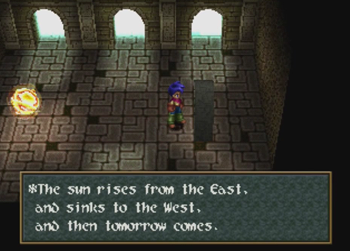
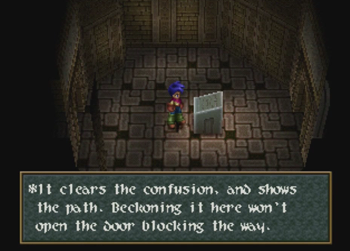
The puzzle du jour is a series of repeating rooms/doors that look exactly the same. The answer is to take the east door, west door, and then double back and take the “entrance” door for “tomorrow”.
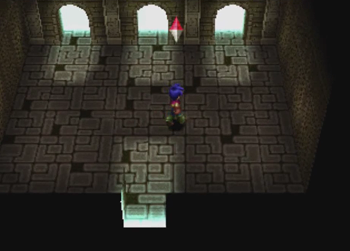
The next area advocates looking.
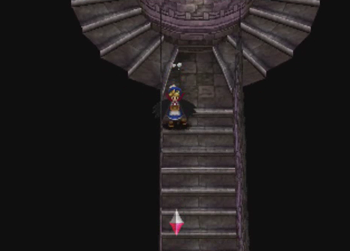
Climb to the top of the stairs, and pivot the camera around to see the answer to our next question. Need a hint?

How’s this photoshop for ya?
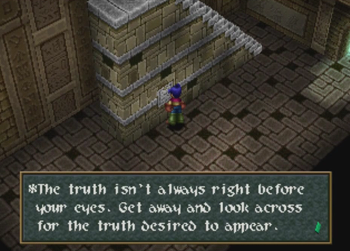
The next room has a riddle. What’s the answer?
I think you know. And, no, I have no idea how this puzzle/room works in the original Klingon.
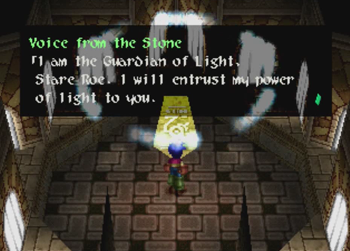
And we’re done. New guardian time.
I’m pretty sure nearly every WA2 enemy is strong to dark, but not 100% weak to light. Lame dichotomy, WA2.
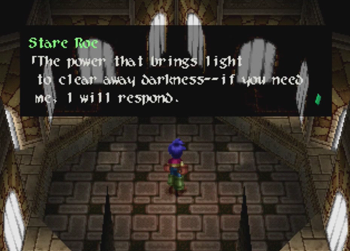
Stare Roe is a returning guardian that also happens to be a beetleborg. As expected, he confers elemental attacks that are all light-based. Additionally, he grants “shot”, which is basically the “throw” command of Wild Arms 2. There are a few items that are shot-based, and, like the Spoon/Chef’s Knife of Final Fantasy 4, some throwing items are incredibly powerful. Or you can ignore them completely. Whatever, man, I’m not your mom.
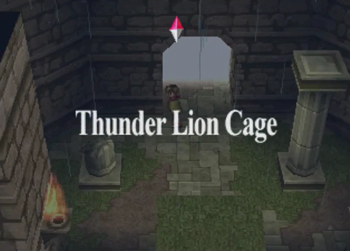
Speaking of optional guardian dungeons, going to make a quick stop back at Thunder Lion Cage.
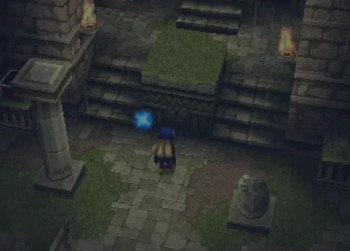
Marivel can unlock a secret room in the opening area. Considering most people find this dungeon well before Marivel ever joins, I’m pretty sure no one ever remembers this area without a FAQ.
New Marivel equipment! That cape is actually better than the one we found in the catacombs.
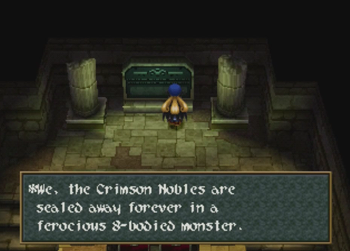
Apparently there is some backstory to the hidden bosses of Wild Arms 2. They are the power of the Crimson Nobles, all sealed in ferocious beasts that could destroy the world. Neat? Uh, I guess that gives us a reason for Marivel being the only one that can unlock these fights. Unfortunately, it doesn’t mean Marivel’s family gets revived if we slay the beasts. Sorry, Marivel, you’re alone forever.
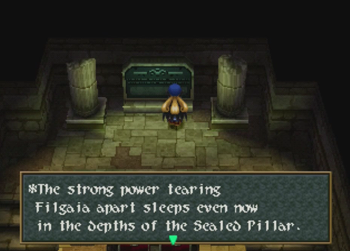
I am almost certain this should be “sealed pyramids”, because I’m not aware of any “Sealed Pillar” anywhere in the game. It is possible it’s supposed to be referring to a specific location, though. Many of the sealed pyramids are in places that could be ancient venues, so maybe a pillar degraded along the way?
I’ve futzed around enough for one update, may as well head north and get back to the real plot.

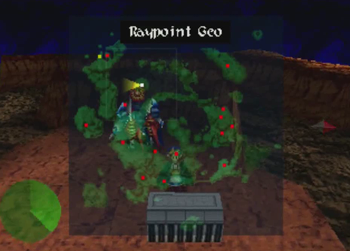
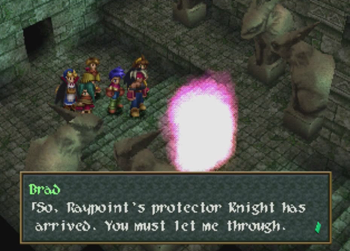
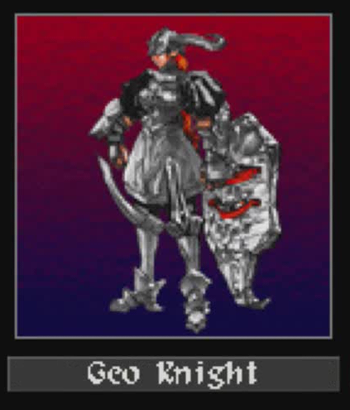
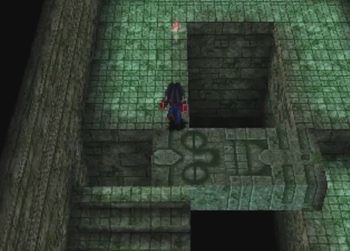
Raypoint Geo for Smash!
Welcome to Brad’s dungeon. Would you like to activate some switches with bombs?
These switch-walls will slowly raise up to block your way if the switches are not intermittently activated, so show off your Bomberman skills with some delayed bombs.

And we’ll use Pooka to sneak Brad’s newest tool out of a treasure chest.
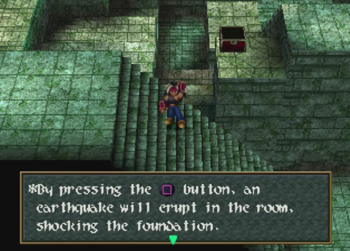
Oh yeah! This gonna be good!
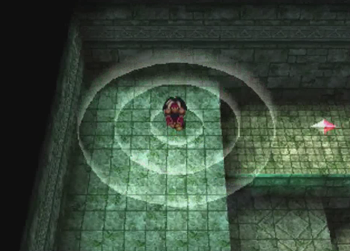
Woo! Earthquake, ultimately, is just as useless as every other non-Tim, late-game tool, and is required in this dungeon, and then mostly never again. However, it feels damn good to shake up the place, even if you never get to completely glitch out a teleporting system.
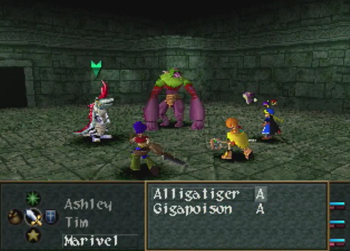
Unfortunately, the ability to cause an earthquake does not benefit Brad in battles against nature’s deadliest foe, the Alligatiger.
It does help out against moving platforms, though.
Just be careful to keep the momentum moving on these platforms with repeated earthquakes, else you’re going to wind up down below.
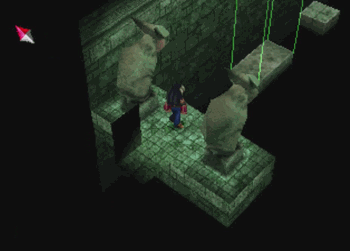
This place has some nice… lizard statues? Maybe foxes?
Oh! New Arm for Brad!
The second-to-last Arm for Brad fires a devastating beam of death straight from the heavens. And it even works indoors, for some reason!
This room requires some better bomb management. Not pictured: better bomb management.
And this room shows the gulf between “exciting falling platforms” and “JRPG walk cycles”.
This dungeon seems to contain a few more incidental treasures than previous Raypoint dungeons. It’s like Iggy’s airship in Super Mario Bros. 3.
But there are basic Brad accessories around, too.
And basic Brad bosses, too.

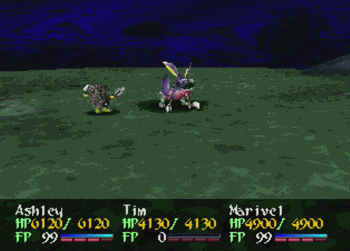
Hey, it’s our first and only boss for this update.
And you’ve seen her before!
Give or take an elemental affinity, this is still the same fight as the other Spriggans.

She even has that same annoying tendency to reflect all magic.
Her big spell is earth-based, but the animation for it kind of… forgot to add anything fun. No flame effects or earth shaking or whatever, it’s just like the party simultaneously decided to mime actually being attacked.
That is a really cool name for a bandana.
Are… are all save points in Wild Arms 2 the corpses of defeated Spriggans, but we only got to four of ‘em before they died? Something to think about.
More quake ‘n walk puzzles…
The occasional priceless piece of history to kick over…
A bomb switch area to traverse…
Fisto wuz here.
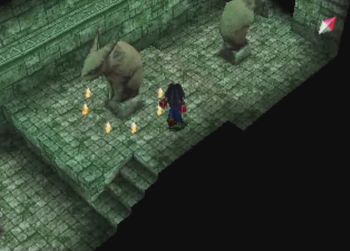
Use that statue as a walkway…

Ah, here we are: end of the dungeon. Brad’s dungeon was, appropriately enough, pretty direct. Hit everything, and then move forward.
Other Raypoints are like “Tim, child of history that does not wish to be sacrificed”, and Geo here is all, “Hey, Brad.”
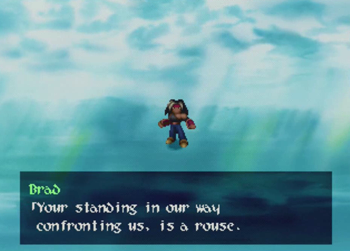
Brad… did you just read the stage directions by accident?

The Final Fantasy franchise is overrated! There! I said it!
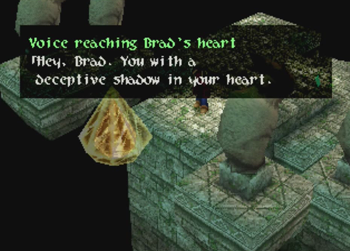
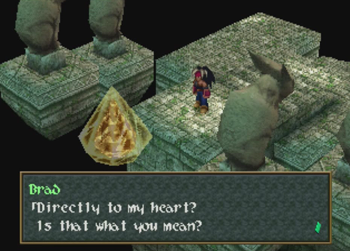
Brad, you’re really stuck on this heart thing. Keep it up, and people are going to be calling you Draxb.
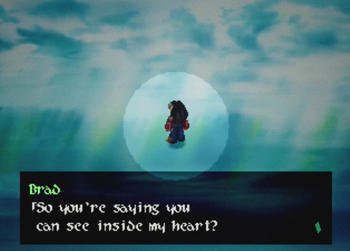
“So you’re saying I’m going to have to..”
“Keep your clothes on, please.”
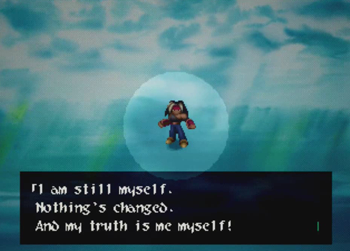
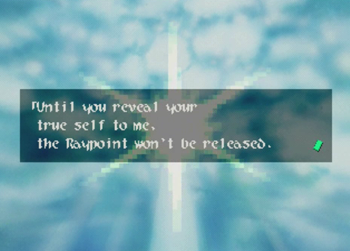
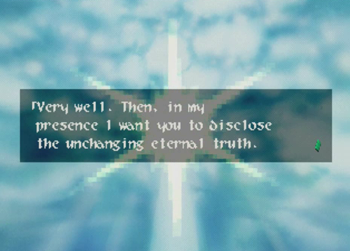
You can’t handle the truth/me!
“Thanks for the resume! Can I use you as a reference?”

They can be two things!
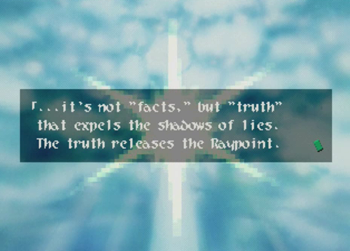
The truth will set it free.
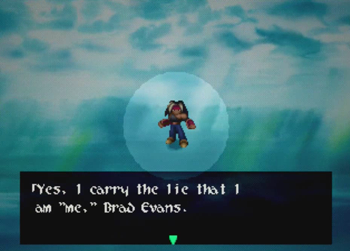
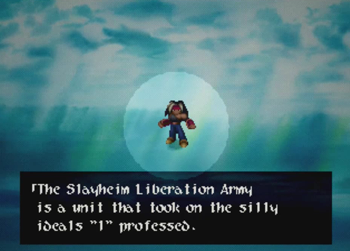
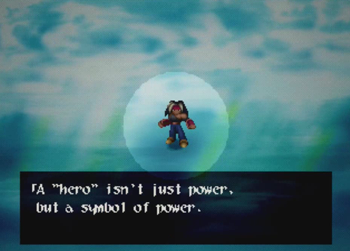
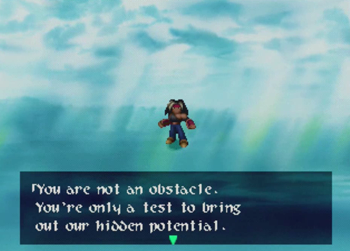
And here we get into the whole “Brad is Brad” thing.
Again, there is evidence that “Brad” is not really Brad, but only took the name when the “real” Brad was critically wounded.
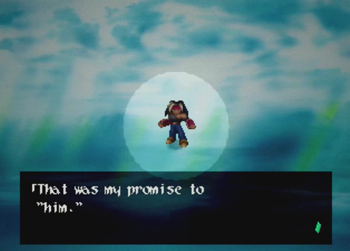
But, on the other hand, you can certainly interpret what Brad is saying here as Brad took up the mantle of “Brad the Hero” or “Brad the Leader” as a promise to his friend, and Brad does not consider himself a real “hero”, because he just adopted that persona to be a better leader/adventurer.
You could really go with either interpretation, and there’s circumstantial evidence for both choices.
Or it’s all a side effect of the wonky translation, and this is much more deliberate in the original Japanese. Who bloody knows!?

Whatever the case, the moral winds up being the same…
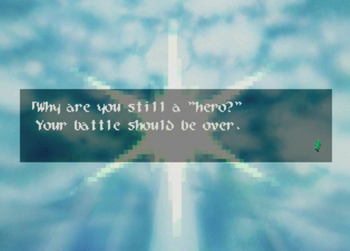
Shut-up, Omnipotent Light! I’m talking here!
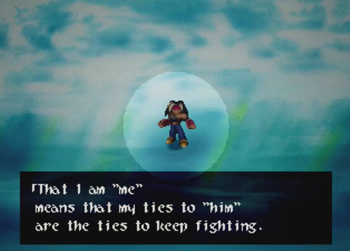
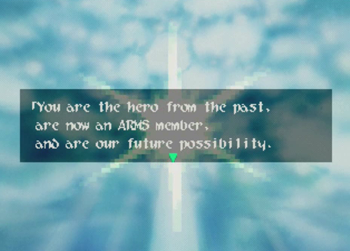
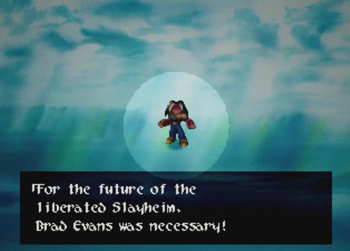
Basically, Brad might be the guys that fakes it until he makes it, but at least he’s faking it for a good reason!
At this point, it doesn’t matter if Brad is the Hero of Slayheim, because he doesn’t need to be anything more than Brad, the guy that has an earthquake tool that will help us get through this dungeon.

And, in the end, Brad is part of a unit, anyway, so he doesn’t even have to be “Brad” anymore.
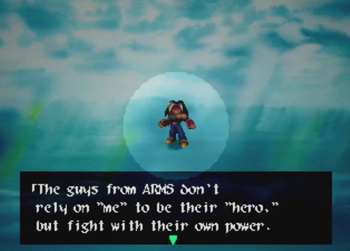
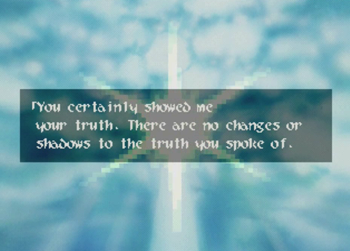
Say it. Say your name.

Or what you’re not. Whatever.

“I’m not a hero, but I’m going to do heroic things! Yay!”

That’s the stuff.
Also: Brad provides a bonus, misspelled truth.
“Look, glowy thing. I’ve played a JRPG before. I know how this works.”
“Whoa. You got me. Okay, off you go. Don’t tell the others! The other glowy things and I want it to be a surprise!”
This isn’t in response to anything, Ashley just thinks Brad is a-okay.
“Wow, Kanon, I hope your Raypoint challenge involves besting Captain Obvious.”
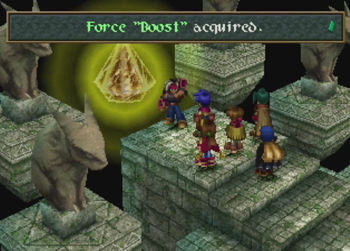
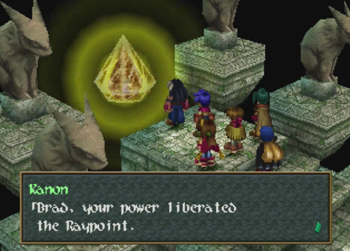
BOOST!
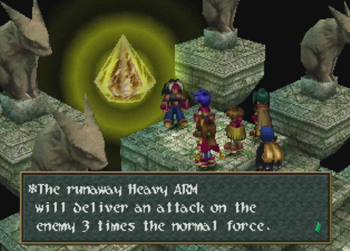
Brad’s final force ability, Boost, is basically his level 1 force ability… uh… boosted. It will utilize one Arm, grant it 100% accuracy, and then hit with three times the normal attack power. A fine all-out attack, but rarely more useful than conserving your FP for multiple, little attacks. It would also probably be a lot more useful in a game where you’re constantly updated on the opponent’s HP.
And I guess that’s it for today. We’ve still got one more Raypoint to go, and it’s going to get a little… moist.
Next time on Wild Arms 2: Water Temple Switches.
[…] Tiger’s Den Thunder Lion Cage Abandoned Icebox Meteorite Crater Dark Reason Shining Garden Good Luck Zone Werewolf’s Den Crimson Castle Promised Catacombs Pirate’s […]
[…] the worst song, and it awakened demons whenever played. In Wild Arms 2, secret playable character Marivel earned the Microphone, and it allowed her to sing a Kirby-esque ditty that roused […]