Previously on Wild Arms 2: Three out of four Diablo Pillars have fallen, but we’ve still got one more to go.
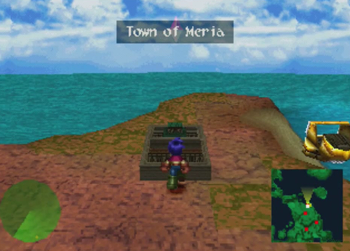
All Amy can tell us is that we’re looking for an island near Meria, so maybe someone in Meria will give us a hint.

So much for plot relevant characters helping us out.

The library worked out in Guild Galad, so let’s give it a shot.
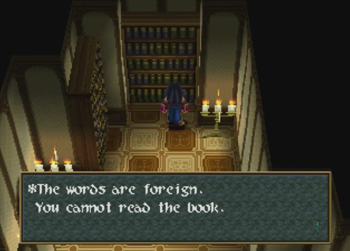
Nope! Even that book we couldn’t read earlier is still a mystery.
This entire town is a bust. So much for following subtle JRPG clues.
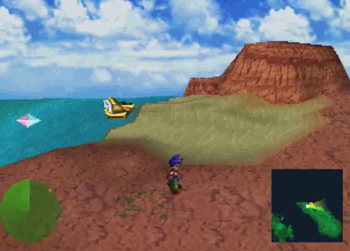
Maybe we should just set off and find that island ourselves.
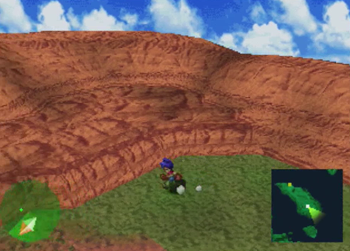
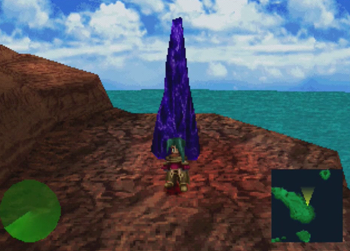
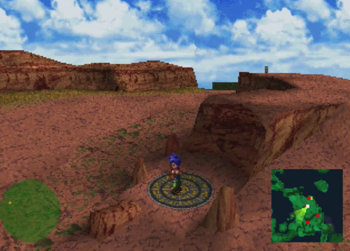
This island appears to be our goal, but the mountains make it impossible to reach the all important green dot.

Maybe if we talk to Amy directly aboard Valeria Chateau? Nope, still unhelpful.
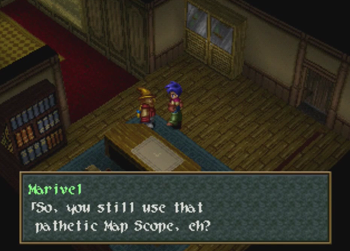
Marivel, you got anything for us?
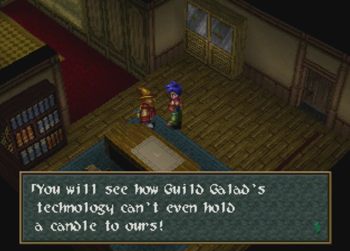
This… sounds helpful. I think?

Wow! We got an upgrade for the map! … That is still useless.
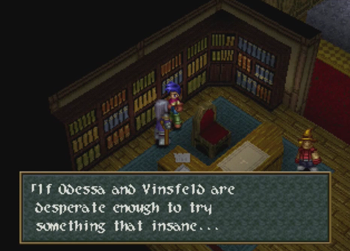
Irving? Anybody?
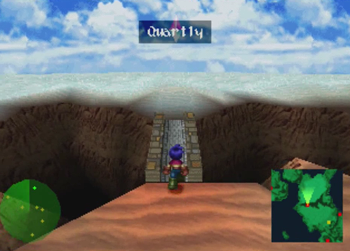
Okay, turns out the answer is to hit Quartly again. I’m not certain who or what actually indicates you’re supposed to return to this old bridge town, but the trail warms up around here.
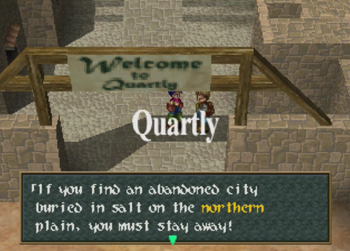
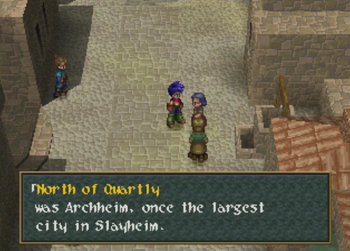
Everybody in town is talking about an abandoned city.
I mean, it’s something to do.
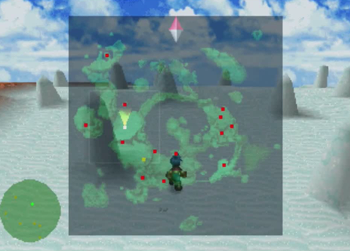
Here’s our brand new map overlay, compliments of Marivel.

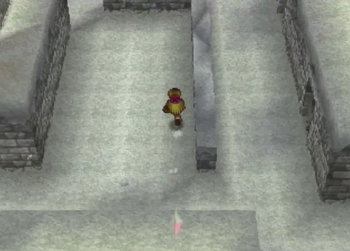
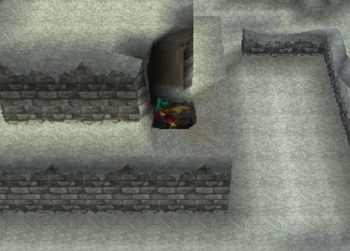
And here’s the Lost City Archheim, right in the middle of the salt flats.
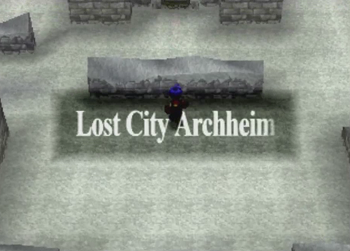
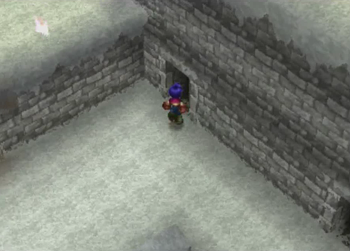
Well now, this looks like a fun place.
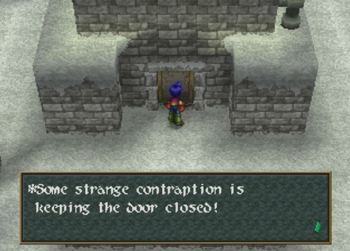
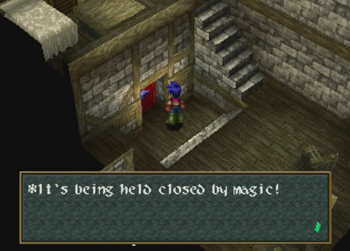
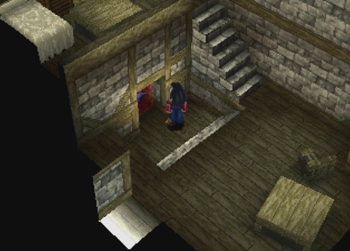
The main building is locked, but there are a lot of open doors around.
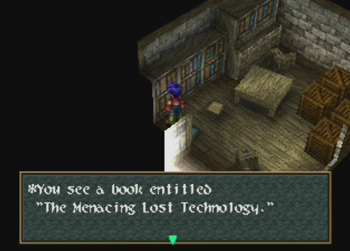
You see a book entitled “This Will Be Ironic If This Is One Of The Last Books Left In A Lost City Destroyed By Lost Technology”.
But everything changed when the Fire Nation attacked.
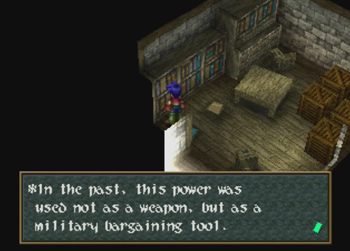
Okay, that room was a bust. Moving on…
This is one of the rare Duplicator Doors scattered across Filgaia. Duplicator Chests require consumable Duplicators to open, and Duplicator Doors work in exactly the same way. In general, Dup Doors are a more efficient use of Duplicators, as there are usually more treasures to be found behind doors than in chests (and at least one Guardian way the heck later). This whole area seems important, so we’ll be back shortly.
Like a good ruined town, there are random encounters around. Unfortunately (or fortunately, I suppose), you’re going in and out of buildings so often, the RNG barely has time to register battle time.
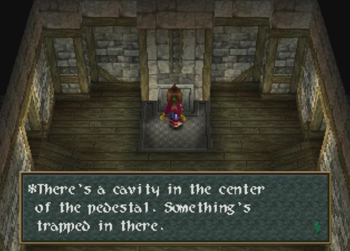
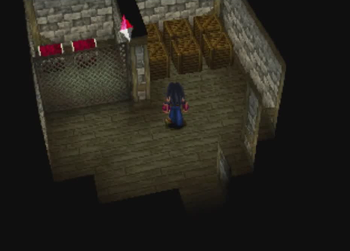
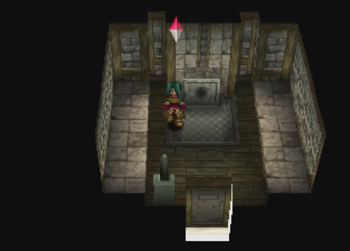
The large building in the rear of town has a central room with a weird pedestal, and two rooms on either side.
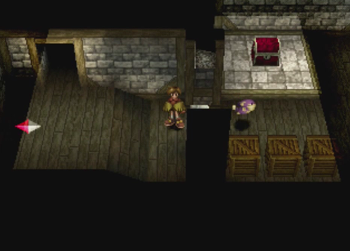
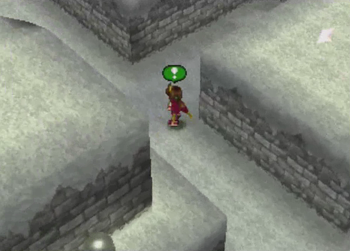
One room hides a treasure chest that can only be retrieved by Pooka.
Oh, good. A purple ball. Just what I always wanted.
And the other room contains a save point. Remember that you can’t save on the overworld of WA2 (that will be important later).

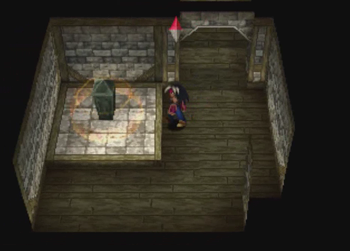
As you likely guessed, using the conductor on the center pedestal activates an elevator. Going down!
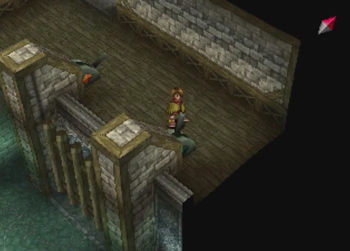
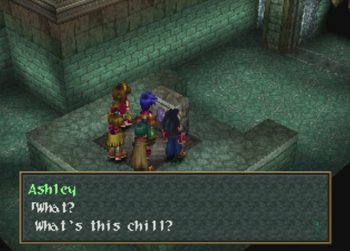
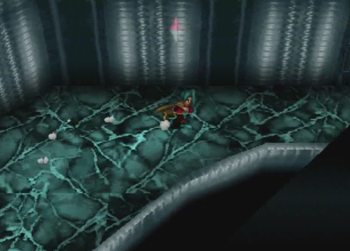
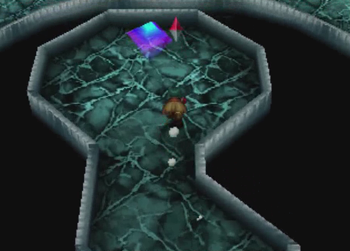
Looks like we have an underground waterway.
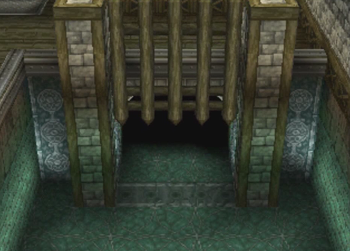
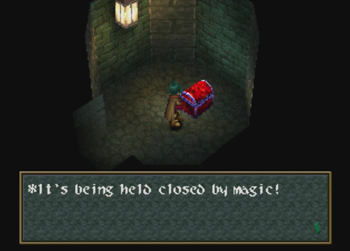
We can open the gate with these switches, but…

We can’t actually find a way down to the bottom to enter that gate.
Guess we have to continue searching around topside.

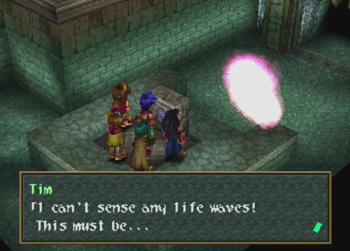
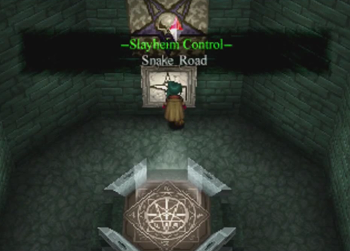
“Devil’s Road? Serpent Road?”
“I don’t think anyone has used Snake Road yet.”
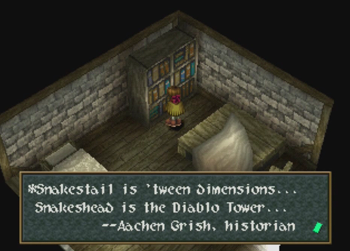
Oh! Oh! We’re on the right track!
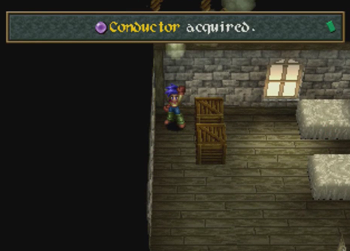
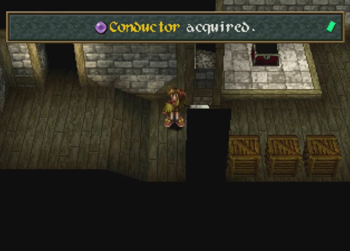
And the next room over hides another conductor. Time to look for another pedestal…
Here’s a shot of the local Koffings and Lotads.
Now we’re back here again. Let’s burn a Duplicator on this Duplicator Door.
Dammit! There’s a new hat for Kanon in one of the crates, but we can’t reach the treasures behind that fence. That’s the second time a fence has blocked us from collecting loot!

So, in an act of utter irritation, Brad decides to detonate the top floor of this house.
Now we can play on the roof(s).
And fall into otherwise inaccessible buildings.
Time to use that conductor.
Now we’re down in the waterway, and we can advance through the opened gate, but…
Come to think of it, this group is about as far from resembling the gang from Scooby-Doo as it gets. Though Velma would be pretty awesome with a grappling hook arm…
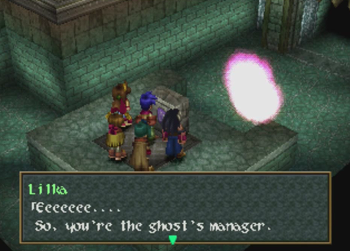
“Welcome to Booooobies, the haunted strip club. Do you have a problem with the rest of my staaaaaaff?”

Ja, is soul.
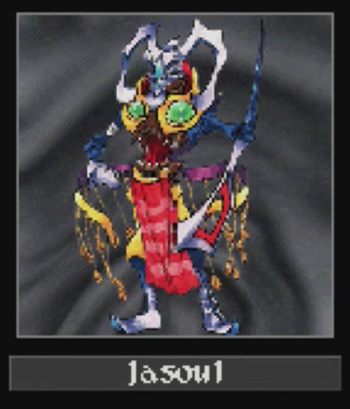
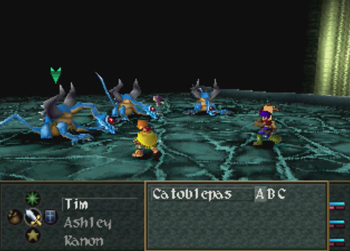
Huh. This dude looks pretty classy for a ghost haunting a sewer.
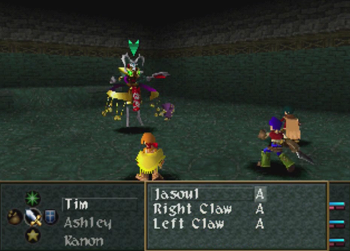
Jasoul isn’t much of a threat (and, even if it were, you could easily leave this whole area and restore health/level up).
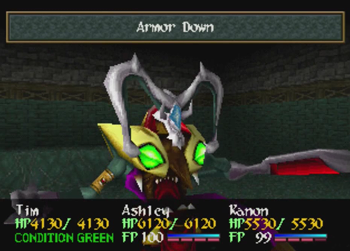
Jasoul isn’t very powerful on its own, but it does employ a few abilities to negatively impact our stats.
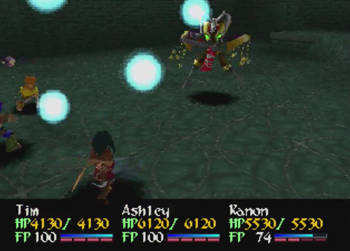
Its strongest attack seems to be an HP drain ability that does really variable damage. Sometimes it barely makes an impact, sometimes it will suck a character entirely dry. And this does confirm that the undead can heal just the same as any other monster in Wild Arms 2.
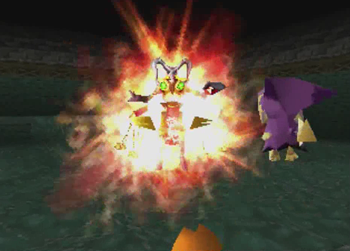
Explosions come to ghosts just as easily as the living.
And now we can move on. I’m not certain if this means we just re-killed the lost souls of an entire war torn city…
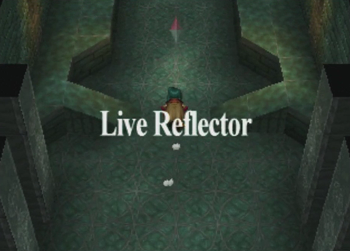
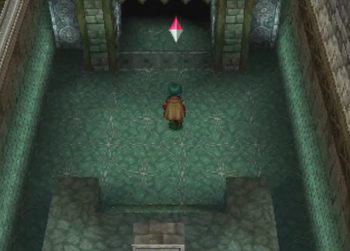
Hey! A Live Reflector! We haven’t used one of those in ages.
And here’s a Duplicator Chest!
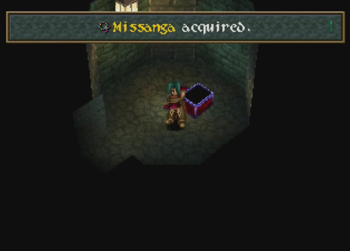
The Missanga is an accessory that will up a character’s luck by one level. Since Kanon learns new abilities based on her luck stat, I’d highly recommend tossing that on her immediately.
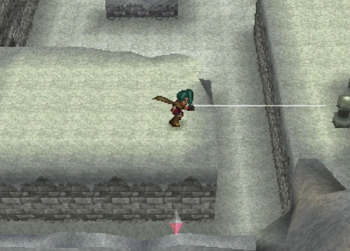
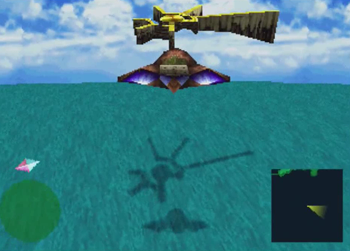
The Live Reflector only has one destination.

Shoot across the planet…
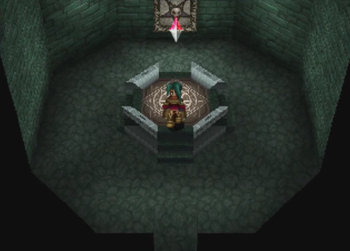
And here we are at Snake Road.
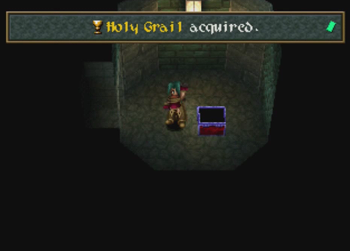
There’s a Duplicator Chest on this side of the world, too. The Holy Grail is just some lousy cup of a carpenter, and only protects against instant death attacks.
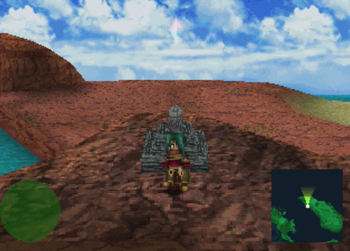
And it looks like that Live Reflector deposited us on that island with the Diablo Pillar. Hooray!
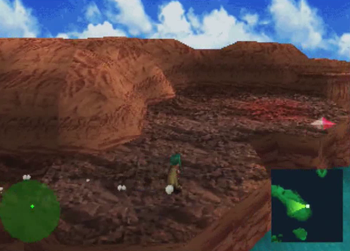
One long walk across the island…
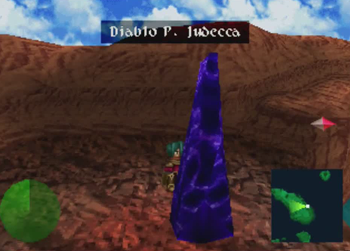
And here we are! Final Diablo Pillar!

You might think, after all the effort it took to get to this Diablo Pillar, and only this Diablo Pillar, that it might be less intensive than the other three. You’d be wrong!
Some of the monsters here are prone to using instant death attacks, so you might want to stick that Holy Grail on your healer.
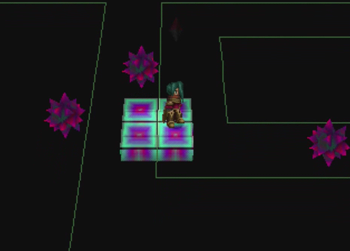
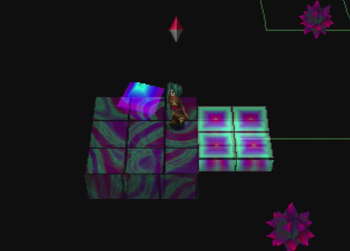
Your puzzles for today will mostly consist of dodging while riding a moving platform. As long as you stay toward the middle of the platform, the worst you could do is lose a little HP.
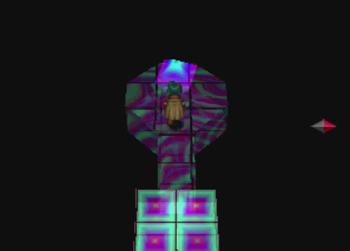
The first platform area is pretty quick.
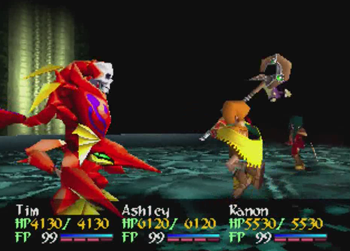
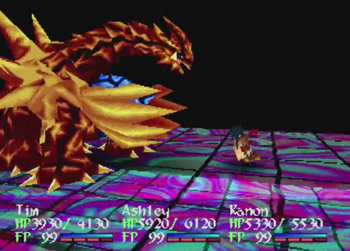
Time for a miniboss!
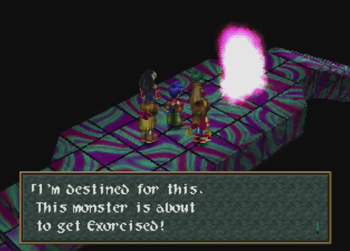
Kanon has been with ARMS for like two days, and she’s already exceeded her monster murdering quota for the year.
Monster, you’re screwed.

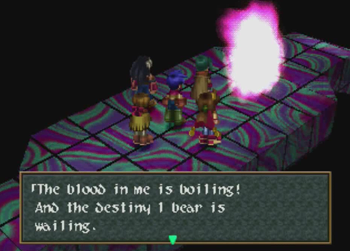
And you might be a Godzilla, too.

Or maybe a Pokémon?
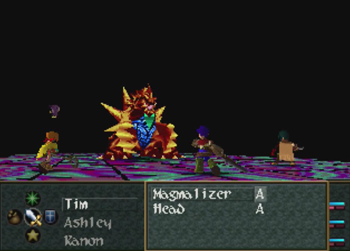
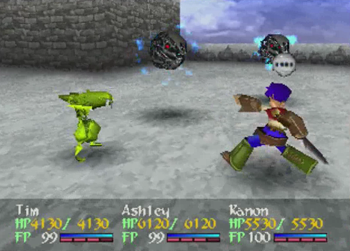
Magmalizer is kind of a trap of a monster. It’s pretty easy, and, given the description, you’re going to want to cast ice magic on it.
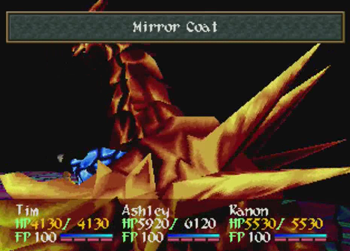
But! It uses Mirror Coat, the “reflect” spell of Wild Arms 2, so any spells used will bounce right back at you. This includes both Lilka and Tim’s entire oeuvre. A single Lilka Hi-Freeze spell might not kill a boss immediately, but, if reflected, it could instantly murder a party member (like Lilka!).
So just whack it into submission.
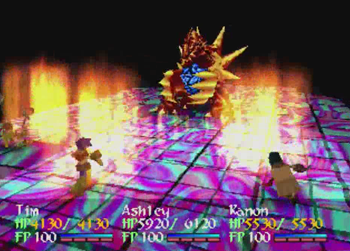
And maybe try to remember your asbestos undies.
Kanon finally learned a new move! Hooray! New abilities can “spark” at any time in a battle, and Arc Kick now allows Kanon to use her second level FP ability.
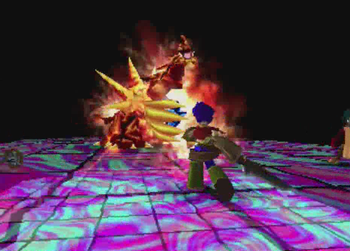
Did I use Kanon’s new Arc Kick to detonate this creature? Maybe…
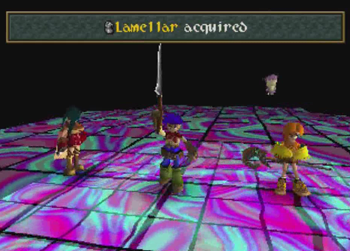
At least Kanon gets some nice gear for her troubles. Or… lame gear?
Dashing on.
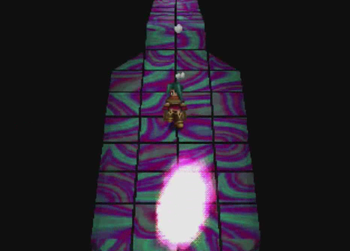
The next puzzle room is lousy with spikes and a platform that loops all over the place.
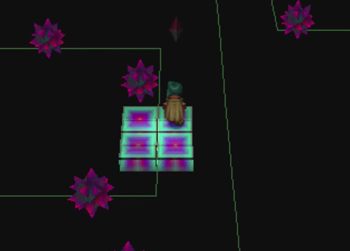
Absolutely do not fall off, as that would be annoying.
Finally!
Hey! Get back to Final Fantasy 5!
Last puzzle room. No more moving platforms, but same basic concept: avoid spikes on a narrow platform.
And we’re about done here.
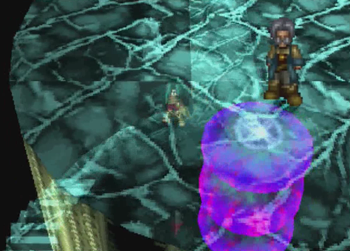
Time to see a nerd about a punch to the face.
Come to think of it, it is absolutely in character for Judecca to hide in the Diablo Pillar that is the downright most difficult to reach.
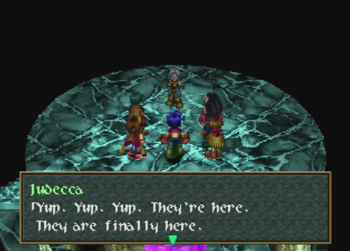
Mono to Five-o.
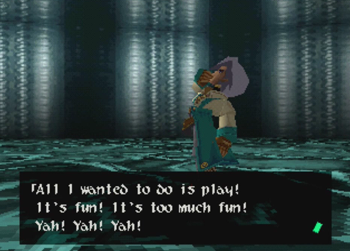
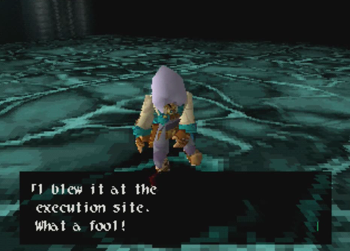
Judecca is completely insane.
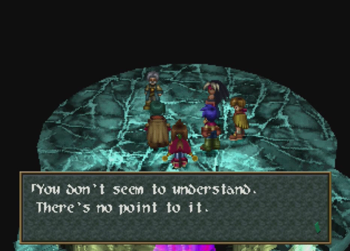
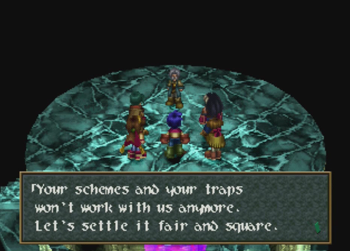
Don’t try to rationalize your insane troll logic!
Judecca, of all the villains in Odessa, we dislike you the most.
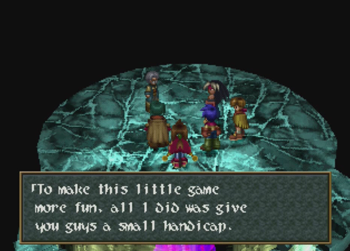
That’s exactly why!
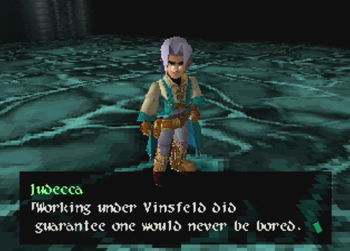
Judecca’s origin story: he’s a sadist. The end.
Thank you, Kendrick Lamar.
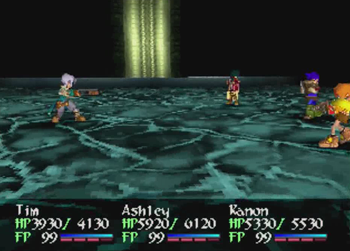
So, fun fact, every other time we’ve fought Judecca, it’s been one-on-one. This is the first we’re actually battling the dude as a party.
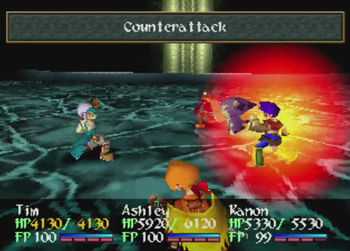
But, aside from counterattacking a bunch…
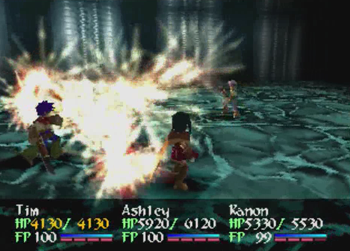
And having maybe one magic gun that shoots everybody, there isn’t much to this fight.

Honestly, all of the final Odessa fights are a letdown. Every single one of these dorks claimed they were “holding back” in earlier battles, but, when literally fighting for their lives, they’re comparatively weaker. Lame.
Judecca blames his loss on his original failing back when Ashley awakened as Knight Blazer. Don’t tell him that was technically Caina’s fault!

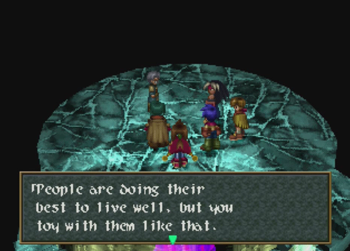
Judecca is going to stick to his philosophy right to the end.
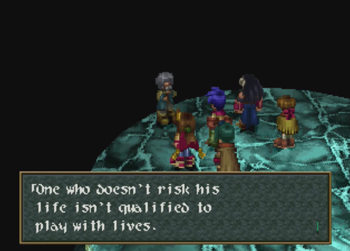
“Yeah, don’t treat this game like a game!”
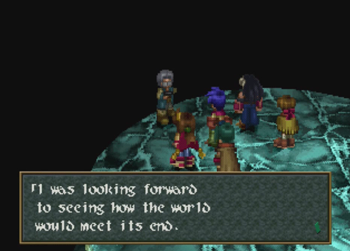
Jude was always in it for the carnage. Don’t think we’re going to get a friendly denouement out of this scenario.
Aaaaand outright suicide. The children of the party literally look away.

“Or he was just a dick.”
“That too.”
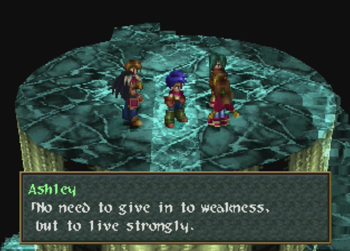
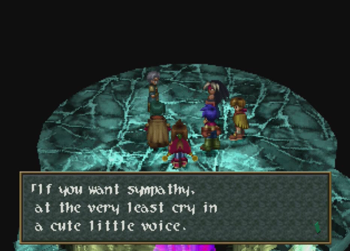
“It’s ‘human’ to not hesitate taking another’s life when you’re protecting your own.”
“Then ‘humans’ are weak and fickle.”
“No need to give in to weakness, but to live strongly. I think that’s the ideal for ‘humans’ to strive for.”
We’re the good guys because we don’t kill randomly. Got it. Let’s go slaughter some monsters for EXP on the way home.
And we’re done with the pillars. I suppose we should talk about Judecca a little. Judecca was… a bad guy. There’s no secret backstory, no traumatic childhood, not even a lost love. He’s just a bad guy that likes to hurt people, and that’s it. In a way, that’s kind of refreshing, as it saves us from having to sympathize with another terrorist that is constantly trying to murder us, but it does give me very little to review in a paragraph of epitaph. I feel like I should pad this thing out with some nonsense words. I am the very model of the modern major general… Oh! I can talk about the Diablo Pillars!
Up to this point, Wild Arms 2 has been pretty straightforward with its dungeon -> plot -> repeat architecture. We also, generally, were constantly making forward progress across the world, as our next mission always seemed to lead to some new chunk of geography (or an excuse to use a new piece of technology). Now, we’ve explored the whole of Filgaia, and WA2 presents a new challenge: revisit some old areas, talk to some old friends, and find four separate “hidden” locations. And that’s pretty neat! It’s a fine excuse to advance the plot and remind the player of the world they’ve already explored. And we get to burn off the Odessa Cocytus Generals in focused, dramatic ways. It beats a boss gauntlet in the final dungeon!
Unfortunately, WA2’s eyes may have been bigger than its stomach. Finding the four Diablo Pillars is interesting, but their contents are not. Yes, it’s kind of remarkable that all of the pillars follow a familiar pattern, but it’s a boring pattern, and it feels like padding before the inevitable “real” dungeon at the end of all of this “fetching”. The ghost town was more interesting than every one of these stupid pillars! And, despite giving each general their own dungeon, their final boss fights are unanimously dull, and they all made much more impactful “first” battles than their last (give or take always boring Judecca). Kanon had a memorable “final” fight before she joined the team. These dorks? Not so much.
Just spitballing here, but maybe let the generals combine or otherwise work with their matching sub bosses? I’d be down for Caina x Slime Monster. Ptolomea riding a narwhal would also be acceptable.
Regardless, the Diablo Pillars were a generally good idea, but the execution feels like padding.
We completed one dungeon to find out about the Diablo Pillars, then completed four dungeons to disable those, and now we can finally enter the last dungeon! Yay!
ARMS Mission #17:
Deactivate the Diablo Pillars
Status: Success!
Notes: Seems like there was a lot of bloodshed for effectively flipping four switches.
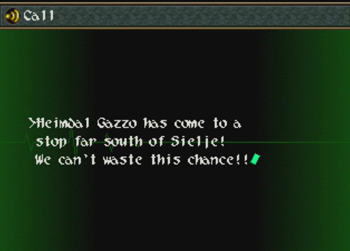
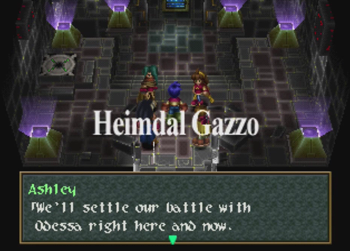
To the Heimdal Gazzo! After a quick pit stop!
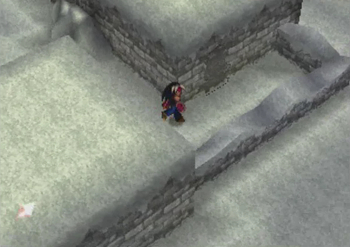
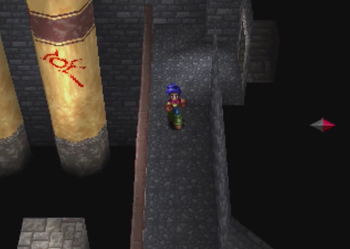
I forgot something back at the abandoned town.
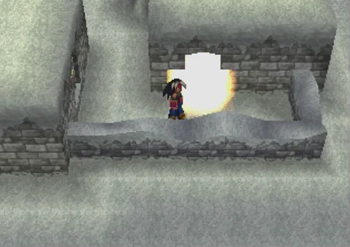
You can see how that door would be easy to miss, right?
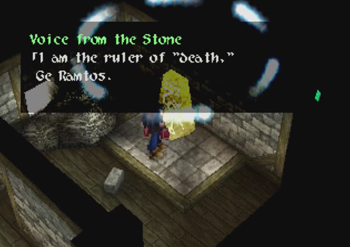
Ge Ramtos is our latest guardian.

This Death Guardian was an absolute pain in the butt to obtain during Wild Arms 1.
Ge Ramtos’s summon is a chance for instant death… that never works. She also confers an instant death spell to Tim (that is equally useless). But! If you level up her Tim link, he’ll eventually learn a spell that protects the entire party from instant death spells. Now that is useful! She also grants the skill “Hide in Shadows”, which is Edbard’s hide ability from Final Fantasy 4.
Okay, now it’s time to board our favorite flying mansion and hit that Heimdal Gazzo.
Hey, that looks familiar…
I thought that was Odessa’s logo, but it looks like the logos from the Alchemic Plant were actually Heimdal Gazzo icons. Or it could be both? I don’t know.
“Odessa” is basically one guy at this point.
Yeah! The ARMS-keteers! Let’s kick this would-be tyrant’s ass!
Next time.
Next time on Wild Arms 2: One of our ARMS members is not going to return. Will it be Pooka? Yes, probably. I bet it’s Pooka.
[…] Lost City of the Salt Flats had a few treasure chests behind a cage, and Tim fears cages no more. […]
[…] that book in the Meria library that we haven’t been able to read since the very beginning of the game? Well guess […]
[…] Judecca’s Diablo Pillar from a while back? We were told it was on that island, we could see it on the radar, but we couldn’t actually reach […]