Previously on Xenosaga: Shion solved every problem in the universe she could find. Now let’s get to the important stuff.
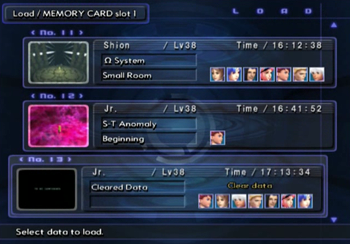
After completing the game (next update, I swear), load your Cleared Data, and…
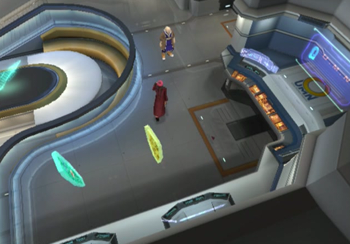
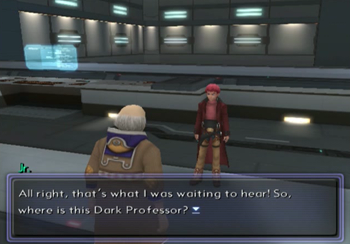
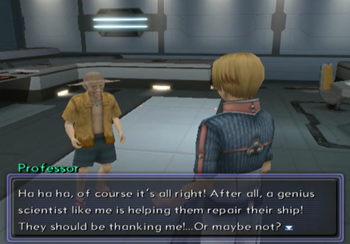
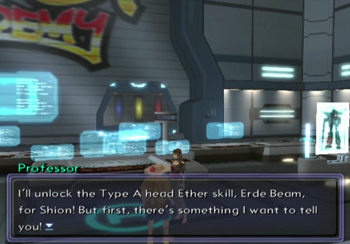
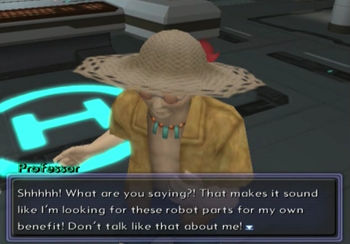
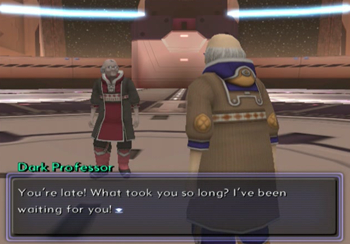
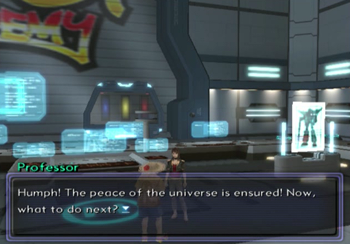
You’ll find yourself back aboard the Elsa with Professor nearby. Well, let’s see what the old coot has to say.

Where else would we be?
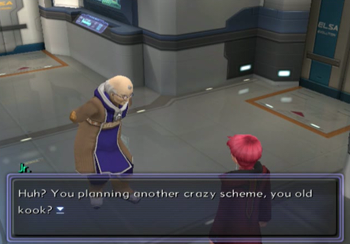
I guess “kook” works, too.
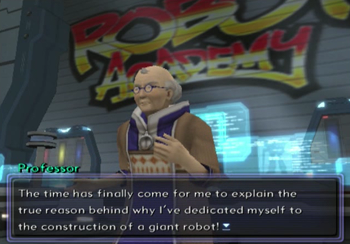
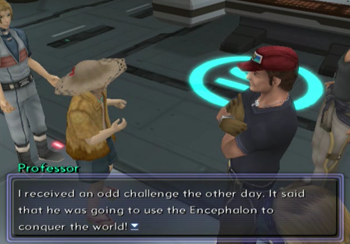
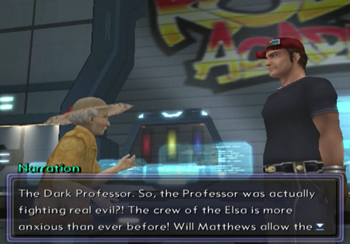
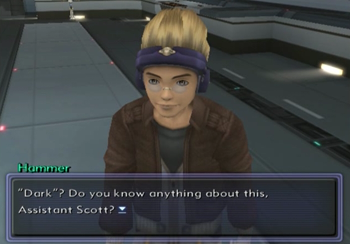
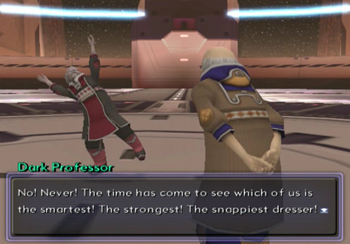
Wait, this wasn’t all about love and peace?

Gasp!
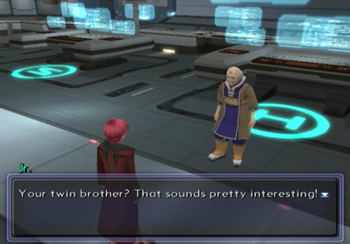
Junior is into this whole “evil twin” thing for some reason.

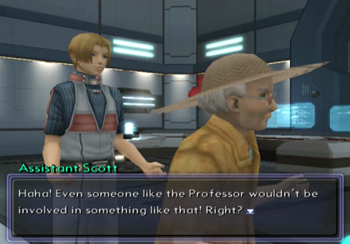
Nothing is ever straightforward with this guy.

We’ve got to save the universe! Again!

… Should have quit while you were ahead.
SOM-SOK?
Double gasp!
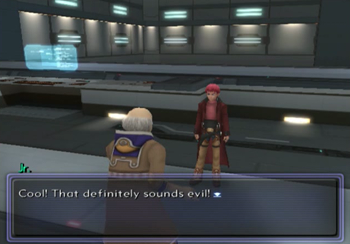
Junior speaks for us all!

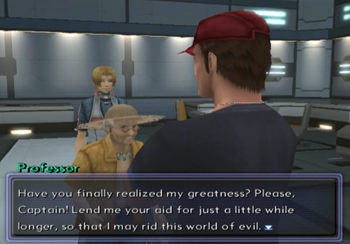
Professor has his priorities straight.
I bet there’s a dungeon involved!

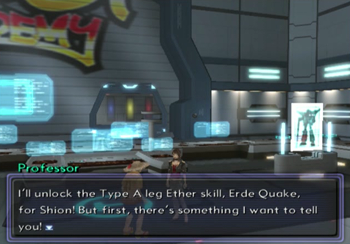
Ah, yes, remember Other Professor from forever ago? We have to talk to him about Dark Professor. … Who named these guys?
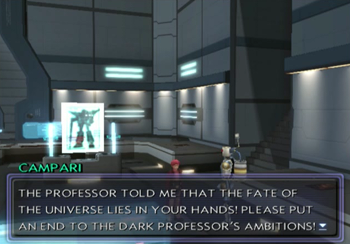
For the universe!
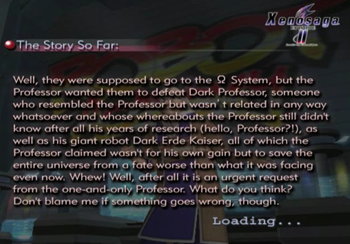
Note that this will be the “recap page” every time you boot up Xenosaga Episode 2 for the rest of forever. I want to say that the narrator is getting tired and vaguely defensive.

So let’s check on Other Professor. Hey, who is Haksheen?
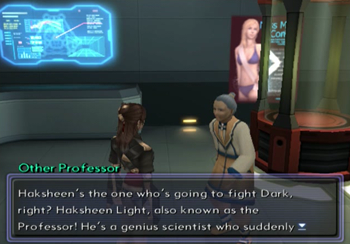
Professor has a real name? And it’s Haksheen Light? …. We’re working for a Dr. Light that builds robots to combat an evil scientist? Sweet.
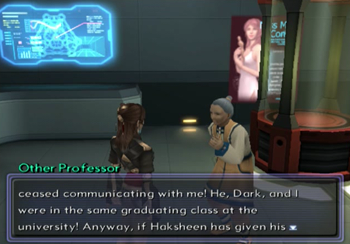
Man, Other Professor has been lugging around that lame nickname since college? Poor Other Professor.
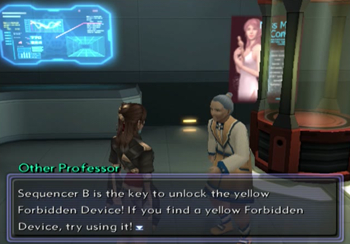
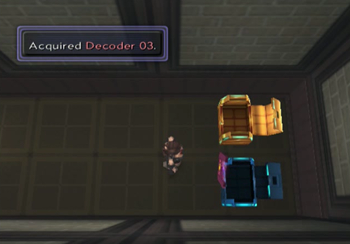
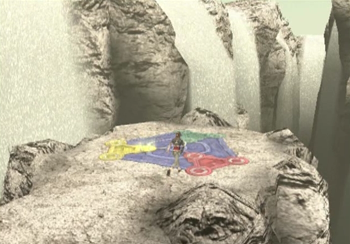
We receive the first Forbidden Device key. Remember the location of the yellow Forbidden Device? We’ll be heading there next.
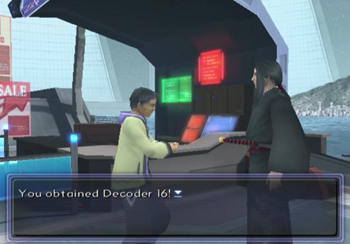
But first, robot roll call! Decoder 16 is the reward for that dumb fishing minigame.
And it unlocks the door that was revealed during the dumb music sidequest.
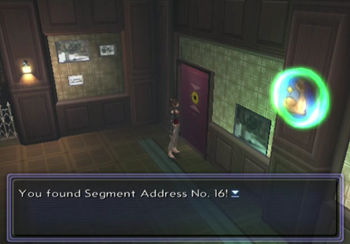
This grants us the right leg and another decoder. I guess that saves time.
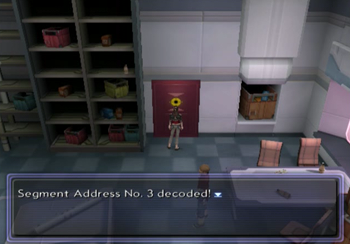
Door #3 is hiding in the backroom of the Miltian Publishing Agency, and it’s got the other leg.
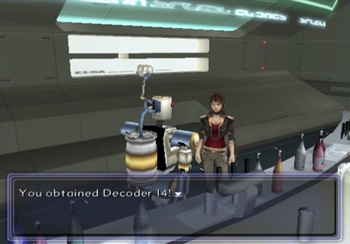
Decoder 14 is available for completing the hangover cure sidequest on the Elsa.
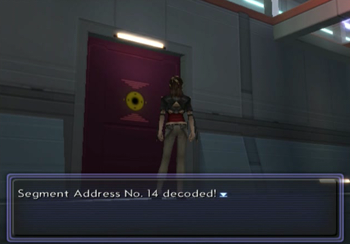
And Door #14 is probably the first door you see in XS2, back on Old Miltia (14 Years Ago).
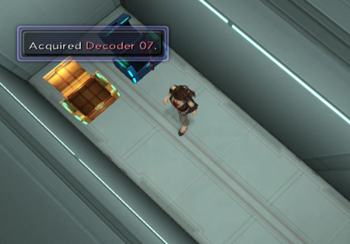
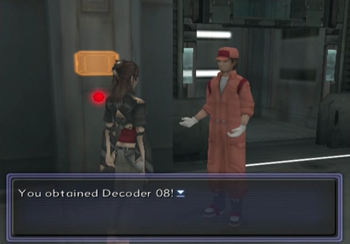
The right arm is here, and another “free” decoder.
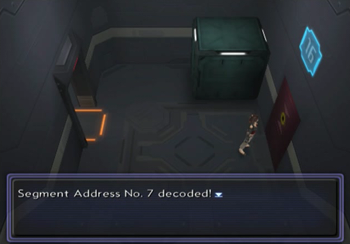
Door #7 is back aboard the Dammerung at one of the conveyer belt drop-offs. Now we’ve got two arms.
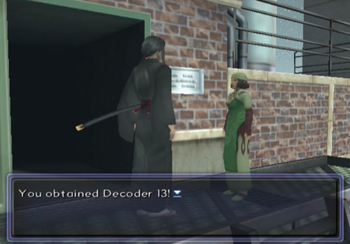
Decoder 13 is your reward for fixing the roof at the Kukai Foundation.
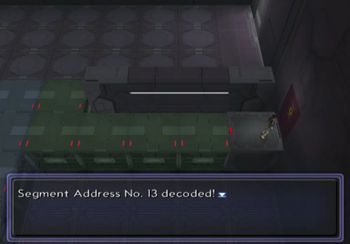
And its matching door was the end result of that block puzzle aboard the Ormus Stronghold. Note that you don’t have to complete the entire dungeon again to get back to this location, there’s now an easy-access hole that will shortcut you to your destination. Now we’ve got a head.
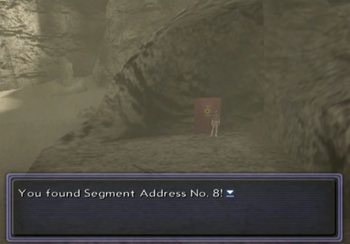
Decoder #8 is the sewer’s bounty. Yes, you have to complete all three mind-numbing sewer sidequests to complete your giant robot.
And the final robo piece (the torso) is hidden in an area we’ll be formally visiting shortly. Note that this means you absolutely cannot complete this robo-quest until after clearing the game.
Similar to Xenosaga Episode 1, each robot piece set (arms, legs, head, torso, “complete”) earns you an attack. Thanks to XS2 drastically abbreviating all attack animations and significantly cutting the strength and utility of all ether attacks, everything but the final prize is barely worth mentioning. Also, each set retrieval is accompanied by a short vignette. These are marginally more interesting.
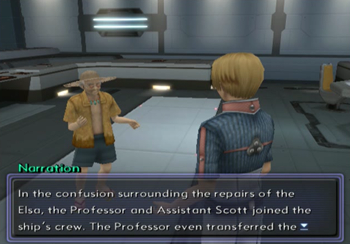
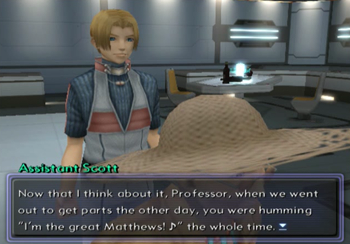
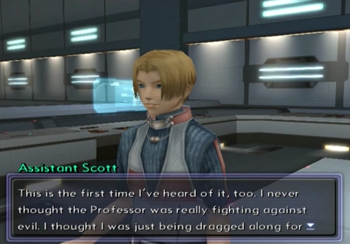
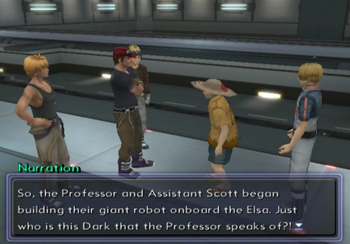
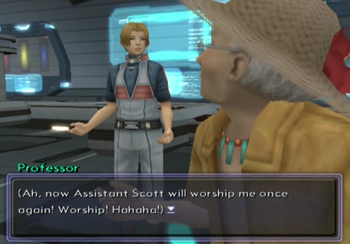
These stories tell the tale of how Professor and Assistant Scott came to become Elsa crew members. Obviously, since you first see Professor on the Elsa, this is all flashback.
Oh, and you may recall I won the “geriatric swimsuit” for having XS1 save data. This, of course, means that Professor is ready for the beach.
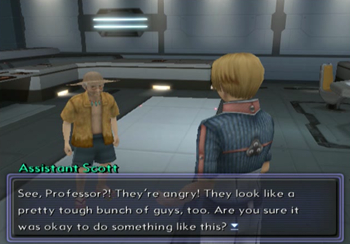
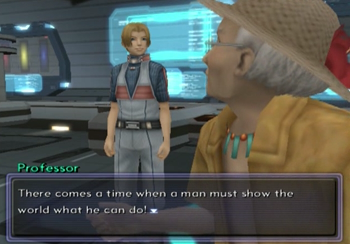
Anyway, the first flashback is nothing more than Professor and Assistant Scott lightly arguing.
Get some hot legs, and…
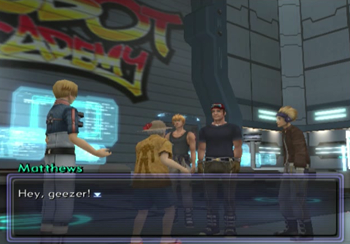
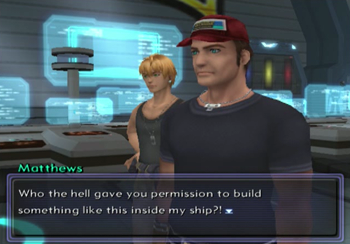
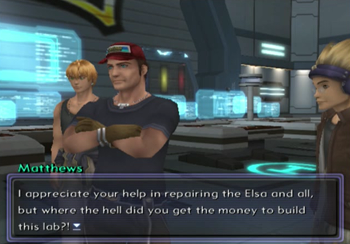
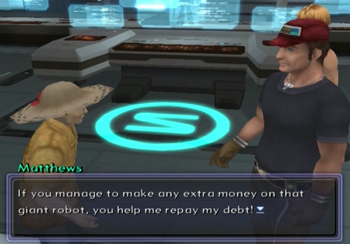
We get to watch the first heated meeting between Captain Matthews and Professor.
Yeah!
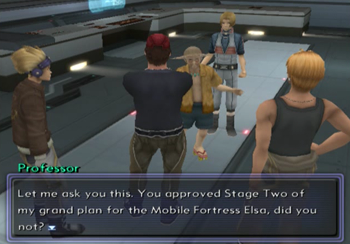
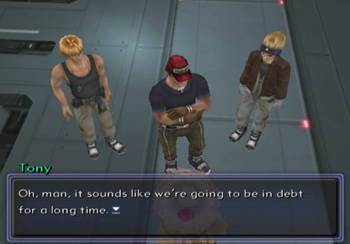
Mobile Fortress Elsa? I like the sound of that.
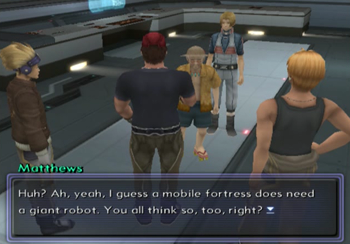
Who can resist the siren’s song of the giant robot?
What’s gonna happen next?
Get a head to find out!
Another good question!
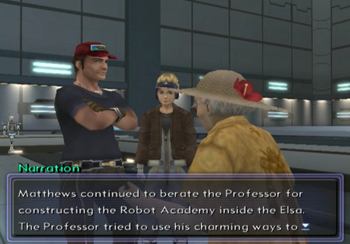
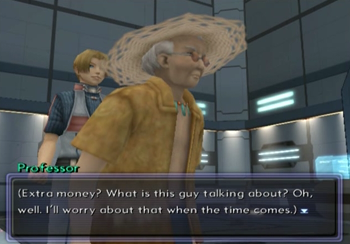
Oh, identity theft. Professor, that’s not cool.
Don’t worry, guys, I’ve got you covered.
Professor explains that he’s stealing for a good cause.
Technically, you could see this bit before being introduced to the concept of Dark Professor. The odds are generally low, though.
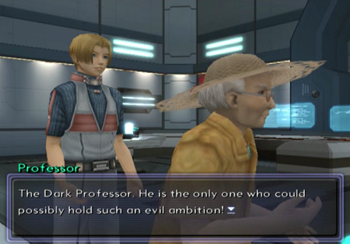
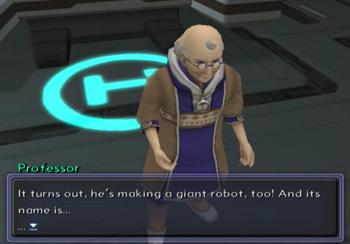
Huh. Dark Professor gets a “The”. Noted.
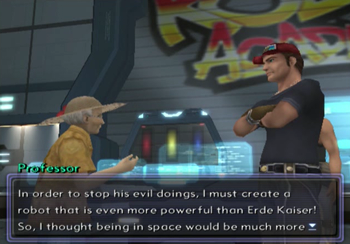
Yes, obviously, the best way to improve on a previous design is to construct the revision in space.
There’s a cliffhanger here that implies Matthews isn’t going to put up with Professor any longer… but… the problem with flashbacks…

Bring in the body, and Professor gives you a choice of “type”. We’ll discuss this in a moment.
But first, our last flashback.
This whole section is sillier than usual, as it’s literally impossible to obtain the torso piece (and start this flashback) without first being briefed on the complete Dark Professor situation. We already know all of this!
(And earn a country club membership.)

Yay! We’re at the present!
We all have our vices.
WE ALREADY KNOW THIS!
Hooray!

You’ll be golfing in no time!
Professor is sensitive about his avarice.
In a way, we’re all building our own metaphorical giant robots.
In a way, we’re all conditioning our own metaphorical Assistant Scott.
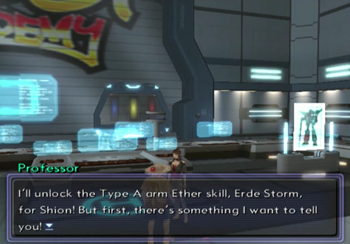
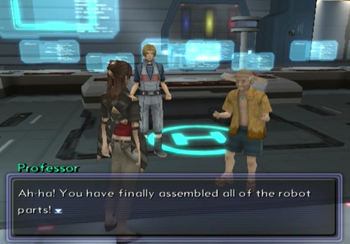
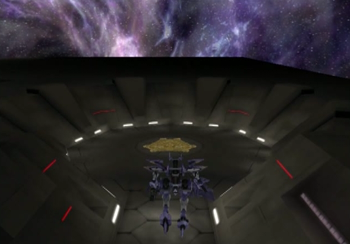
And, after a lovely little building sequence, Professor is excited about his latest creation.
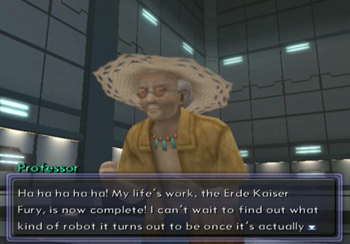
Erde Kaiser’s descendant, Erde Kaiser Fury is born!

So here’s the skinny on Erde Kaiser Fury: first of all, disappointingly, EKF is not as “kill everything in one hit” powerful as Erde Kaiser Mk. I. This… kind of makes sense, as the latest Erde Kaiser no longer carries the handicap of completely eliminating all of Shion’s other ether skills. That said, you’re supposed to use EKF in conjunction with XS2’s break system: if you summon EKF when a monster/enemy is in break status, then you’ve got a pretty much guaranteed instant kill. I guess we can put up with that…
The other big gimmick with EKF is that it’s modular. Your Erde Kaiser Fury might look different from my Erde Kaiser Fury! Remember how we won the decoders from various GS Campaigns? Well, each of those challenges may be tried repeatedly, so you’ll get a different piece depending on how many fishing trips or roof repair attempts you made. The roof repair mission is entirely skill based, but the fishing journey is pretty much based on luck. The good news is that those two prizes are mostly cosmetic.
The bad news is that the hangover cure quest (which is basically a math puzzle) has an actual effect on your Kaiser’s attack. If you get it on the first or second go, you’ll have an EKF that is based on Slash damage. Pierce damage is your reward if it takes you three or four tries, and if it takes you five tries, EKR will inflict lightning elemental damage. You really want Slash or Pierce EKR, as Lightning is an element that some monsters absorb (though, I believe, none of the secret bosses do). Anyway, it’s not the end of the world if you wind up with the Lightning version, but try to avoid it if at all possible.
Oh, and as you saw, you literally get to choose the body type for the final piece. With four different variations across the parts, there are 80 or so different possible EKR combinations.
Interestingly, I booted up my old Xenosaga Episode 2 save data from a few a years back… and I managed to construct the exact same Erde Kaiser Fury. I’m a Type A kind of robot builder.
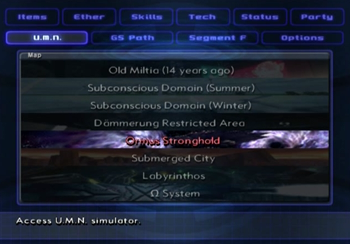
Alright, we’ve got Erde Kaiser, let’s go back to the hated Ormus Stronghold.
Remember? This is where the Yellow Forbidden Device is hiding.
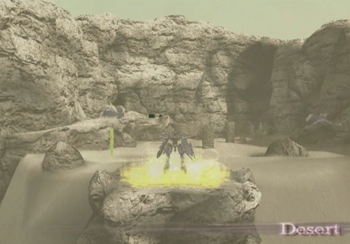
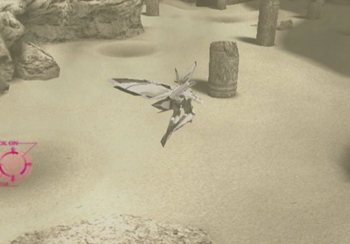
Welcome to our first bonus dungeon: the Desert. This area isn’t too large, and it carries on the Xenogears tradition of optional desert dungeons.
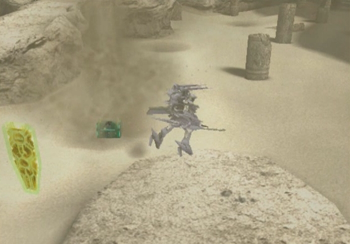
This whole area is entirely ES based. The first section contains a number of sandpits. Blast the pits and you’ll either find treasure…
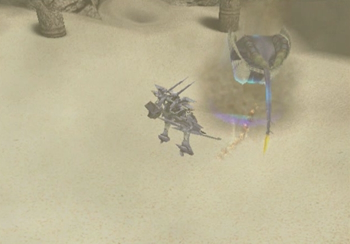
Or enormous sand worms. Actually, they sorta look like horseshoe crabs.
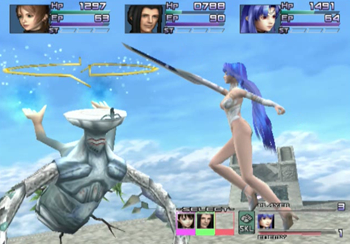
There are only two monster types in this dungeon, and they’re both giant pains for different reasons. These Arvakvs are prone to summoning sandstorms that will shred your party very quickly.
Luckily, these things are very weak to Zebulun (MOMO)’s basic ether attacks, so feel free to farm the beasts near the savepoint and gain a few levels. Also worth noting: these are the first gnosis creatures to be fought via ES.
Here’s that Red Segment Door that houses Erde Kaiser Fury’s torso. Yes, we’re a little out of chronological order for expediency. Oh, and, no, you cannot summon Erde from within an ES.
The Desert gives way to a cave network. Each of these paths lead to a treasure, save the middleish route that leads to the boss.
This console allows you to rotate the central platform so you may visit new and interesting locations.
The sandworms are staying outside, the cave area is crawling with an all-new, all-annoying gnosis.

Ashmed Bapuzes are flying, insectoid dragon looking things that have incredible speed. They’ll probably attack twice for every one move your ESes get. This is terrible, because healing from within an ES is a pain in the ass, and, with a lucky critical or two, you could easily go from full HP to “gonna die” before you even have a chance to react. Keep Zebulun and its healing skills on the frontlines and ready to boost. Oh, and the Abs are also adept at dodging, so don’t rely on “oh, it will be dead this round”. Giant pain in my ass, this dungeon.
There are a number of useful pieces of ES equipment to be found, though, so it’s worth exploring the area.
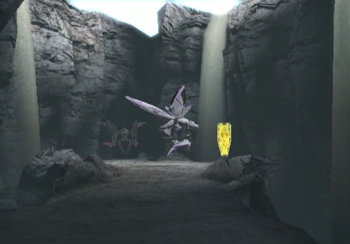
The problem with multiple route, “hub” dungeons is that you may accidentally find the boss of the area about seven seconds after starting the dungeon. Actually, that might be a feature in a dungeon like this…
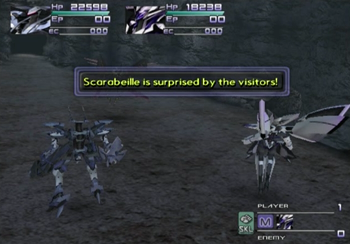
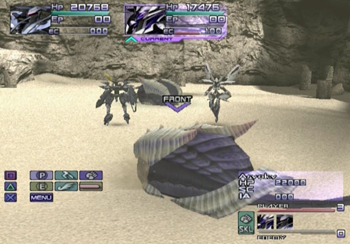
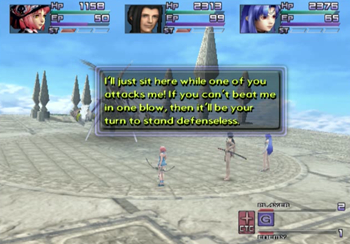
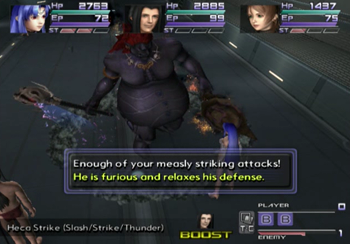
Scarabeille is a mech, and our first official boss of this sidequest. It starts the battle by quietly waiting for you to attack.
As you might be able to guess, it will counterattack soon, and its offensive capabilities will be based on how much damage you do while it was “surprised”. I’m not very cautious when I’m steps from a save point, so I decided to unload early.
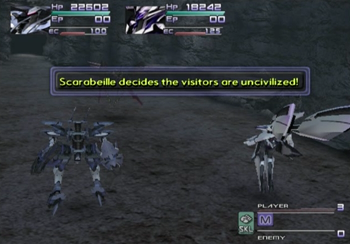
Well, that’s like your opinion, man.
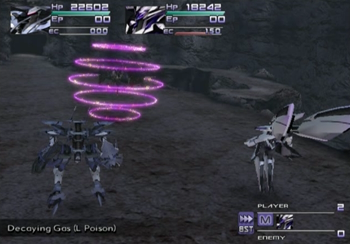
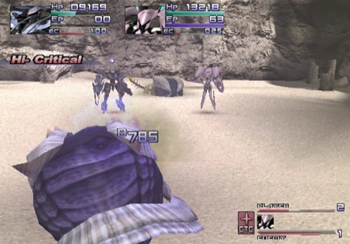
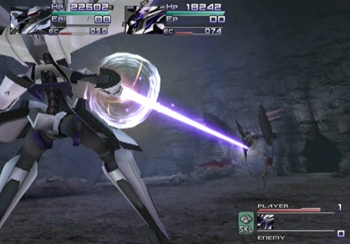
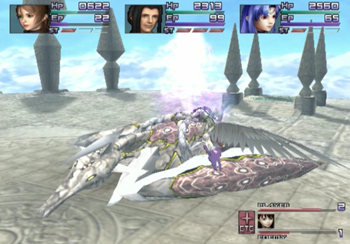
Now Scary unleashes holy hell on the party, and get ready to be poisoned, which is no good for our ESes. If Scary starts stocking/defending, stop attacking, because it has entered a sort of “counter stance”, and will absolutely destroy its attacker.

I lost ES Dinah to that counter, but I was able to knock out Scarabeille on the next round, so hooray for me. This was, basically, the last “required” boss for your ESes. There’s one more really optional ES boss, but otherwise you can basically retire the ESes for the game now.
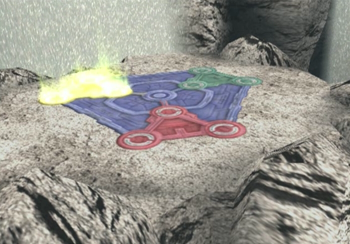
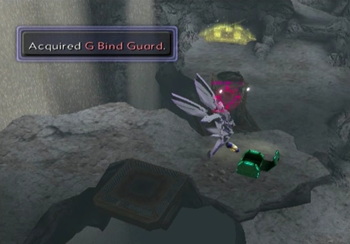
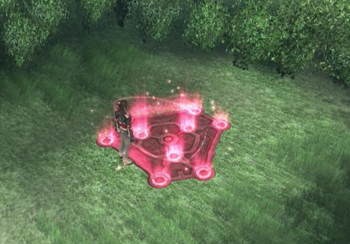
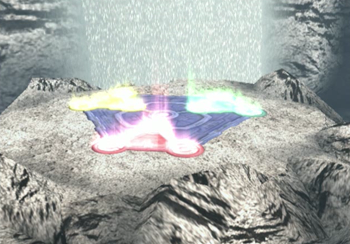
There’s a giant blue Forbidden Device, and it appears to be partially activated after defeating Scarabeille. Another two dungeons to go?
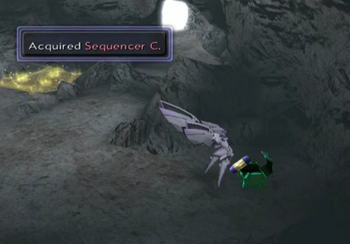
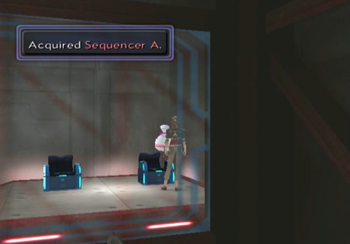
Sequencer C, the key to the Red Forbidden Device, is our reward for clearing this area.
Also, that passageway at the top of the room allows us to exit the ESes and investigate this Forbidden Device. Guess we’ll be coming back this way again.

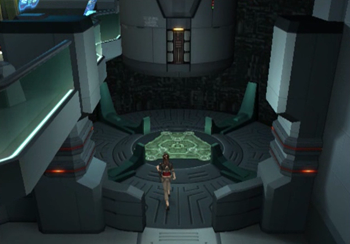
Next target: MOMO’s Subconscious Domain (Summer).
The Red Forbidden Device is hidden a few screens in. Hope you remembered its location!
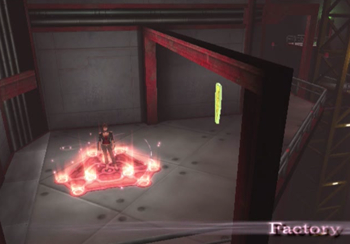
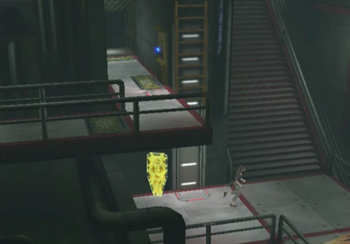
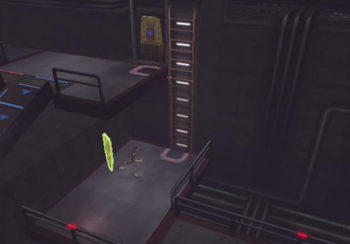
Bonus Dungeon #2: Factory. This one is all on foot, and it’s deliberately maze-like.

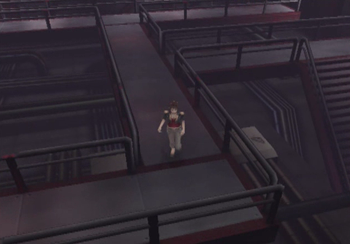
Alright, I suppose “maze-like” implies that you could get lost here, which is generally unlikely. However, a number of corridors involve a tight camera angle and a bunch of catwalks that all look very samey. I’m not certain if this is calculated and deliberate, or just a side effect of this area being vaguely unfinished.
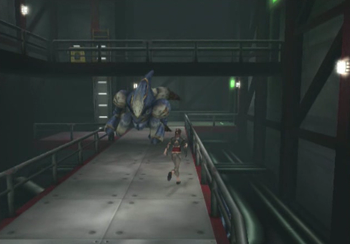
There is definitely a pile of new and interesting gnosis floating around, though.
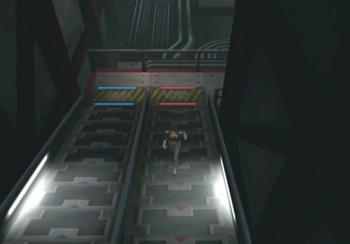
Oh, and conveyer belts. Always fun!
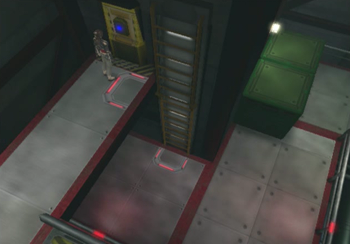
At least you can release ladders and locks as you go to make traversal of this area easier.
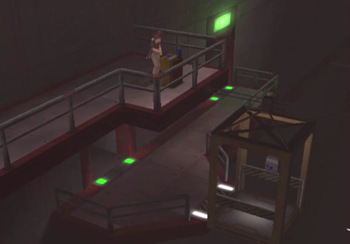
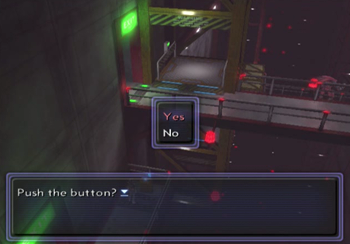
The whole “point” of this maze is to find the right switches to unlock the right doors/elevators and such.
Also, a number of the gnosis enemies are rather chatty.
The second main area of this dungeon has a save point in its “hub”. That should make things easier.

The monsters in this dungeon aren’t too bad: they’re more a threat for their numbers than anything. Or maybe I’m underestimating their challenge because you can summon Erde Kaiser Fury to thin the herd every battle. The robot might not kill everything, but it sure can’t hurt (you).
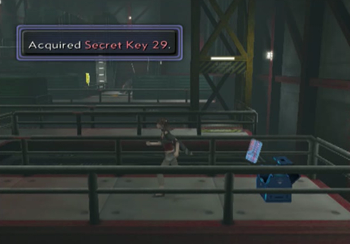
We’re getting the best treasures in this dungeon. This key will unlock a skill that will increase our accumulated skill points by 15%.
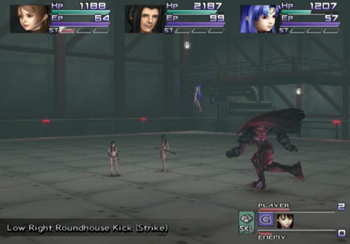
These gnosis that appear toward the end of the dungeon and look like giant wrestlers do not mess around. They’ll boost and knock your party into a break state, and they’re prone to countering when not on the offensive.
Dungeon continues.
The third main area has a similar hub/save point structure. After you unlock the right ladder and kill a bunch of gnosis, you’ll have a straight route from save point to boss.
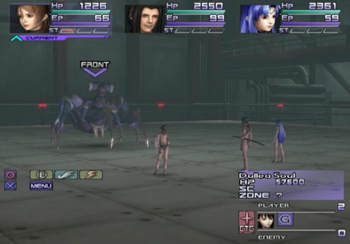
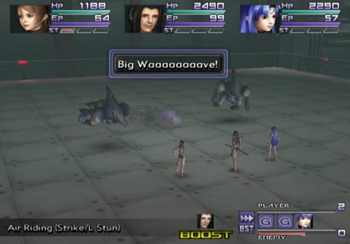
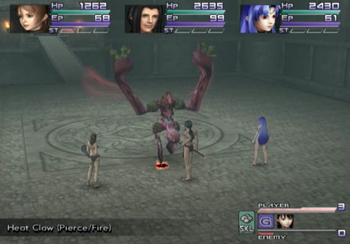
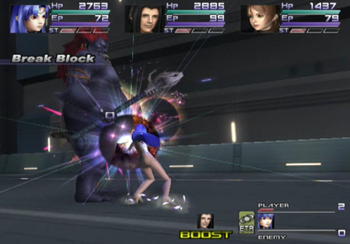
Dullea Soul is a big creepy mantis gnosis. Charge up your Mana Sword to 100% and… no, wait, I’m thinking of something else.
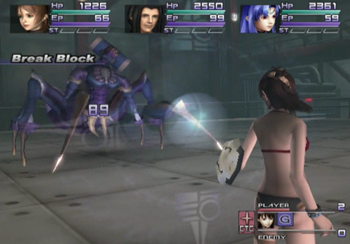
Dullea has Break Block status, so you can’t do that much damage through normal means at the start of the battle. Boo. I suppose you should use this time to exploit its ice/piercing weakness with Junior and chaos.
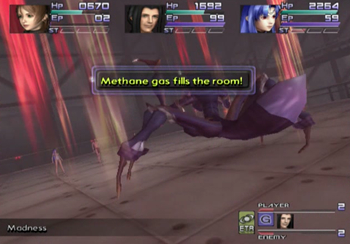
At one point it will fill the room with gas. I spent the longest time during this battle trying to figure out what that meant. Is this creature… farting?

Then it all made sense: the damn thing uses a fire attack to ignite the air and blast the party onto the next planet. Note that Shion suffered more damage than her max HP.
I got mad and killed the dang thing pretty quickly after that (say hi to my giant robot). I completely missed the fact that it drops a number of clues for the puzzle that shows up at the end of this dungeon. Incidentally, while its stating these clues (I’ll explain in a minute), it seems to slowly mentally degrade, meaning that Rod from GS Quest #14 and Dullea are the only two threads in this game that reiterate the “gnosis are decaying human spirits” thing.
Anyway, Dullea’s death unlocks the next latch on the final Forbidden Device.
But this dungeon isn’t over yet. You’ve still got a little more maze to go before you’ve completed Factory.
Here we are, last stop.
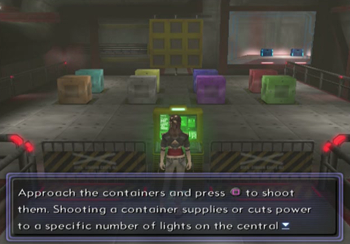
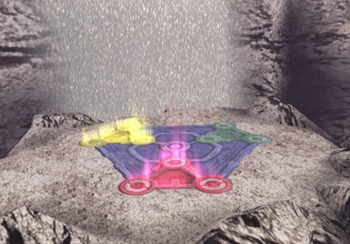
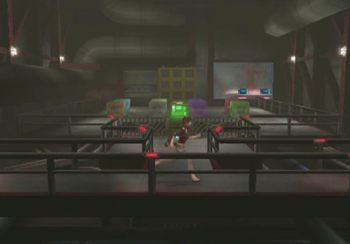
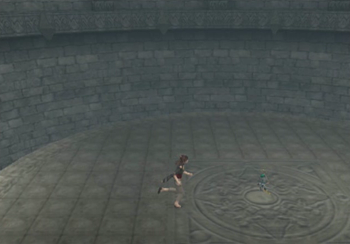
Last “puzzle” of the game. Each box has a particular plus or minus value, and you’re supposed to hit the boxes in the proper order to simultaneously light up the nine part grid in the back. This is generally like the “water level” puzzle back in the basement of Labyrinthos.
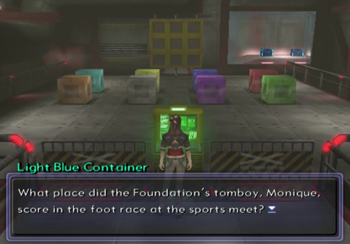
The “clues” for the value of each box are completely incomprehensible to an “outsider” like you. The idea is that this whole thing was a game between friends, and only the friends would know the actual values. However, if you paid attention to Dullea’s ramblings during that boss battle, you’ll have heard it say things like “Blue: 5, Red: 7”, which are the “answers” to these questions. If you didn’t think to write down the utterances of a flatulent mantis monster, sorry, you can’t fight the boss again, and you’ll have to just brute force this one. Trial and error is always fun!
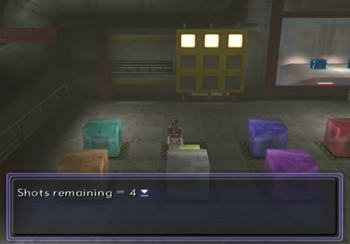
Did I mention you only get five shots before the puzzle resets?
Bah, just watch me do it.
Your rewards are the Pink Book that will solve GS Quest #21 (see the last update) and the key to the next bonus dungeon.
Don’t leave Factory without your prizes! Not like you can just teleport back to the exit again.
The third, green Forbidden Device is in Other Professor’s home. Or office? I just assume Other Professor lives here.
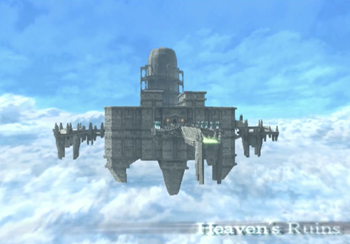
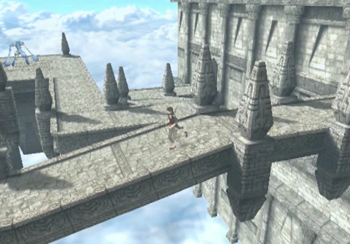
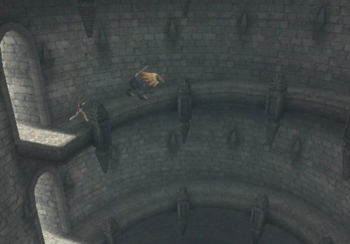
Heaven’s Ruins is our final bonus dungeon, and it’s… a lot less generic than the other areas.
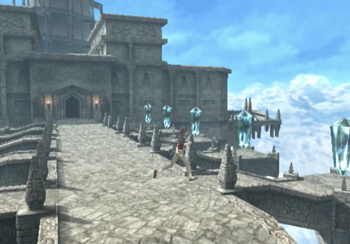
Did someone smuggle a dungeon out of a Final Fantasy game? Or are we just stealing from Miyazaki wholesale?
And who keeps designing these sky castles without railings?
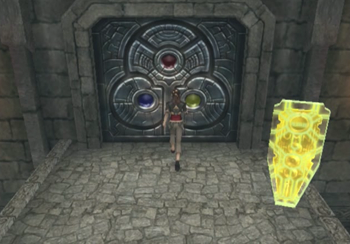
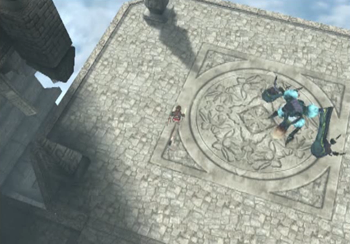
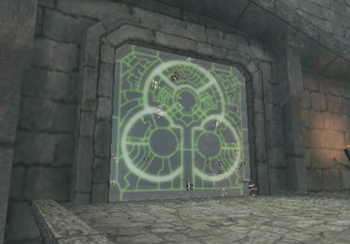
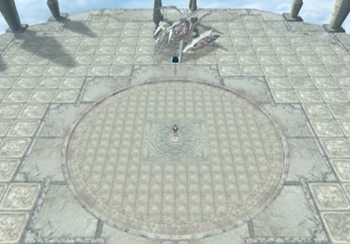
The first section of this dungeon has a door that is locked, but appears to be embedded with three dull jewels. Any guesses on the solution to this problem?

We also get a redux of those blocks that can only be destroyed from one direction. Yay for artificial barriers!
In the rear of the first room, we find our first target.
Yes, the elemental numbnuts gnosis makes a return appearance from all the way back at the Cathedral Ship during Xenosaga Episode 1. We haven’t seen hide nor hair of these creatures all game, and now we’ve got some returning favorites. Of course, these guys have been upgraded to “final area” stat parameters, and they retain their elemental affinities that may make some of your characters useless. Fire Numbnuts absorbs fire attacks, so bench Ziggy for the battle.
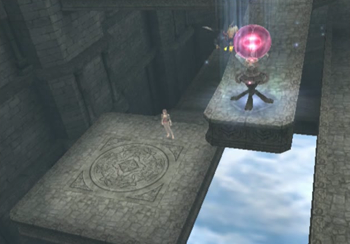
Defeating Fire Numbnuts causes a weird red orb to appear.
There are other gnosis running around this area. They’re primarily the same creatures you encountered at Factory, and you’re only gaining levels, so they should be gradually getting easier.
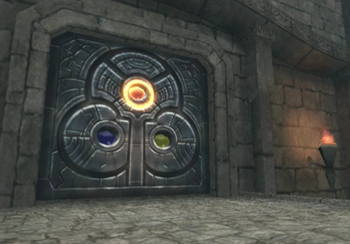
Blasting the red orb causes a section of the door to light up. Now can you guess what’s next?
You can see Ice Numbnuts around the western side of the area, but you can’t reach it yet.
So it’s time to tackle Lightning Numbnuts on the east side.
Shion, no, dammit. Put your arm thingy down and think about what you’ve done.

Lightning is no more, and an orb is our next target.
Now we can make our way over to Ice Numbnuts. chaos should stay far away from this guy.

And now we have to walk back over half the dungeon to get to its stupid orb. Meh, at least we’ve almost got that door taken care of.
Yep, there we go. Time to move on.
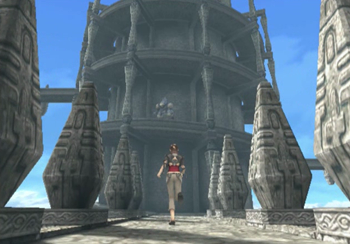
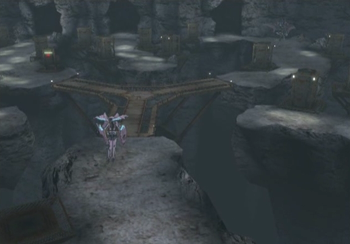
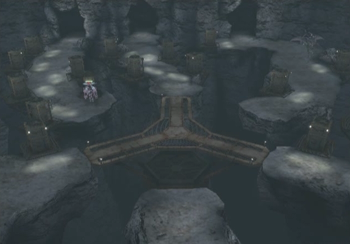
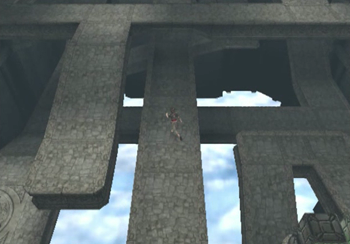
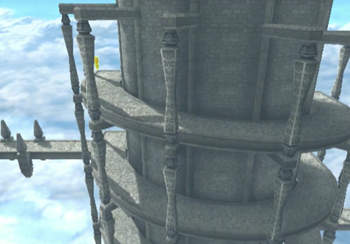
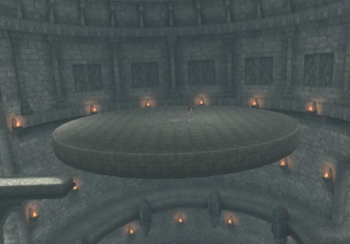
The second section of Heaven’s Ruins is this gigantic tower. You can just about see two bridges branching off left and right.
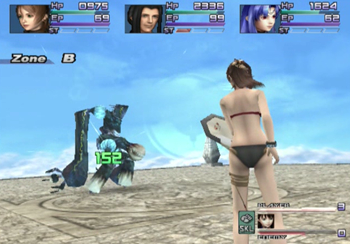
Each of those bridges lead to a mandatory gnosis battle against…
Some returning gnosis from the finale of Xenosaga Episode 1, Proto Merkabah. Given these guys were already the toughest “random” encounters in XS1, you can expect a difficult battle from these jerks.
These things aren’t impossible, but they’re probably on miniboss level. Jin gets the weirdest itch every time he fights one of these guys.
The rest of the tower contains the generally “normal” gnosis of the bonus dungeons.
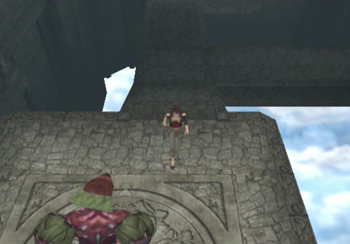
Hey, a Red Segment Door. Remember this door, it’s important!
Save point (look for the yellow), almost at the top.
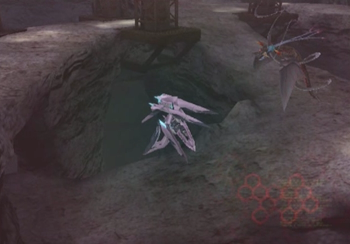
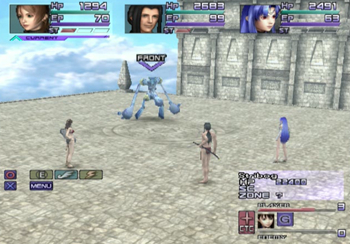
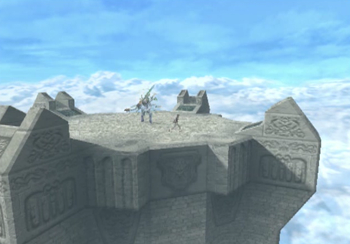
Final stop is this elevator that is guarded by…
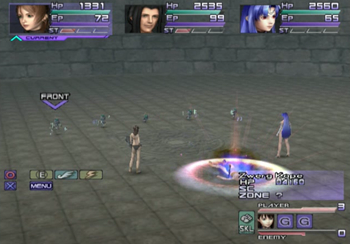
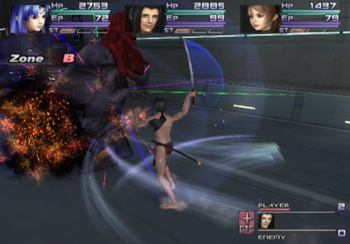
This battle is insane. There are five enemies here, but each one killed will summon a new Zwerg Kape. If you let this continue, you will fight literally 100 of these little dudes. That is not something I’m ever going to deal with. If you kill every Zwerg in one blow, though, you don’t have to fight another one of these stupid things ever again.

Guess which giant robot is suited to this task.
Elevator goes up.
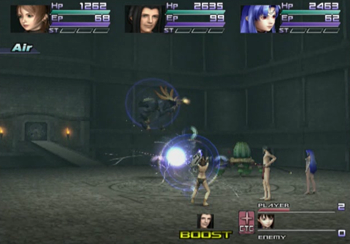
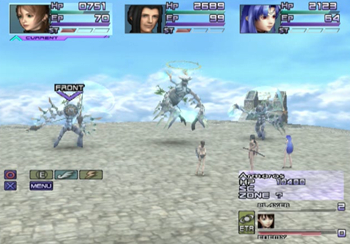
And here’s the real boss of the area.
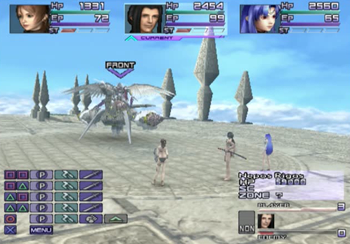
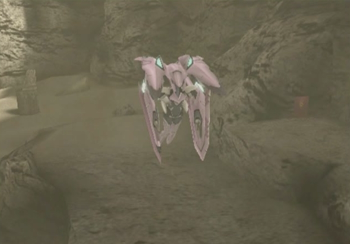
Meet Nepos Rigas, some kind of mounted cavalier gnosis.
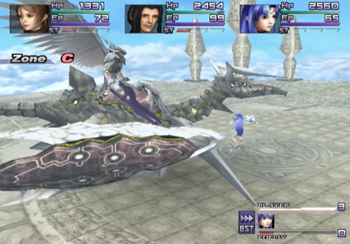
This creature feels vaguely like Great Joe from Xenosaga Episode 1. It uses guns (that need to be reloaded), and will occasionally taunt your party.
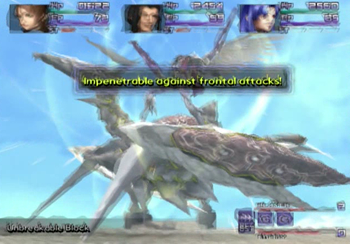
It will also intermittently throw up a shield that will pretty much negate your attacks for a little while. Don’t worry, it will wear off if you pummel it hard enough.
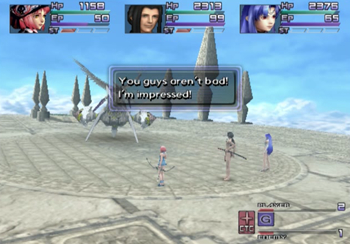
Eventually… a compliment?
The final phase of this battle is pretty straightforward: you attack, and if the attack doesn’t kill Nepos, you’ll be met with a counter that is instantly fatal. You have all the time in the world to prepare for each blow, though. So buff and stock at will, and then hope for the best. If you “lose”, only the attacking character dies, so revive and try again.
I’ve got superpowered Jin, so Nepos is down for the count.
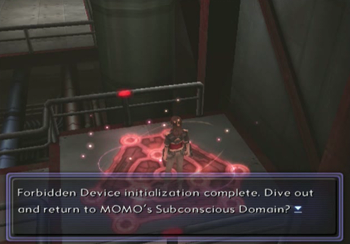
Yay! Final Forbidden Device is ready to go!
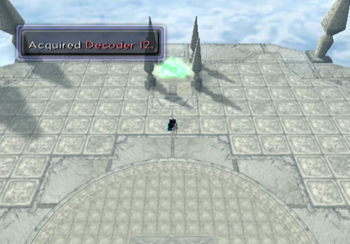
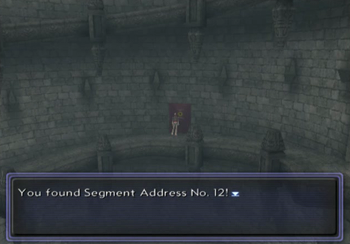
And our other reward is Decoder 12. This is important: you must now head back down this tower, because…

The key to actually use the Final Forbidden Device is hidden behind that Red Segment Door we saw earlier. If you somehow can’t find this door, you can’t enter the final-final dungeon.
Also note that if you activated GS Quest #28, you may now battle Mad Skelter at the same location Nepo Rigas was guarding earlier. This means that exactly now is the first moment in the game you can complete every GS quest. Guess you can use those GS quest double techs on the like one boss that remains.
Back to Ormus Stronghold for the Yellow Forbidden Device…
Through the desert dungeon again (hope you remember the route!)…

And finally we’re at the Final Forbidden Device.
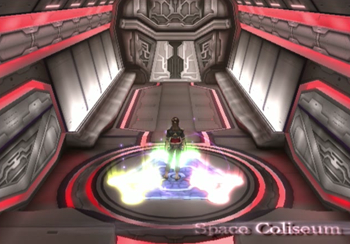
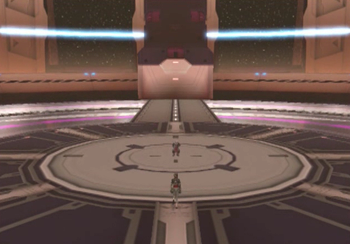
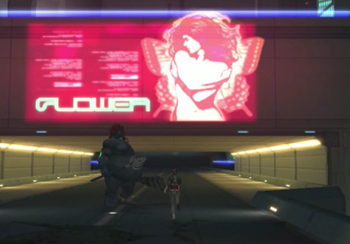
Space Coliseum is technically the last bonus dungeon, but it’s just an empty hallway and a boss room, so I don’t know if it really qualifies.
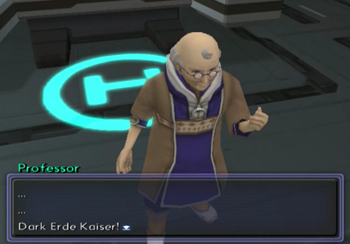
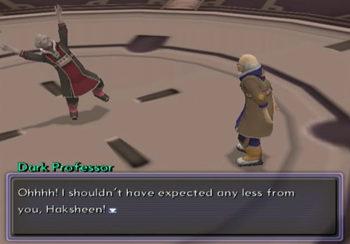
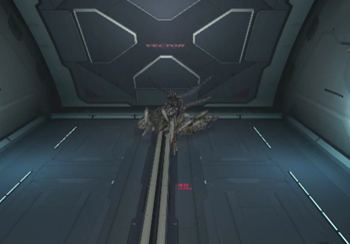
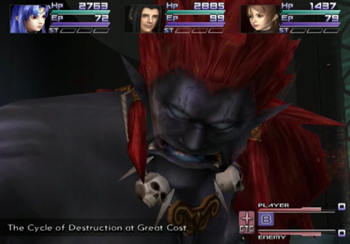
Remember what started this update in the first place? It’s Dark Professor!
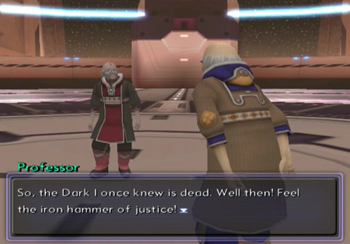
Huh. Yeah, I want to say there might be a biological relation between these two.

Curse you, Dark Professor!
Professor does have at least one other outfit…
Kind of disappointed there isn’t a Dark Assistant Scott…

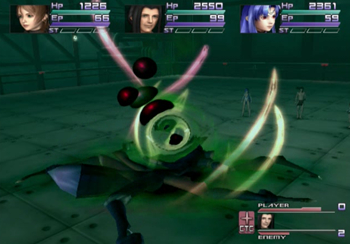
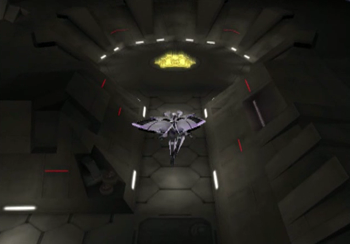
But there’s certainly a Dark Erde Kaiser.

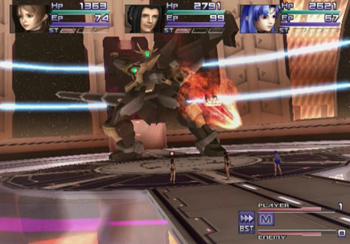
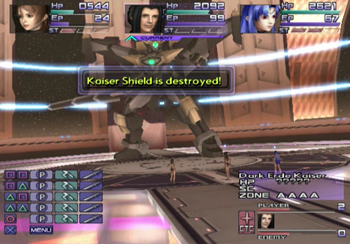
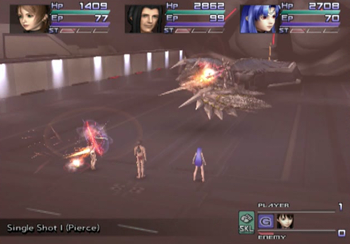
It’s man versus machine in a battle for the fate of the universe! … We’re screwed.
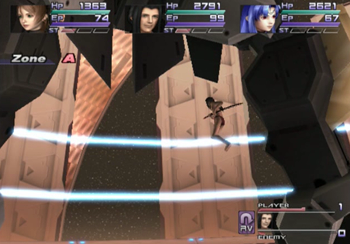
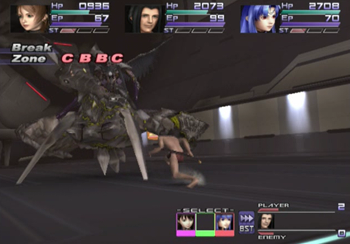
First of all, Dark Erde Kaiser is the only enemy in the game with an unknown HP count. Luckily, enterprising FAQ writers have determined a few echelons for what attacks DEK will use at what HP count, so feel free to look up a FAQ if you need more information. Additionally DEK’s break zone is AAAA, so you’ll need quite a bit of stock just to break the bot. Also, it’s really disheartening how even our highest attacks only seem to reach DEK’s crotch.
And DEK has some pretty damn powerful attacks. What else would you expect?
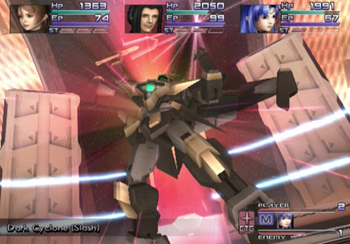
And some attacks that are “dark” versions of Shion’s own Erde Kaiser “pieces” attacks. Luckily, they’re just as ineffectual as Shion’s moves.
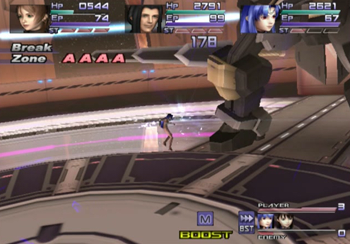
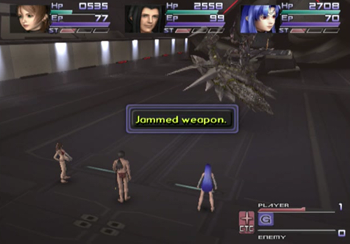
And the accursed machine will boost to break your own chains.
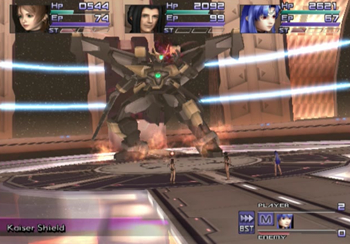
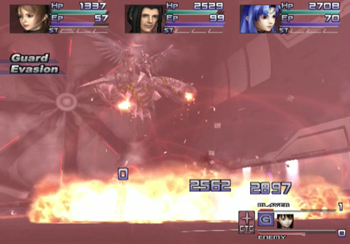
After a while, DEK will raise the Kaiser Shield, which blocks the heck out of everything. At this point, you may break the shield by either summoning your own Erde Kaiser Fury (reminder: you may only summon EKF once per battle, so don’t waste it at the start) or using five double techs. Hey, finally, a use for double techs! Either way, it’s working together (with Professor or other party members) that extinguishes the shield of darkness.
After the shield is broken, DEK is weak to everything, and you’re in the homestretch.
Doesn’t mean Dark Professor doesn’t still have a few tricks up his sleeve.
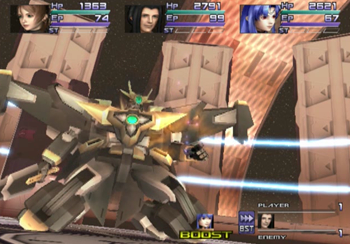
Finally, the monster mech is brought to its knees.
Bah, we do all the work, and Professor gets all the credit.
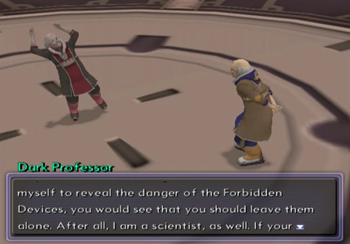
And Dark Professor admits this was all a ruse to make sure that Professor didn’t try the same “take over the UMN stunt”. Wait… are we sure Professor is a good guy?
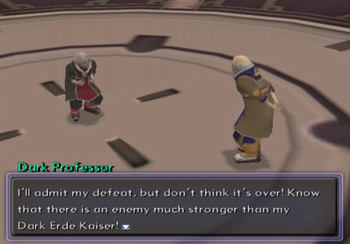
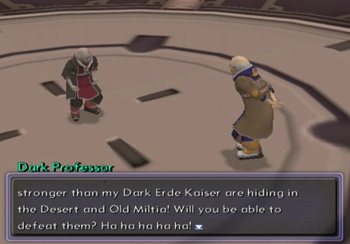
And our “reward” for this giant quest is the knowledge that there are even more super bosses lurking out there. Dammit! At least if this game was created a generation later, we’d earn an Achievement/Trophy.
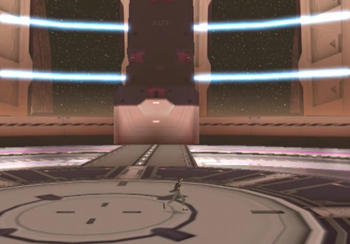
Yep, that’s it. Nothing more to do here. No treasure, no nothing. Again, even if you complete this whole giant sidequest, the recap page for every load keeps encouraging you to defeat Dark Professor.
At least Professor himself acknowledges your achievement. Other Professor will still offer the same canned advice from when the quest started.
Alright, three last super bosses. Note that all of these bosses are unique to the US release of XS2, not unlike the optional WEAPONS of Final Fantasy 7. The first boss spawns after clearing the game, and doesn’t require defeating Dark Erde Kaiser. It may be found at the same place where Shion first obtained ES Dinah on the Dammerung.
Phobos Rigas is a color swap of Nepos Rigas, and attacks in a very similar manner.
Hey, lucky us.
Phobos will “raise [its] fear level” throughout the bout, which just means it buffs itself after losing incremental amounts of HP. Feel free to cast Annihilation (XS2’s Dispel spell) to cancel any of its advantages.
And mind the occasional super powerful attack.
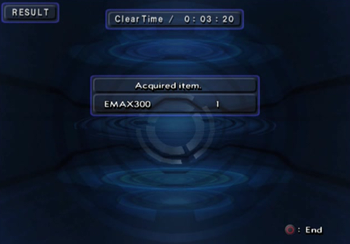
Our reward is another EMax300. Should have probably fought this guy before the final ES dungeon…
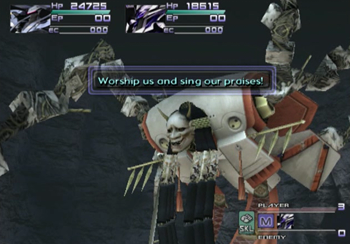
The second and third super bosses require that DEK already be defeated. Baal Zebul is hiding at the end of the introductory dungeon (Old Miltia).

This guy is a biological entity (like a soldier/Realian), and not a gnosis. Also, he’s gross.
BZ is pretty much invulnerable if attacked from the front, so navigate at least one party member behind the creature.
There, much better.
BZ’s gimmick is that he spews his bile kind of like a Final Fantasy Jump command: the bile will “land” on the targeted character if said character doesn’t move before the next “round”. So, yeah, this entire battle is about the only fight in Xenosaga Episode 2 that the “move” command becomes mandatory.
Strike BZ a bunch, and he’ll lower his defenses so you can attack from any angle… but you’ll also get pummeled in the process. Pick your poison.
What a looker. Naturally, since this battle is all about moving, Baal will occasionally use an attack that limits all movement. Jerk.
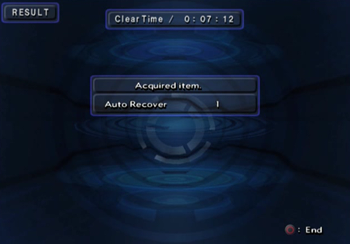
We’ve won an Auto Recover for our troubles. This is an ES item that will auto-revive your ES once per battle. Actually, you may win (or steal) this item or the EMax300 from the super boss trio. Just what I happened to acquire is featured here.
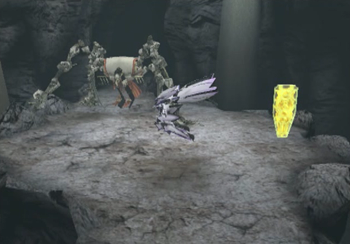
The final super boss is located in the desert at the same location where Scarabeille was camping earlier.
Ugh, this post has gone on long enough, so I’ll just sum up Mikumari’s basic attack pattern. Each battle starts with Mikumari in Creeping in the Dark mode, and your ESes will be hit with a gauntlet of brutal attacks. After the attacks end, hopefully you’re still standing, and Mikumari will switch into Pure mode, and you’ve got four rounds to heal and prepare for the pattern to repeat itself. As long as you can stay on the offensive and survive, this isn’t a tough battle, you just have to be lucky enough to never get hit with a critical. Assuming luck is on your side, Mikumari will be dust soon enough.
And that’s it! Every last thing to see in Xenosaga Episode 2. We’ll talk about what all these extra dungeons and bosses mean in the XS2 wrap-up post, which should be soon, because…
Next time on Xenosaga: All kinds of fratricide.
[…] we close out with a brief mention of that one dungeon in Xenosaga Ep 2. It looks like […]