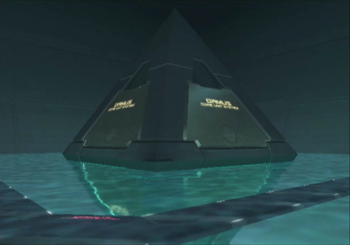
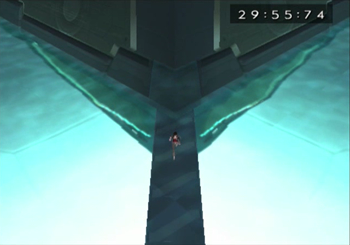
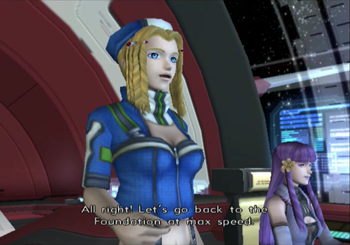
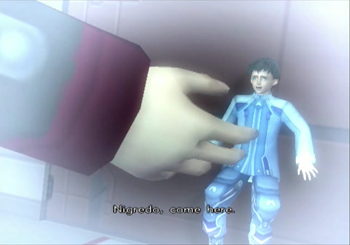
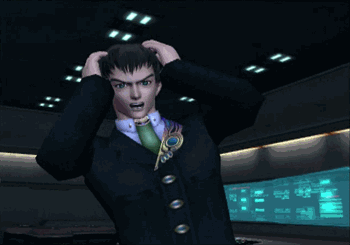
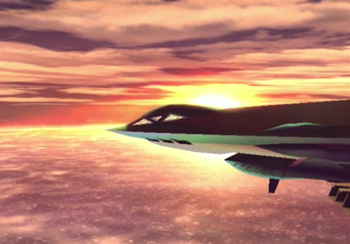
Previously on Xenosaga: The Brews got back together again, but a big stupid dungeon blocked the only way onto Old Miltia. Tony, ace pilot extraordinaire, crashed the Elsa into the base, and now we’ve gotta walk the rest of the way.

See? It was like that.
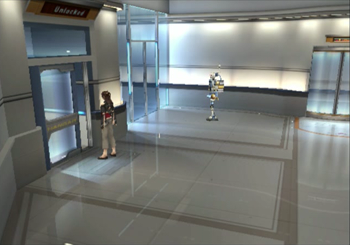
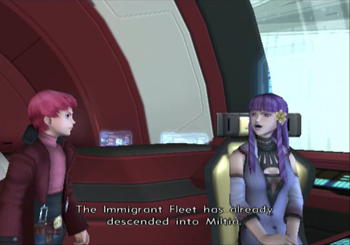
We’re on the Elsa, and, if for some reason you want to go chat with some more robots, go ahead and delay the inevitable. Just a reminder that Xenosaga Episode 2 has absolutely no shops, and save points restore all HP/EP, so it’s not like you have to “prepare” before hitting the dungeon proper.

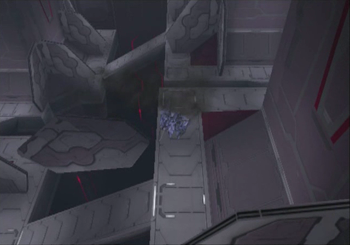
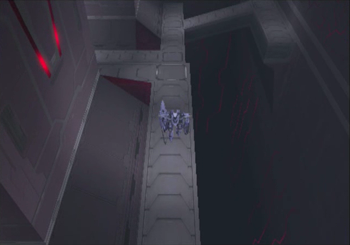
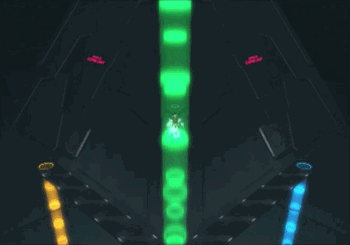
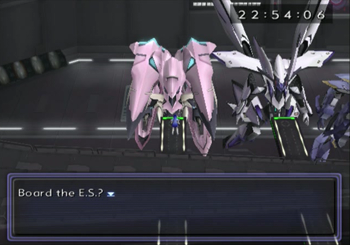
Good day, and welcome to the Ormus Stronghold. First of all, there’s a save point at the start, which would be more important if there hadn’t already been a save point twelve whole seconds ago inside the Elsa. Also, you may notice that we’re now in our ES crafts.
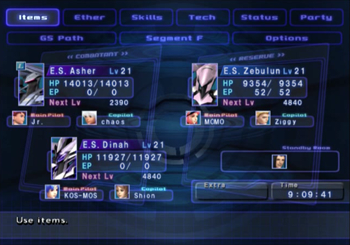
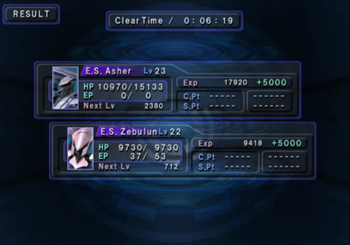
The last time we piloted an ES was nine game hours ago, so you’ll forgive me for reiterating stuff from seven updates back. The ES Asher, currently piloted by Junior and chaos, is the same mech from the opening of the game, now sans Canaan (who is off playing strip poker with the Elsa crew). The ES Dinah, piloted by KOS-MOS and Shion, was introduced in the last update, but this is the first we get to use it in battle. The ES Zebulun is MOMO’s signature ES (with Ziggy copiloting, natch), and it just kinda pops out of nowhere. It’s mentioned in the narration from this update if you’re looking for it, but for such an important craft, it gets no buildup from the game proper. What’s important is that it’s here, and we’ll be talking about it more later.
Of note: each ES craft has one permanent pilot (Asher – Junior, Dinah – KOS-MOS, and Zebulun – MOMO) and one switchable copilot. The copilot won’t make much of an impact on regular battles, but when you’re charged up enough to use special attacks, the copilot determines what special attacks are available. For instance, no matter the craft, if Ziggy is your copilot, you’re going to have some fire-based special attacks available, while chaos tends to rely on ice. Something to keep in mind in the rare instance that you need some nuance in your mech fighting.
Also, Jin is now officially part of the party… and he doesn’t get a robot. I like to assume the seventh member of your party is just running close behind the mechs, praying he’s not crushed.
Anyway, time to get this show on the road.
Maybe it’s just me, but I always feel like the ESes are moving in slow motion. Like, I don’t feel like the “regular” dungeons need a run button, but the ESes could stand to be about 50% faster. This is particularly true of the crafts that can fly (all of them).
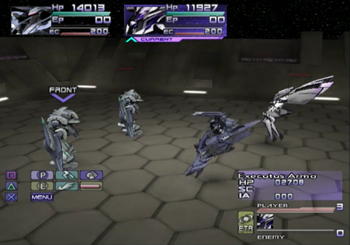
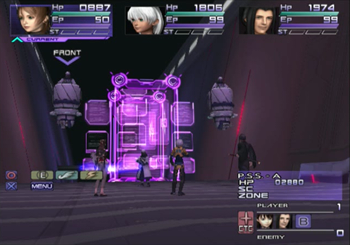
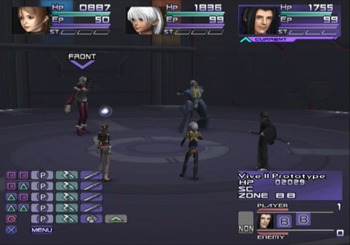
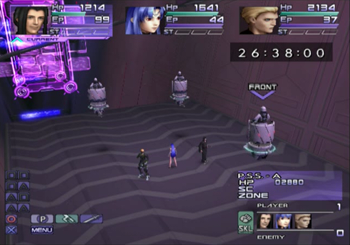
Battle time! Even though a normal Xenosaga battle party numbers three, you can only have two ESes in battle at once. It won’t come up for a while (as this dungeon is pretty “easy” in the ES portions), but this is absolutely terrible, because you can’t switch out a dead party member, and you’re almost certainly going to have issues reviving and surviving. In safer circumstances, however, two ESes are usually all you need.
As during the intro, the ES battles do not use the “full” Xenosaga Episode 2 battle system, and are much closer to how battles worked in Xenosaga Episode 1. You have a choice of two attacks (usually an “ether” or “physical” move), your special gauge climbs with every action, and when your special gauge reaches a good level, you can unleash a powerful special attack. Most of the “random” ES battles throughout the game don’t last long enough to use a special attack, so these battles move much faster than the on-foot portions.
And, as mentioned long ago, ESes are effectively their own characters, and level up accordingly. I’m sure there’s some way the ES levels are dependent on the party other than “average about matches”, but I’m not going to find out.
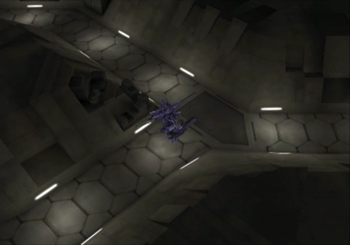
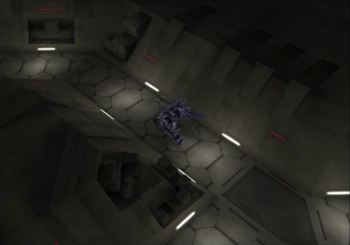
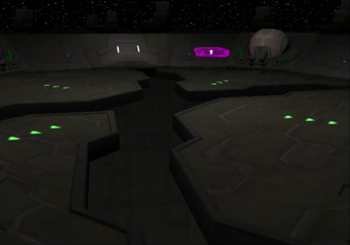
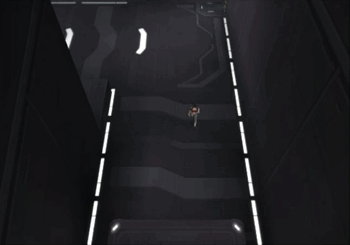
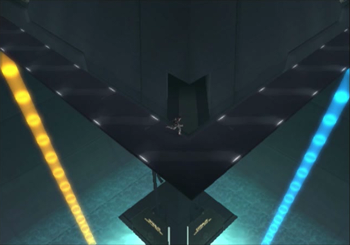
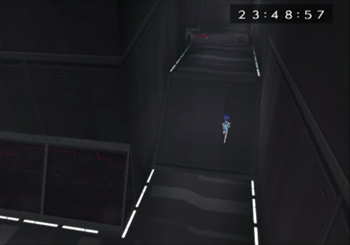
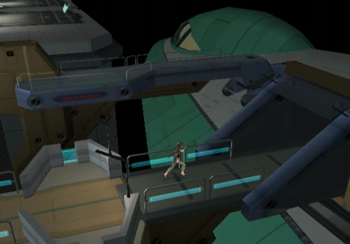
The opening portion of this dungeon is basically a very rigid hallway with the occasional fork.
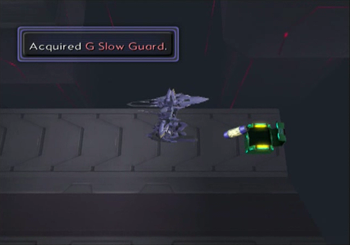
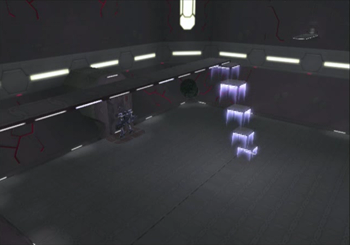
Behind one fork is a… thingy?… that can be obliterated.
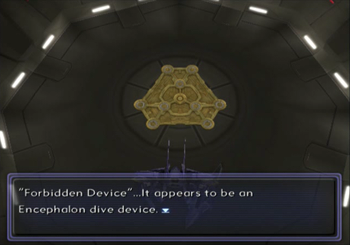
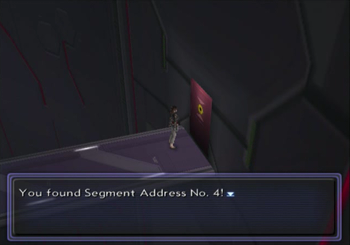
Destroy it, and you’ll find the last (mostly last) Forbidden Encephalon Dive Device. This is the first one you’ll actually use when you hit that sidequest, so… write that down?
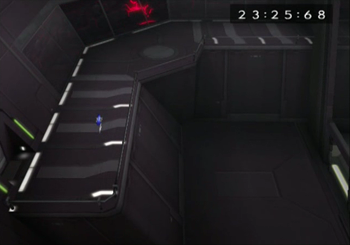
Second fork. We’re going to take the south route, which is actually “incorrect”, but I didn’t bring a map.
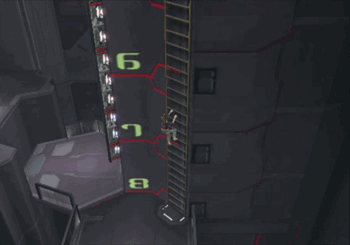
There’s a door that can be blasted off in this direction. It’s difficult to capture, but there’s a sort of “air sucking” effect going on since you’re coming into the base from the vacuum of space.
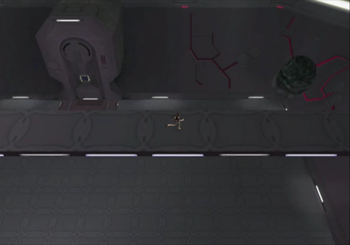
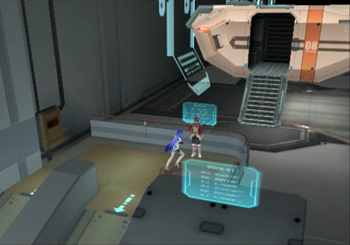
Inside is some kind of reactor area or something, and it’s really annoying, because you have to blast these latch thingys every step of the way. It’s not hard or anything, just annoying. Luckily, the “latches” do not respawn, so any time you traverse this area in the future, you don’t have to go through the same tedious chore. Related: the enemies in this large room do not respawn, either, which will be important in a moment.
There’s treasure to be found, and, appropriate for your current circumstances, a number of treasure chests contain equipment for your ESes.

Each ES can equip up to three accessories. Accessories are only found in treasure chests, enemy drops, or behind Red Segment Doors. This is another reminder that there are no shops, so you can’t purchase the “best” equipment. Considering how that went in XS1, this is probably for the best. For now, most accessories are simple +DEF or similar affairs, but there are some more interesting items to be found later in the game.
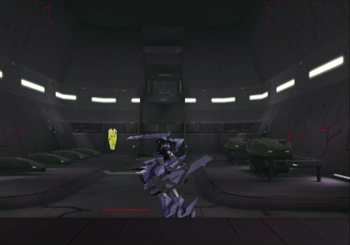
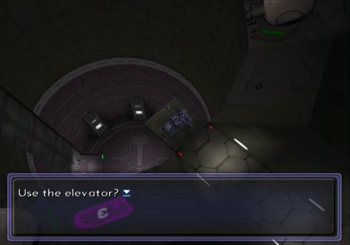
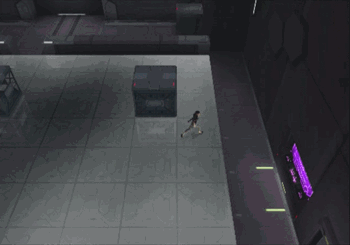
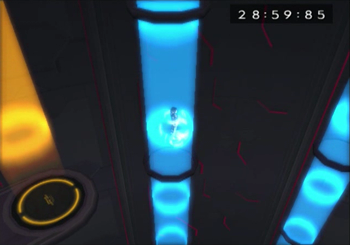
Past the reactor room we find this hangar with a big elevator and a save point.
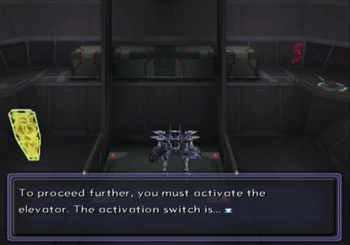
Aaaaand we can’t use the elevator. Time to go all the way back. If the enemies and latches in the previous room did respawn, this is about where I’d quit forever.
But now this room is empty and silent as a crab, so nothing to worry about.
North fork this time.
“This place” is a puzzle for babies.

See, we’ve got these… numbered ball things? I don’t know.
And numbered rotating dials. The idea is to hit the switch/dials the right number of times to turn all the balls into an activated position. Considering the camera pans back to the balls with every hit, the “challenge” here relies on whether or not you can identify that four things that look exactly alike should all be pointing in the same direction.
Successfully prove you’re smarter than a preschooler, and you’ll open a massive hatch.
Going down?
I want to say the basic shape of this dungeon is what everyone initially expected with “the sequel to Xenogears” that Xenosaga Episode 1 failed to deliver. You’ll be popping in and out of your ES craft in this and every future dungeon. In some cases, the integration is interesting, in others, it’s basically “this is the ES portion of the dungeon”. This dungeon kind of tricks you into thinking there’s more interactivity with stuff like this little portion, but, essentially, this is an “ES, then on-foot” straightforward dungeon.
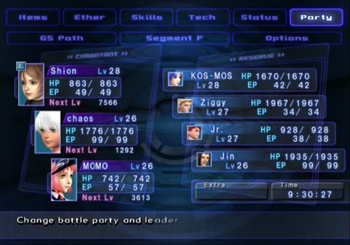
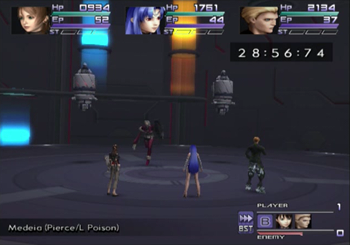
Anyway, we’re back on our own two feet, and the whole party is now available. This is the first time in the game that everyone is part of the party, so feel free to juggle skill points and stick your favorite characters in the lead.
And I want to reiterate that Jin just kinda joined the established battle party that fought through the entirety of Episode 1 and no one said a word.
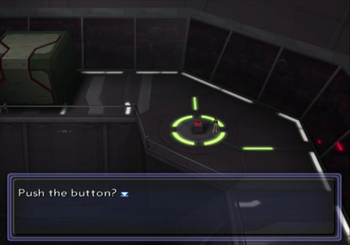
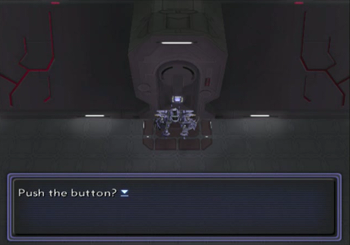
Push this button, and the elevator that blocked our progress in the save point room will be activated.
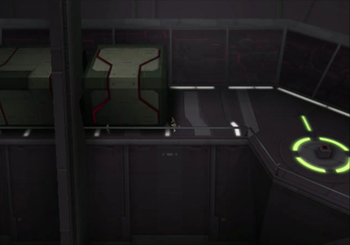
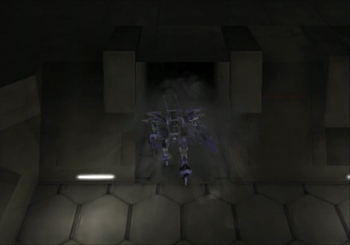
But now these giant boxes block our on-foot progress. Back to the ESes!
Not pictured: Boarding the ESes, taking the switch elevator back up to the fork, going south at the fork, going through the reactor room, and finally returning to the elevator save point room. Now that we’re on the elevator, we can obliterate those boxes. Now we have the opportunity to go aaaaaall the way back again and progress further.
I do not like this.
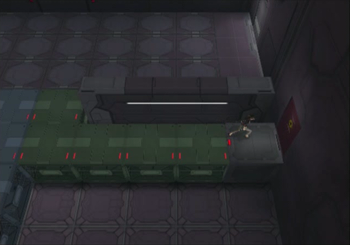
But don’t go back yet, go to the room past the elevator, and you’ll find…
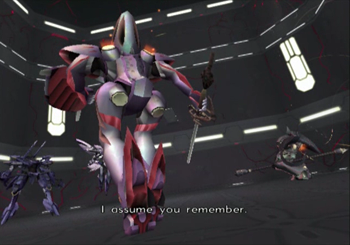
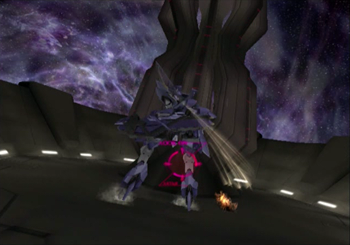
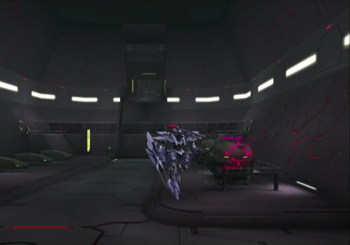
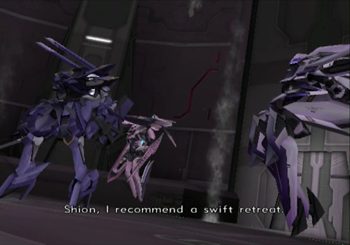
Our old friends Richard and Hermann! Remember? We fought them when we were ESless, and somehow still won despite the battle being heavily weighed against us? Ziggy beat these mechs with his bare fists once…

I wonder how this is going to go!

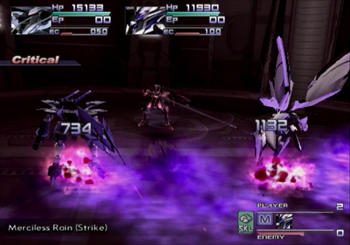
So I guess this is our first real boss battle in our ESes, and, with the save point right outside, we’re pretty much guaranteed to be ready to go and fighting fresh.
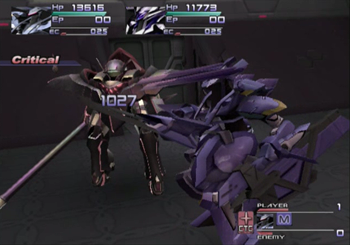
Like in the original battle, you’re going to want to take out White Mage Hermann first. While you might not have known that going into the first battle, you’re expected to have some foresight this time, so don’t let him buff the enemy party any more than necessary.
Hermann, what are you doing? Nobody cares.
Occasionally, the narrator will get catty about your enemies. The following message is “he collects little dolls and names them after exes.”
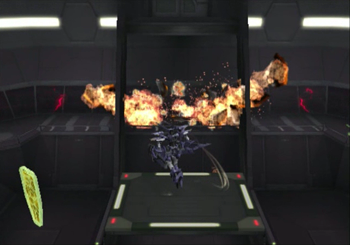
Richard gets one special attack that I think he only gets to use once because, while it doesn’t do that much damage, it blows a permanent hole in the base. Good thing this guy doesn’t have decent aim!
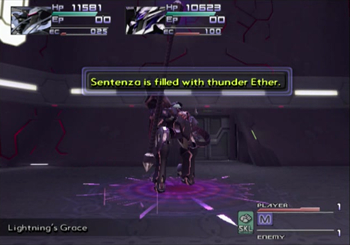
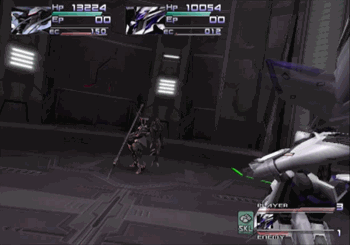
Alright, Dinah has lost enough HP, let’s roll out MOMO’s ES Zebulun. If you were listening to the robots back on the Elsa, you know this fact, but it’s not distinctly spelled out to the player otherwise: the ES Zebulun is the only hero mech that can use Ether spells. This is huge, as you cannot use items while in ES battle, so MOMO’s medica ether is the only consistent way to heal. This isn’t a big deal during regular battles, but it’s absolutely essential in a boss battle. My strategy for nearly every ES boss battle in the game was simply stick Asher and Dinah on the front lines, and then trot Zebulun out the minute things started to get dicey. Heal up a little, and a few rounds later, all should be well.
Note that this little gameplay quirk means that you should teach MOMO every ether possible, because… you get the picture.
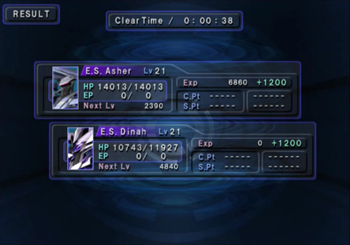
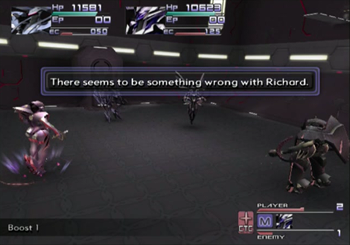
Richard looks sad, and falls to the might of the team’s ESes. There’s nothing said at the end of the battle, and you’d be forgiven for assuming Richard and Hermann are dead, but they will both return in Xenosaga Episode 3. In the meanwhile, that’s it for them.
With those losers out of the way, you’re free to press a giant button…
Which assembles a bridge overhead. You can’t reach the bridge (even though, again, your ESes have flight capability), but you’ll get there eventually.
And now it’s time to leave this area and loop aaaaaaall the way back around until we’re back out of the mechs.
Far too much boring backtracking later, we’re walking past those blocks we destroyed. Oh boy, new door!

The next area is a series of ascending hallways. This is the first this area throws in enemies that are on-foot, so make sure your party is ready for their first battle since… I guess Albedo back in MOMO’s Subconscious.
After Shion’s reprieve dungeon, we’re picking up where the Subconcious Domain left off, so expect large enemy parties that are not shy about boosting and causing extra damage. It’s not like every battle is a boss fight or anything, but we’re well past the “quick” encounters of the early game.
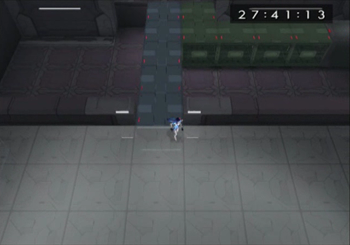
You can and should create a few shortcuts along the way for any possible return trips.
And now we’re up on that bridge. If you hit this area before defeating Richard and Hermann, you shall go no further. Oh, look, there’s that hole Richard blasted through the place.
Next room is a descending stairway mobbed with enemies.
We’ve got Jin in the party, and he’s equipped with his robe (as opposed to his combat suit from the opening of the game). Despite the fact that you will probably see his victory animation about 10,000 times between now and the ending, no one on the XS2 staff thought to correct the really obvious clipping going on with his sleeve ‘n scabbard. … I wonder if that’s why Auron is doing the one sleeve thing…
You’re mostly facing soldiers throughout this area, but every once in a while you’ll run into a soldier riding a hover cart. These guys are technically flying enemies, so chaos and Ziggy (with their complete lack of aerial attacks) are utterly useless. Grab Junior, Shion, or MOMO for their gunnish attacks, or KOS-MOS and Jin, as those two cats have mad ups.
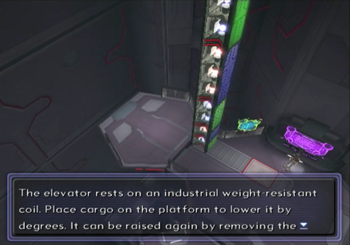
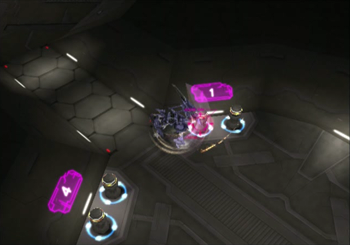
After a pile of battles, we’ve got our next puzzle room. You’ve got to place the proper number of blocks on the elevator to lower it down to Level 8…
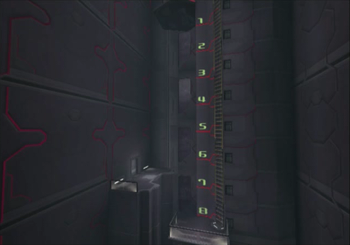
And then destroy a cluster of blocks while lowered on 8 to let it ascend to Level 7.
Blocks come in color coded chunks, so you must destroy (as an example) these three blue blocks all at once.
This looks like a solution of some kind. Unlike a lot of previous Xenosaga Episode 2 puzzles, this one requires a bit of math and spatial relations.
Next room is that one puzzle that appeared in every third JRPG for a few decades. The floor is slick, and you need to push blocks to form a bridge. Since the blocks slide continuously until hitting an object, you have to… Bah, you know this one. Ever play through the Ice Caves in Alundra? I hated that dungeon so much…

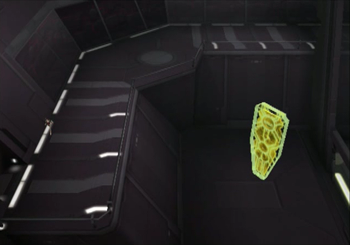
There’s a bonus puzzle available: push these green blocks to form a bridge over to that Red Segment Door. Since these blocks only move one space at a time, this “puzzle” is really straightforward.
See, there we go. We don’t have the key right now, but I guarantee we’ll be back to this lil’ door.
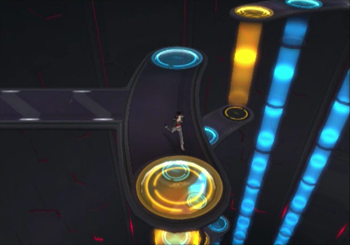
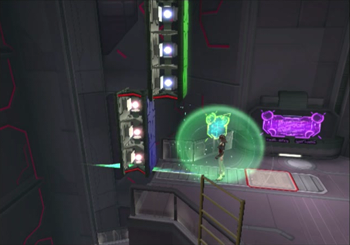
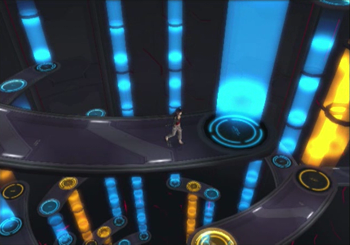
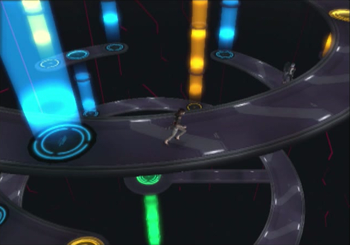
Woof, this area. Chutes and Ladders, my friends. Yellow platforms send you downward, blue platforms send you back up. You have to take a few blues to get anywhere, but the general plan is to aim for yellows and keep proceeding downward. These platforms are one way, so if you hit a dead end with a blue platform that sends you all the way back to the beginning… them’s the breaks.
This area also features new monster creatures. These things are supposed to be weird Realian rejects, but they’re a lot tougher than the average soldier. The fellow on the right has pretty crazy defenses, and the thing on the left is more offensive (and has an inordinately squeaky voice). Whatever the case, best to kill these guys quickly. At least they don’t appear in giant mobs.
Can you see how this area might get a little confusing?
There’s another Segment Door at the other side of this room. Hey, we actually have the key for this one!

This Secret Key unlocks the ability to have an extra equip slot on a character, so it’s pretty useful.
Back to heading downward. That green teleporter is your ultimate goal.
Here we are, final leg of this journey.
You’ll have to take a blue platform to get up to this obelisk hanging in the sky. It has a “hidden” door that only appears when you get near. Why? Who knows.
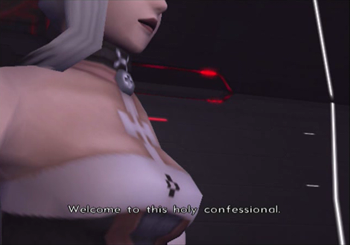
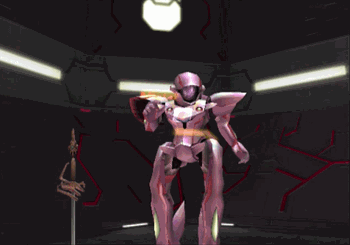
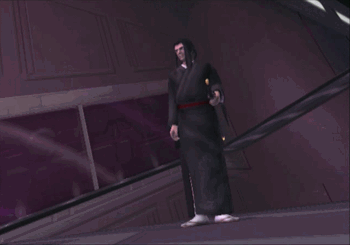
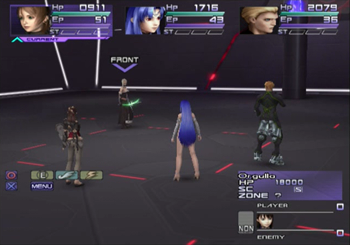
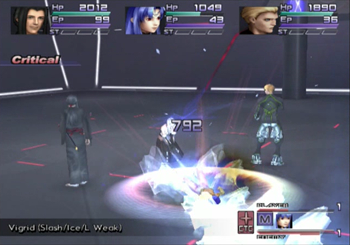
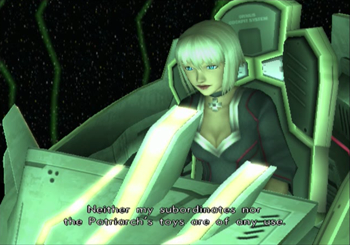
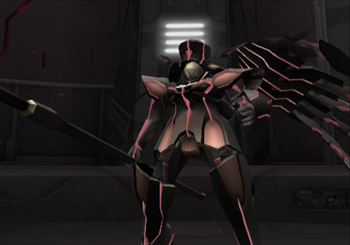
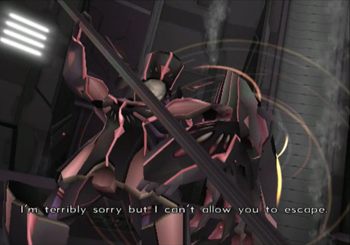
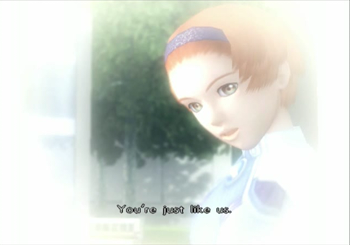
And it’s time to deal with that nun from The Patriarch’s first scene.
She’s not happy to see us.
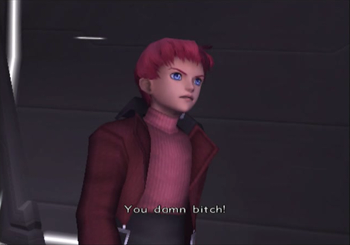
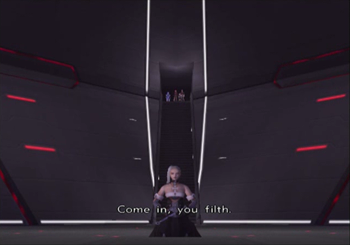
Junior is inexplicably immediately angry at her. I guess he doesn’t like to be called names…
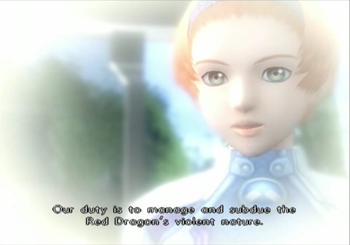
Yeah, I didn’t really expect her to be all that welcoming…
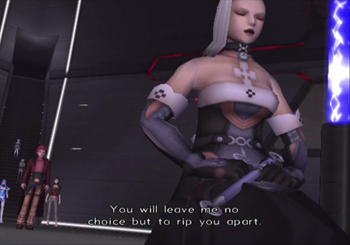
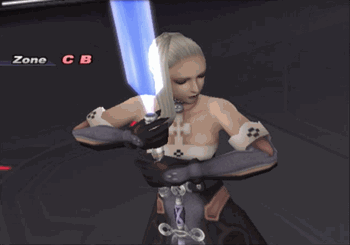
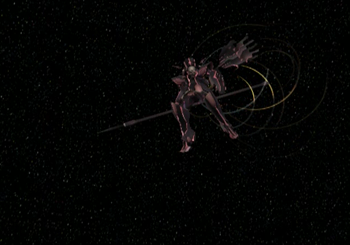
And she’s got a lightsaber and a wind waker. Talk about mixing your fandoms…
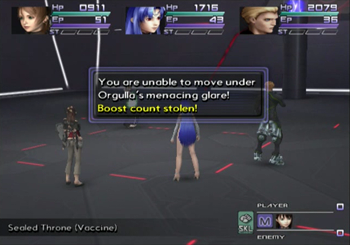
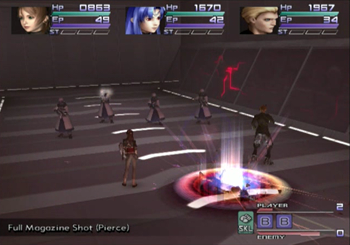
Right off the bat, Orgulla steals any accumulated boost, so, no, you can’t just start this battle by boosting to victory. Boo.
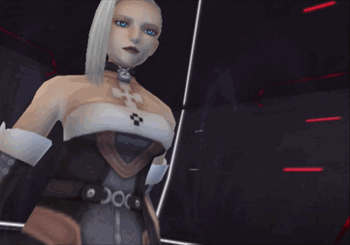
Orgulla is only identified by enemy data and battle narration. She’s got a complete backstory involving Sellers and teleportation experiments and I think she’s an android or something… but who cares? Xenosaga doesn’t seem to.
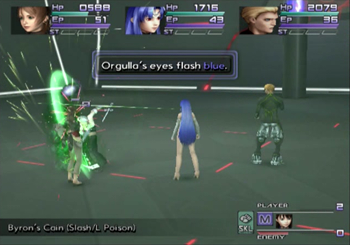
What’s important is that she hits pretty hard. This will not be an easy boss fight.
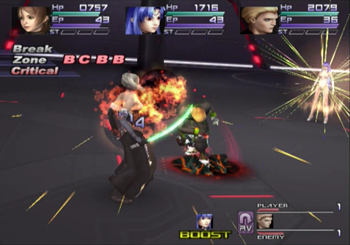
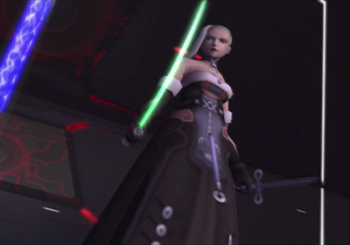
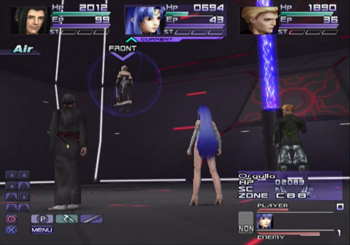
She’s got a BCBB break zone, so you’ll need to reclaim some boost to stand a chance.
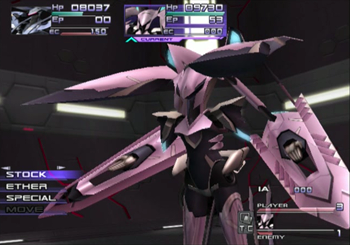
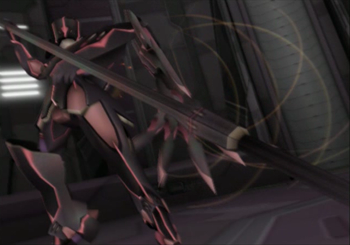
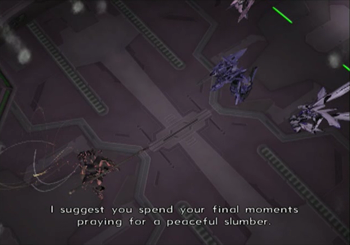
And here’s where the magic happens. The gimmick to this battle is that Orgulla has a split personality: she starts in Eryu mode, but she will eventually shift to Manes mode. After the initial shift, she will switch back and forth between the two “personalities”, and usually shout some stupid canned line over and over again to let you know that she’s very mad at herself.
Both “modes” are very powerful, and they absolutely do not share the same weaknesses. They have different resistances and break zones, too, so you’re basically fighting two enemies in one body. At least her HP doesn’t restore between switches…
This is simultaneously the worst and most memorable battle in the game, and is the exact point a number of players quit (and pretty much why I hacked Jin to have so much deadly STR). However, there is an exploitable “trick” that is specific to this battle, and I’ll let Talking Time’s own SpoonyBardOL explain it:
Hey all, Spoony here. I’ve taken control of this LP for a little bit to talk about GS 32. You might remember waaaaay back when Goggle Bob first introduced the GS campaign he briefly mentioned #32, paying off the 10000000G debt of Captain Matthews. Doing that is no small feat, without cheating anyway. And while Goggle Bob could, rightfully, just hack his way to the required amounts (editor’s note: I already did) I’ll quickly outline how you can do it legit in a non-insane amount of time.
First of all, the standard way most people complete GS 32: Beating the game over and over, stealing an item during the battle with [REDACTED], saving and then loading the clear data, and doing it all over again 20 times. The item you can steal from [REDACTED] sells for 500000G, so you need 20 of ‘em to pay off the debt. The problem with this strategy, besides being repetitive and tedious, is that parts of the ending can’t be skipped and restarting the clear data puts you at the front door of the final dungeon and not at the end. Doing this 20 times for all the items you need takes FOREVER. It also means you can’t reap the benefits of completing GS 32 until you are effectively done with the game. So this method is dumb and wrong.
The time-efficient way to complete GS 32 involves exploiting a quirk in the Orgulla boss fight, which is why I’m talking about this now. Step 1, make sure you got Psycho Pocket from GS 01 back on Disc 1. It’s kinda vital and you can’t go back for it at this point, but thankfully it’s hard to miss. Step 2 is leveling Shion up to Lv40 or so while she’s alone on the Dammerung (last update). Any experience she gains there is applied to the other party members later. But instead of being split up between them, like what would happen if you came back to that spot with a full party, each member gains the full benefit of the experience Shion gained there. So if Shion levels up to Lv40 or so, everyone else would have leveled up with her when they rejoin later.
Why is this important? Well it’s needed for Step 3. During the Orgulla fight you’ll be stealing the Awakening II item from her every time she switches to her normal mode out of her Manes mode. For some reason, programming oversight I guess, the game forgets that you have already stolen the item when she shifts forms so you can keep stealing it again and again. And like the item you can steal from [REDACTED] later, the Awakening II sells for 500000G. So you have to keep her alive and keep the fight going long enough to steal 21 Awakening II items from her (you’ll want one to use, after all). This is why leveling up with Shion solo is important since it’s hard to survive long enough in the fight otherwise. You also have to be careful not to kill Orgulla, but it’s best to keep her HP low so she shifts modes more often, so it’s a bit of a delicate dance. I go into greater detail on leveling Shion and strategies for managing the Orgulla fight in the FAQ I wrote on it on GameFAQs.
Spending a couple of hours leveling Shion up and then fighting a boss long enough to steal 21 items from it might sound dull, but I promise you it’s by far the LEAST tedious method of completing this sidequest. Which, I guess, says a lot about Xenosaga II doesn’t it? Anyway! Here’s Goggle Bob again!
Doesn’t that sound like fun! … This is why 100% completion can be scary…
Incidentally, in this LP, Shion cleared the Dammerung dungeon at level 27.
Anyway, even if you don’t steal 21 of ‘em, steal at least one Awakening II from Orgulla before she croaks.

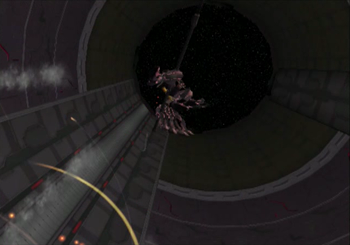
And… she’s dead. I think. Like with Richard and Hermann, there is no post-battle denouement, but unlike R&H, Orgulla never returns. I… guess we just killed her? And her corpse disintegrated? Note that Orgulla is apparently such a nobody in the Xenosaga universe, she didn’t even make an appearance in the soft remake of Xenosaga Episode 2, Xenosaga Episode 1 & 2 for the DS. Maybe she just had a terrible agent…
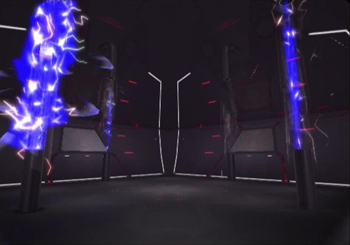
Anyway, now that Orgulla is out of the way, you can blast the inside of the base apart…
Which causes this lil’ room to drop into water below.

Let’s investigate!
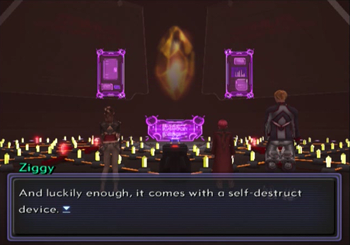
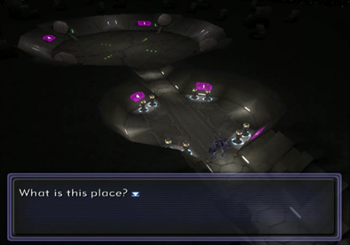
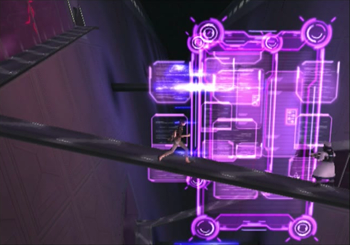
So there’s a self-destruct switch for this whole base (that’s always a good idea!), but it’s locked behind another puzzle.

This is basically a “dominoes” puzzle. You have to flip these red bypass switches so the fuses all fall in that center area at the same time. There are four paths, and some have to be shorter or longer to get the timing correct. You have unlimited tries, so you can either count the switches, brute force it, or just look at a FAQ…
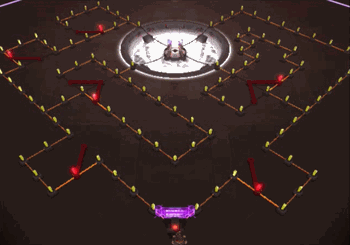
Or just copy exactly what you see above. Don’t say I never gave you anything.
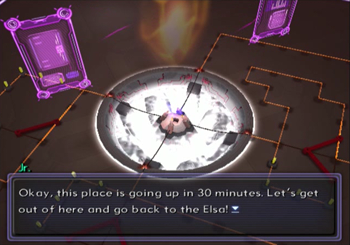
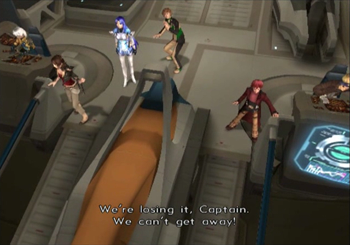
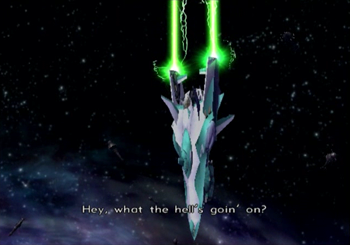
What? Is this like a seven days until Meteor falls or…
Oh, no, we have thirty minutes to get back to the Elsa and escape the base. This… is dumb. Thirty minutes is way too long to be “tense”, and the very concept of a thirty minute counter means you could move too slowly, watch the clock tick down, and then, whoops, you just lost a whole half hour of progress. It’s the worst of both worlds!
Hope you’re not too addled from the Orgulla fight to navigate that damn Chutes and Ladders maze again (in reverse). Clock is ticking, people.
And, yes, enemies are still roaming the halls, and time keeps on slipping while you fight. I want to say that there seem to be less overall monsters, but there are still enough that it can be annoying.
At least you don’t have to resolve any block puzzles under the gun. The weighted elevator puzzle in the next room is just an automatic ascent, too.
Yay! An inescapable pincer attack in the middle of fleeing! And I’ve got to juggle characters because not everyone can hit flying monsters. Yay!
Really hoping you opened the shortcuts on your first trip through this room, otherwise it’s an even bigger waste of time.
I like that it is impossible to access the giant save point in this room (as we’re not back in the ESes), but the game made it vanish anyway. There is a timer, we are not taking any chances with some dork using a walk through walls code.
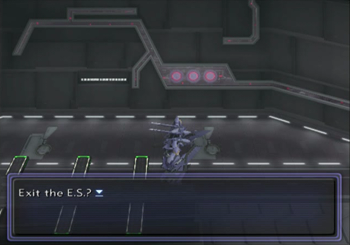
Aside from having to stomp through one more door, once you get back to the ESes, you’re pretty much in the clear. As you can see, I dashed back in a mere eight minutes, but most people would probably take a whole fifteen, as I’m exploiting Jin’s hacked STR boost. You either have to be pretty underleveled or downright bad at the combat system to lose a full half hour… so what was the point of this again?
Once you’re on the elevator out, another old friend stops by.
Yes, that’s right, we did kill (or something) everybody else on this base. Care to take a chance yourself, darlin’?
Guess so.
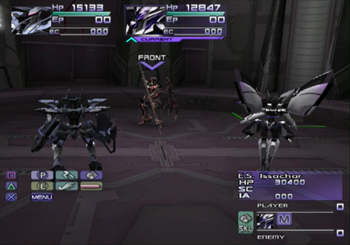
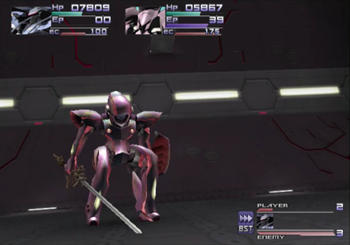
Canaan in the ES Asher alone stopped Pellegri and her ES Issachar last time, so this boss fight shouldn’t be too bad, right?
This is the first ES on ES battle in the series… and it’s pretty underwhelming. While I suppose this is technically a more difficult battle than the Richard/Hermann fight, by sheer virtue of only having one target, this one isn’t too bad. That’s good, because if you lose here, you have to do the whole stupid escape sequence again.
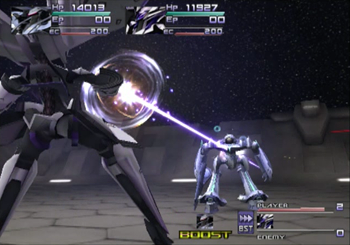
Don’t forget to use those special attacks! KOS-MOS has got a rocket punch in her ES. Kevin is clearly a giant nerd.
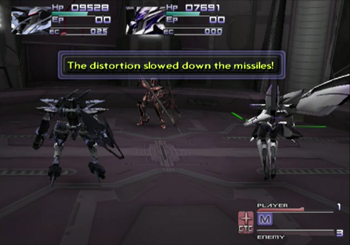
Issachar can throw up a distortion field that reduces damage from any projectile based attacks. So, ya know, don’t use them.
And she’s dead. Or not dead. The battle is over. This is the only Ormus battle that, within this game, you get a confirmation of what happens next.
The countdown stopped before this battle began, but, adding 6 minutes to the earlier timer… Yes, I do believe I have beaten the half hour deadline for real.
Oh no! Pellegri is going to use some super attack to keep us here!
Or she just flies away. Either way is good, I guess.
“She can fly… why can’t we?”

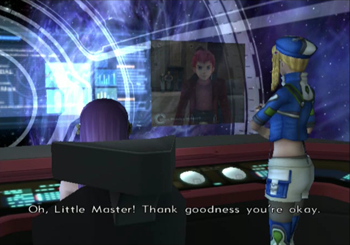
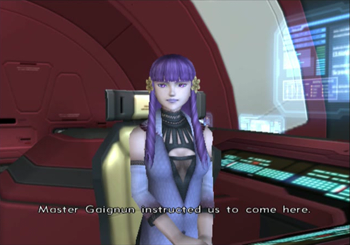
Everyone is back on board and it’s time to go. I want to emphasize that everyone is on board, nobody is going to have to catch a KOS-MOS this time.
Which battle? The initial space battle, or when Richard shot a beam straight through everything?
Shion and Captain Matthews are more alike than they realize…
Have you tried re-routing engine power through the primary weapons and configuring them to Ormus’s frequency?
And… we’re saved? Or someone is shooting a pair of green lasers?
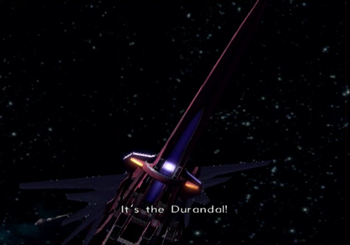
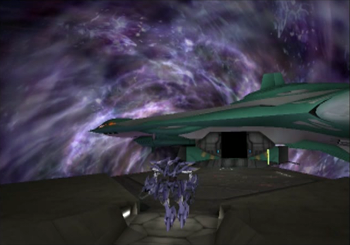
Nope! It’s the Durandal, Junior’s pet giant ship, with a tractor beam! Yay!
Mary and Shelley to the rescue! Uh… question? Why didn’t the Durandal just come in the first place?
Hammer and Tony will now do the dance of joy.
Oh yeah, I guess Gaignun does have that psychic link with Junior. Uh… nobody else thought to radio for help? Captain Matthews has to have at least one space vulture friend…
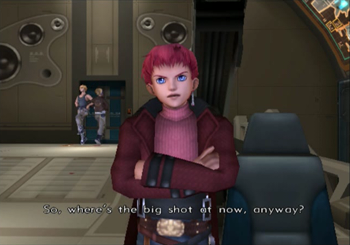
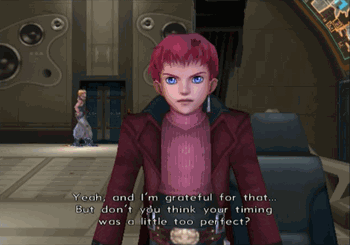
Junior is pissed off to be rescued. Kid apparently has been pretty grumpy since his evil twin disintegrated.
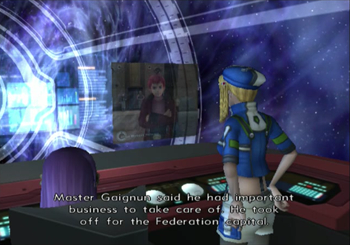
“Important business”? He’s probably looking for a new set of mutant twins to seduce…
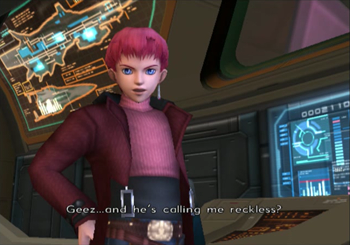
“How dare the president of an intergalactic company run off to do some business?!”
…. We’re leaving? So… this was all some secret mission to sneak into Old Miltia… and we completely failed? Did blowing up that satellite accomplish anything?

And the black holes decide to give up or something. Was… was the Ormus Stronghold keeping the black holes… black holing? Does space work like that? I mean, I know that place sucked, but I didn’t think it sucked that hard.
After the escape sequence and the ES boss, I imagine a number of players are very anxious for this save prompt.
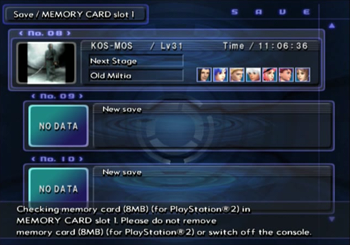
11:06, and if you’ll scroll back up, you’ll find that we started at 9:09. Even with my “advantages”, this dungeon still took two hours. I would expect that, for most neophytes, it would take, easily, an extra hour. And this dungeon didn’t even have the excuse of a bunch of cinema scenes.
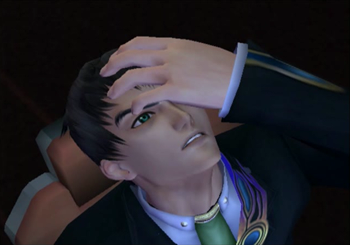
Speaking of cinemas, we now resume with Gaignun suffering from what appears to be one hell of a headache.
Oh, I was mistaken earlier, we do get one more mini Citrine scene. Gaignun is having a flashback to that awful Yuriev Institute.
Citrine confirms what Albedo was alluding to back during that psychic conversation: Gaignun was engineered to kill Junior should the kid ever flip out. Gaignun is apparently terrible at his job, though, as Junior has gone crazygonuts like four different times that I can think of…
I remember being a kid and thinking I was different and also destined to kill my best friend.
And the scene closes with Kiddy Gaignun shell-shocked and Citrine commenting that… she has a thing for Junior? Who knows.
Second flashback!
Papa Yuriev is looking more menacing than usual.
Oh, there we go, Gaignun officially doesn’t want to kill Junior. Good on you, kid, I admire the determination you have at such a young age.
And then he shoots his dad. I take back my kudos.
And then Present Gaignun’s hair goes gray. That’s what happens when you worry!
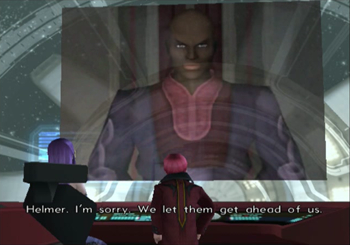
Back on the Durandal, we find that we completely and utterly failed. We wasted all our time futzing around in that stupid dungeon, and now the bad guys are on Miltia.
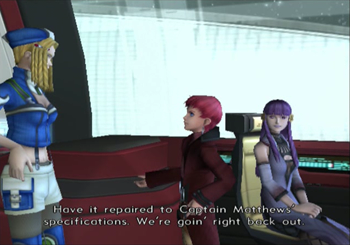
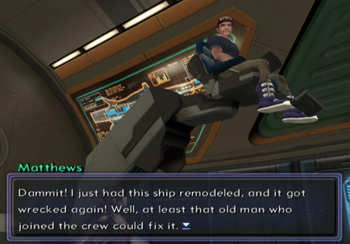
The Elsa needs its repairs, but then we’re heading out again. … Why did we come back?
“We did save the universe last week, though, so I think we’re still doing pretty well.”

Aw, the Space Government has collapsed again. And here I thought we were going to get reinforcements and XS2 would become a RTS.
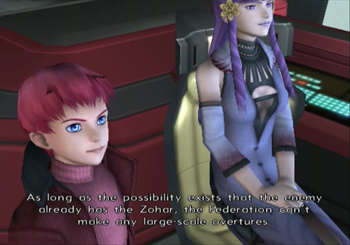
This… makes no sense. I guess the government is afraid that if the bad guys have the Zohar, they’ll get even more obliterated? The terrorists have already won, guys.

It always was!
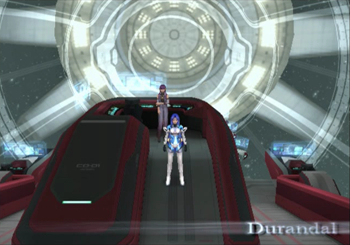
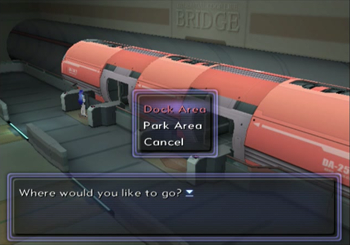
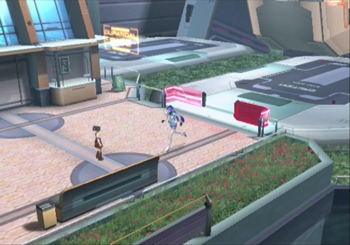
So we’re back on the Durandal. Technically, you could access this area before the MOMO dive, but this is the first time it’s mandatory. At the very least, you have to walk back through here to the Elsa.
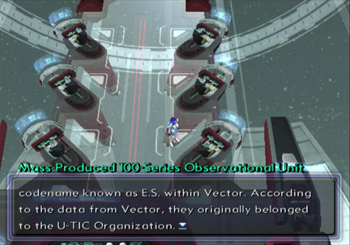
More NPCs to play with. Hey, turns out we stole our ESes from U-TIC. I’m okay with this.
The Durandal is pretty much unchanged from its Xenosaga Episode 1 version, except now you can’t go to a few of the “extra” locations, like the residential area or the armory. No big loss.
The park is always a nice place to hang out. There’s a Realian girl here that will hand over a decoder key if you show the tiniest interest in her life.
Ah, here’s that shuttle that used to take us down to the Kukai Foundation. I’m assuming it’s just there for show, and…
Oh snap, we can go to the Kukai Foundation. Eh, it’s probably just the dock area. Add a little color to the game and…
Nope! The whole area has been imported from XS1. Well, not the whole area. The AGWS shop down south is now inaccessible…
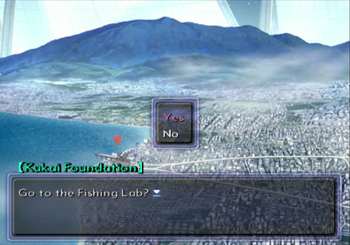
And the beach has become a fishing minigame (well, a different fishing minigame)…
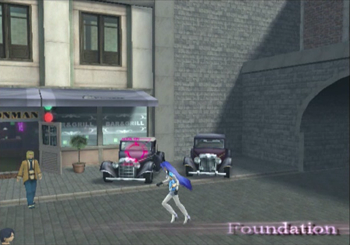
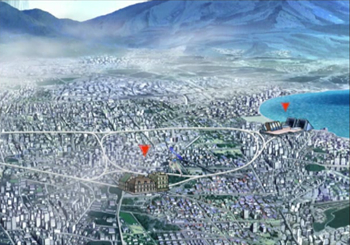
And Kukai Foundation Town is back in all its glory. Remember back before the MOMO dive when I said that it would be a long time until we were off the leash? Well, here we are. Feel free to hit up some more sidequests.
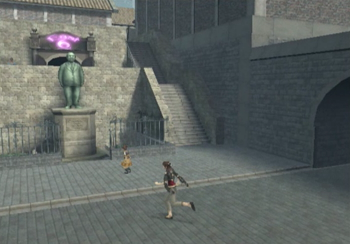
Interestingly, this whole area has received a complete graphical overhaul… and it’s entirely optional. I mean, you have to go here for like 90% of the sidequests, but sidequests are sidequests. Visiting Foundation Town is never mandatory, not even for some random cutscene. I don’t know if this is brilliant (this is a real, functioning world, whether Shion needs to visit or not) or a fine sign that half of Xenosaga Episode 2 has no idea what the other half is doing…
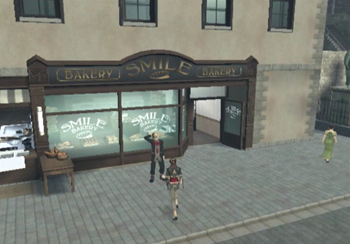
Disappointingly, Bakery Smile no longer features Pac-Man. I guess Namco lost the license or something…
Anyway, we’ll see that area a lot more during our sidequest roundup, but for now, it’s back to the Elsa.
Confirmation that Professor is pulling his weight around here.
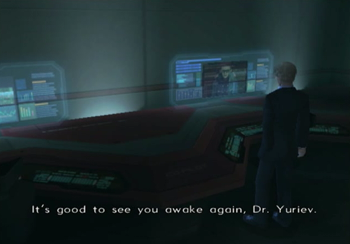
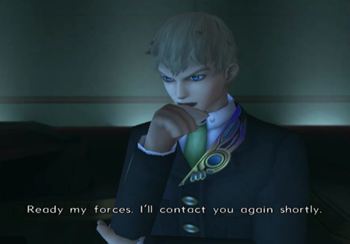
Ask to head to Miltia, and another cutscene will play. Dr. Yuriev is back!

And he’s wearing Gaignun’s clothes! And the body beneath ‘em!
So it looks like Yuriev is going to be yet another villain behind the universal scenes. Aside from general child abuse, there weren’t any indicators that Yuriev was a “bad guy” during the MOMO dive. I guess Junior remembers his father kindly.
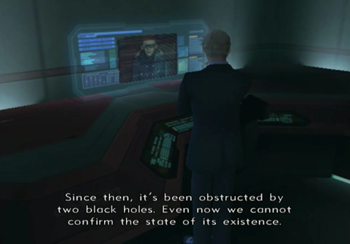
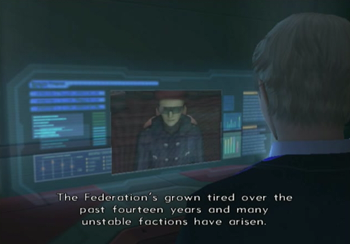
Yuriev’s flunky is catching up the boss on this whole Zohar/U-DO thing. It’s mysterious, the end.
Great. Another group making a play for the Zohar. Awesome.
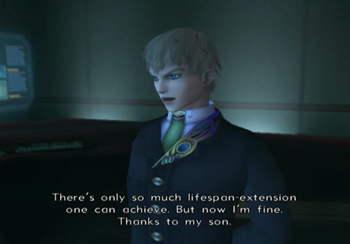
When asked, “hey, weren’t you dead?” Yuriev answers by confirming that he’s apparently taken over Gaignun’s body. This explains that spilled coffee back during the opening of the game, and maybe even why Gaignun’s eyes flashed in Shion’s presence way back in XS1.
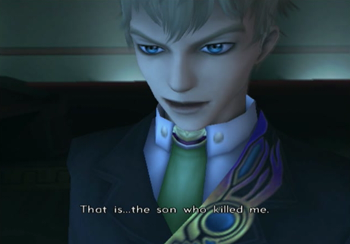
“Not that I hold it against him. I hate all my children equally.”
And, after all that build up, we’ve arrived at Old Miltia without incident. Hooray!
So, aside from some side stories about the sidest of characters (show me the Gaignun fan club), pretty much nothing happened over the last two or so hours of gameplay. There was an entire giant dungeon, and it was an interesting (if flawed) experience… but this was the gaming equivalent of a filler episode. We beat up a bunch of nobodies, revisited home base, and now we’re going back to where we were supposed to go in the first place.
I guess “gameplay” and “story” are going through a trial separation…
Oh yes, that Awakening II that can be stolen from Orgulla allows Shion and KOS-MOS to learn the Gravity Bomb double tech. Again, it’s not very strong, but it is delightfully goofy, so enjoy.
Next time on Xenosaga: Crapsack Planet for Crapsack People.
[…] Pickpocket is Wild Arms 3’s steal command. Wild Arms 3 is not the kind of game where “steal” earns you rare items, so it is pretty useless. Basically just an excuse to augment a monster’s "rare" […]
[…] Guardian earlier rather than later, so that way you can earn… useless crap. Hey, this isn’t Xenosaga and its damned steal-required special moves again. However, you do need pickpocket for at least one other sidequest we’ll be hitting soon […]
[…] hover-dorks from the XS2 Ormus Stronghold also make a return for this dungeon. Guess they’re reliable, middle of the game […]